3D Print Final: Prints and Drawing Layouts
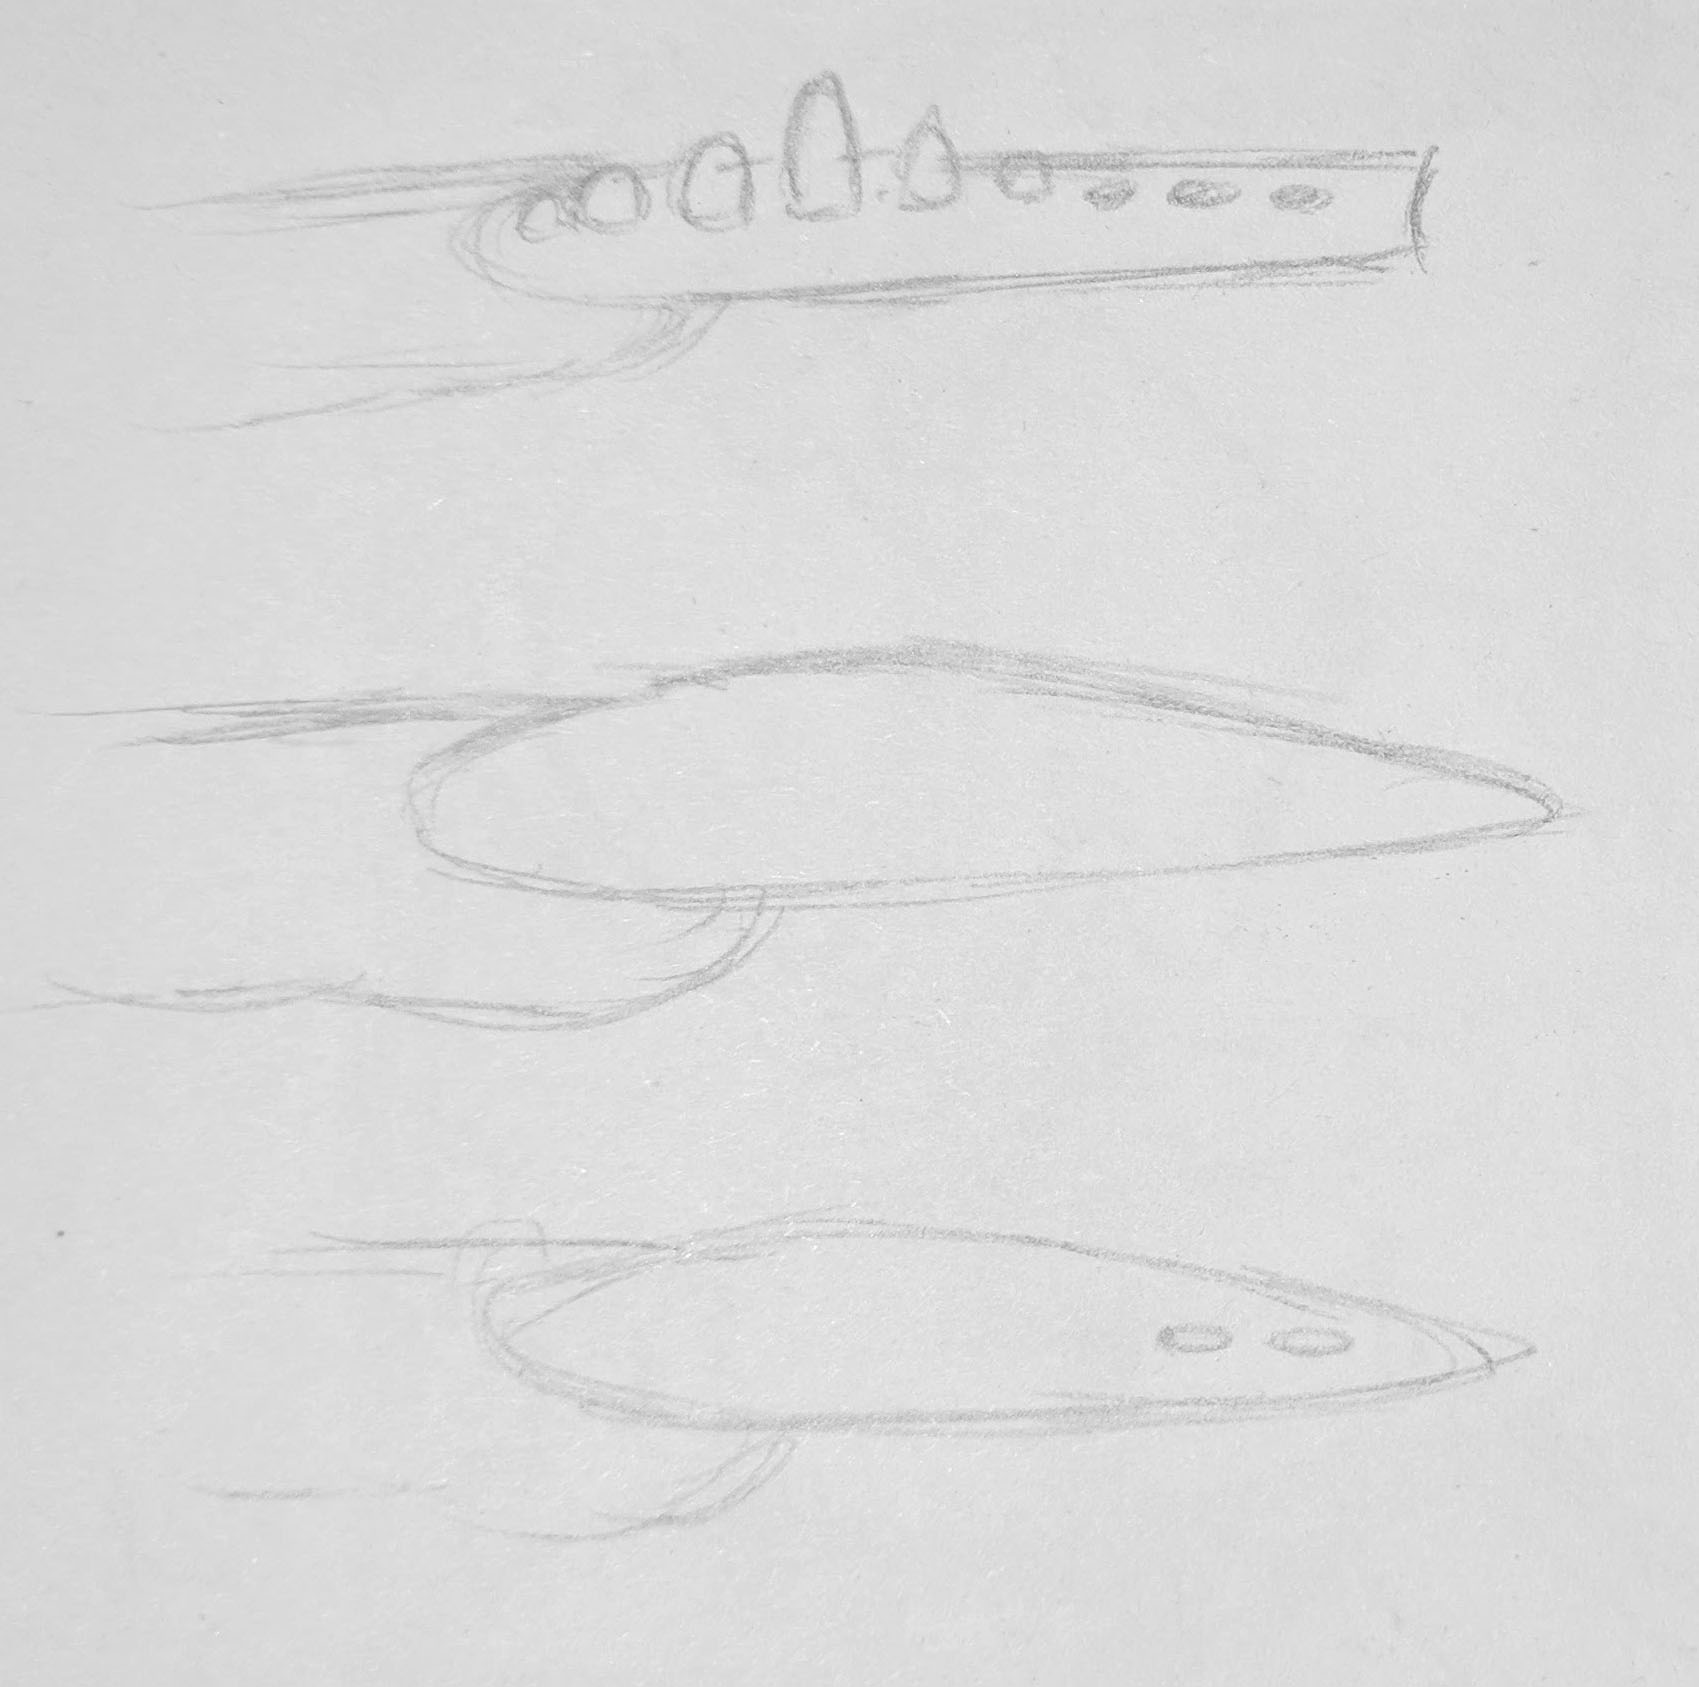
Sketches and Drawings Layouts

Process Documentation
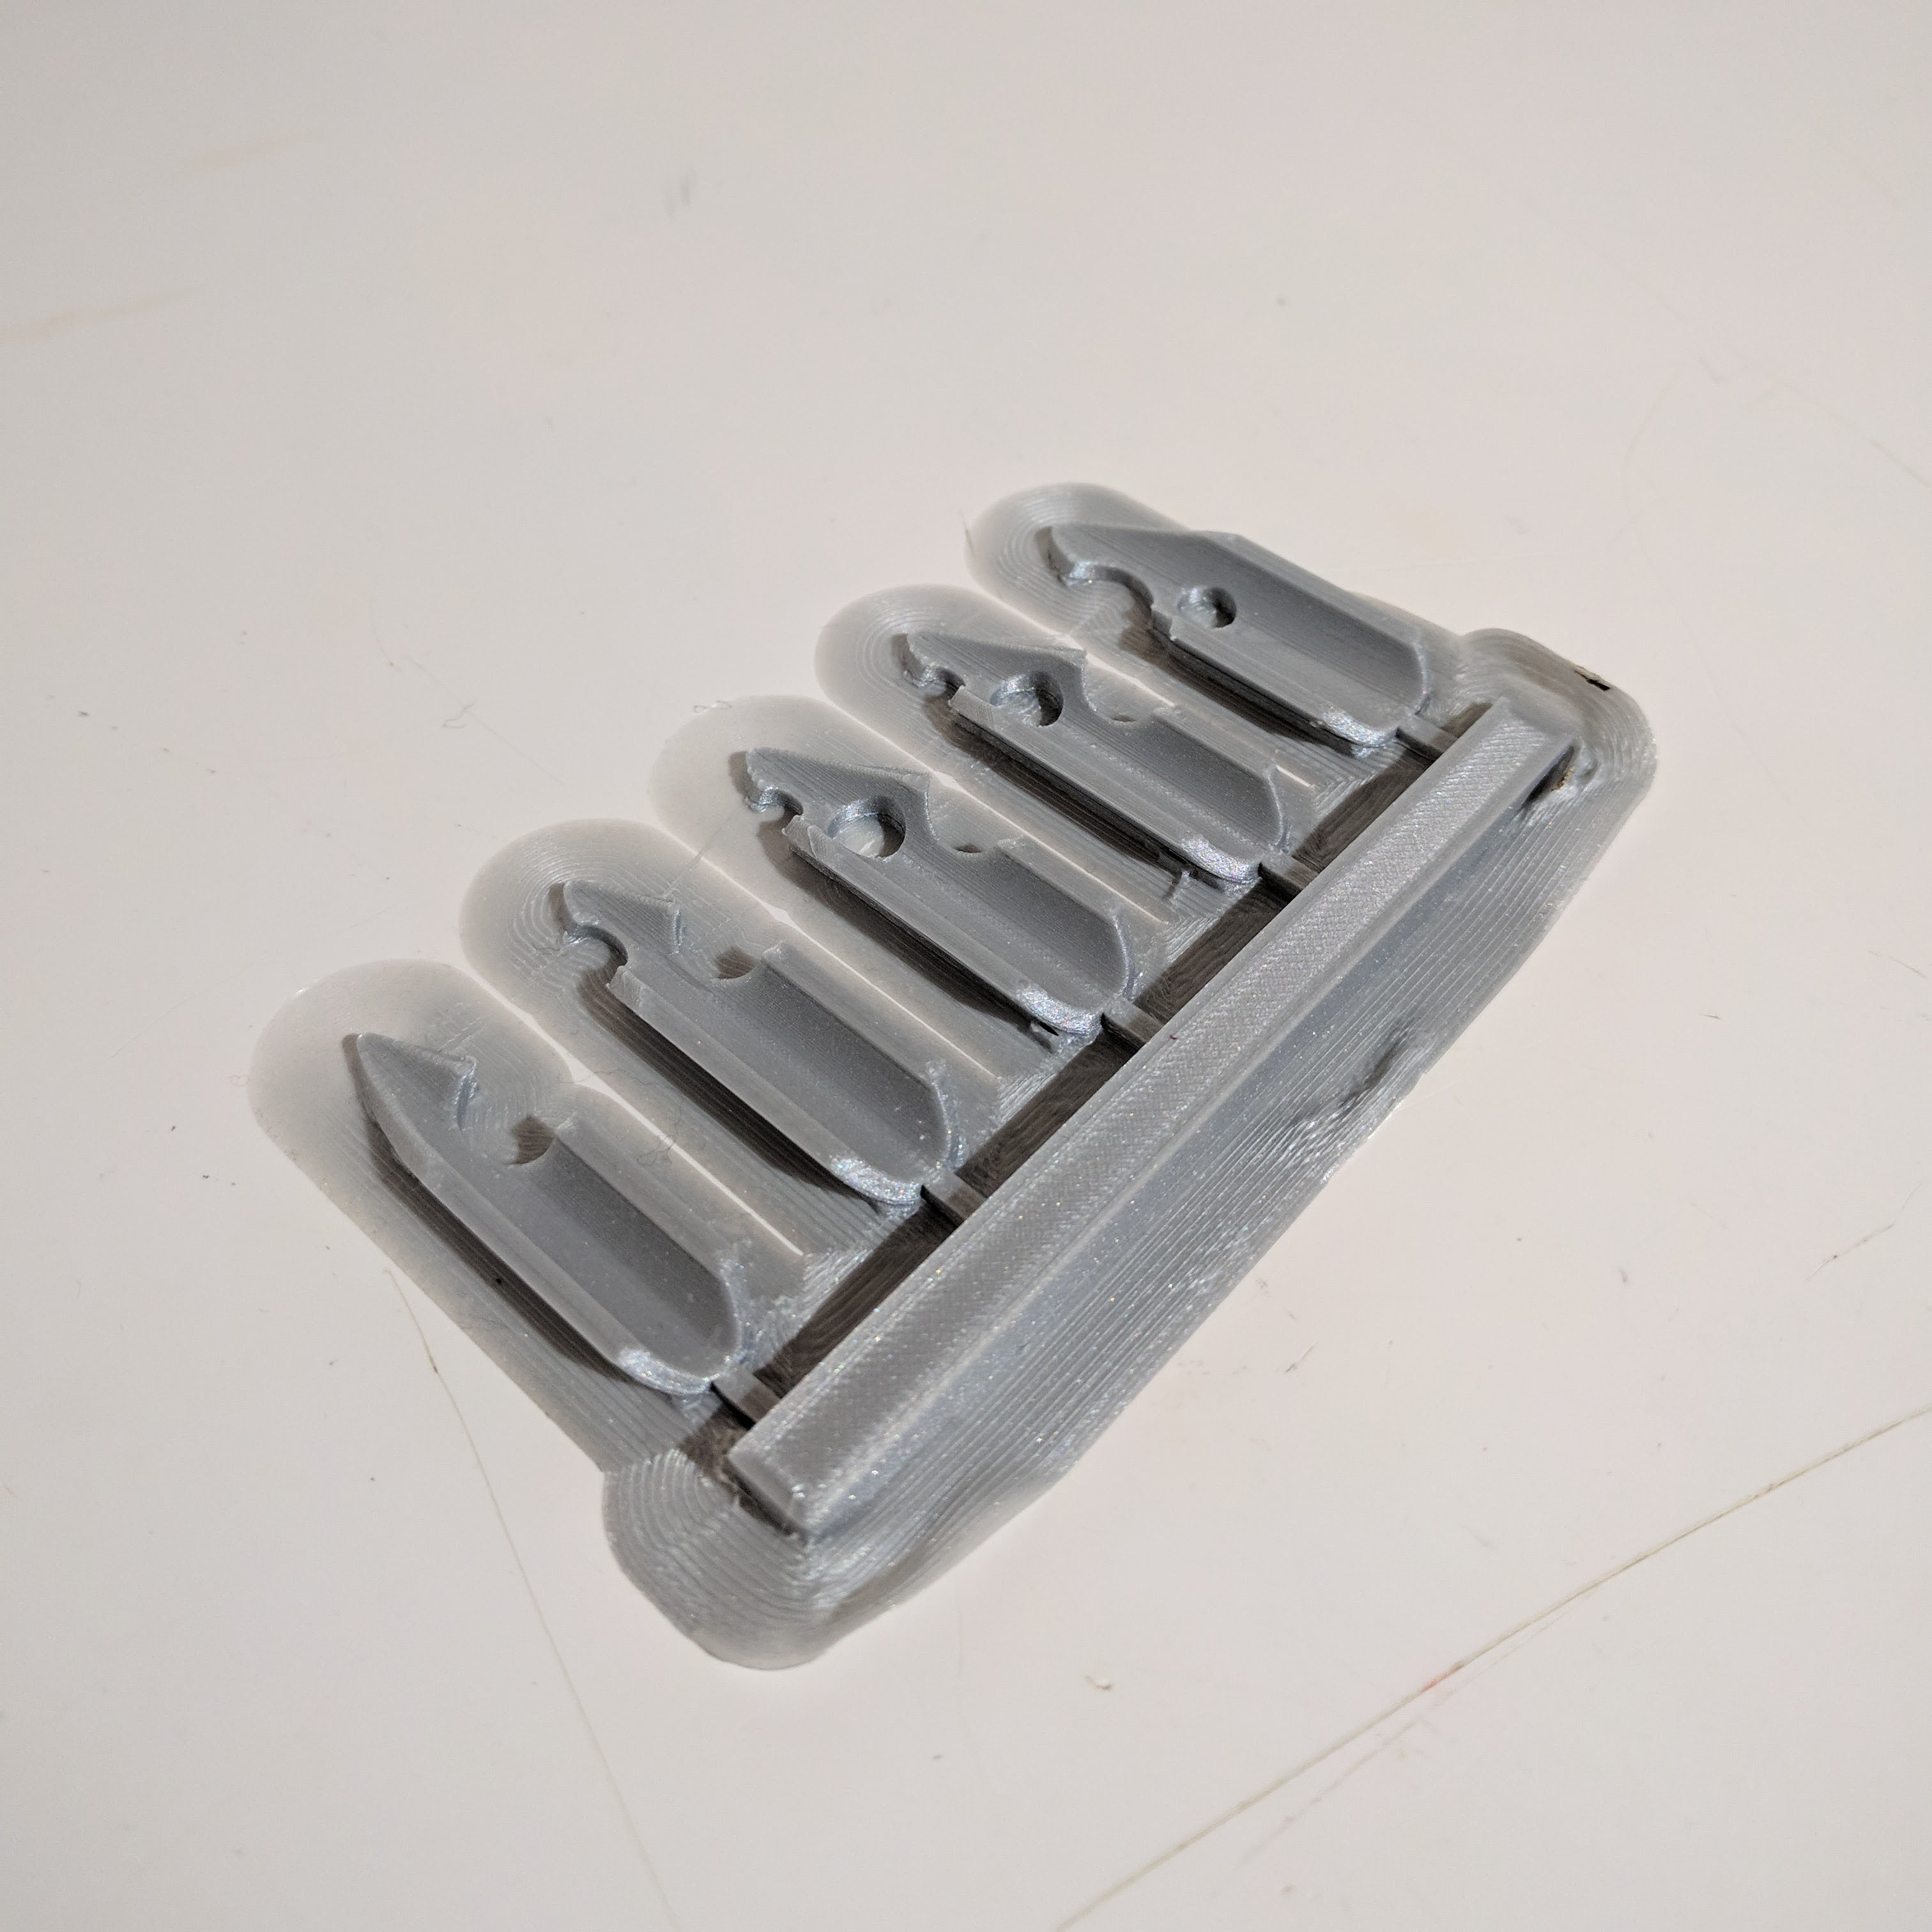
The design of the nails changed many times during the process due to realizing limitations with the 3D printers on the floor. I first started with a basic square shape to test the fit on my fingers. I used calipers to measure my fingernails and later varied the widths of the model based on my print results.
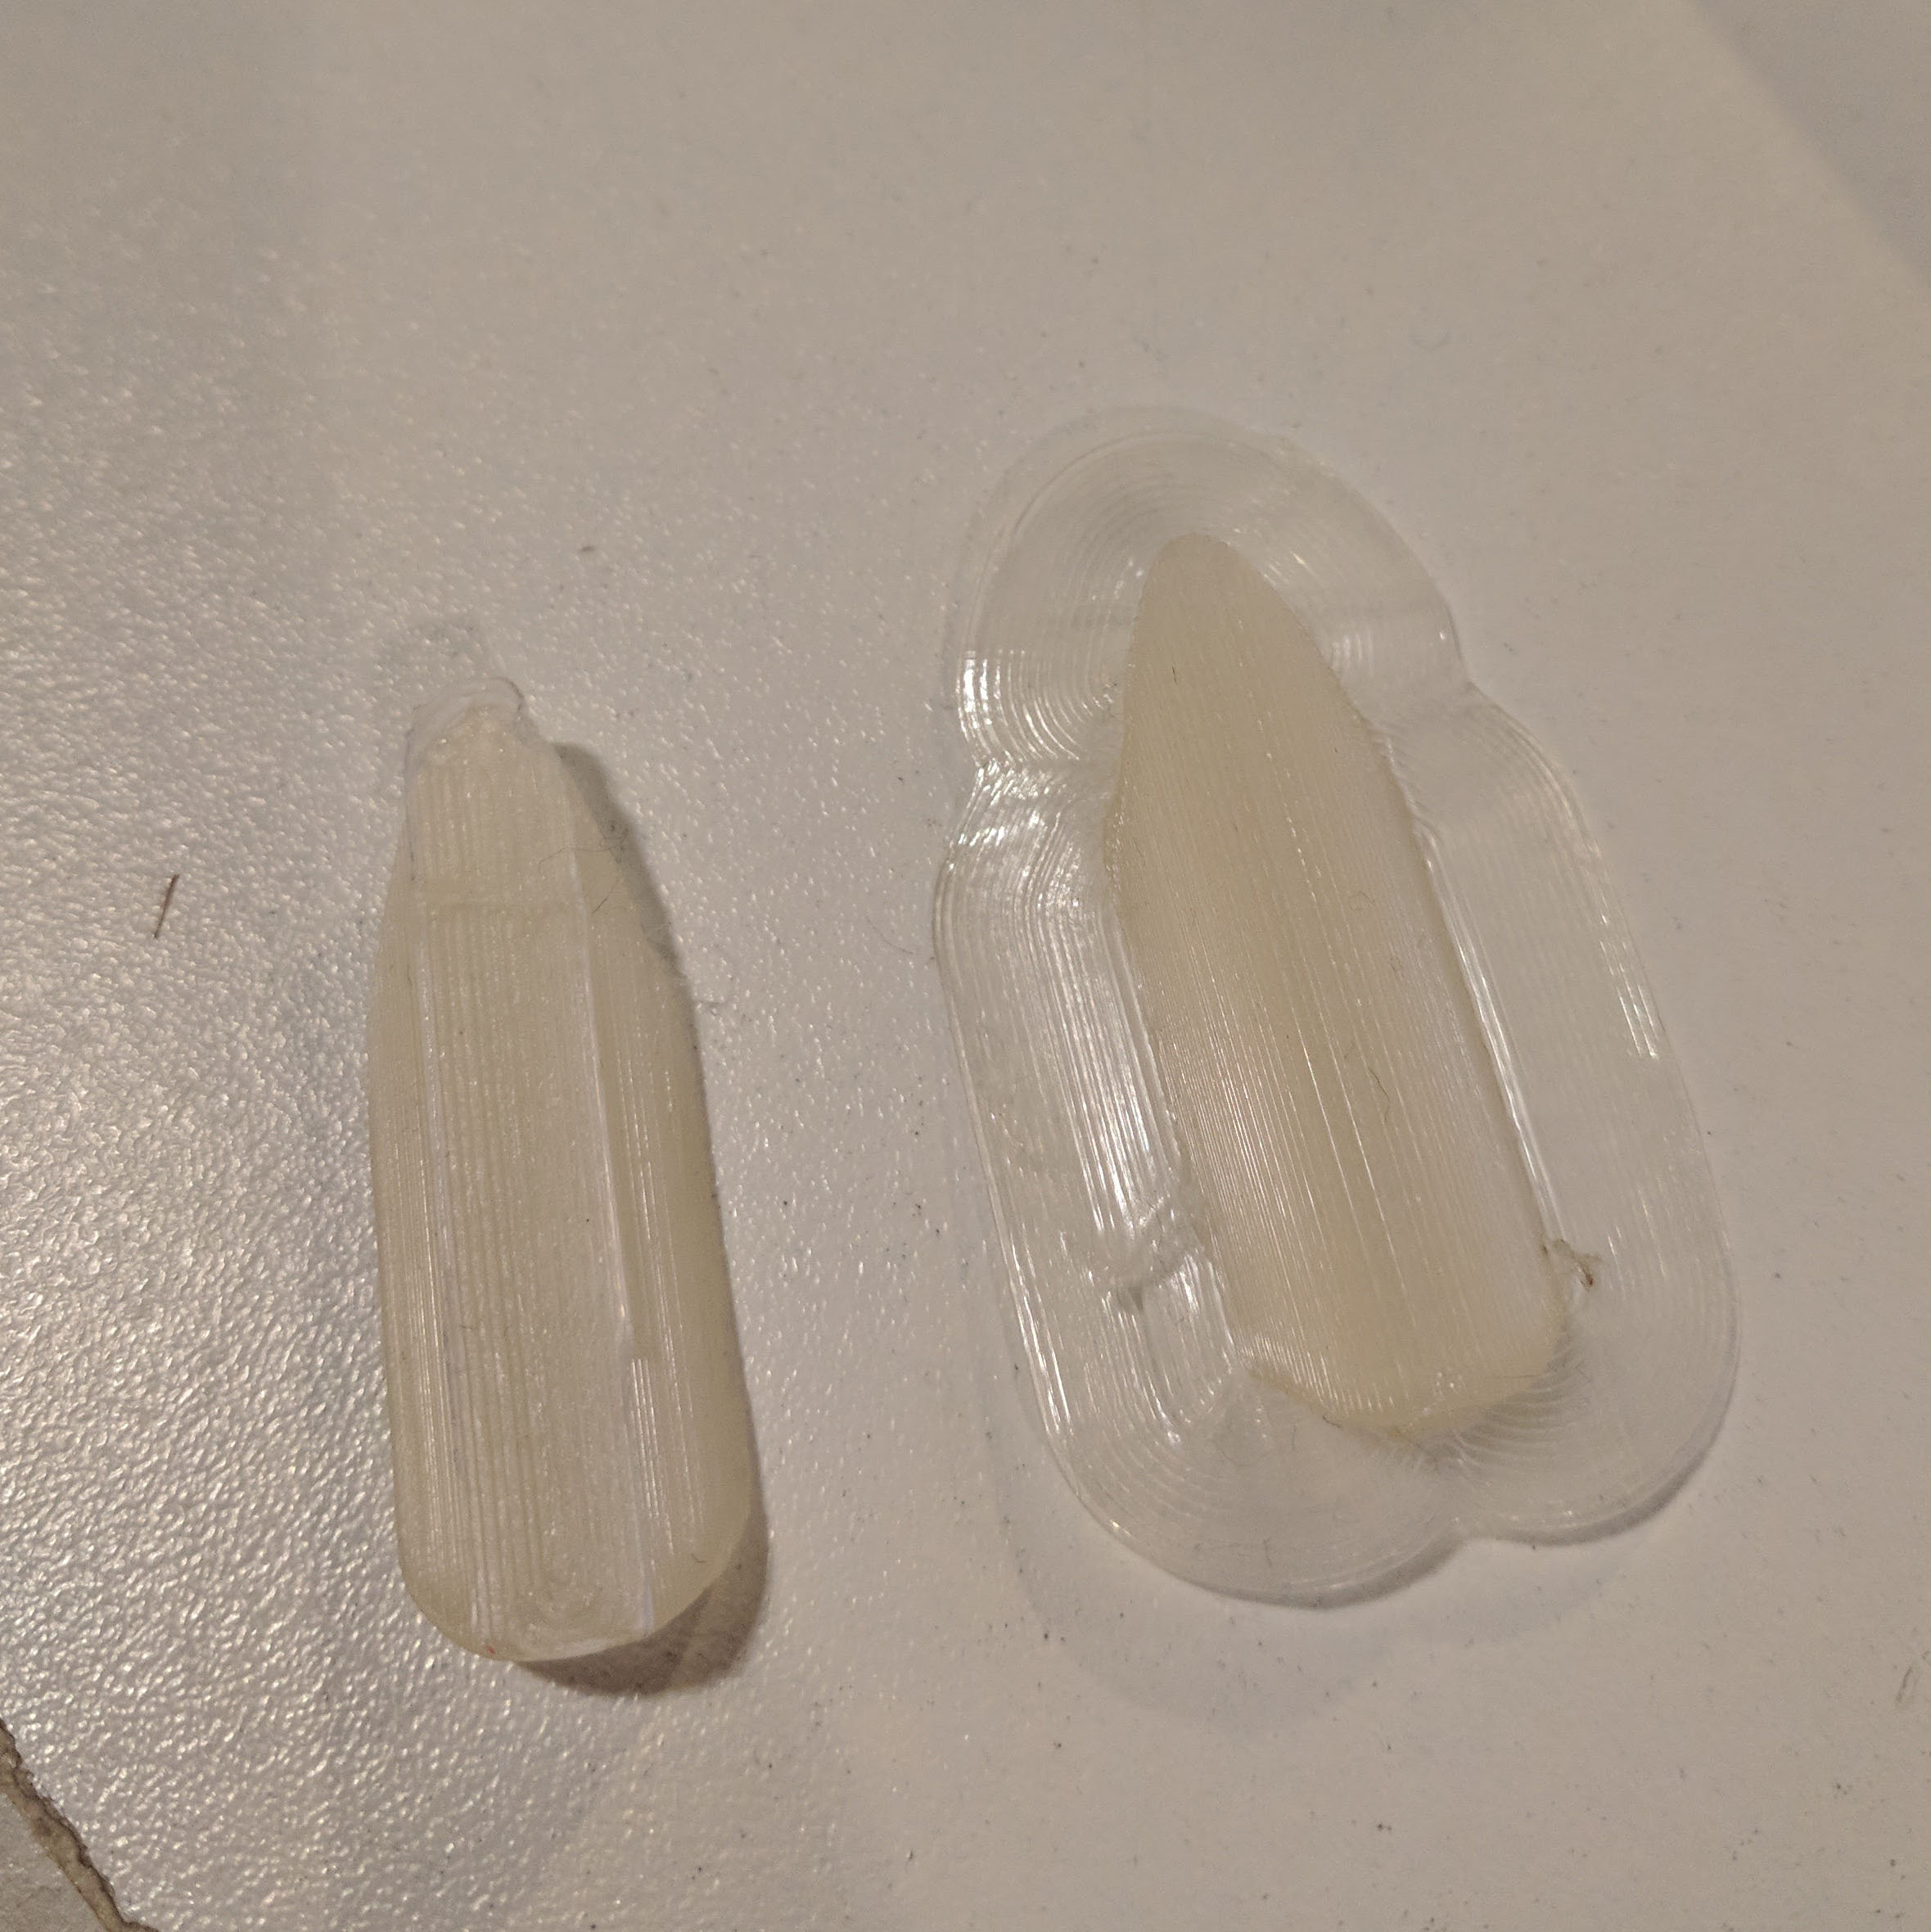
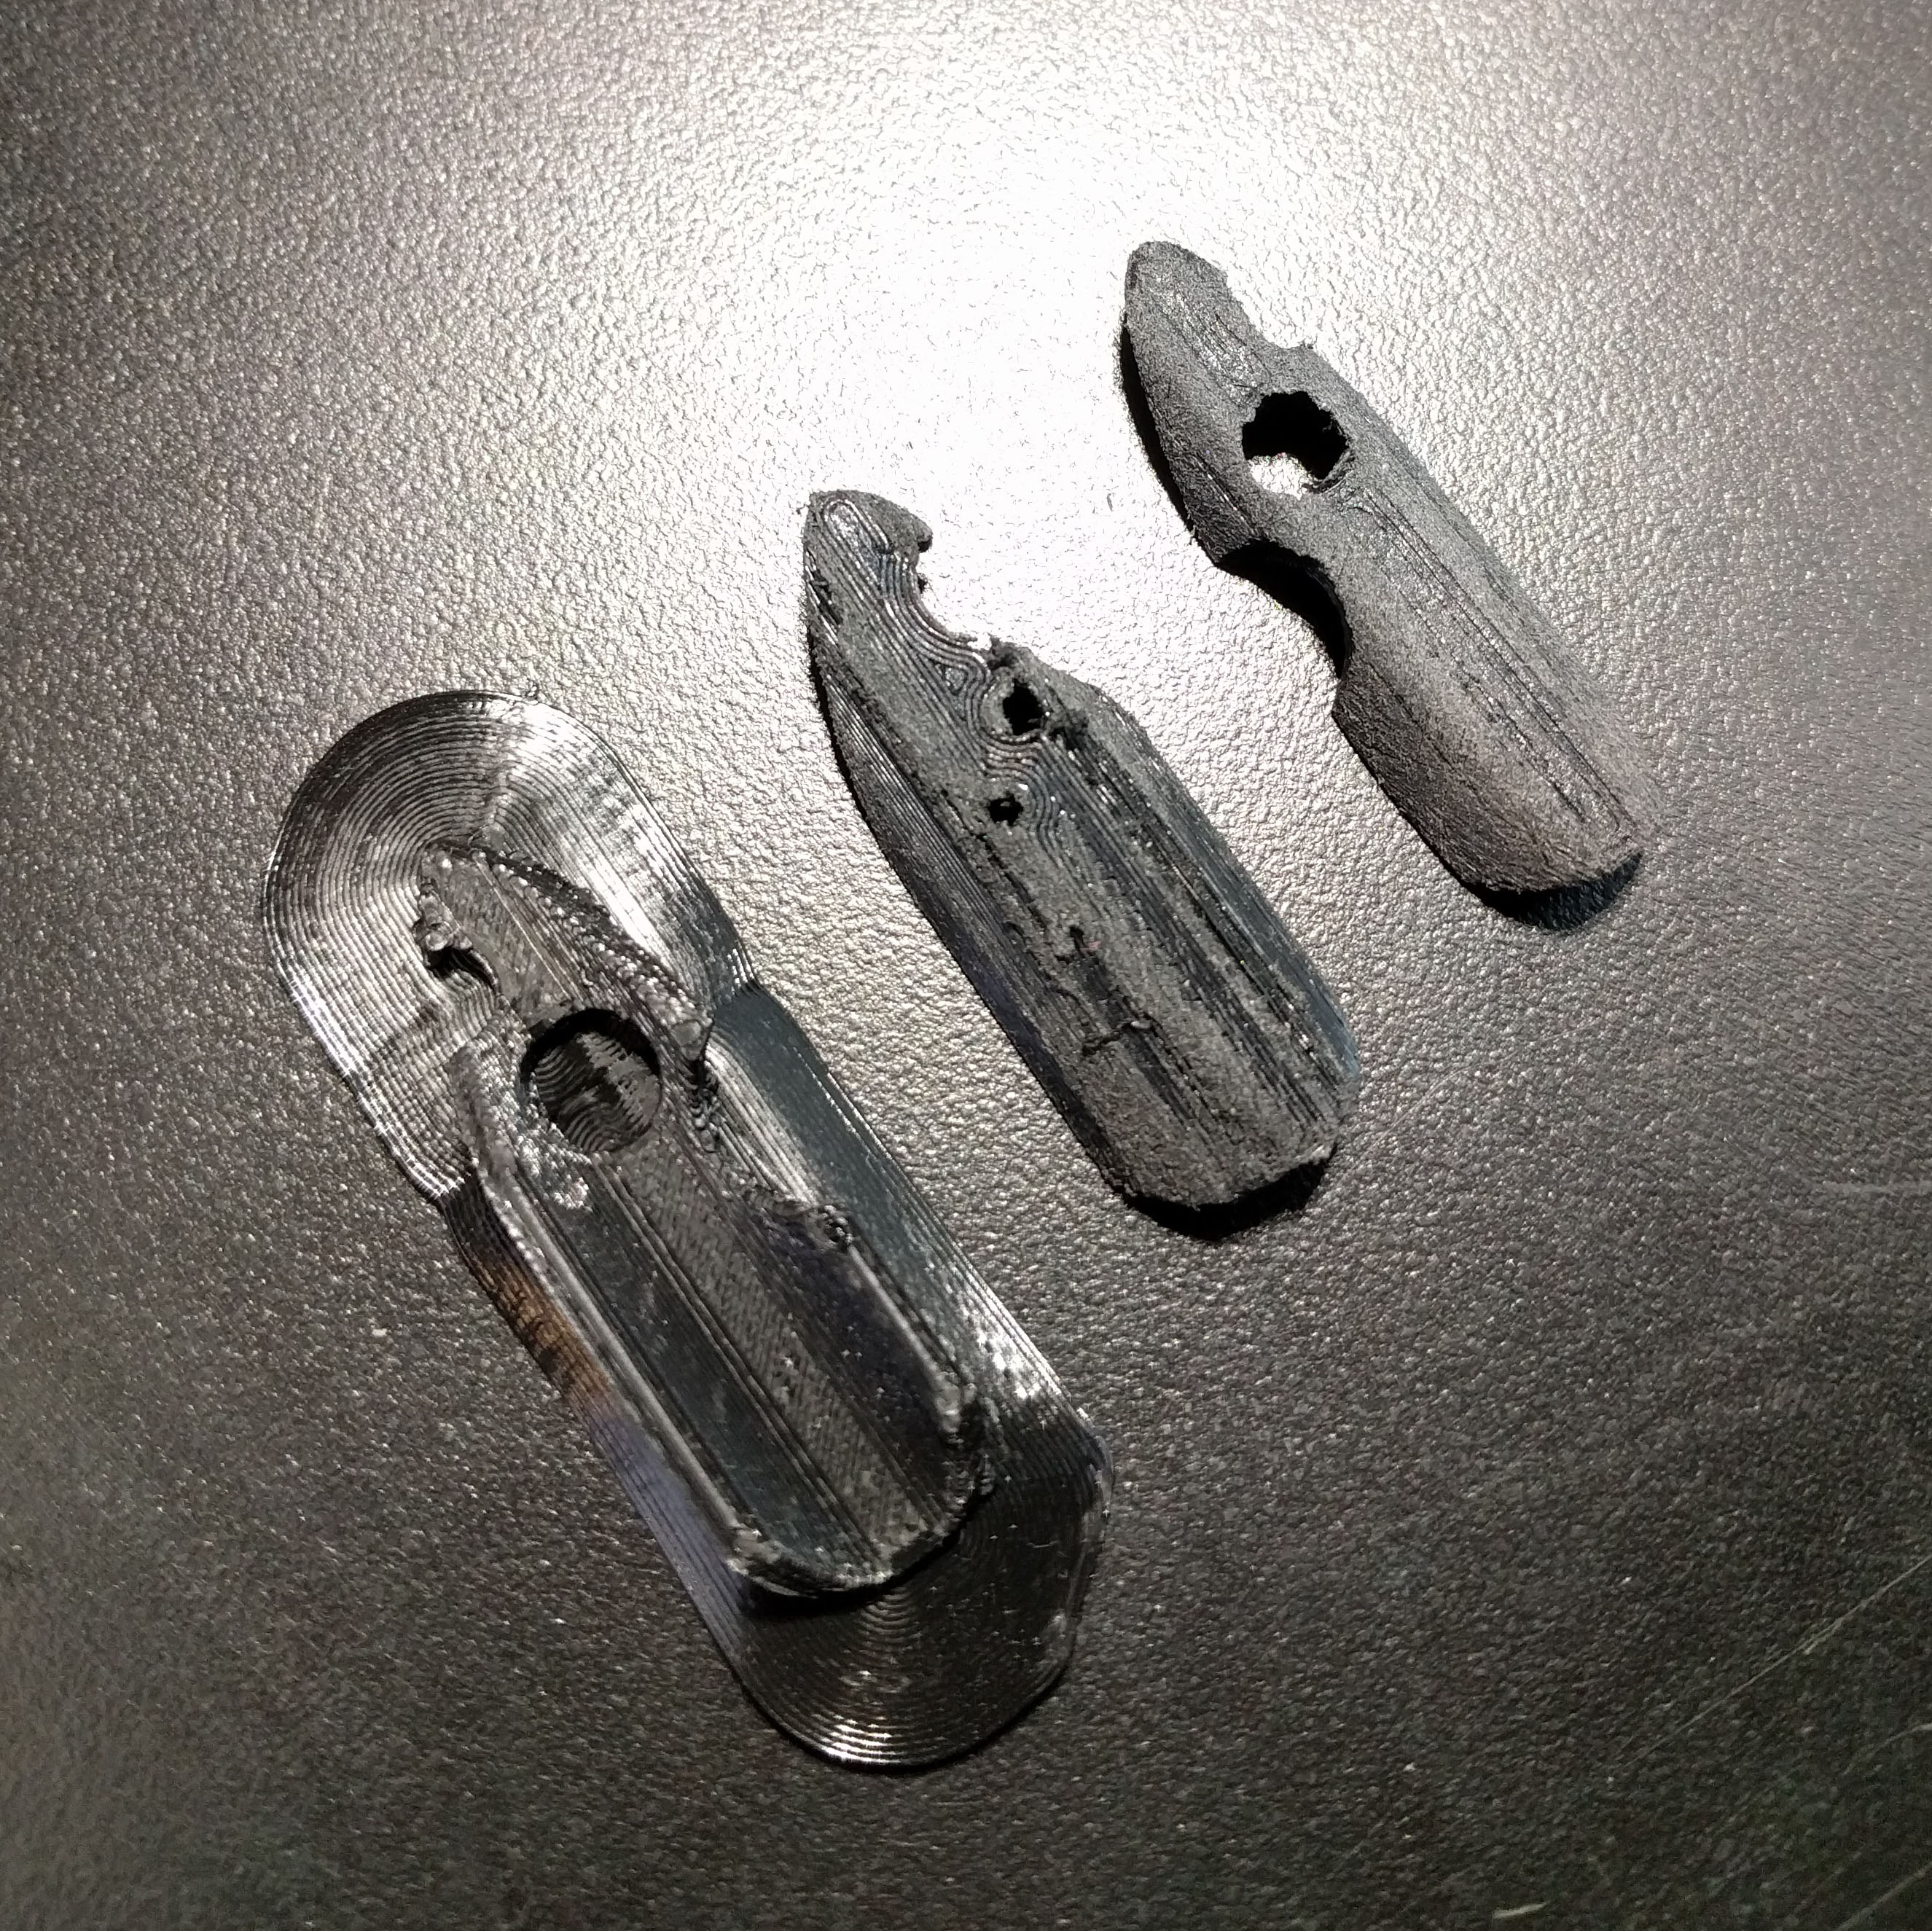
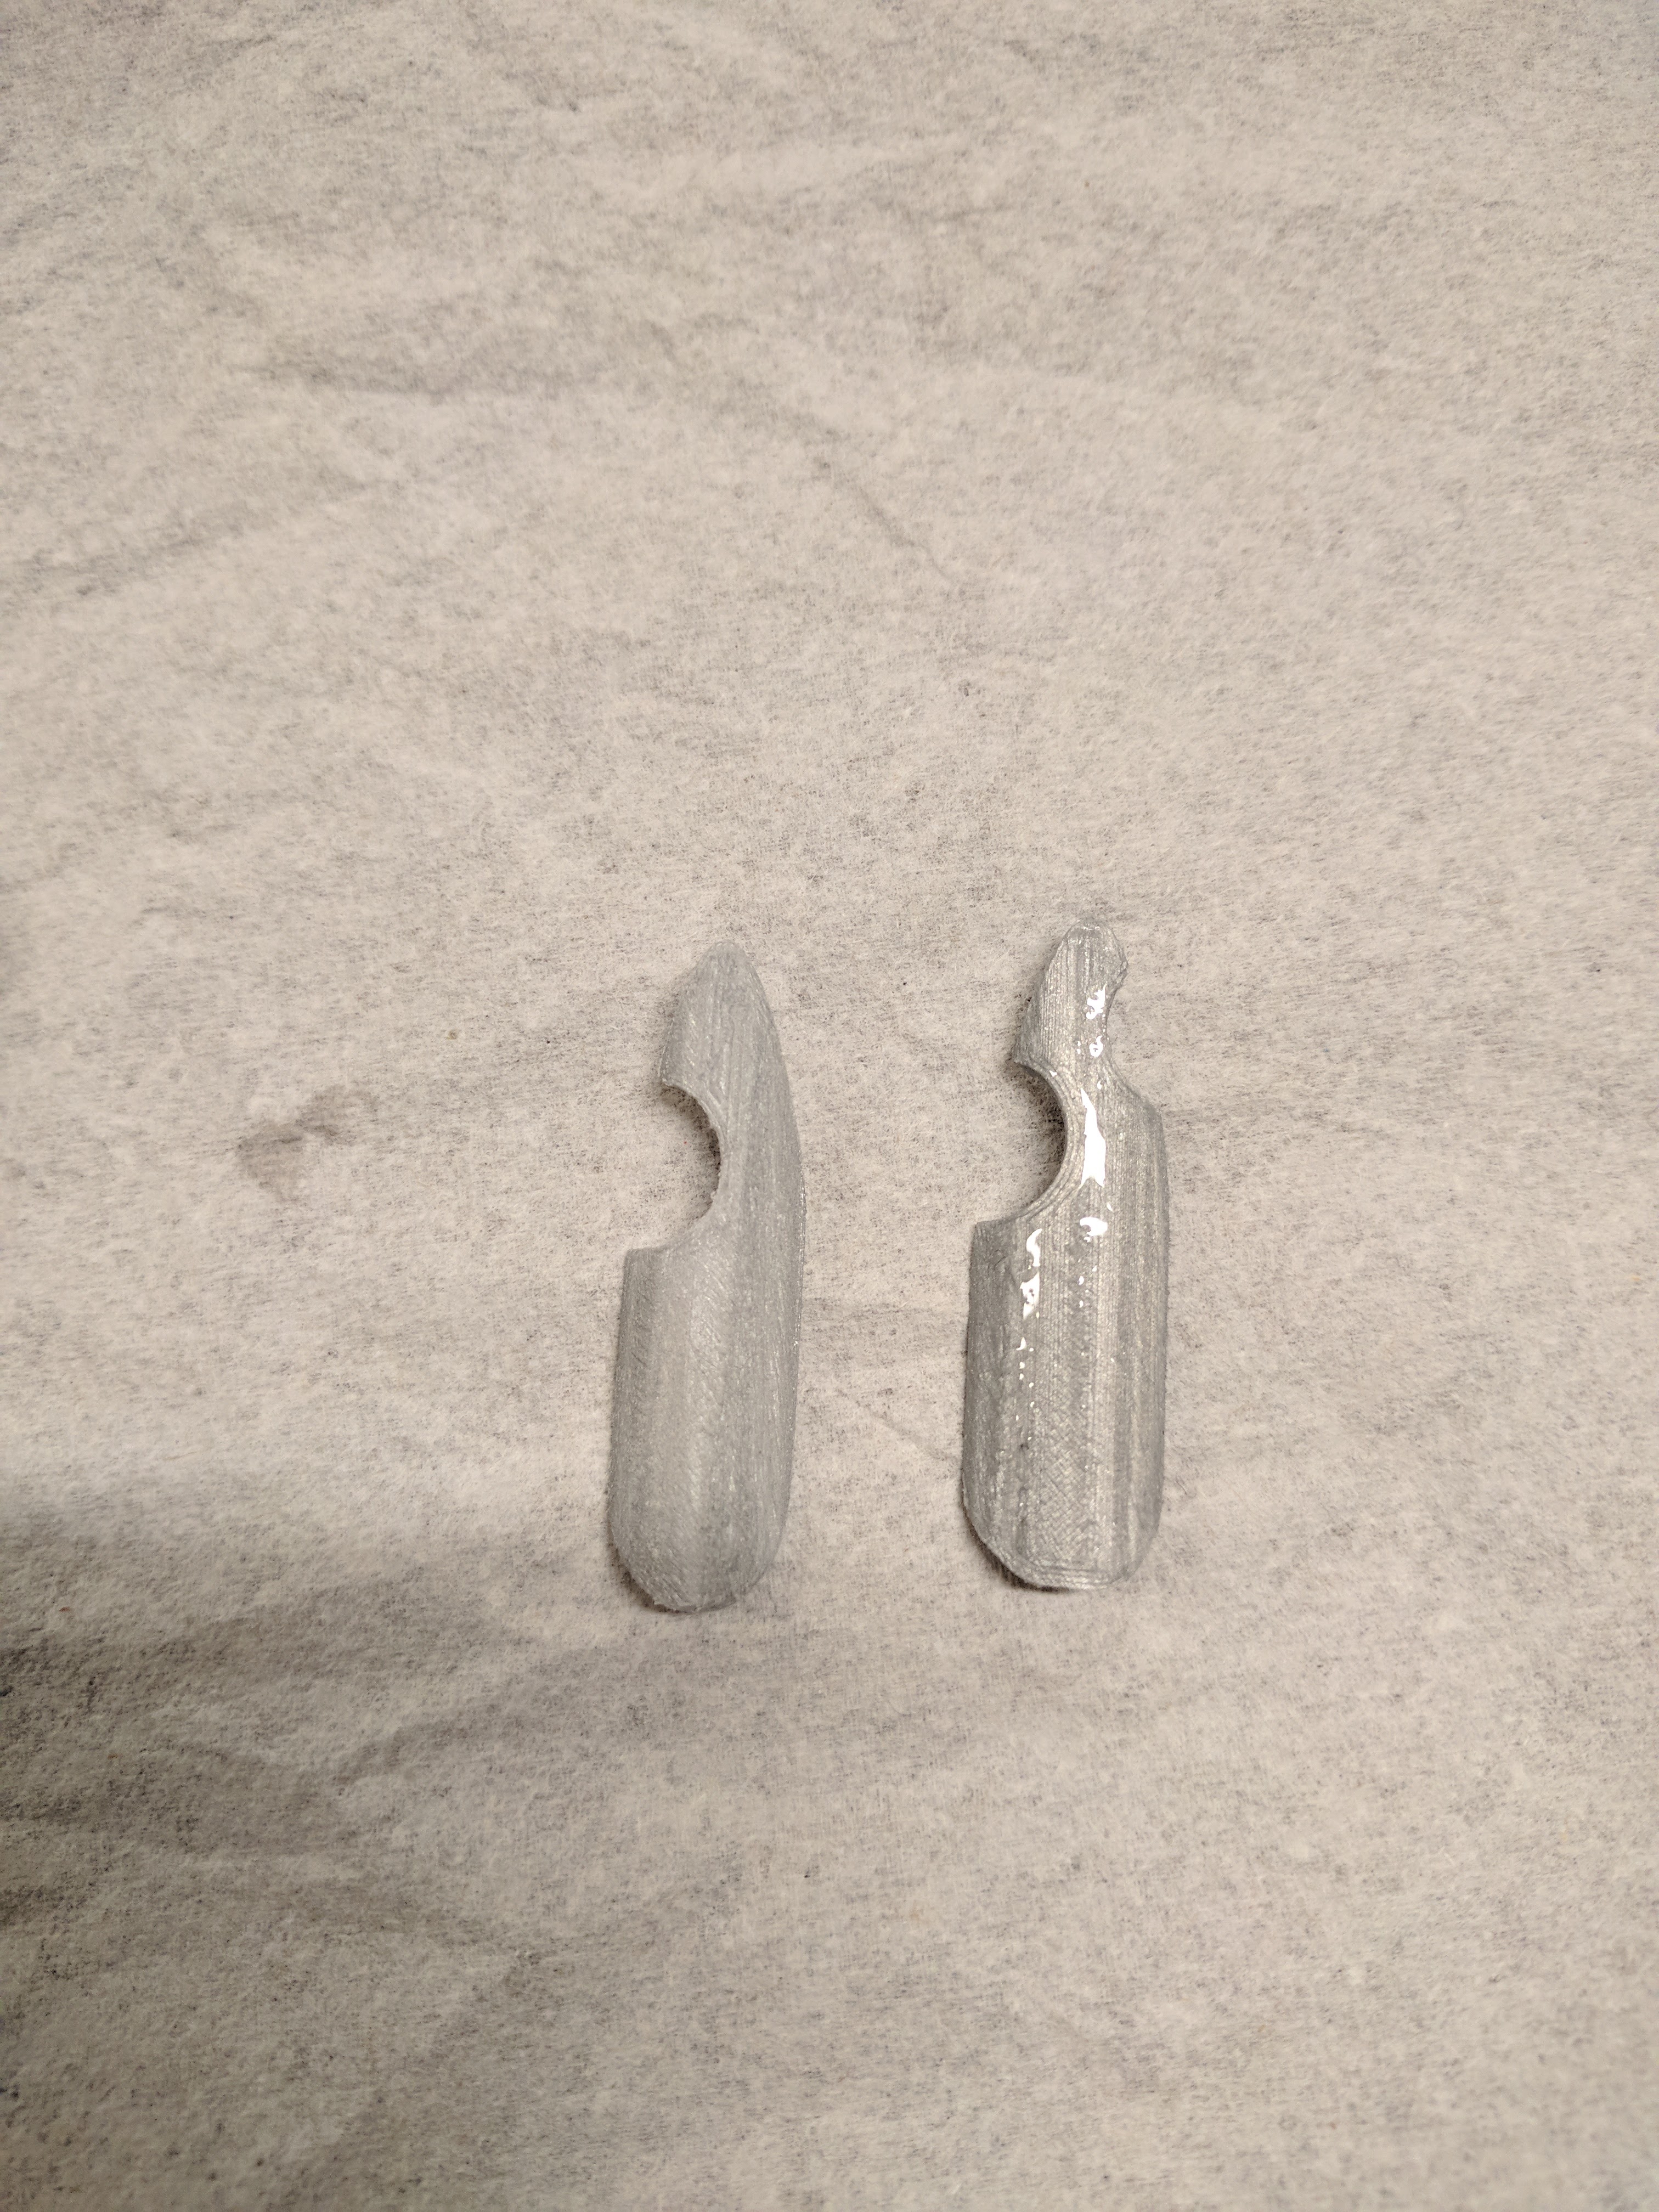
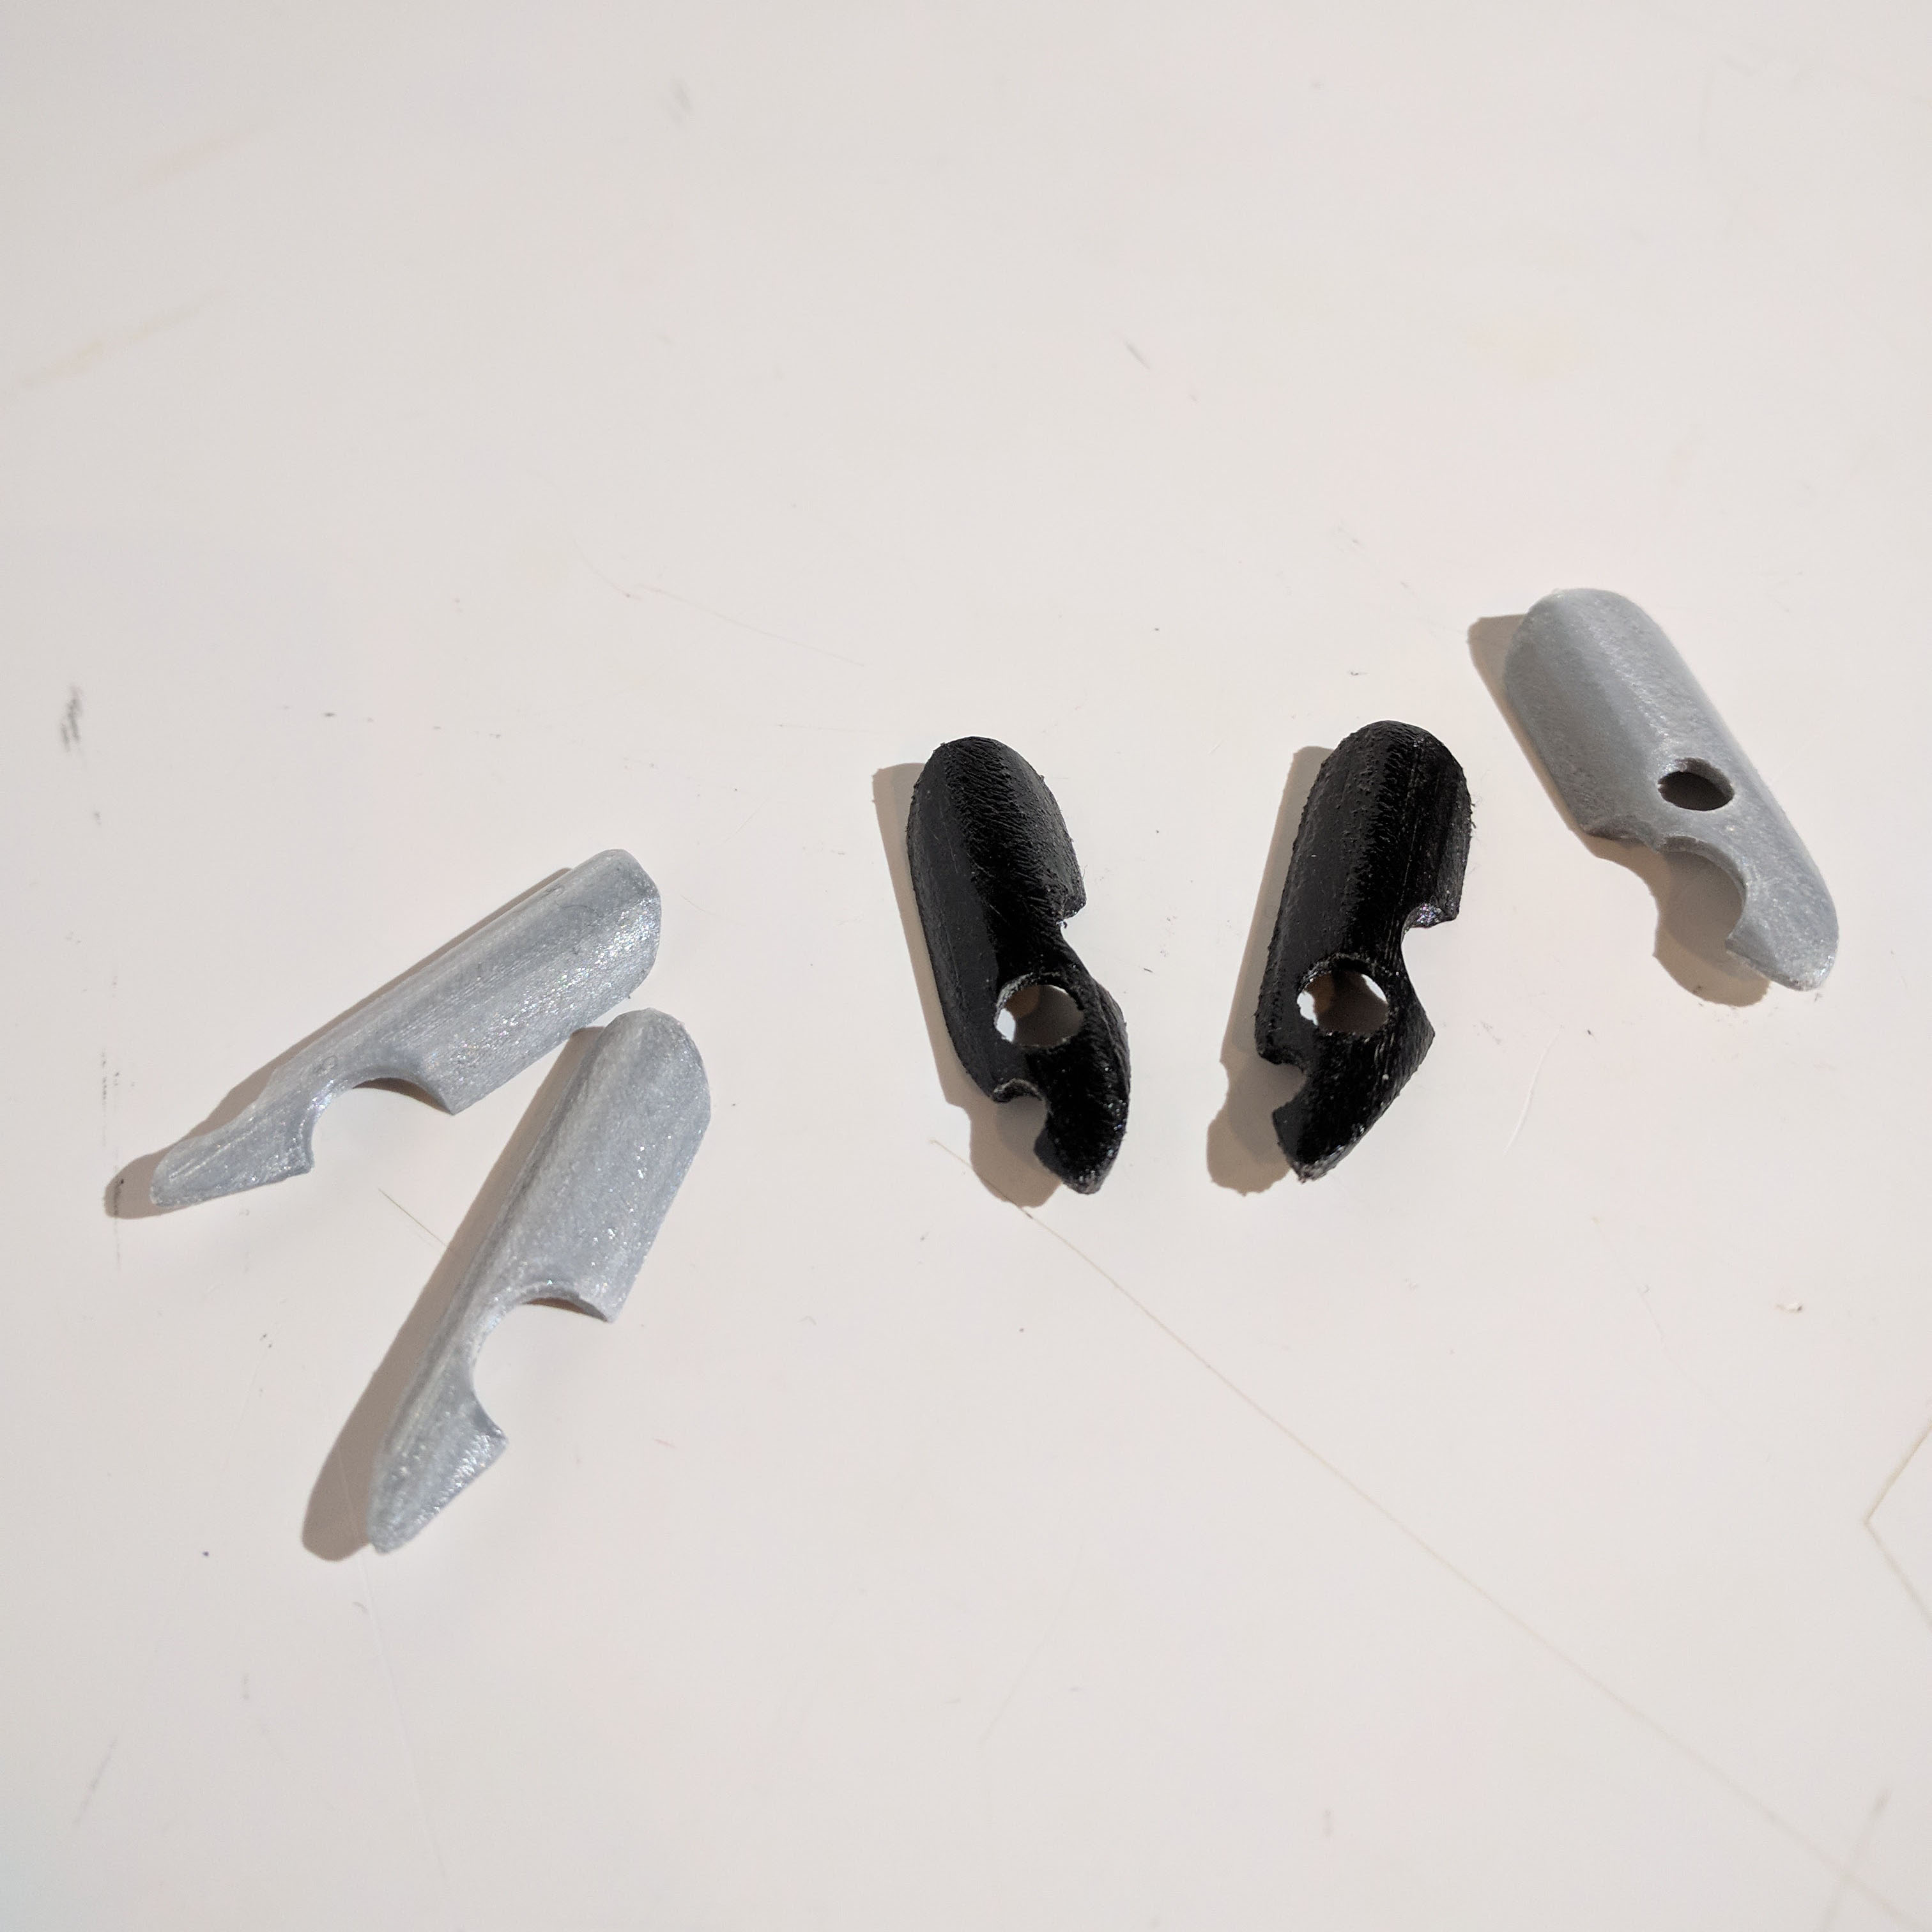
I then settled on a pointy stiletto nail shape. I tried different printing orientations. I had been printing the nails upside down (curve facing up) but wanted to have 3d extrusion designs on top of the nail. I thought I could add tall extruded designs on the top and then print flipped (curve facing down) but I soon realized that it would be too hard to get out all the support material out from inside the curve. In this image, the nail was printed curve facing up on the left and curve facing down on the right. After this, I decided to have my design be in the negative space of the nail (cut holes into it). I tried printing with both 0.4 nozzle and 0.6 nozzle and realized that my models no longer fit my fingers with prints from the 0.6 nozzle.
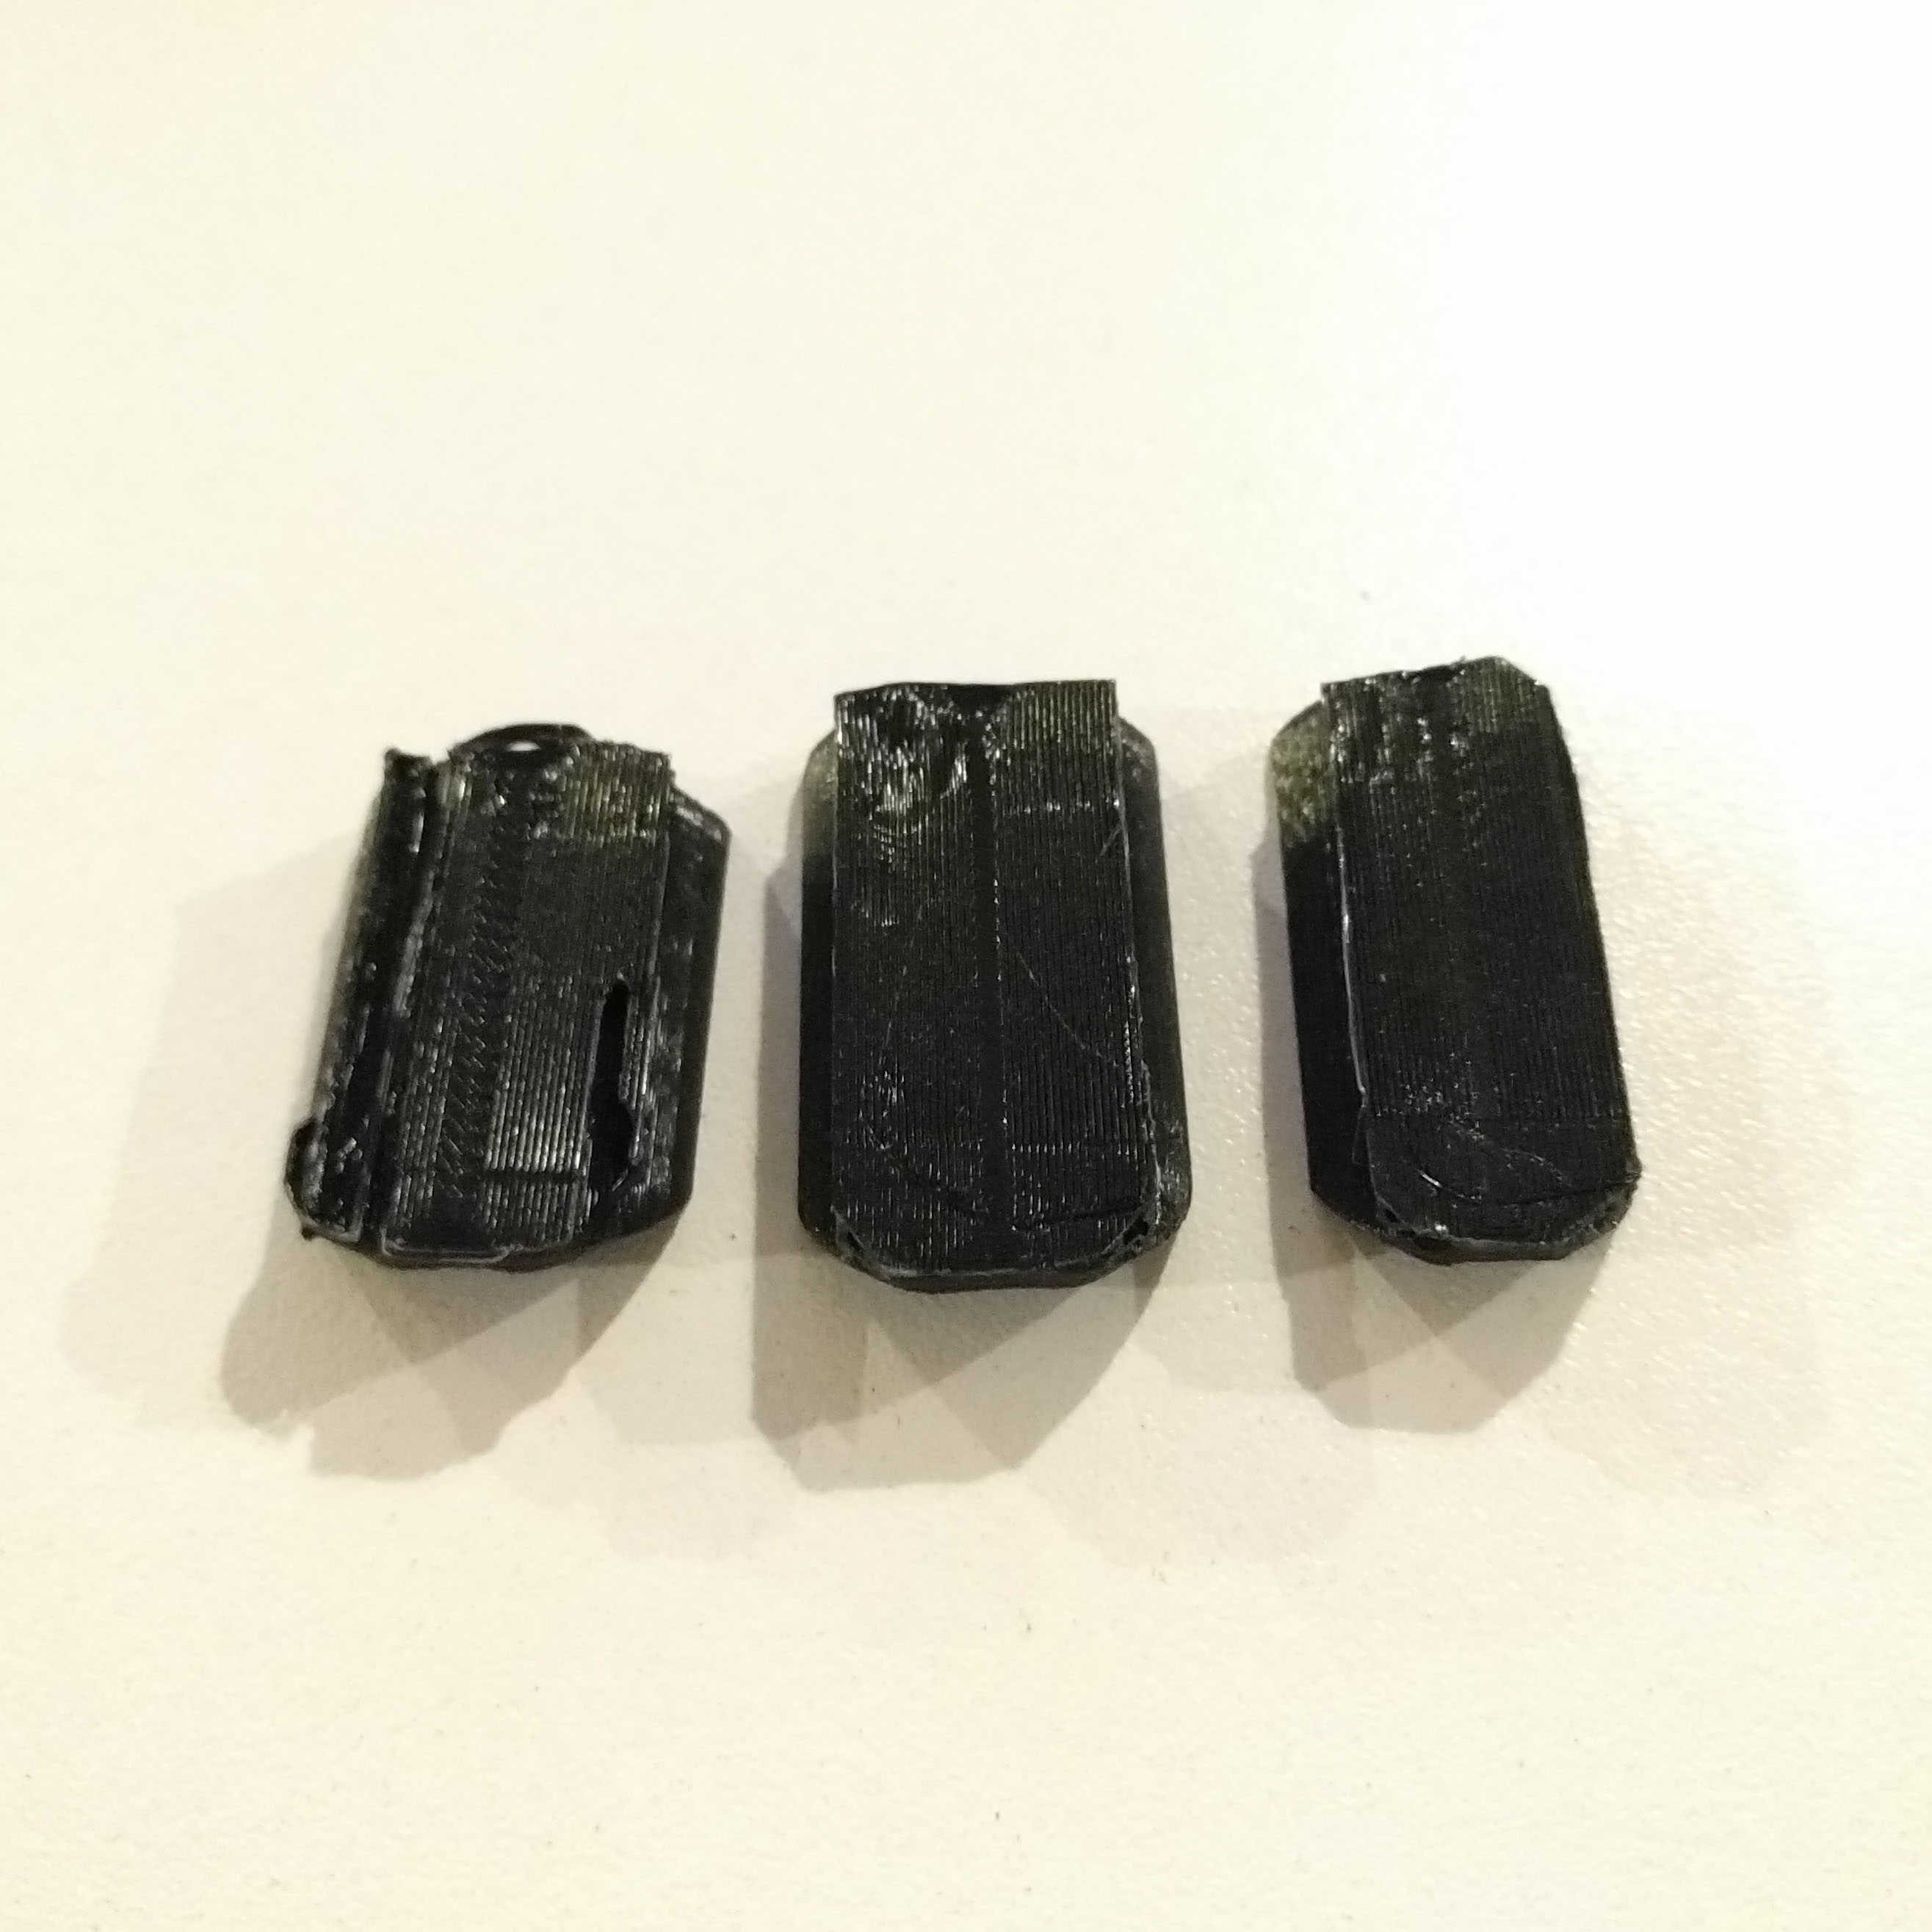
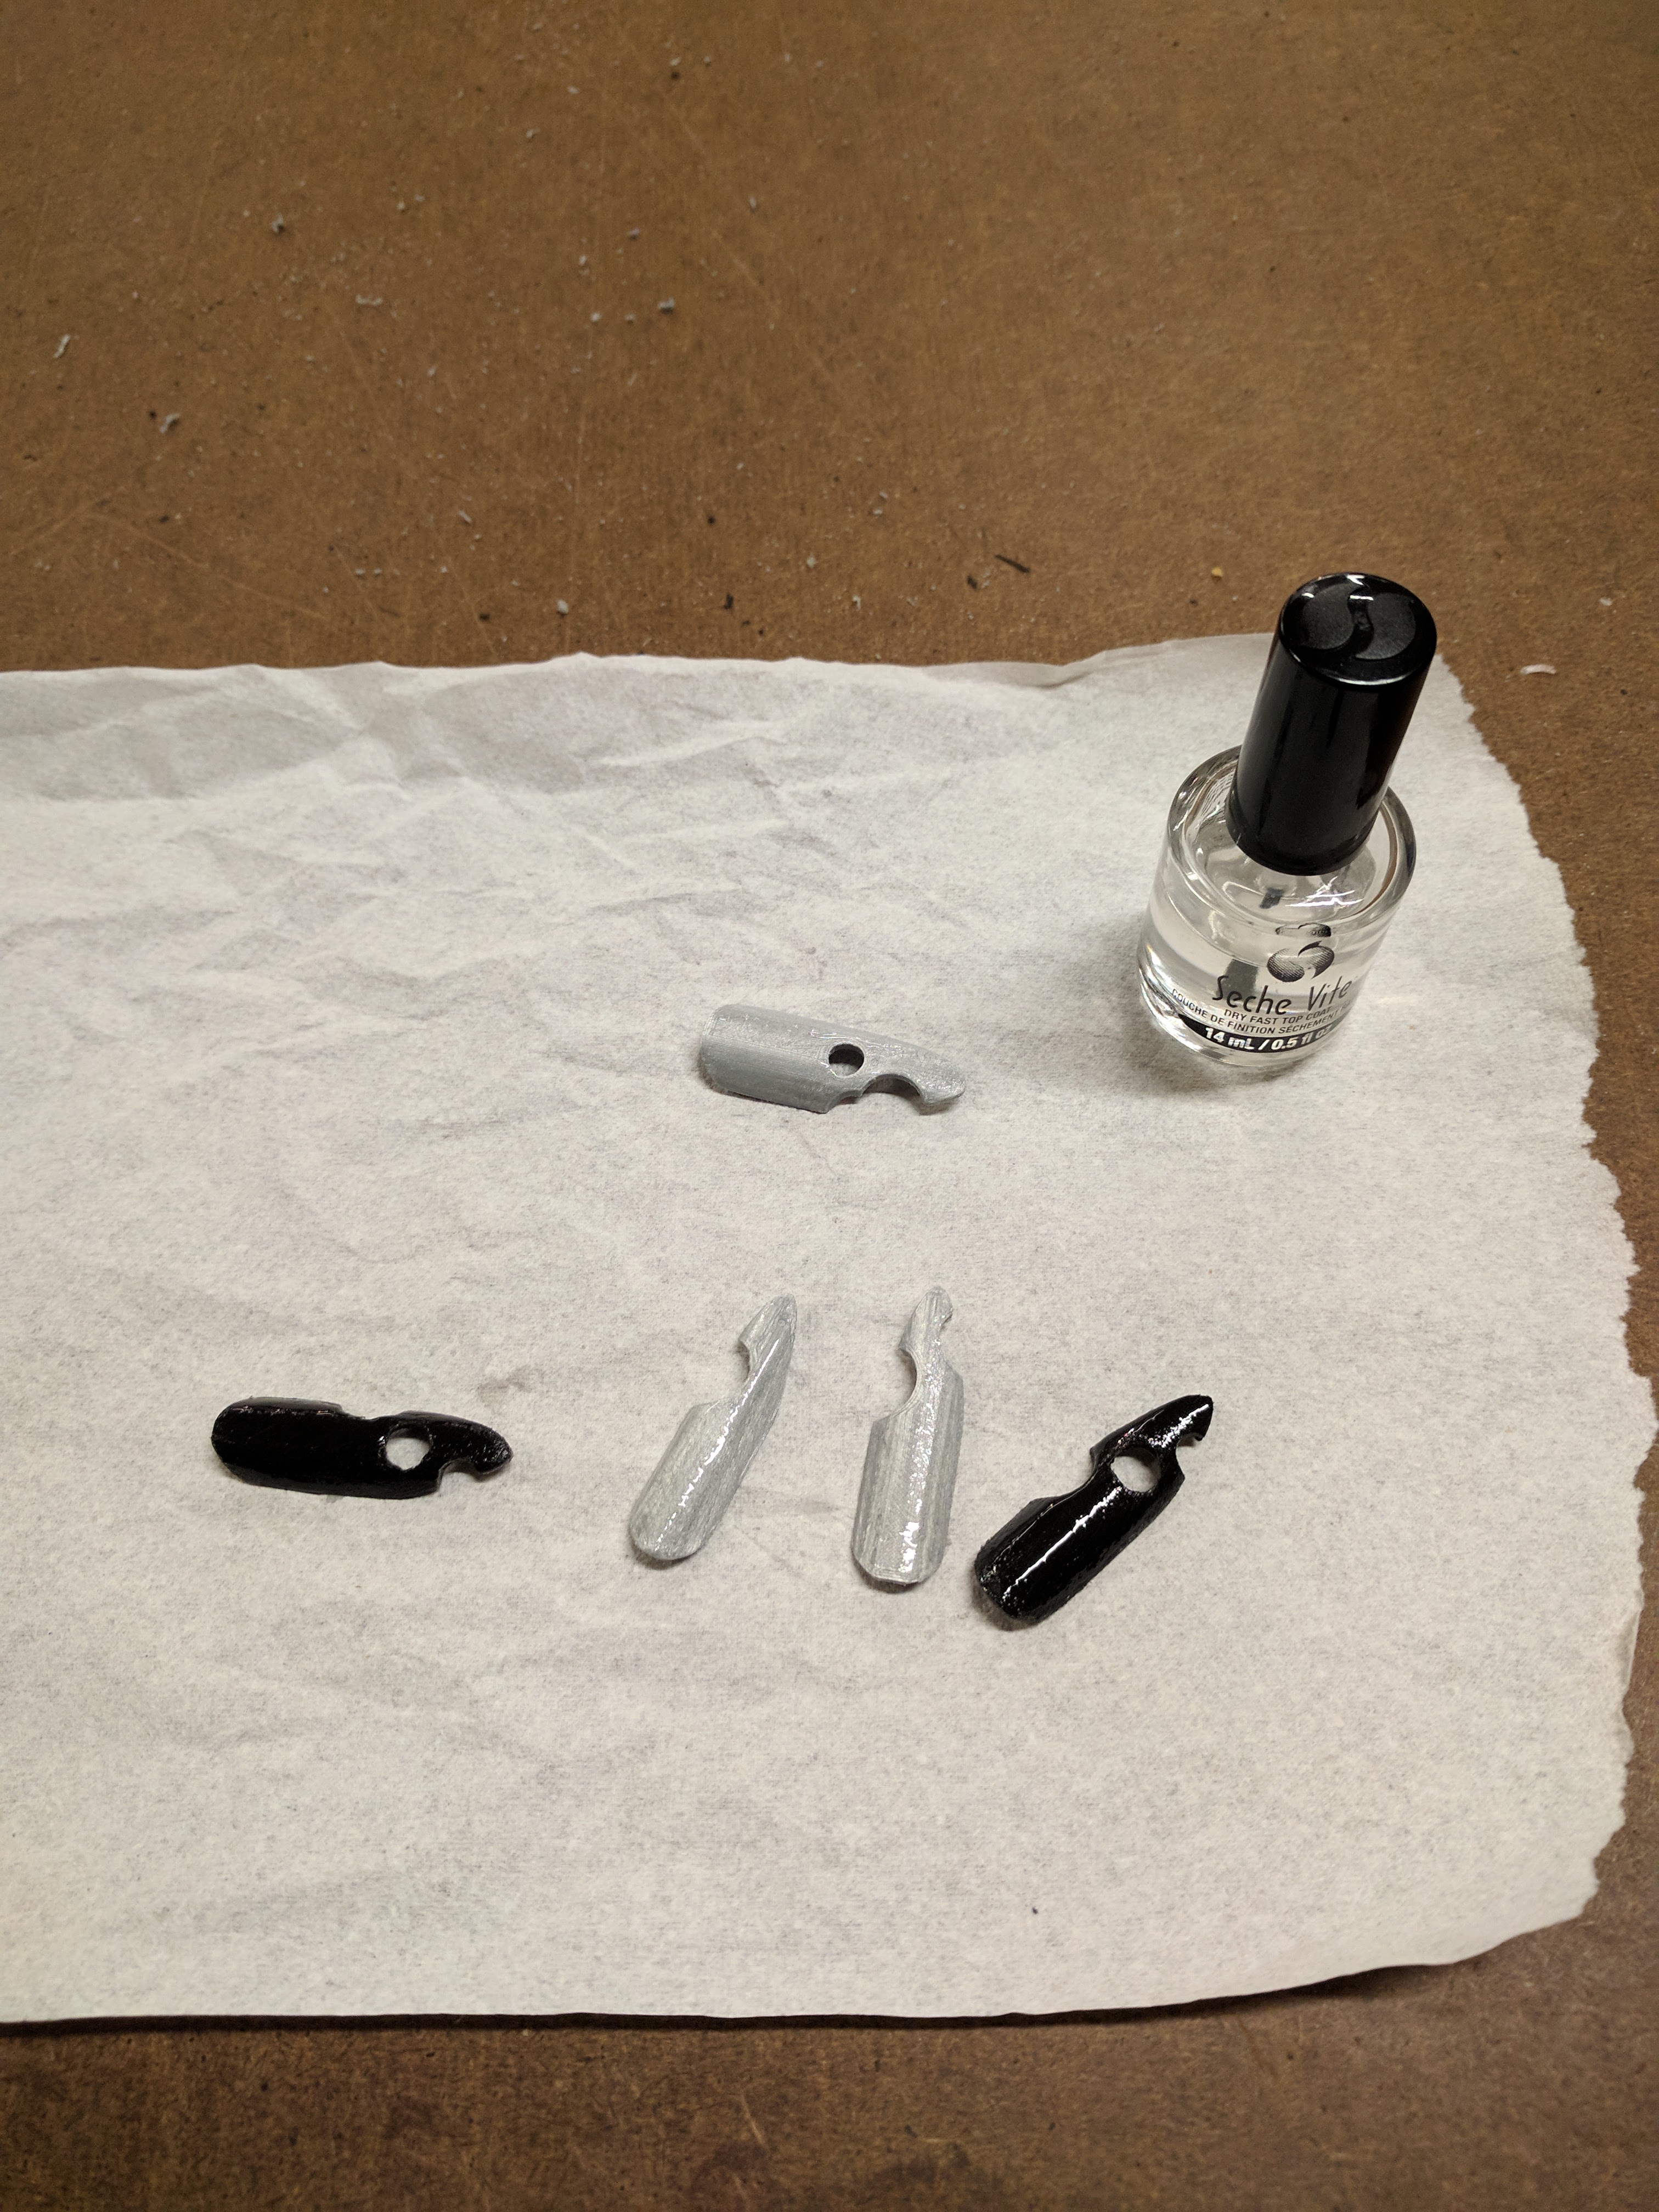
I sanded down the outside surface of each nail. This is an image of examples of the prints at every state: just removed from printer, support material and brim broken off, and sanded down.
I then coated every nail with two coats of Seche Vite glossy top coat nail polish.
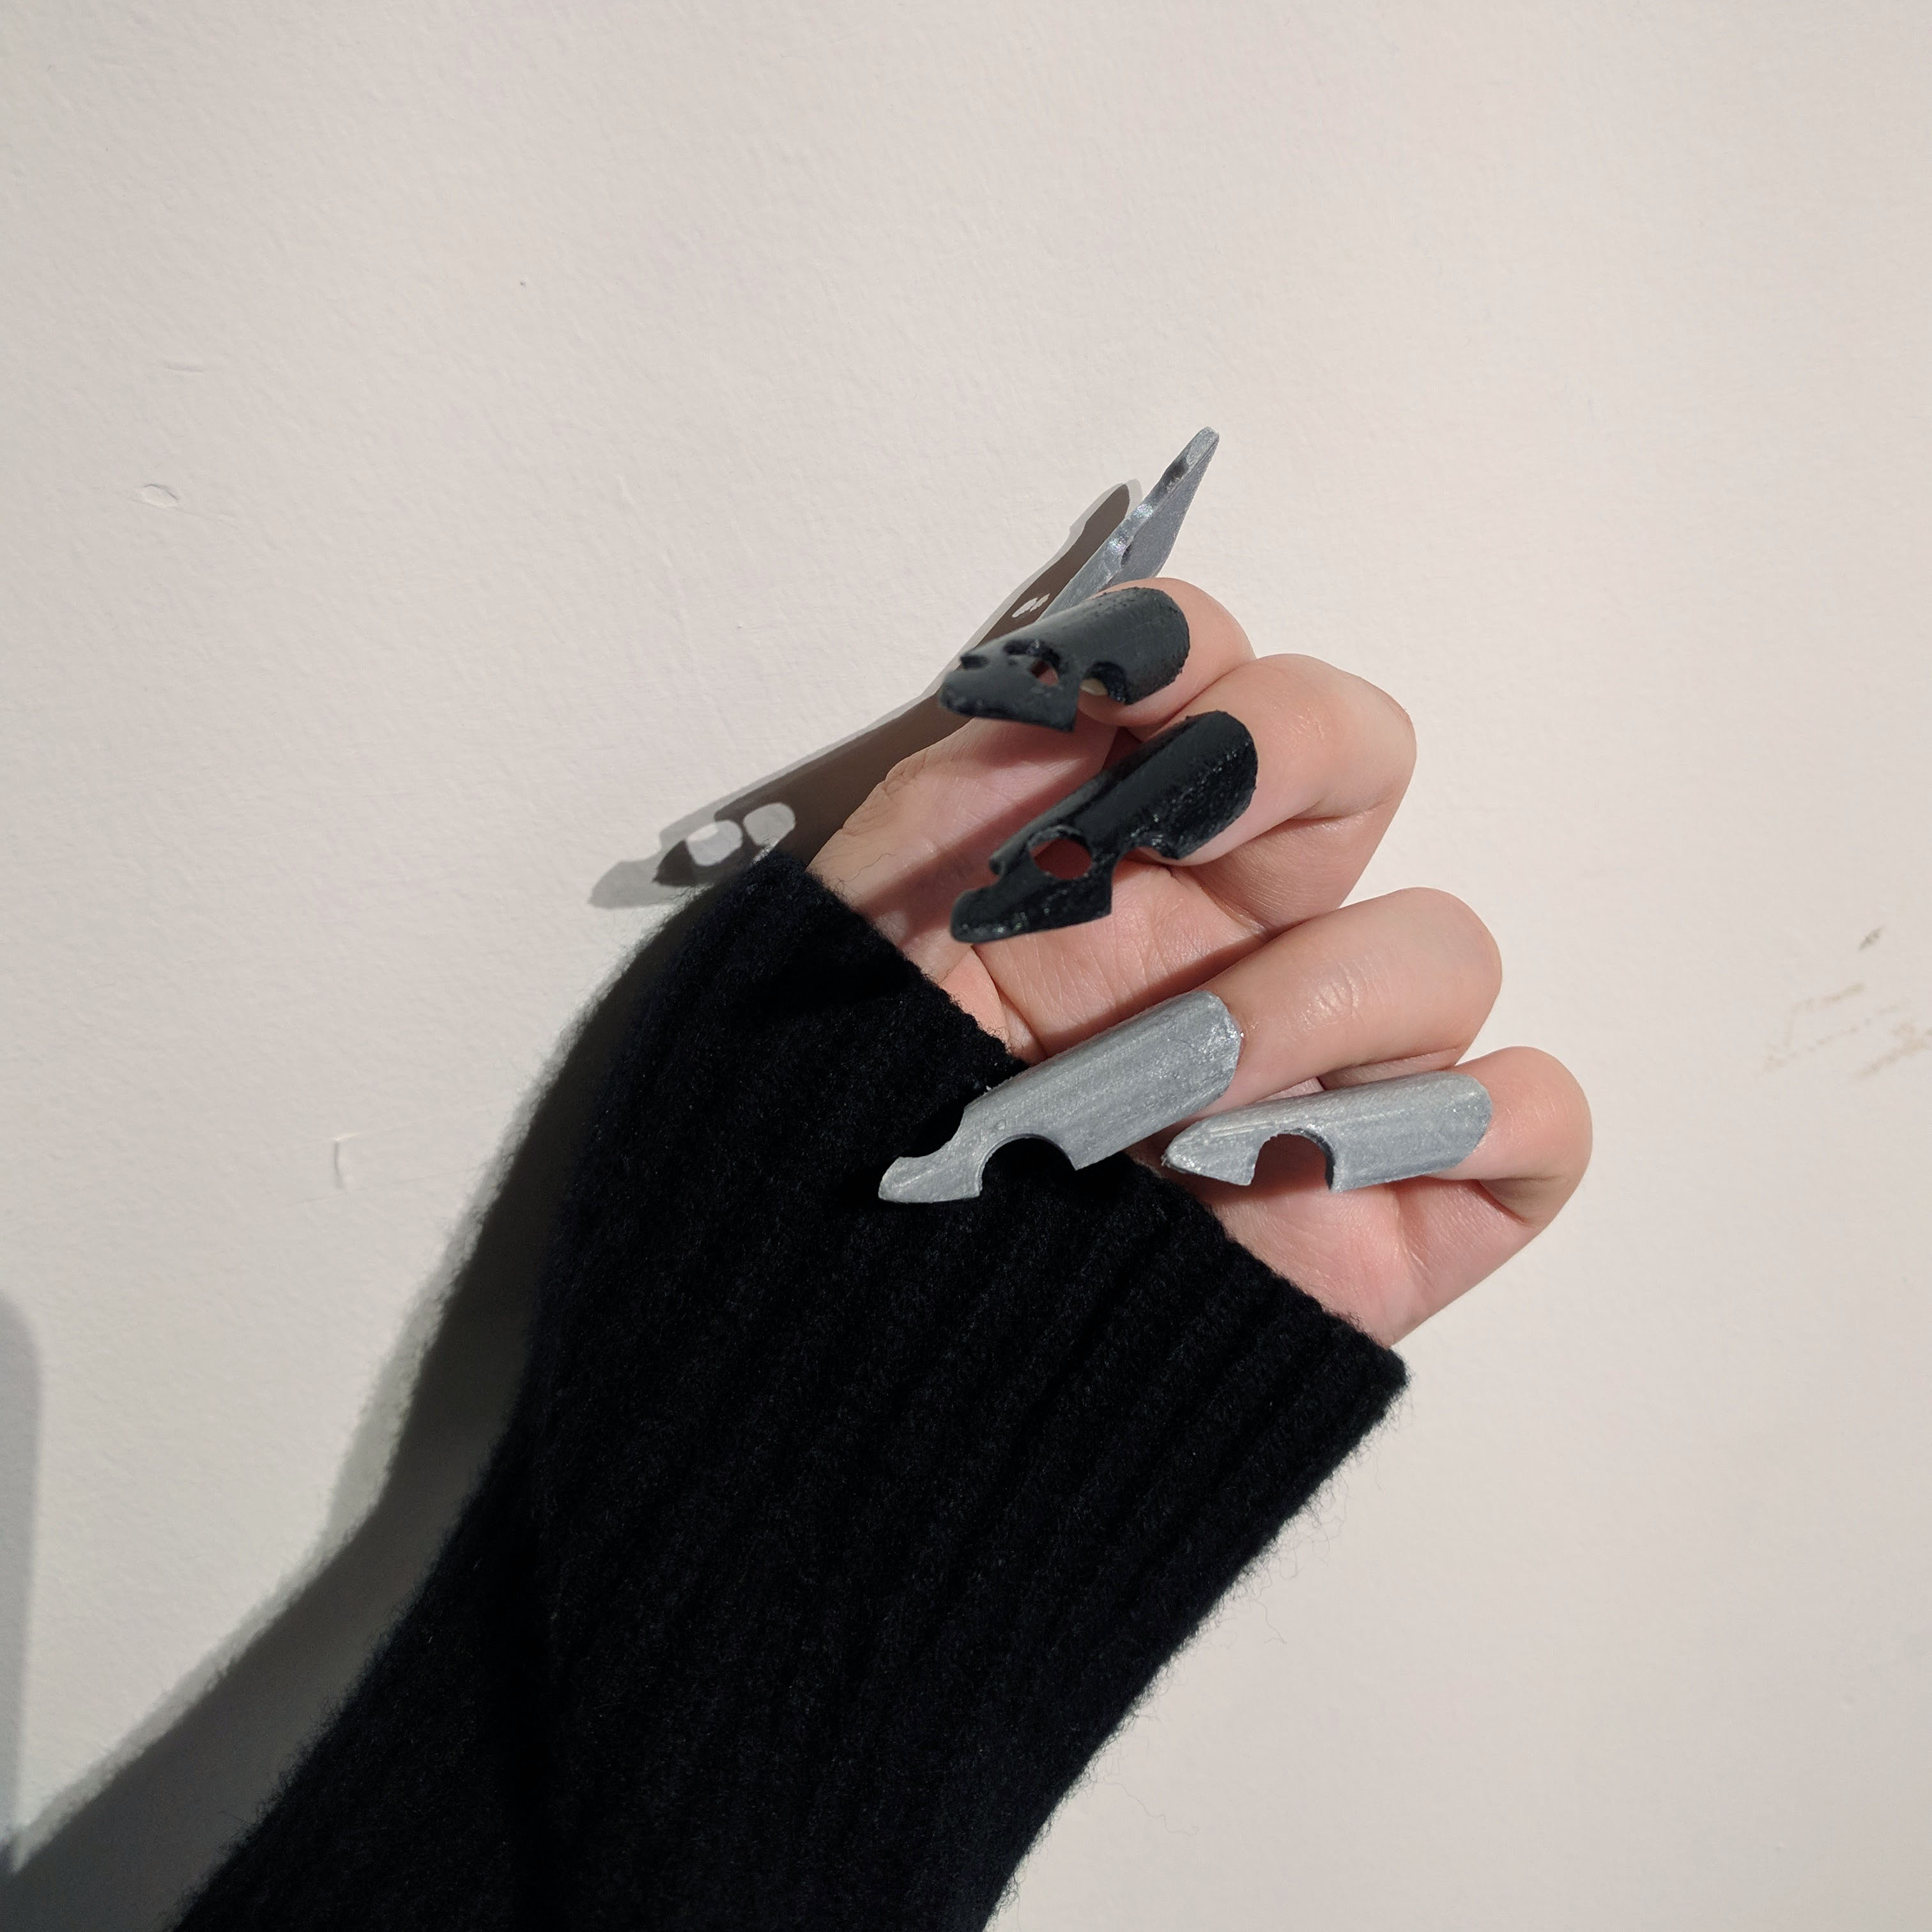
I attached the nails to my real nails using standard nail glue.
Final Product Images
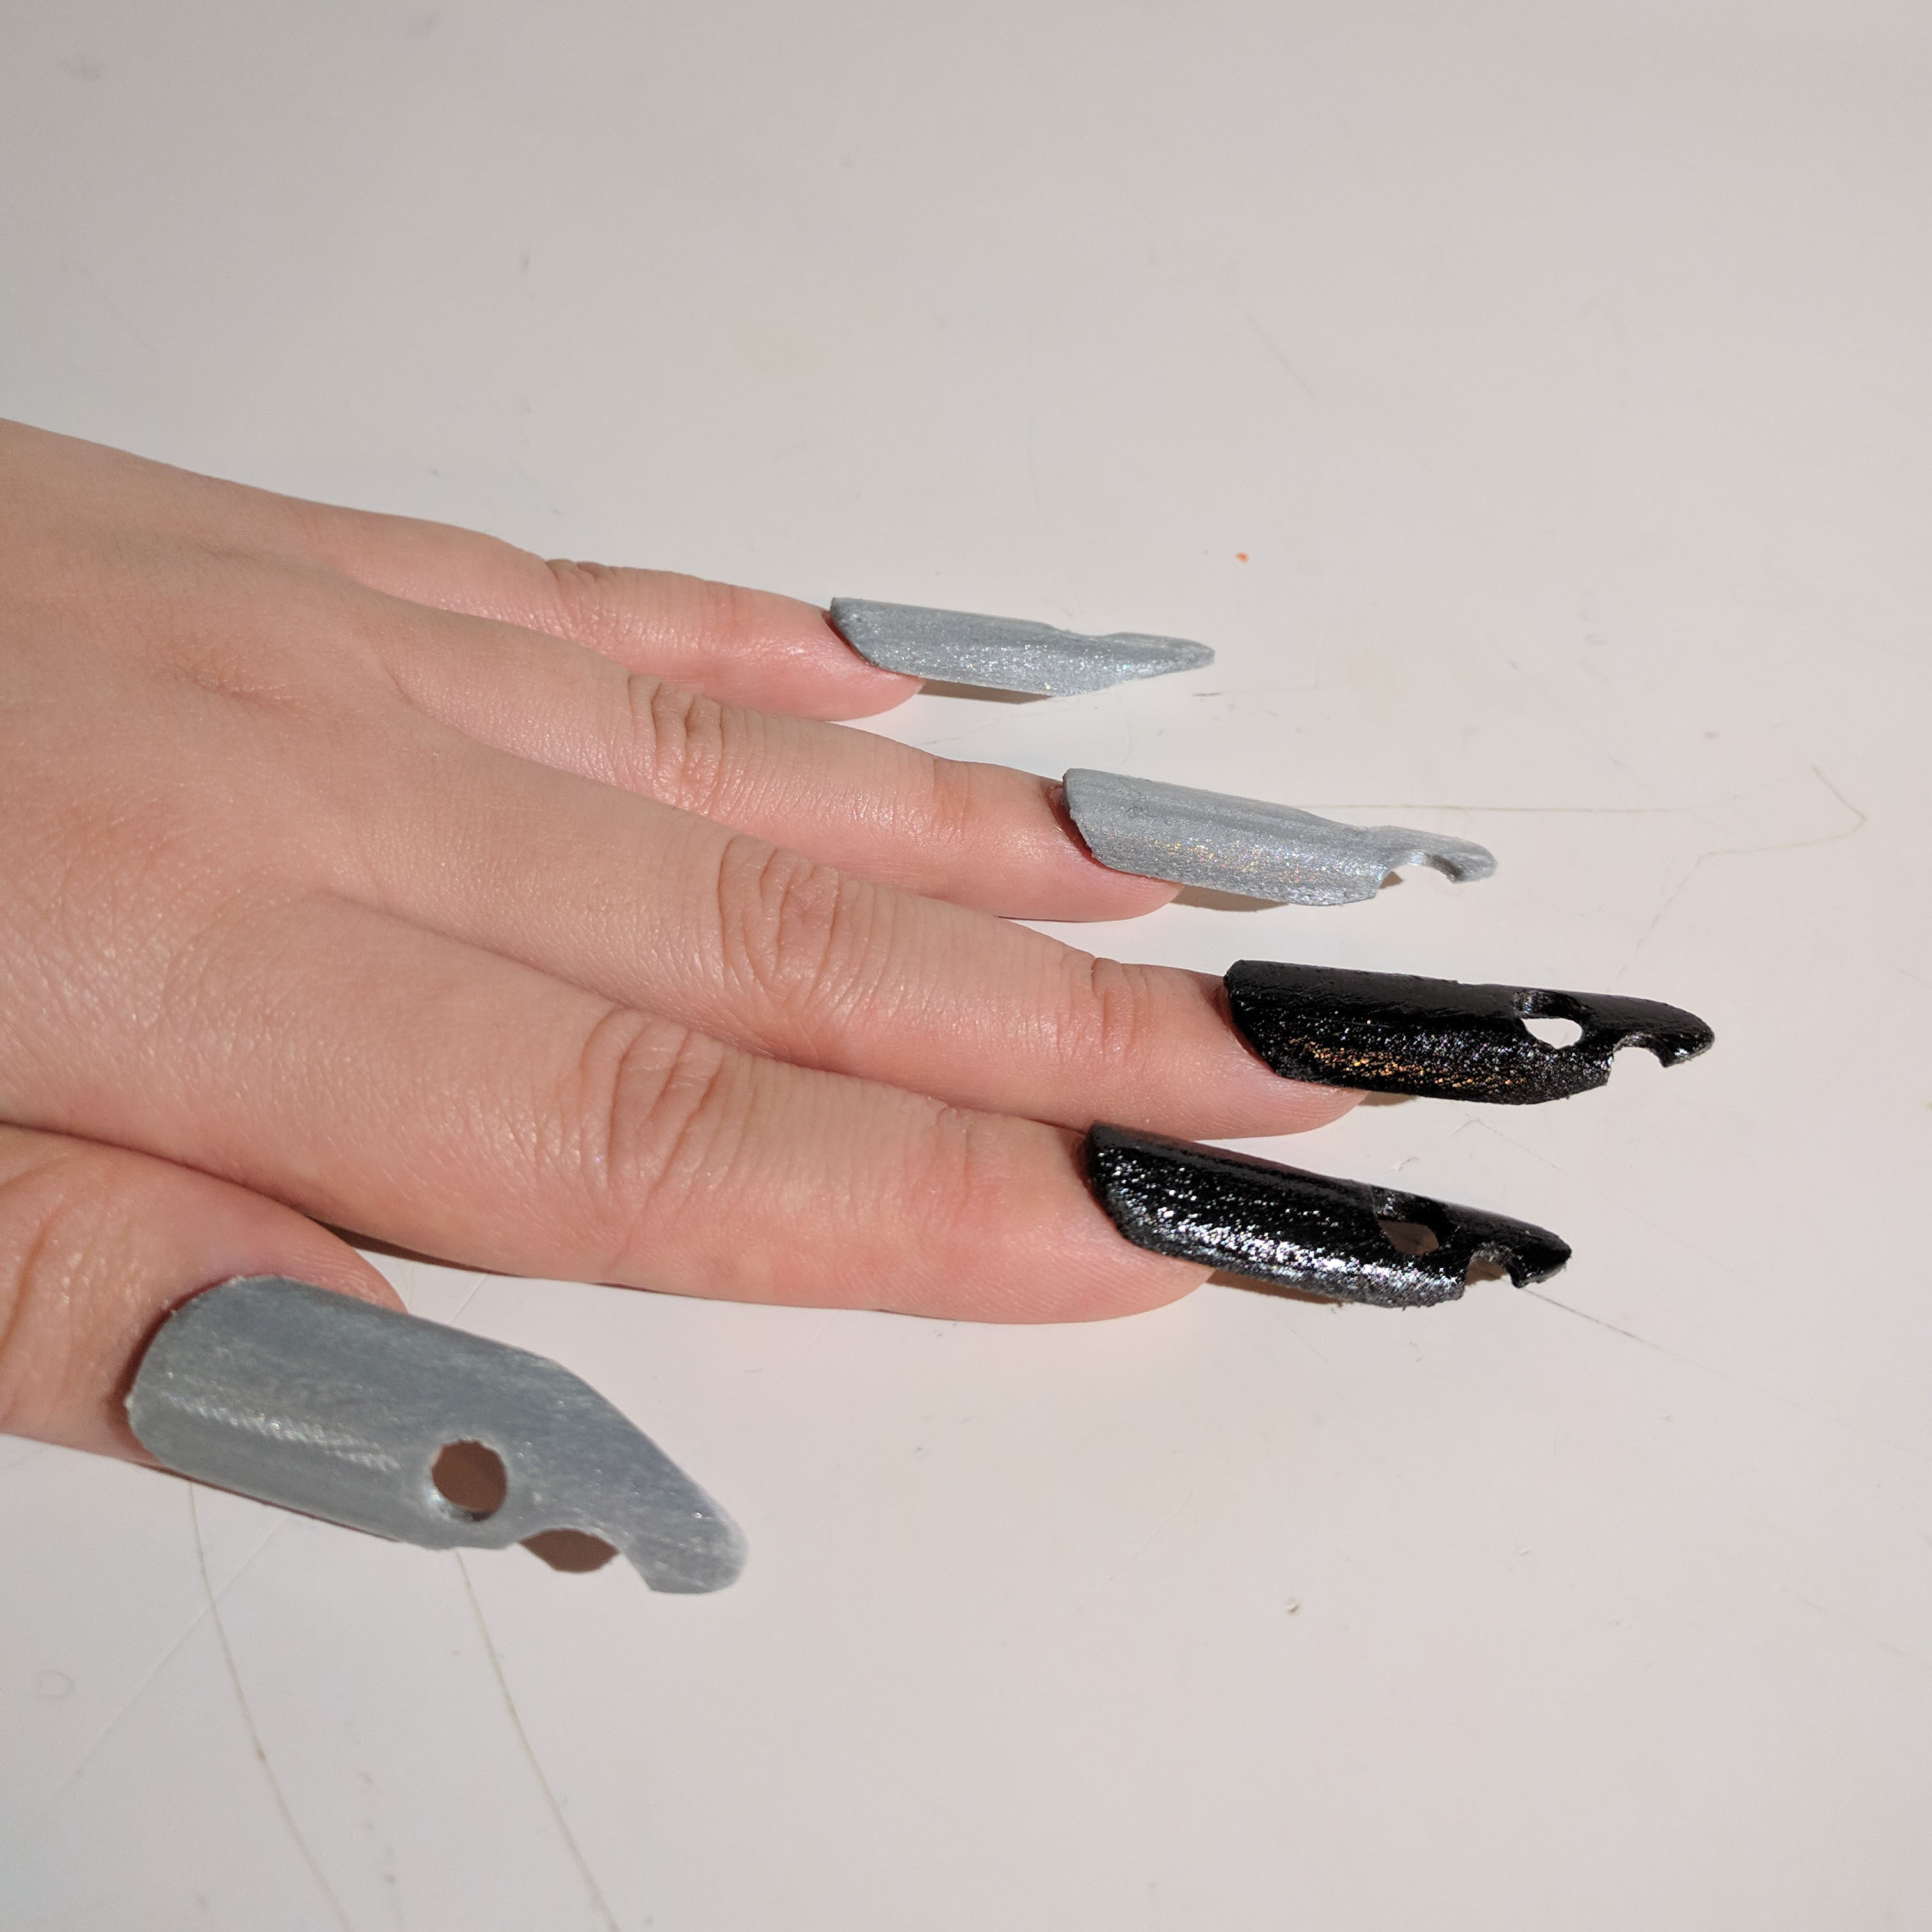
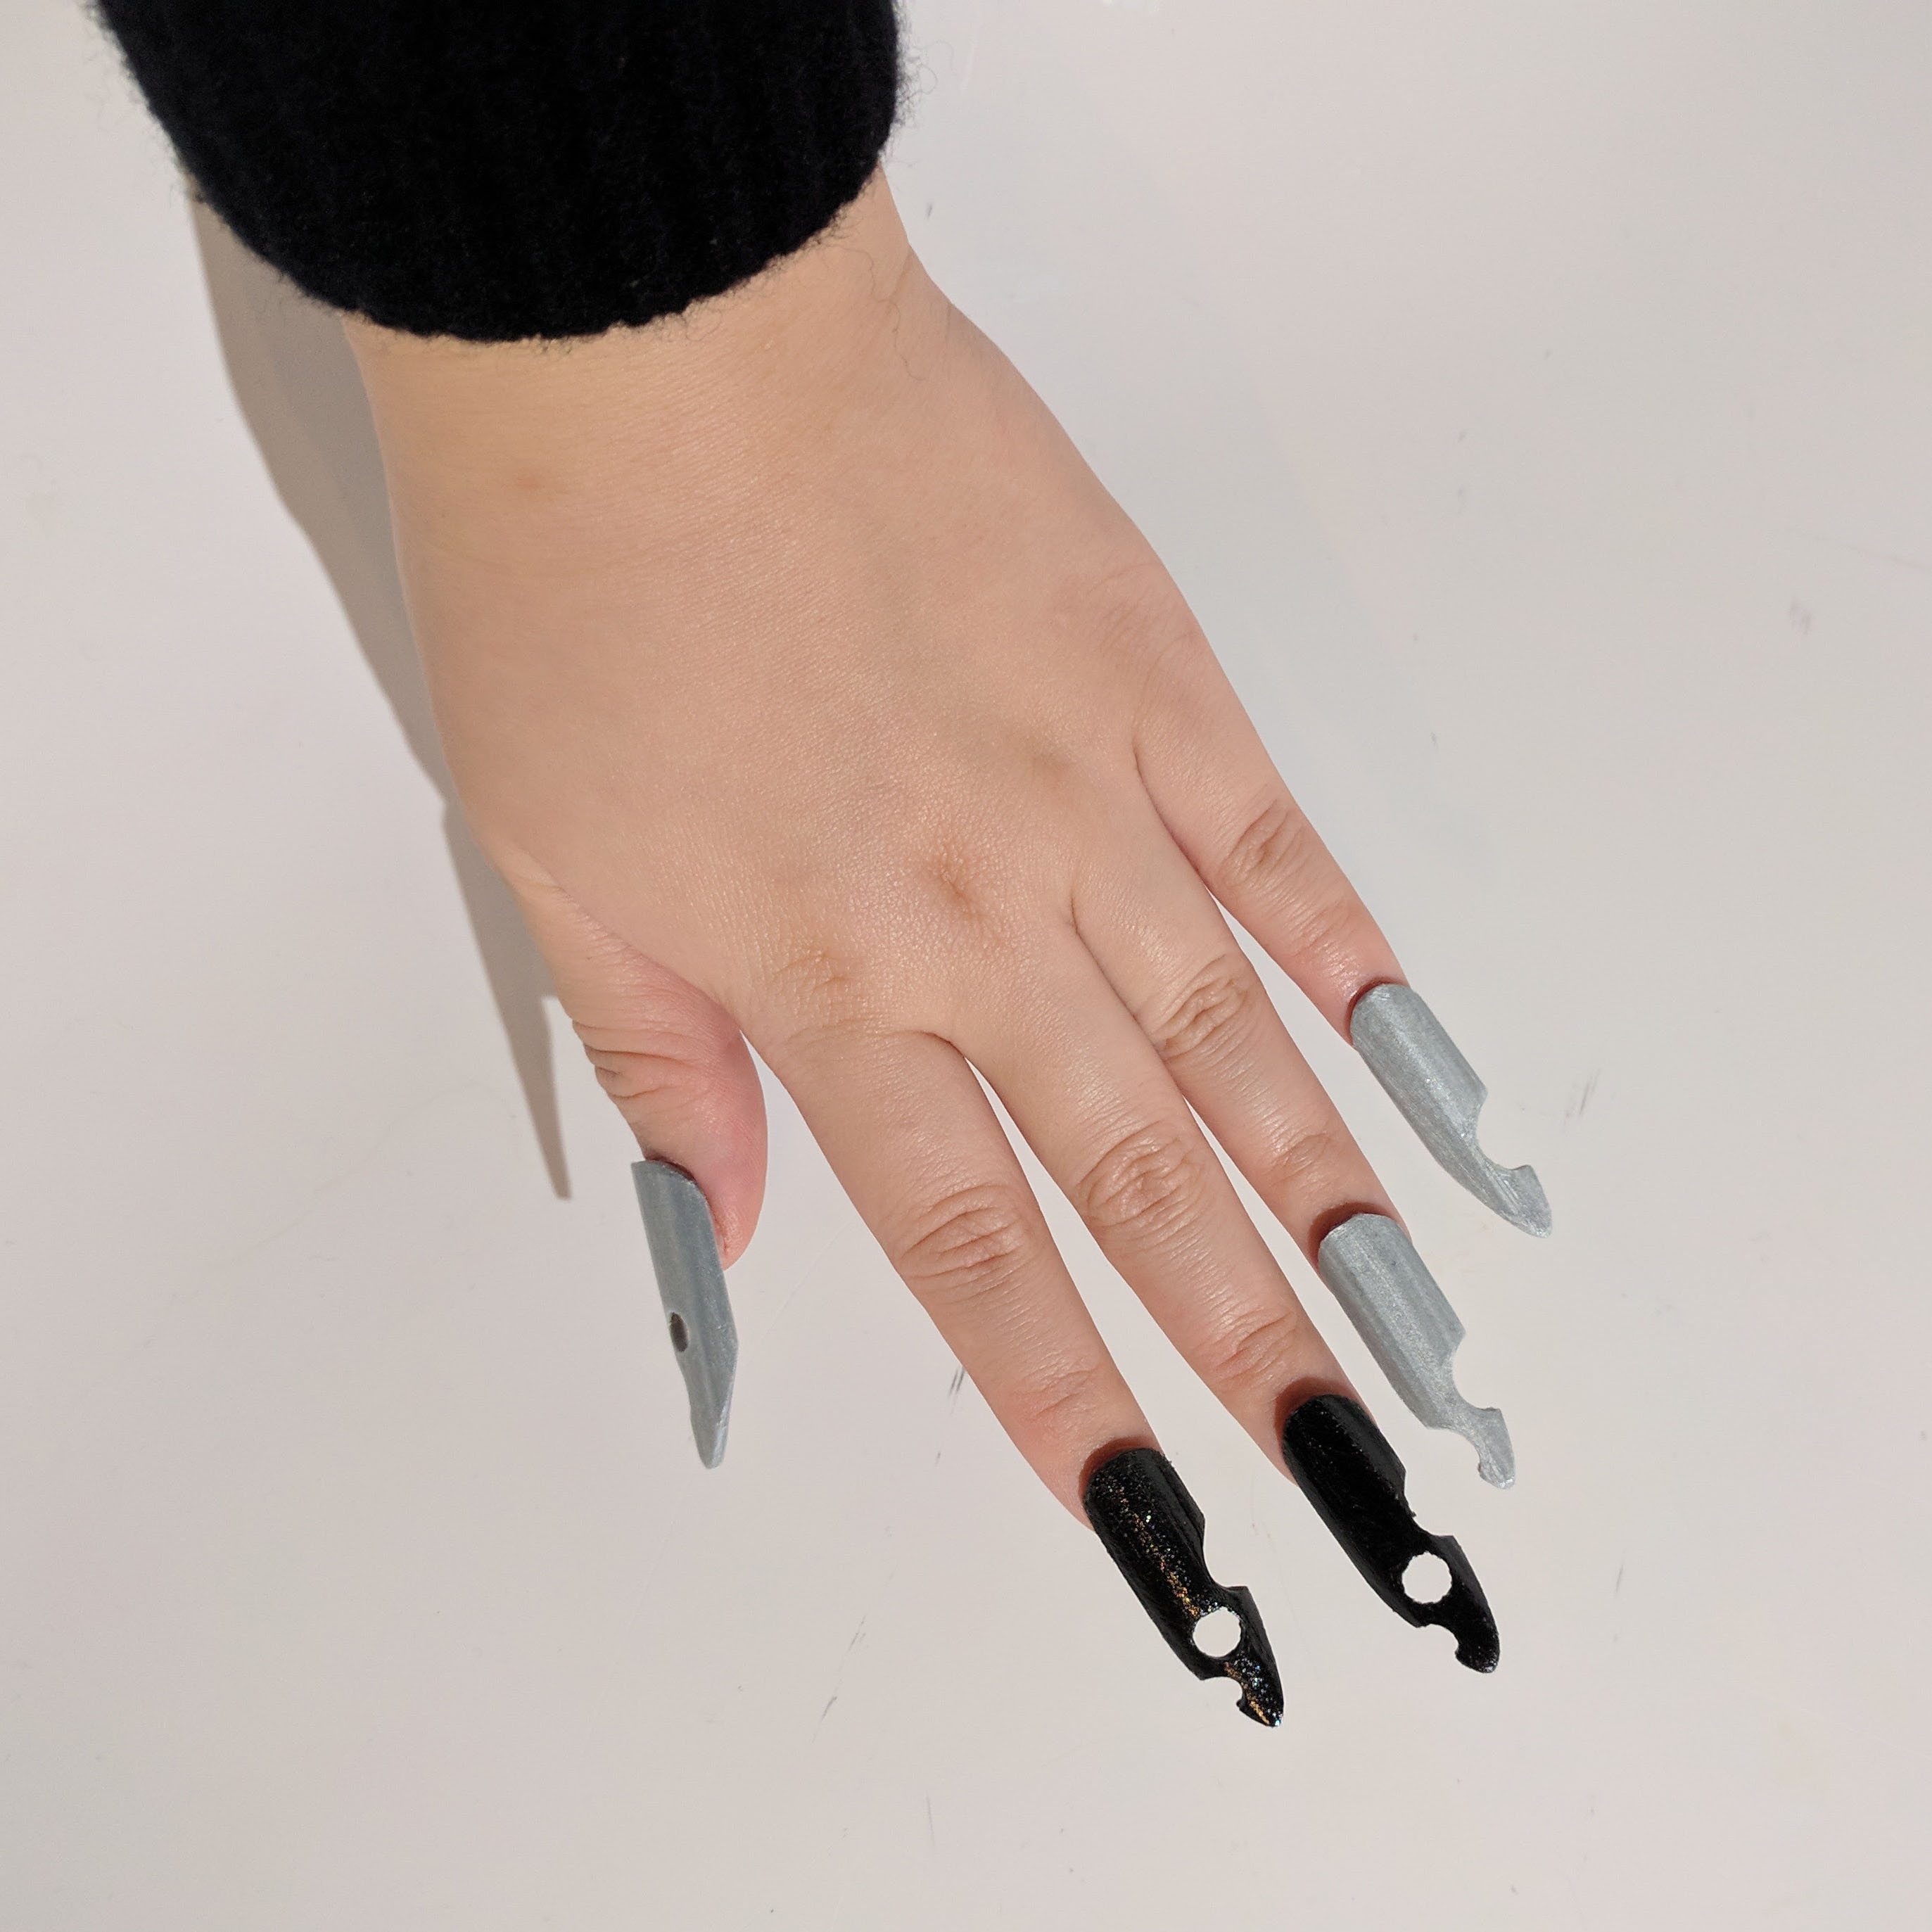

Conclusion
The nails don’t fit exactly to the curvature of my real nails but stay on pretty well with nail glue. I would like to improve my design to be more intricate, try different and more unconventional nail shapes, and implement 3-dimensional designs on top.