Drum Machine: Playing Audio Samples with Arduino
 I made a sample based instrument using Arduino Uno and the PCM library.
I began by following the instructions on this tutorial and setting up the example. After this worked, I tried creating my own samples. I downloaded samples as wav files and followed the tutorial’s instructions on using iTunes to convert them to 8 KHz, 8-bit mono sound mp3 files.
Sample sources: 99 Drum Samples, Travis Scott Ad-lib Pack
Converted mp3 files:
I used the EncodeAudio program as per the tutorial to generate a list of numbers per sample which I then stored in arrays.
const unsigned char claptape[]
const unsigned char crashacoustic[]
const unsigned char kickelectro[]
const unsigned char yaya[]
I then added switches and wrote code to read digital input. If a button is pressed, a sample will play.
void loop()
{
  if (digitalRead(2) == HIGH){
    startPlayback(claptape, sizeof(claptape));
  }
  if (digitalRead(3) == HIGH){
    startPlayback(crashacoustic, sizeof(crashacoustic));
  }
  if (digitalRead(4) == HIGH){
    startPlayback(kickelectro, sizeof(kickelectro));
  }
  if (digitalRead(5) == HIGH){
    startPlayback(yaya, sizeof(yaya));
  }
}
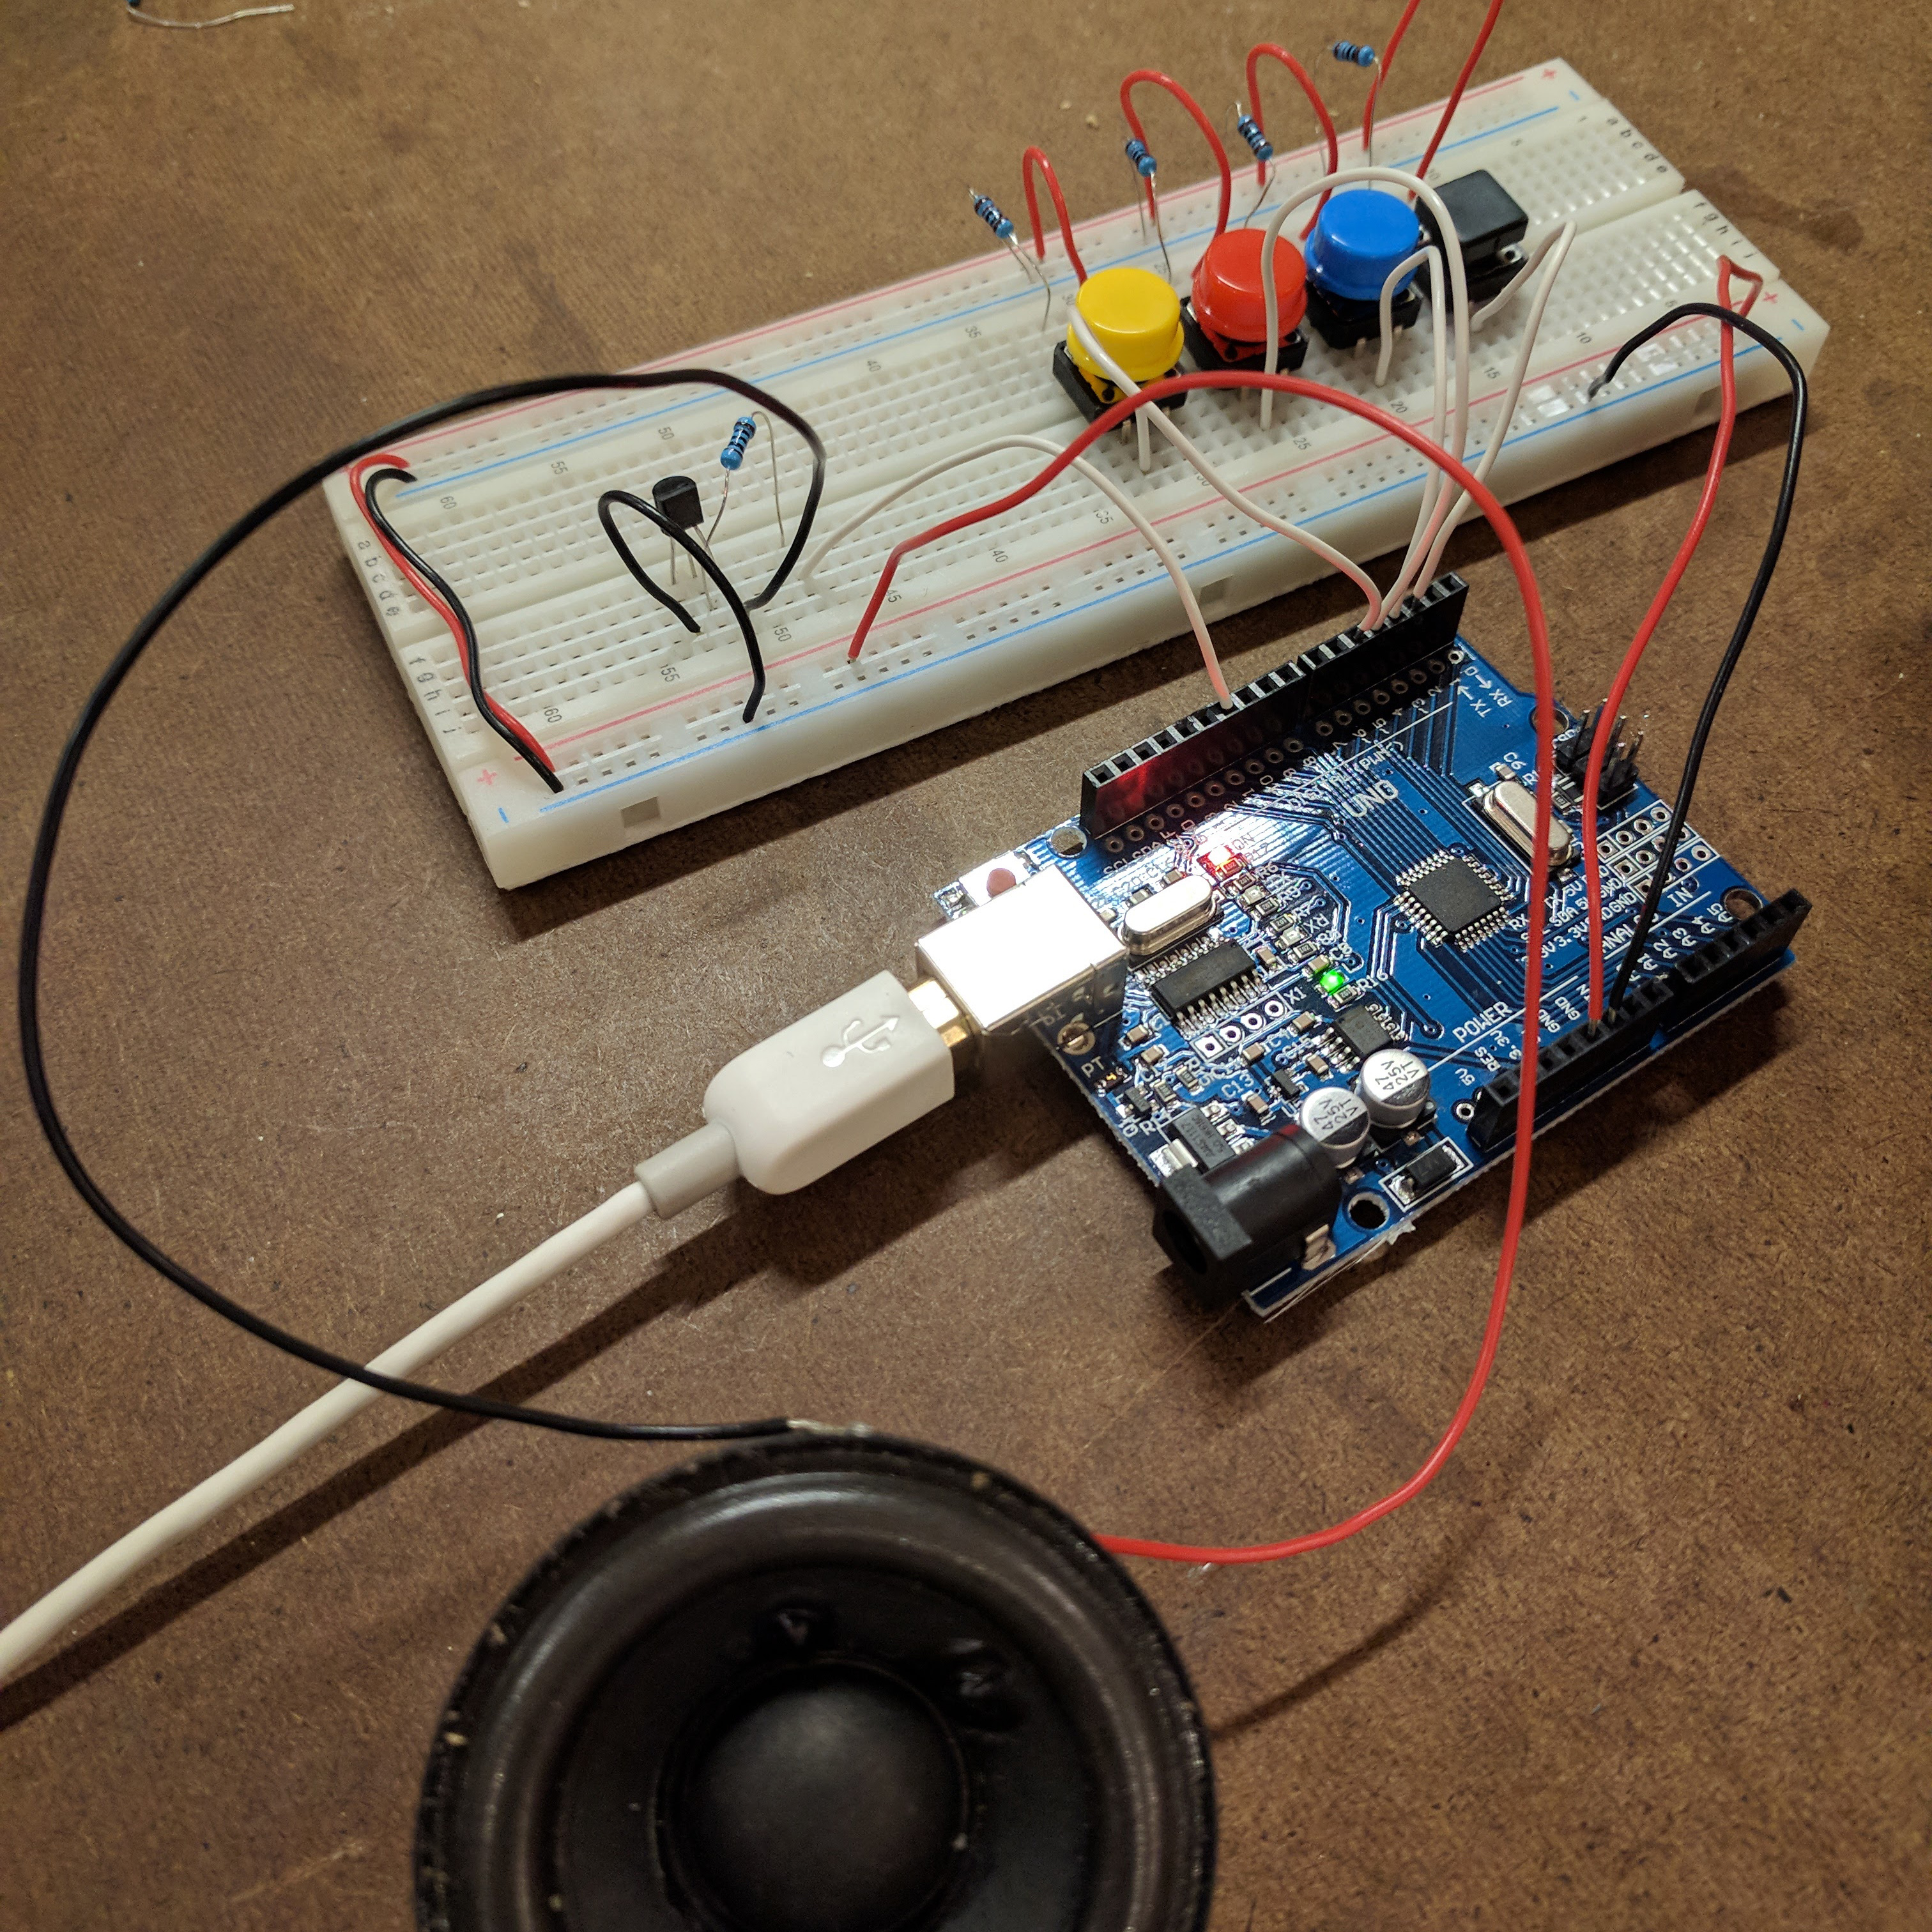
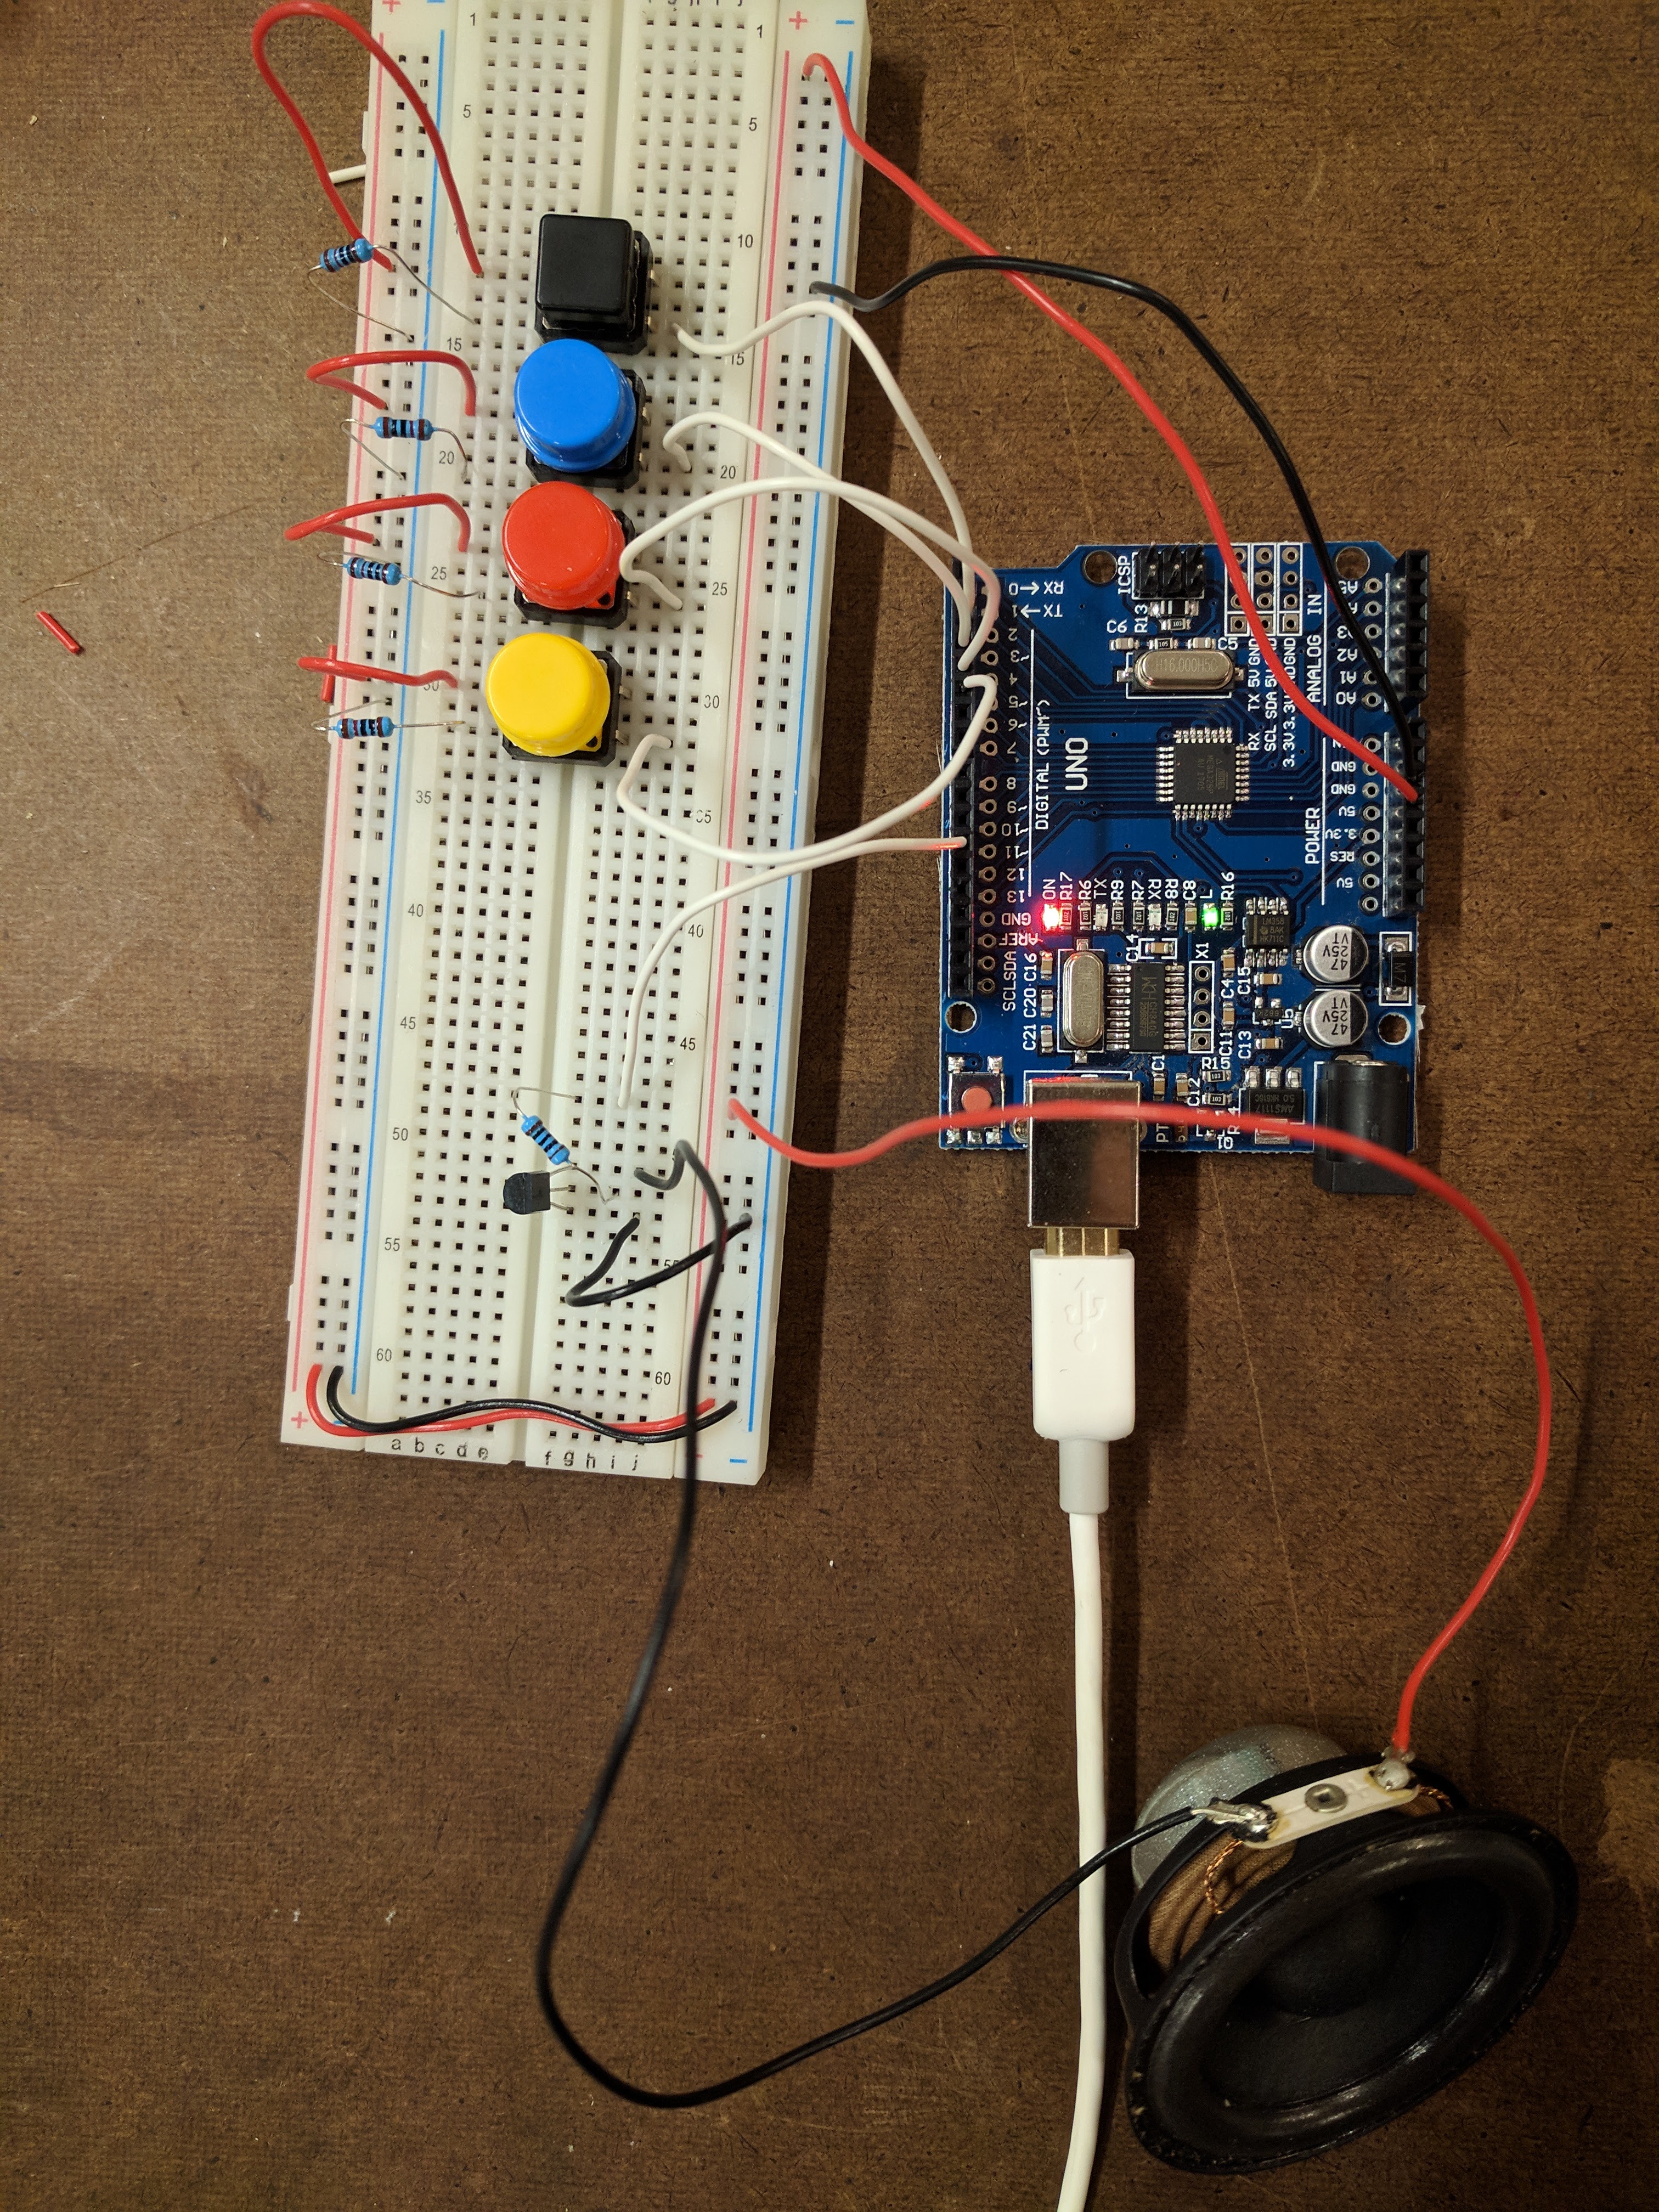
Picture of circuit:
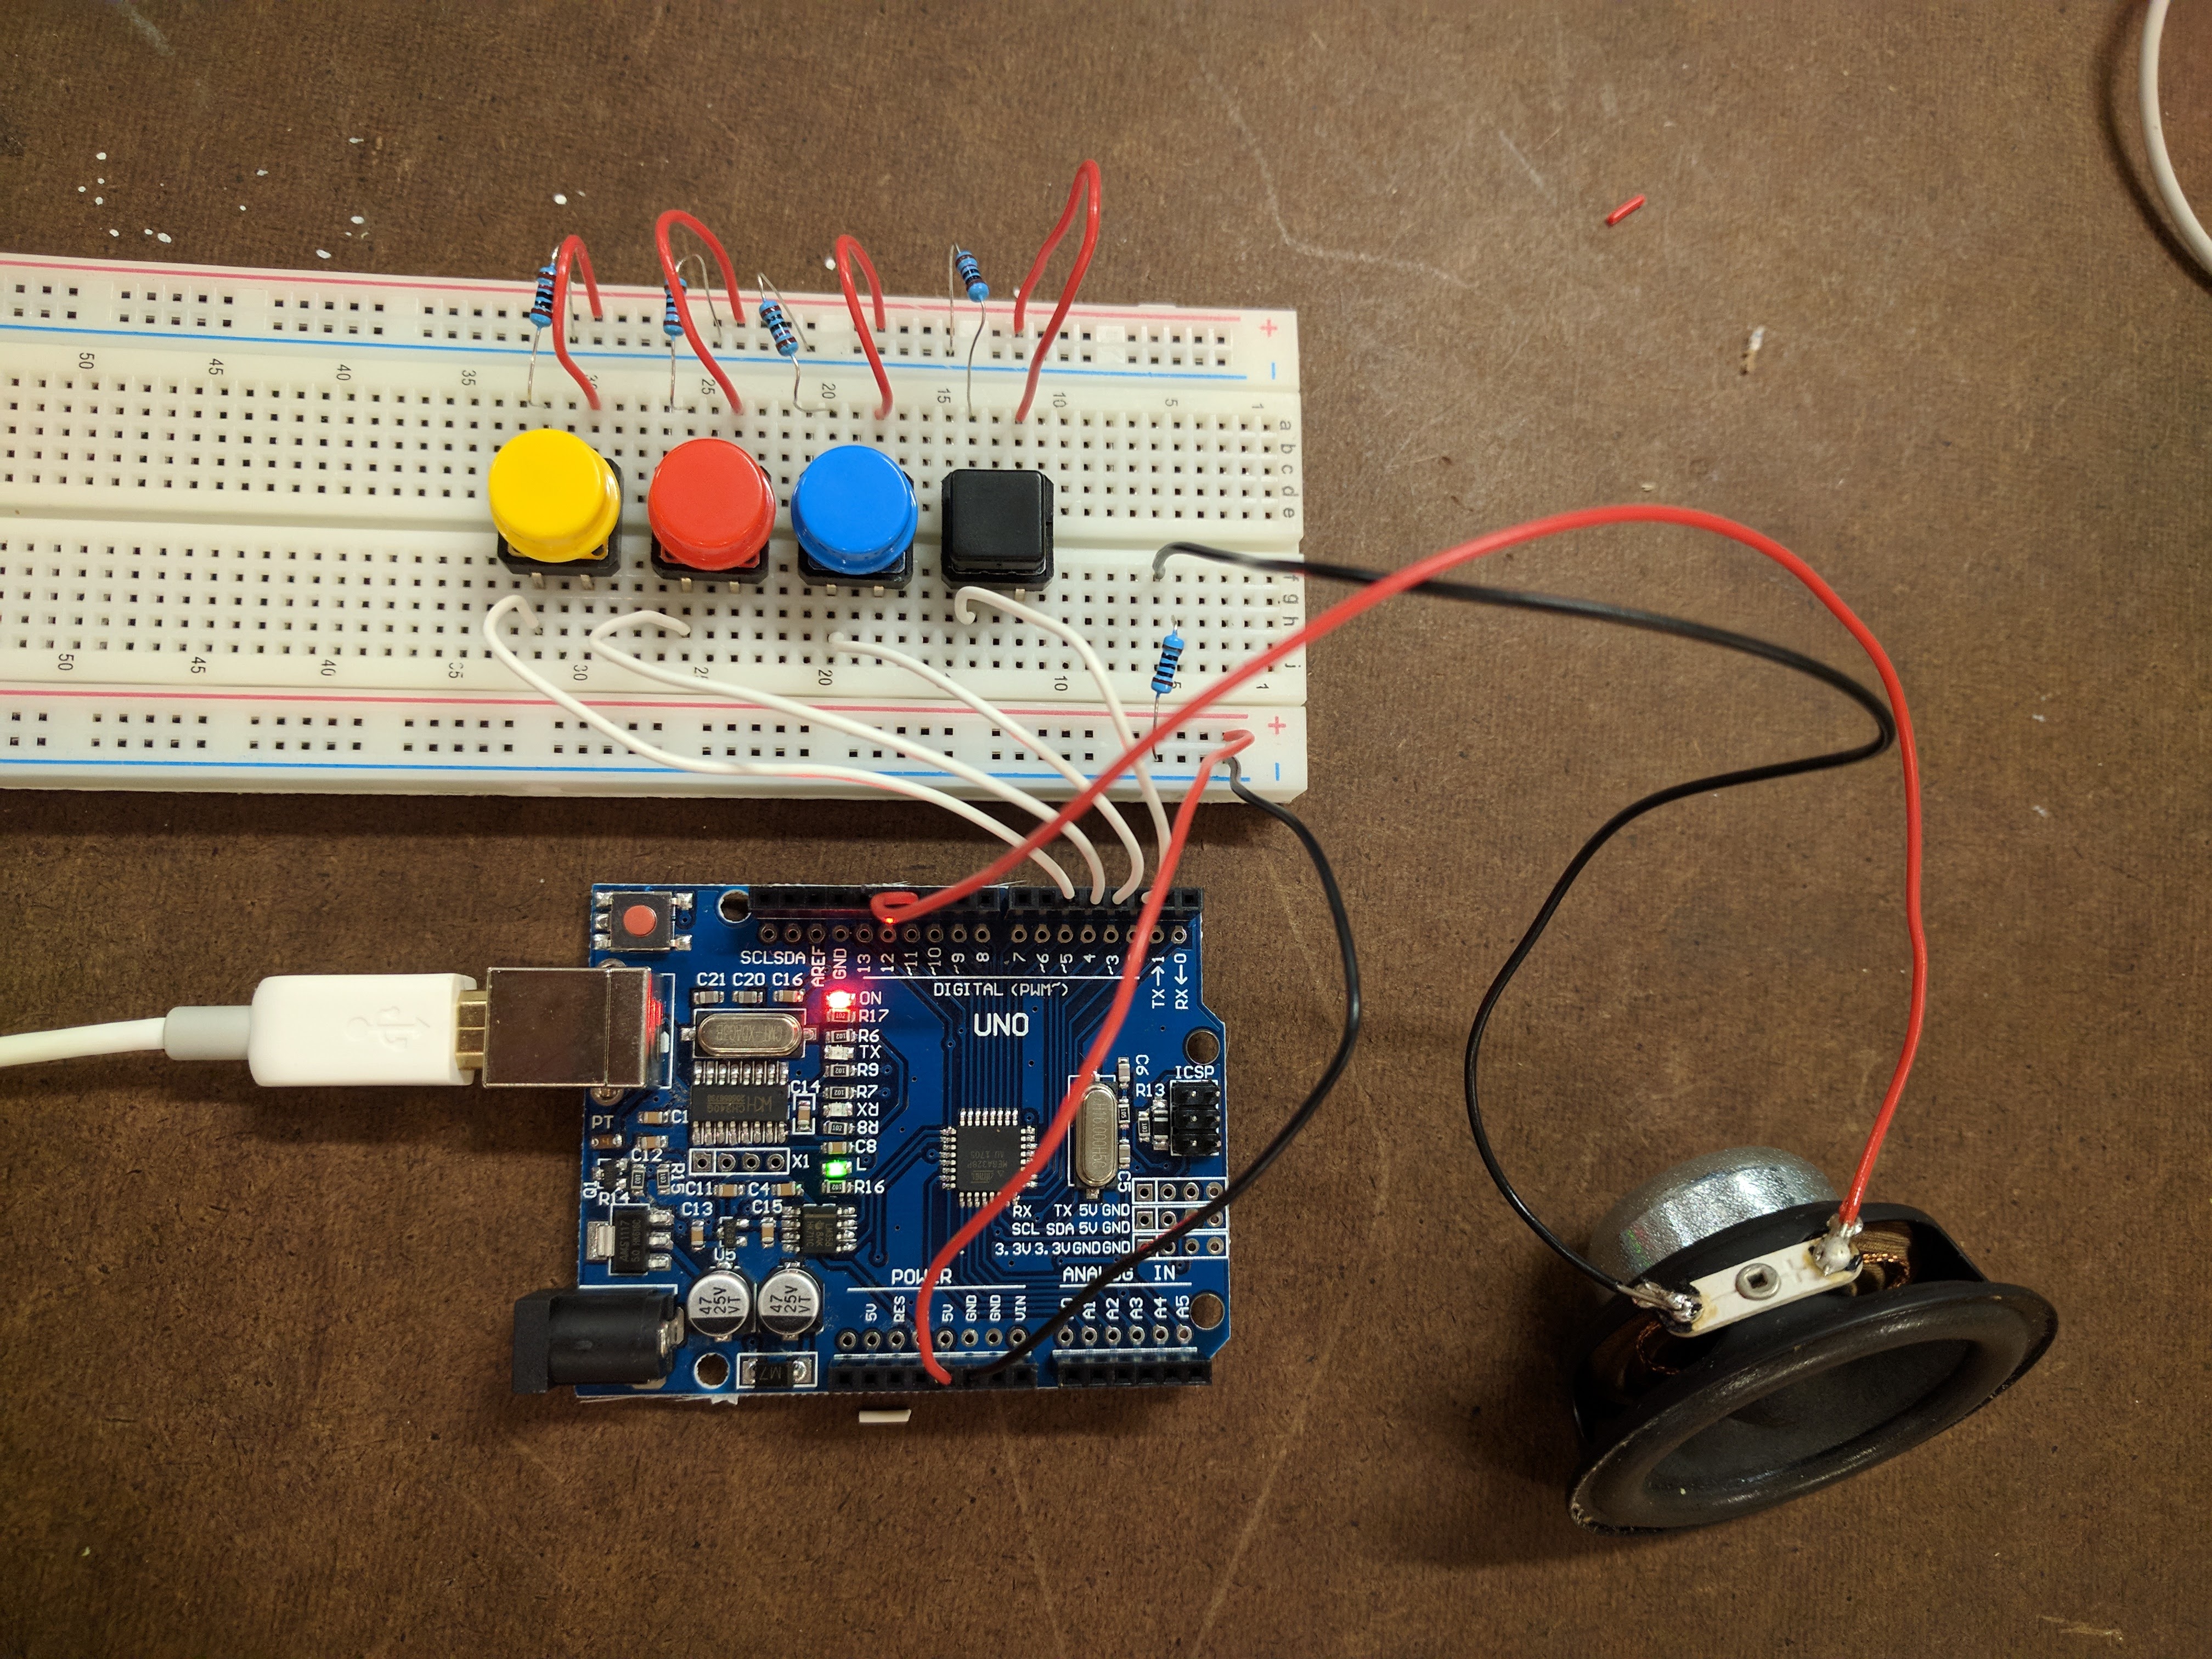
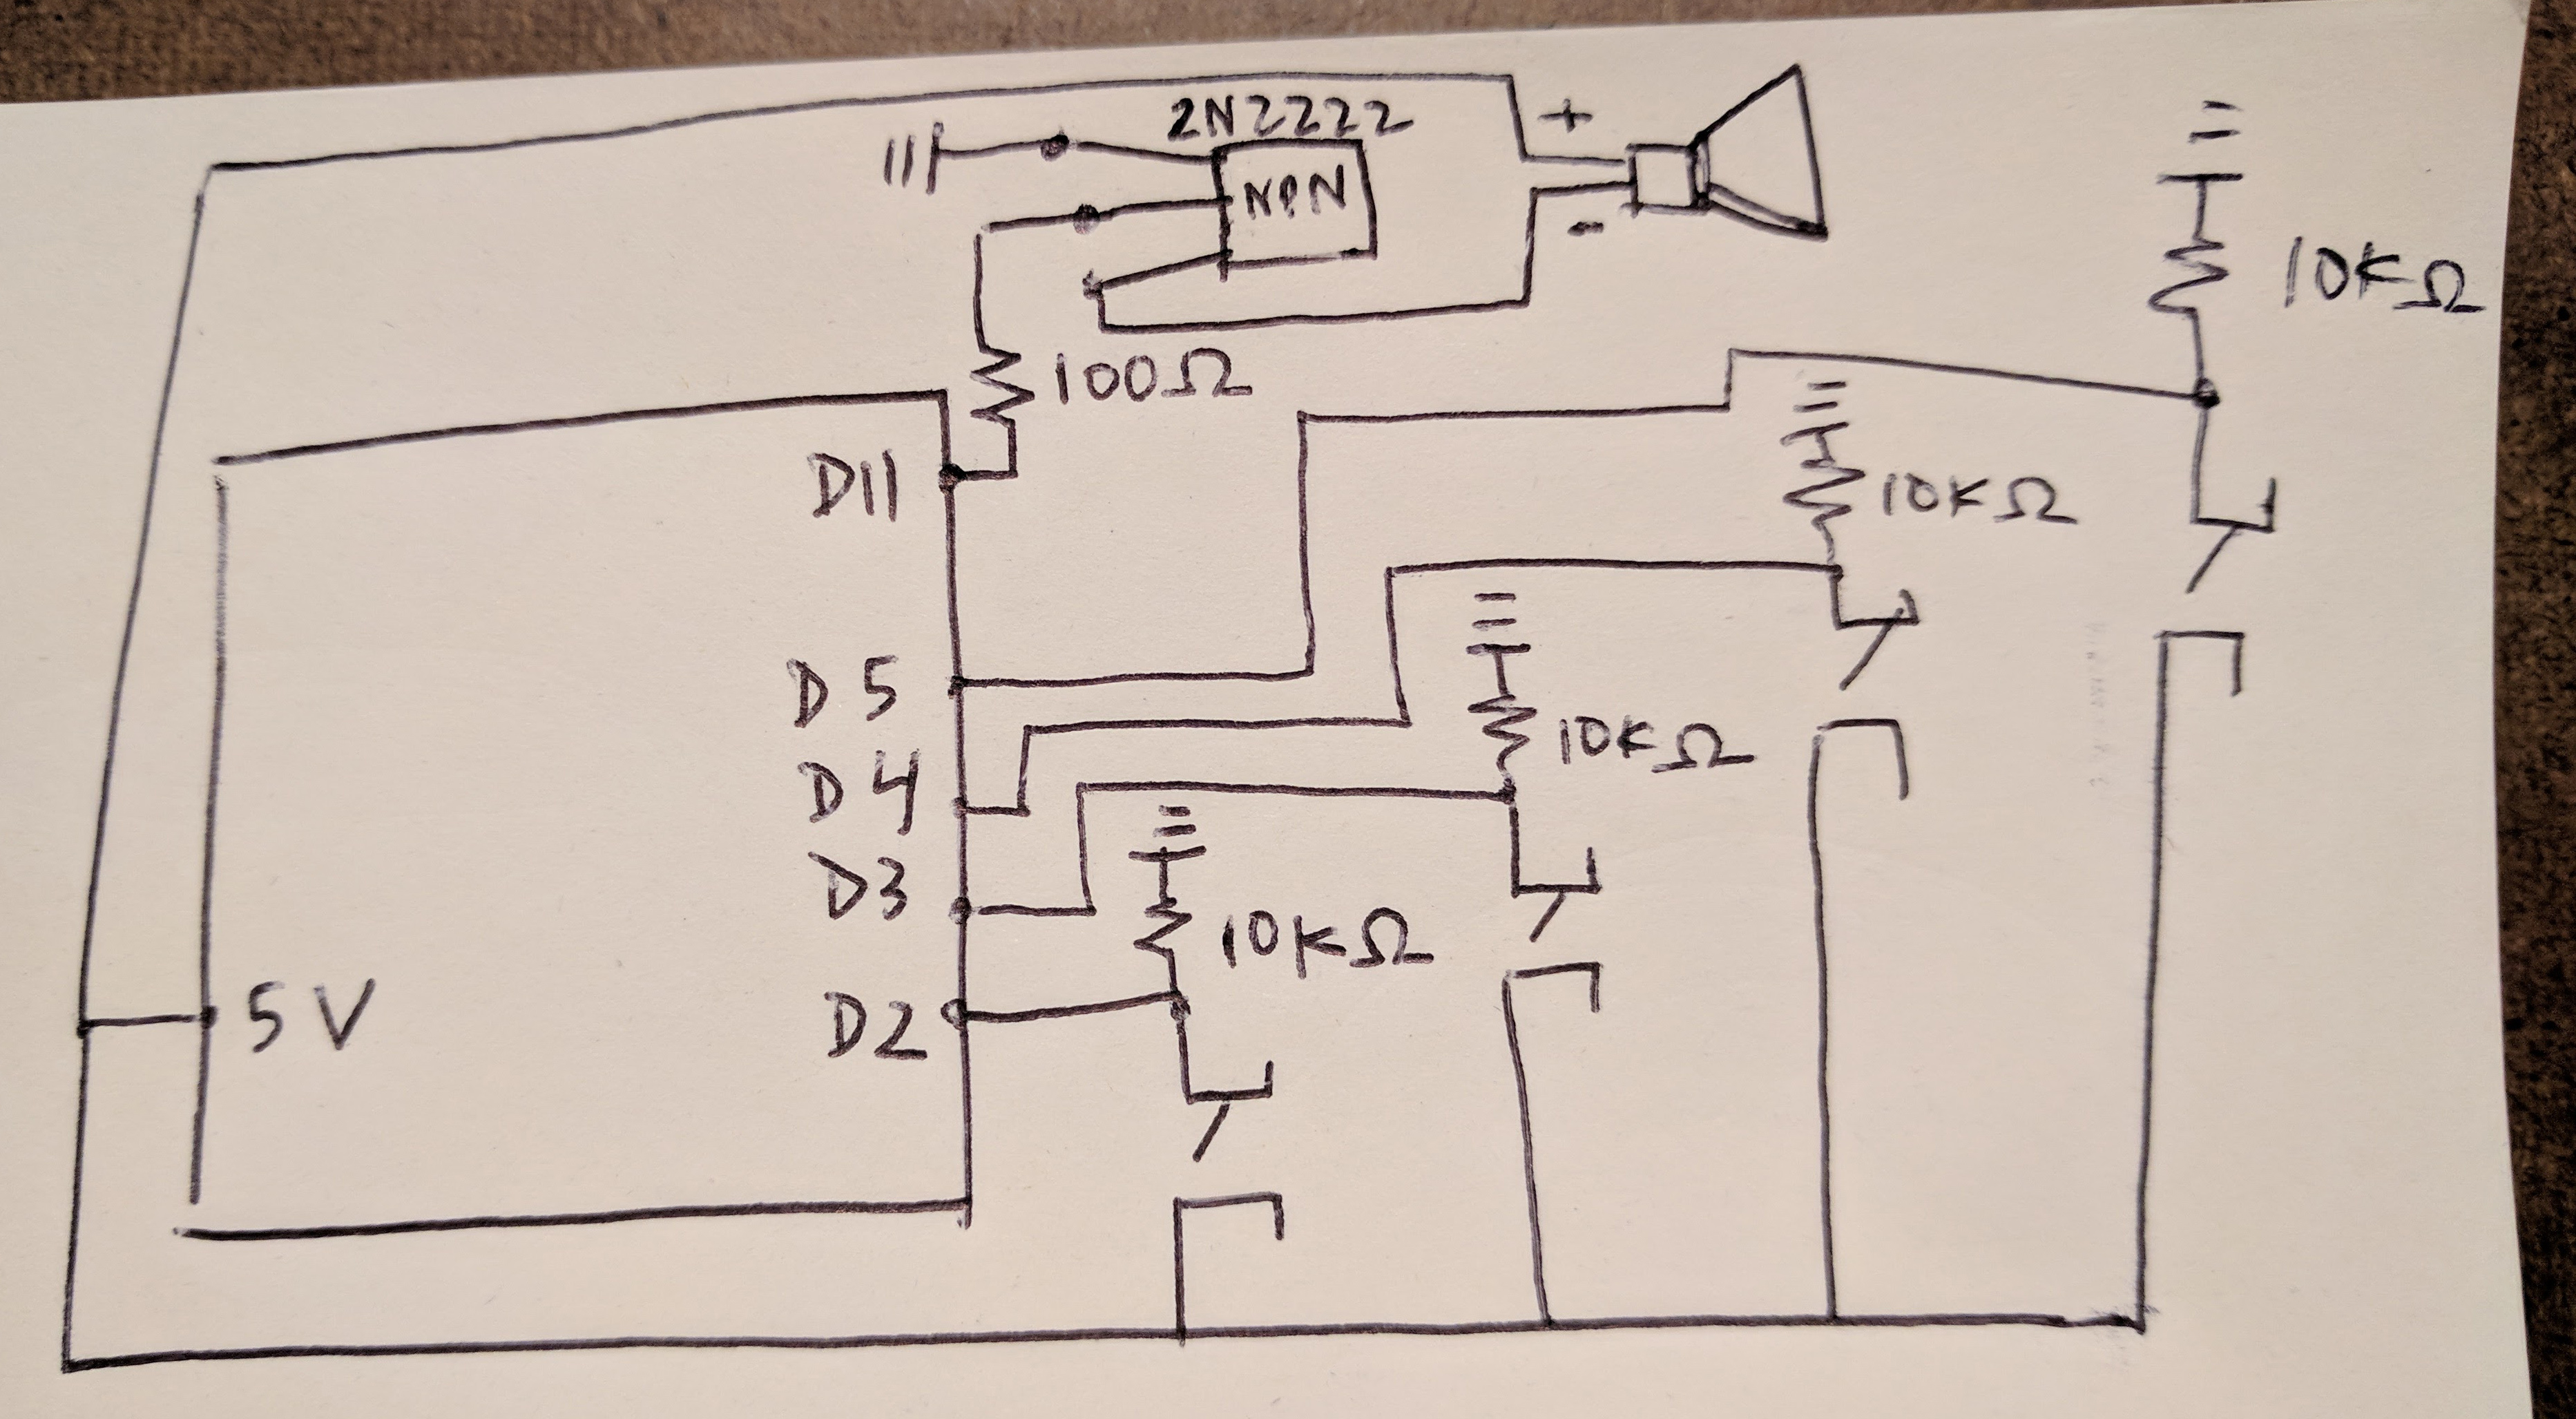
The sound output from the speakers was really quiet so I added a transistor (2N2222 NPN).
Final circuit diagram: