Digital Amulet Part Two: Programming
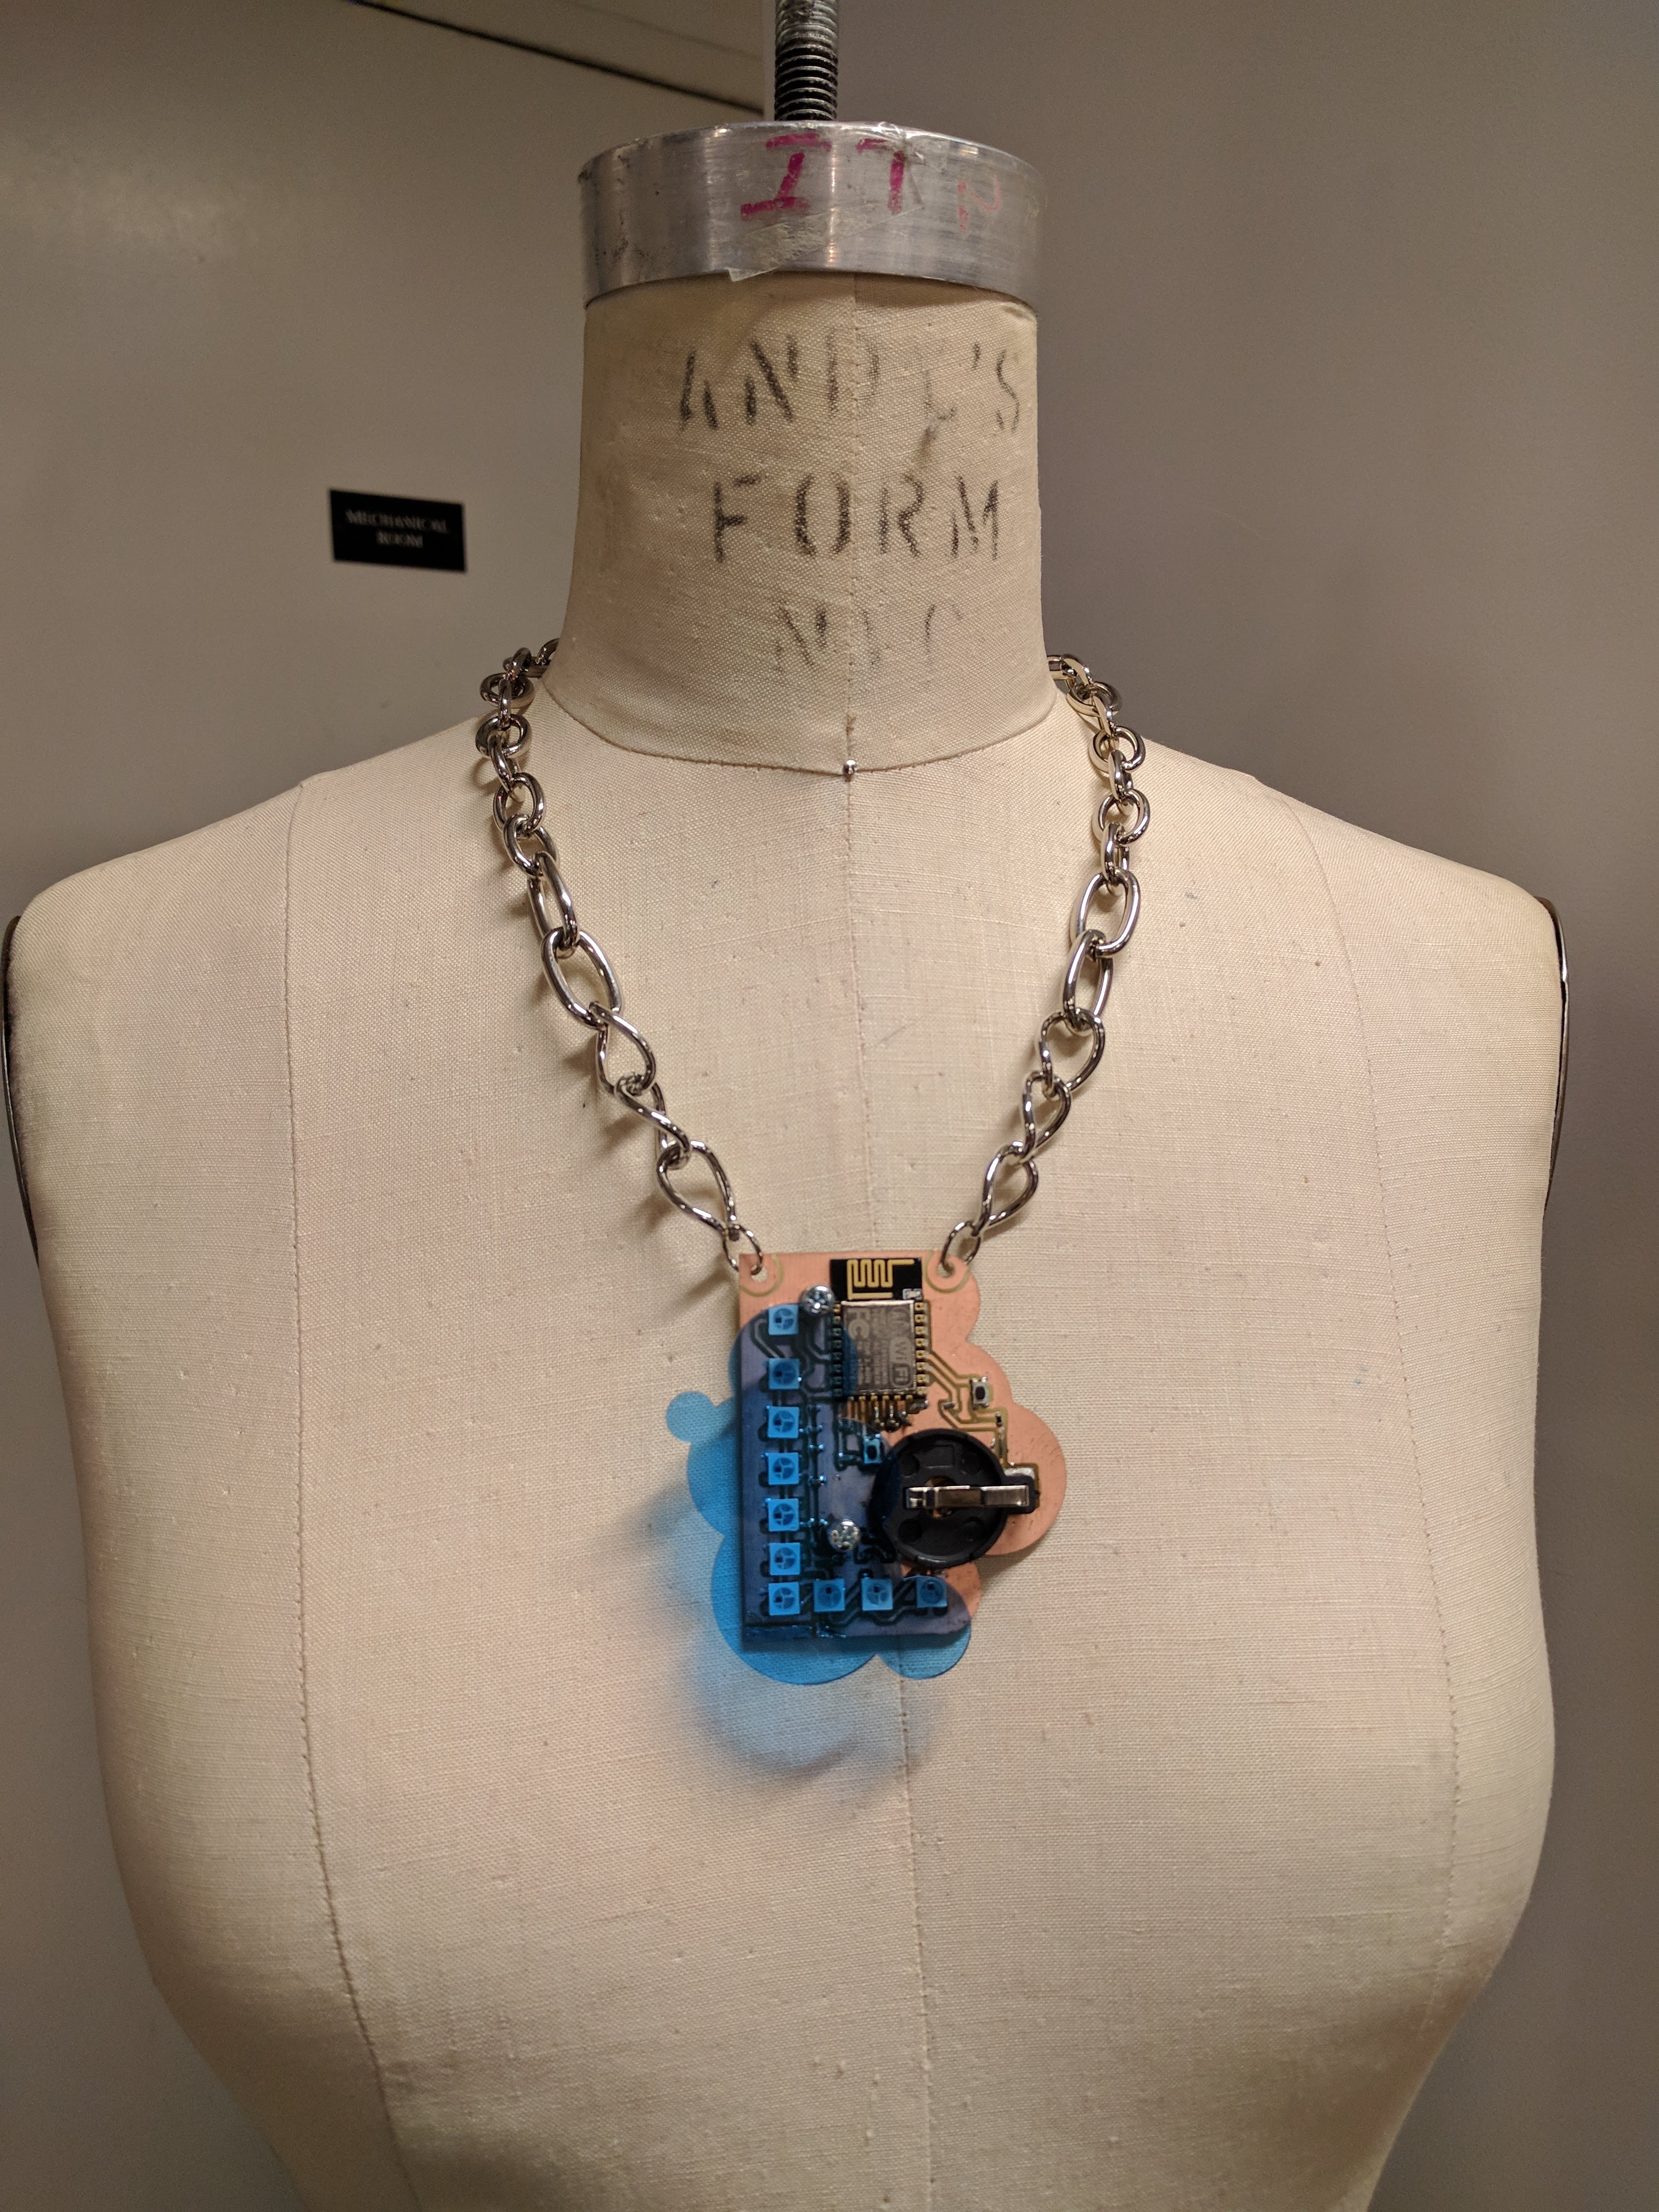
This project was a combination of my finals for Homemade Hardware and Electronic Rituals. While reading personal posts on instagram, I realized that I often commented the phrase ‘sending love’ when I wanted to show my support for that person. In a way, through our connections on social media, we give each other protection and support. An amulet is an item that traditionally gives its wearer protection and good luck. I wanted to make an amulet that received its power through the internet. Link to first post documenting the fabrication of the board
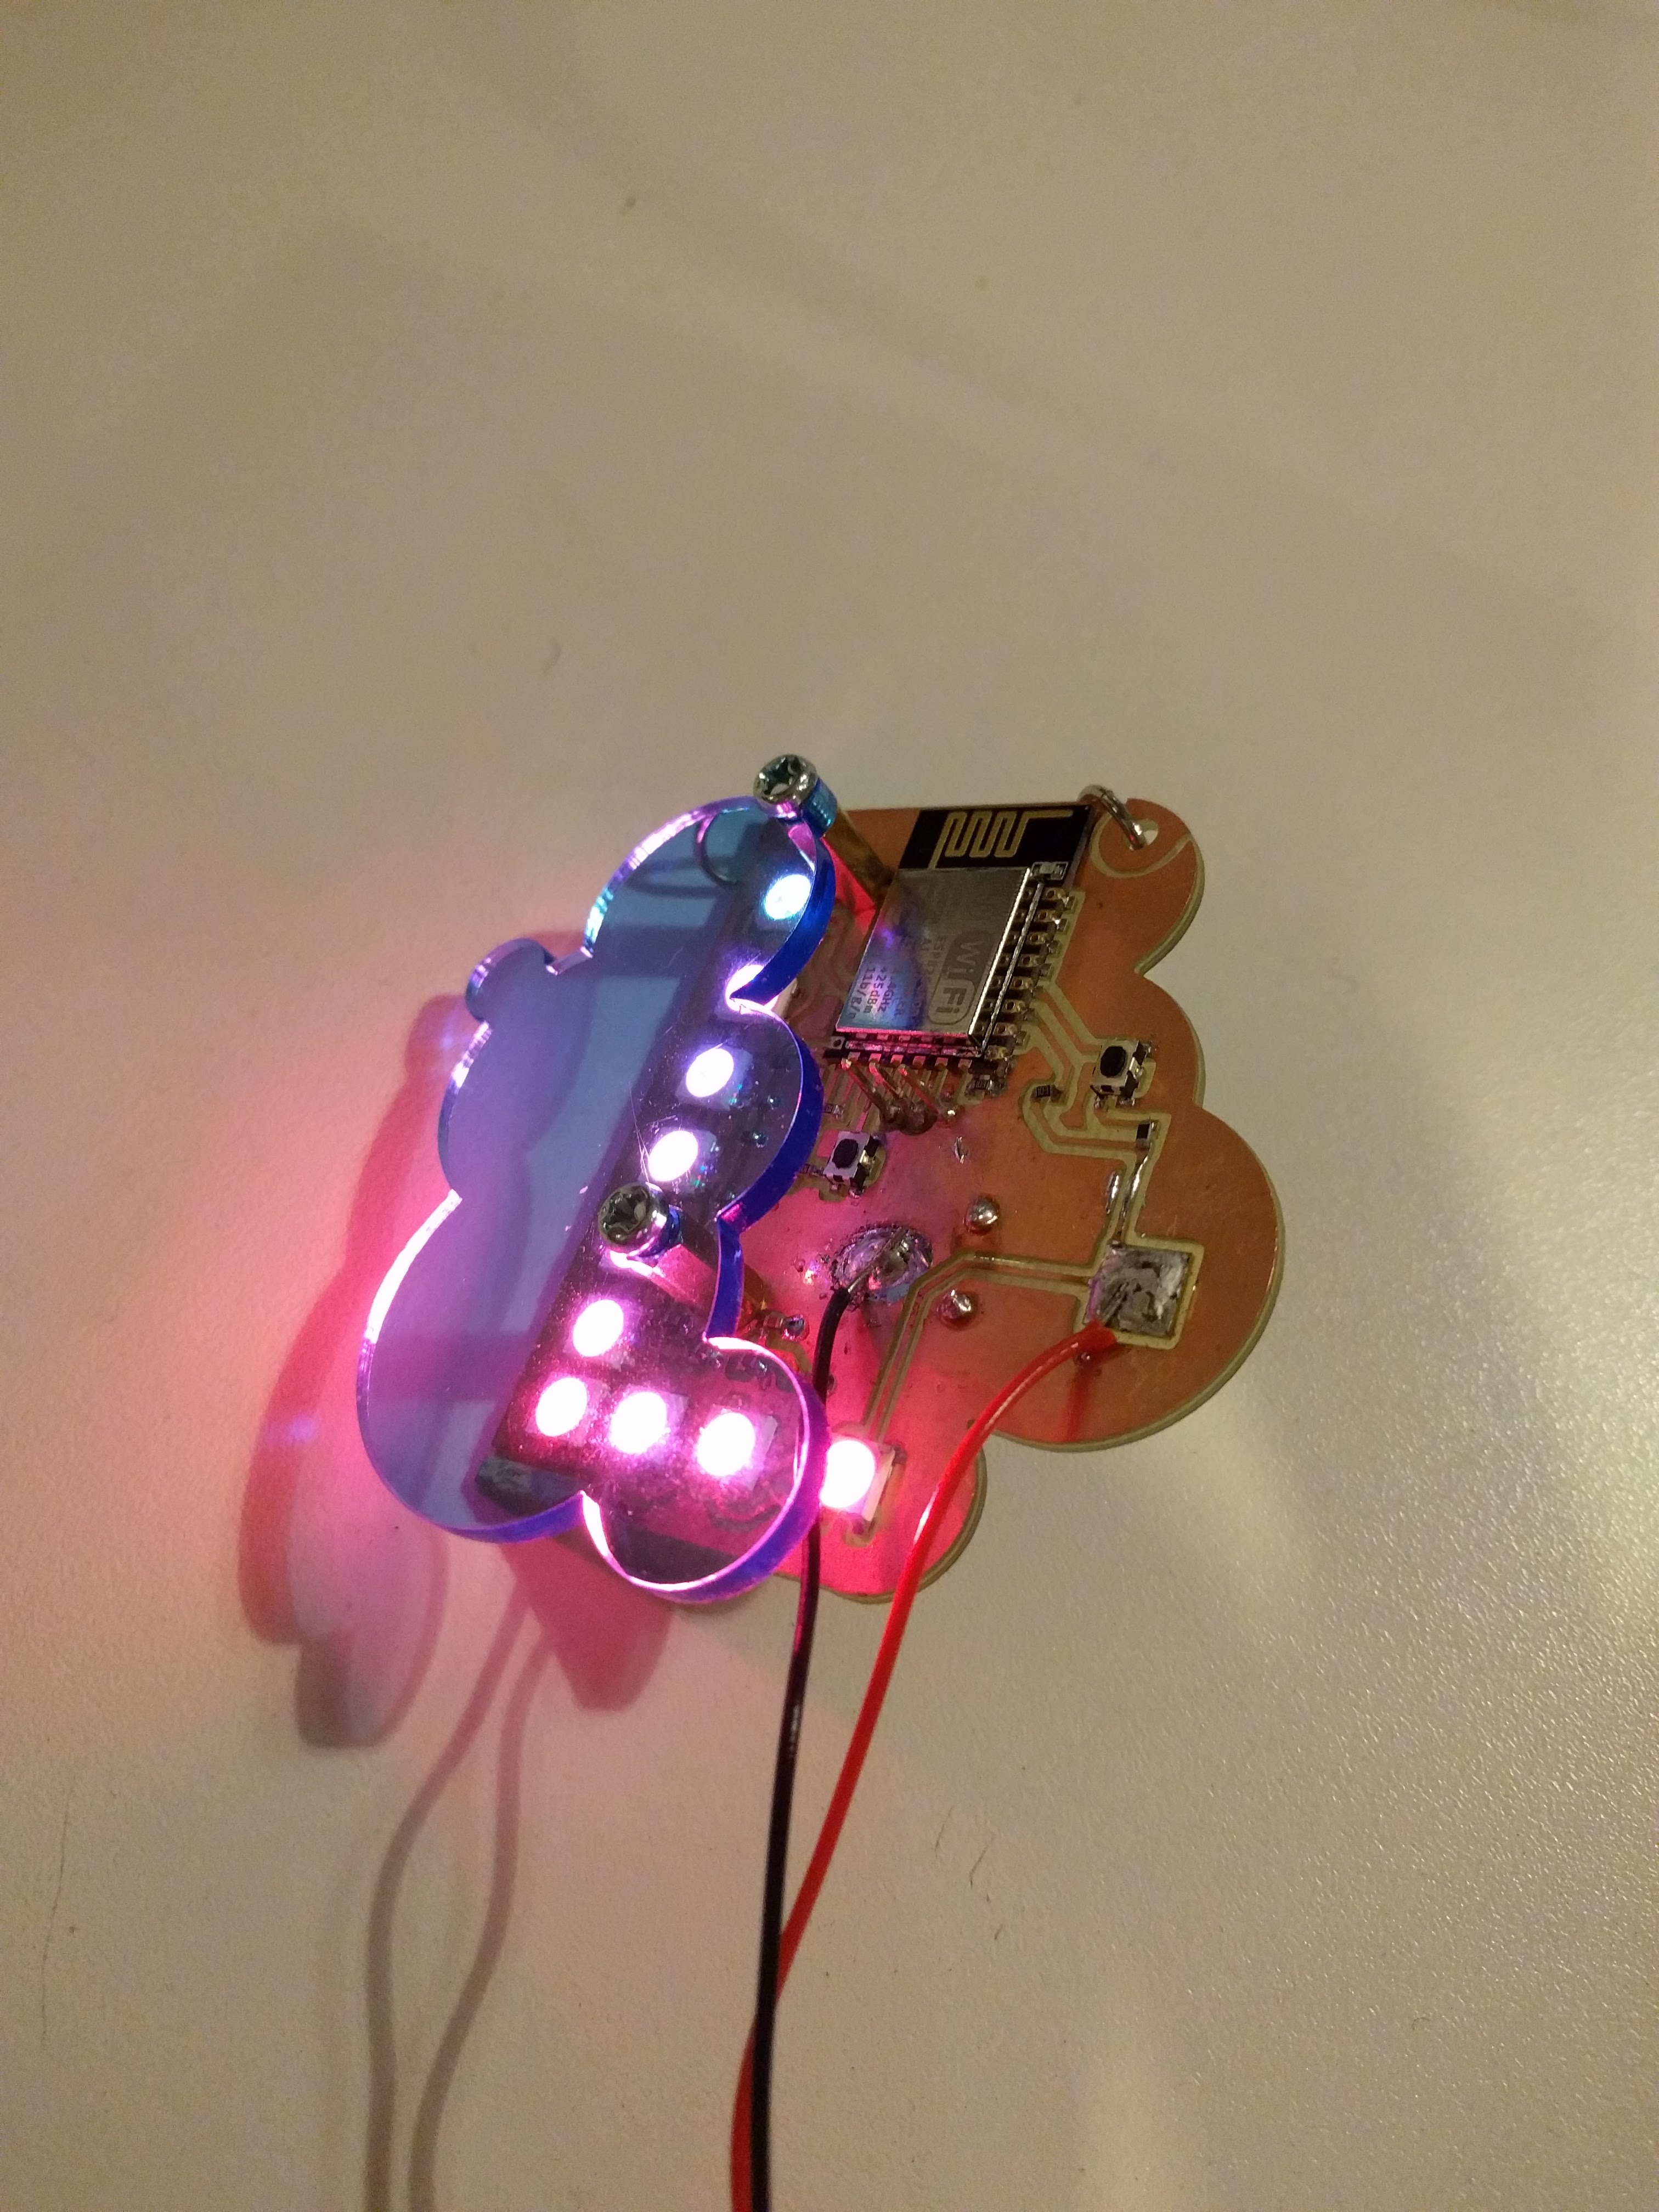
Programming the ESP8266 Module
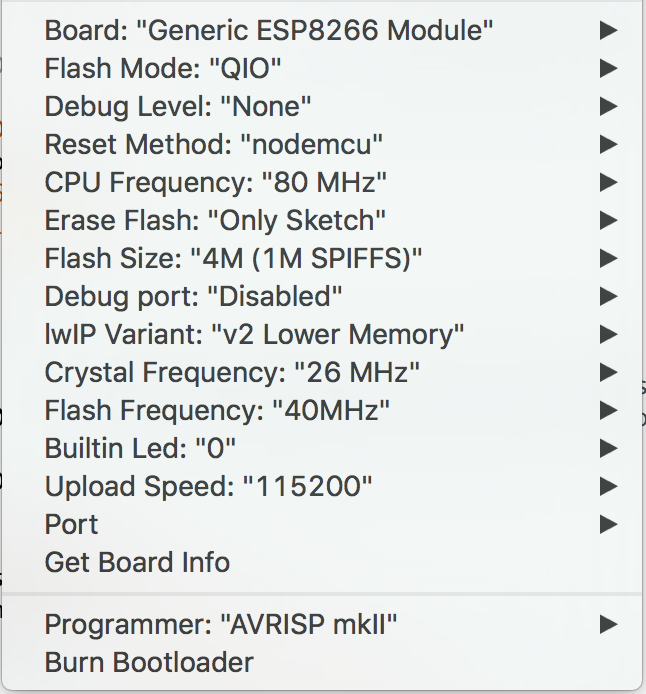
It was such a challenge to finally be able to flash code to my module!! I used this USB to TTL Serial Converter with a CP2102 chip and the Arduino IDE to program the module. This guide from Adafruit was helpful to learning how to set up for programming from the Arduino IDE. I had to change some of the settings, specifically reset method: nodemcu and flash mode: QIO.
Here is my programming set up. The board is connected to an external powersource at 3.3V and connected to my computer via the usb to ttl serial converter attached to the 3 header pins on the board. I’m flashing code to the board with the arduino IDE on my laptop.
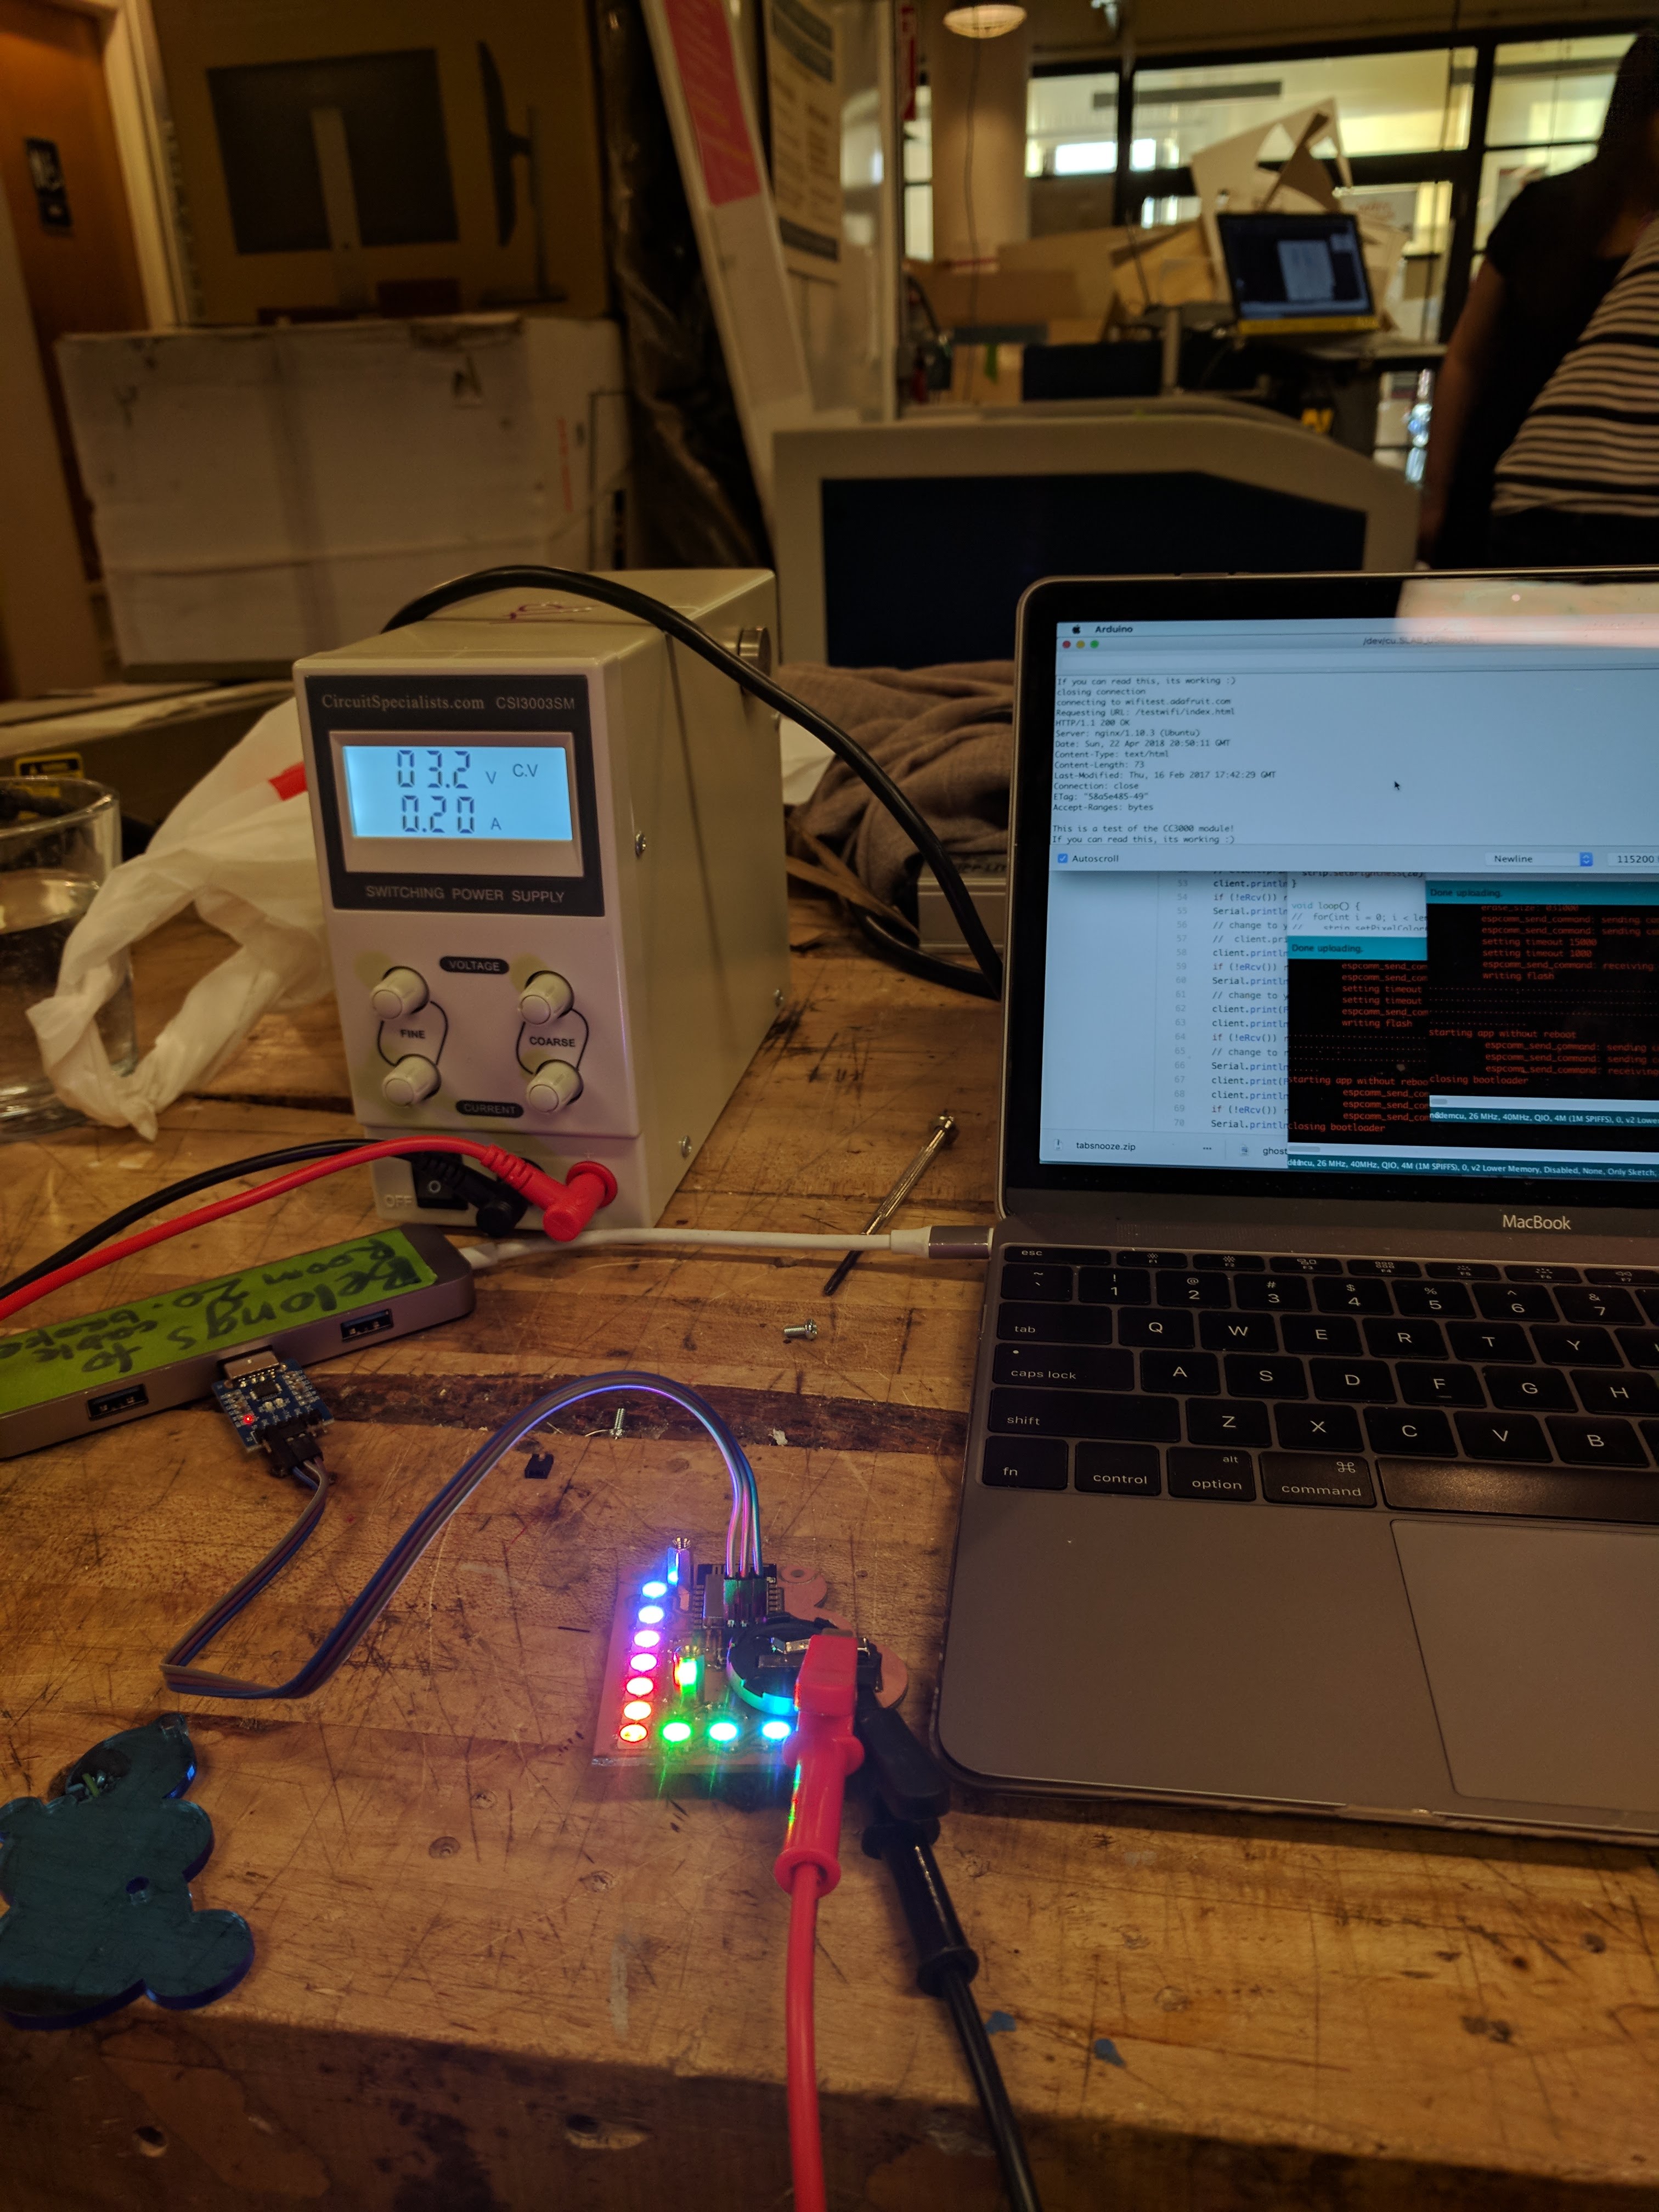
The usb to ttl serial converter has to be connected to the header pins on the board correctly:
- ground to ground
- rx to tx
- tx to rx
To flash code, you have to hold down the GIO0 button, press down the RESET button and then let both go. I then look in the serial monitor in the Arduino IDE to see if my board is connecting to WiFi.
Connecting to WiFi and Making HTTPS Requests
I had to use https requests instead of http since the instagram api website is https. I based my code off of the esp8266 wifi https request example. I did not use the fingerprint verification part because I could not find the correct SHA1 fingerprint from my browser. I used a hotspot network created from my mobile phone to test.
Instagram API
I used this API before for another electronic rituals project so I was already familiar with what data you could get. However, it is getting deprecated soon so I will probably have to update this project in the near future. For this project, I’m getting the number of likes and the number of comments on the most recent 3 posts. I first tested in the browser but soon realized I needed to make direct requests to the instagram api from the esp8266 board itself. I limited it to the first 3 posts because the returned JSON object for the default 22 posts was too large to fit on the esp8266’s memory and my program kept crashing. Here is the url I’m calling to in my final code. The returned data is in JSON format so I had to figure out how to parse that in the Arduino environment (see next section). The request to the url is made every 7 seconds because instagram rate limits to 500 requests per hour.
ArduinoJSON Library
This was my first time using the ArduinoJSON library and it took me a long time to understand what was going on. I based my code off of the http client example and used the assistant to calculate my dynamic buffer size based on my JSON object.
const size_t bufferSize = 5*JSON_ARRAY_SIZE(0) + JSON_ARRAY_SIZE(1) + JSON_ARRAY_SIZE(3) + 8*JSON_OBJECT_SIZE(1) + 3*JSON_OBJECT_SIZE(2) + 14*JSON_OBJECT_SIZE(3) + 11*JSON_OBJECT_SIZE(4) + 2*JSON_OBJECT_SIZE(15) + JSON_OBJECT_SIZE(16) + 7572;
After parsing the JSON object, I can now get the number of likes on the first three posts and check if there are any new comments.
FastLED Library
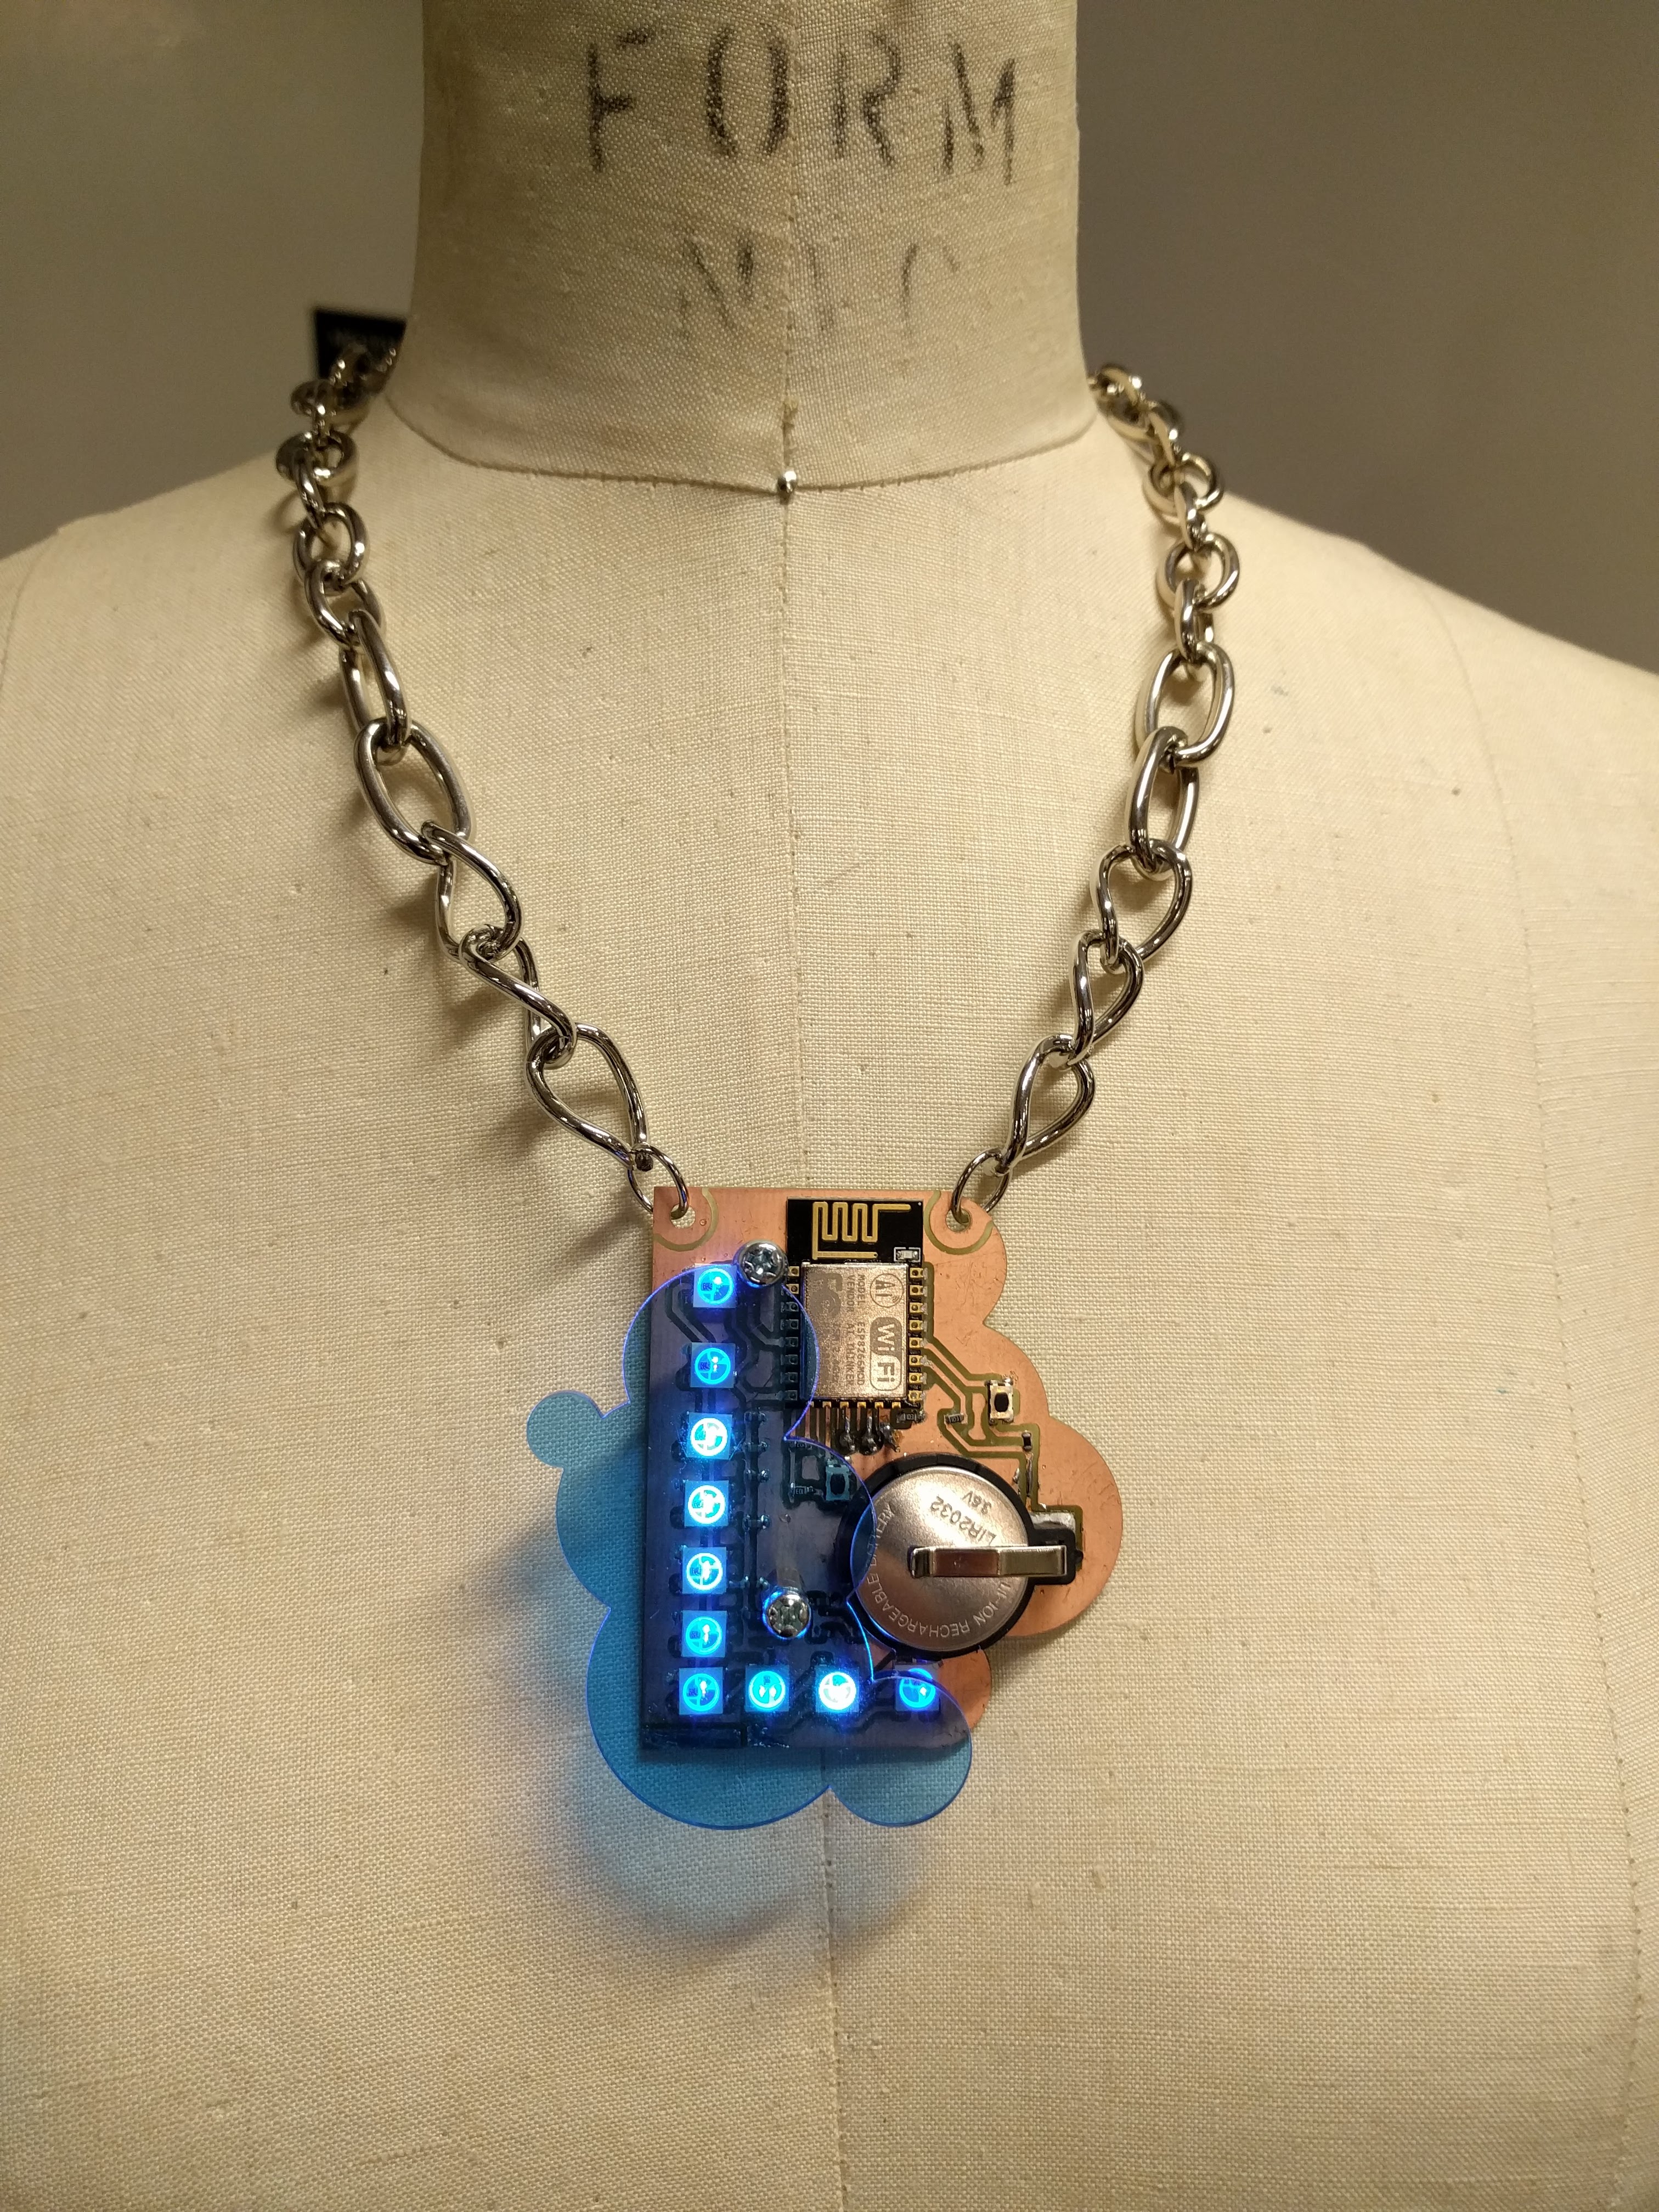
Now, I just had to code the lighting pattern that I wanted the neopixels to display. I used the FastLED library because it made it easier to work with the rgb values of the neopixels. I experimented with 2 kinds of lighting to test if a more explicit interaction was better or not. I didn’t want the lighting to seem like a 1 to 1 interaction because that would be more like a notification device. But I also didn’t want the relationship between instagram data and the amulet to be undetectable.
- likes: blue pattern where brightness is mapped to the average # of likes on the first three posts
- comments: adding red to leds in a wipe pattern if the # of comments on the first three posts increases
As you can see, the likes lighting pattern relationship to the instagram data is not as explicit as the comments lighting pattern.
Finished Documentation