Intro to Fabrication Final: Paper Blowing Machine
Inspiration
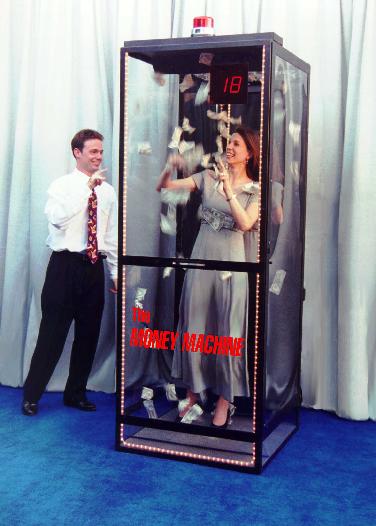
I remembered going inside of one of these money blowing boxes as a kid and trying to scoop up as much money as I could during the time frame. I wanted to create a smaller, table top version that could store my cash. When I need cash, I just need to pull a dollar through a slit.
Motor
The motor was repurposed from a hand vacuum from the junk shelf. It was really hard to remove it because the screws keeping the shell together stripped. I eventually had to pry it apart.
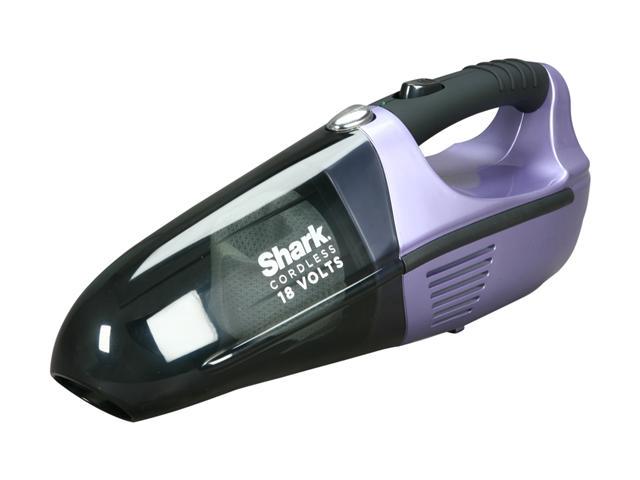
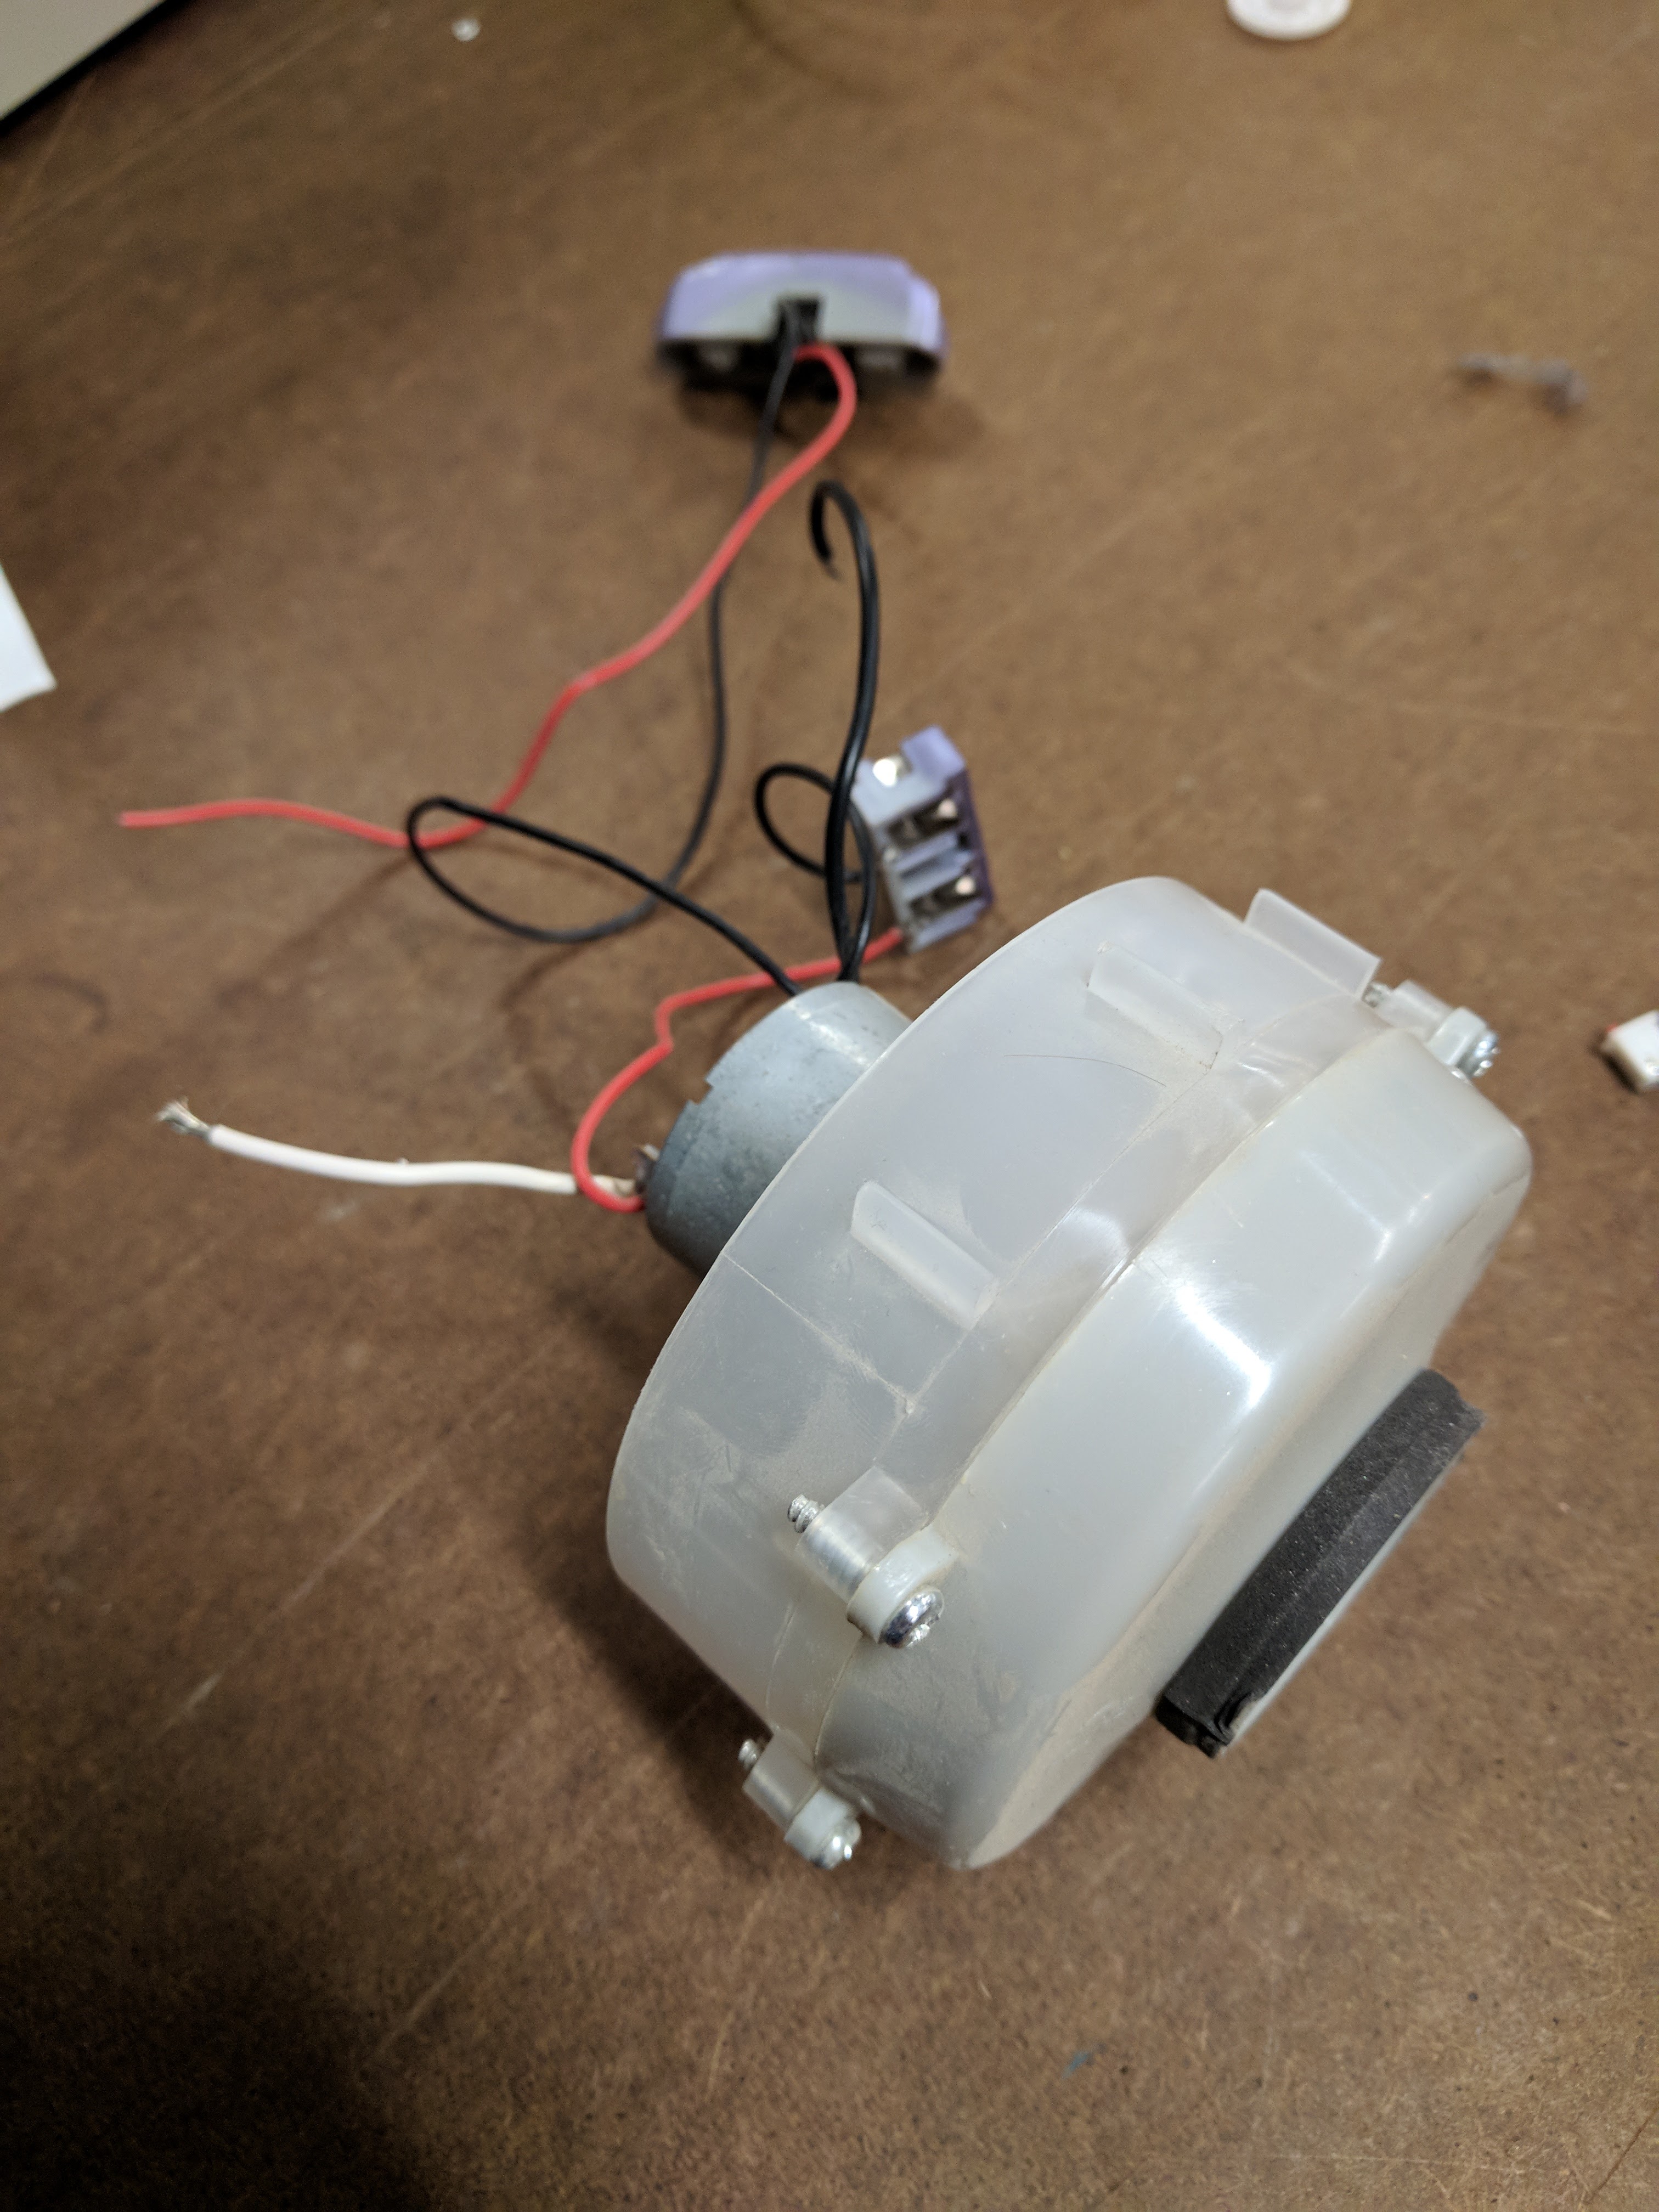 I tried to reverse the polarity of the motor so that it would blow air out rather than suck; however, reversing the leads didn’t change the direction of the air flow. I then decided to just use the ‘back’ side as the fan. So air is be drawn in through the former vacuum part (‘front’) and then blown out into the box.
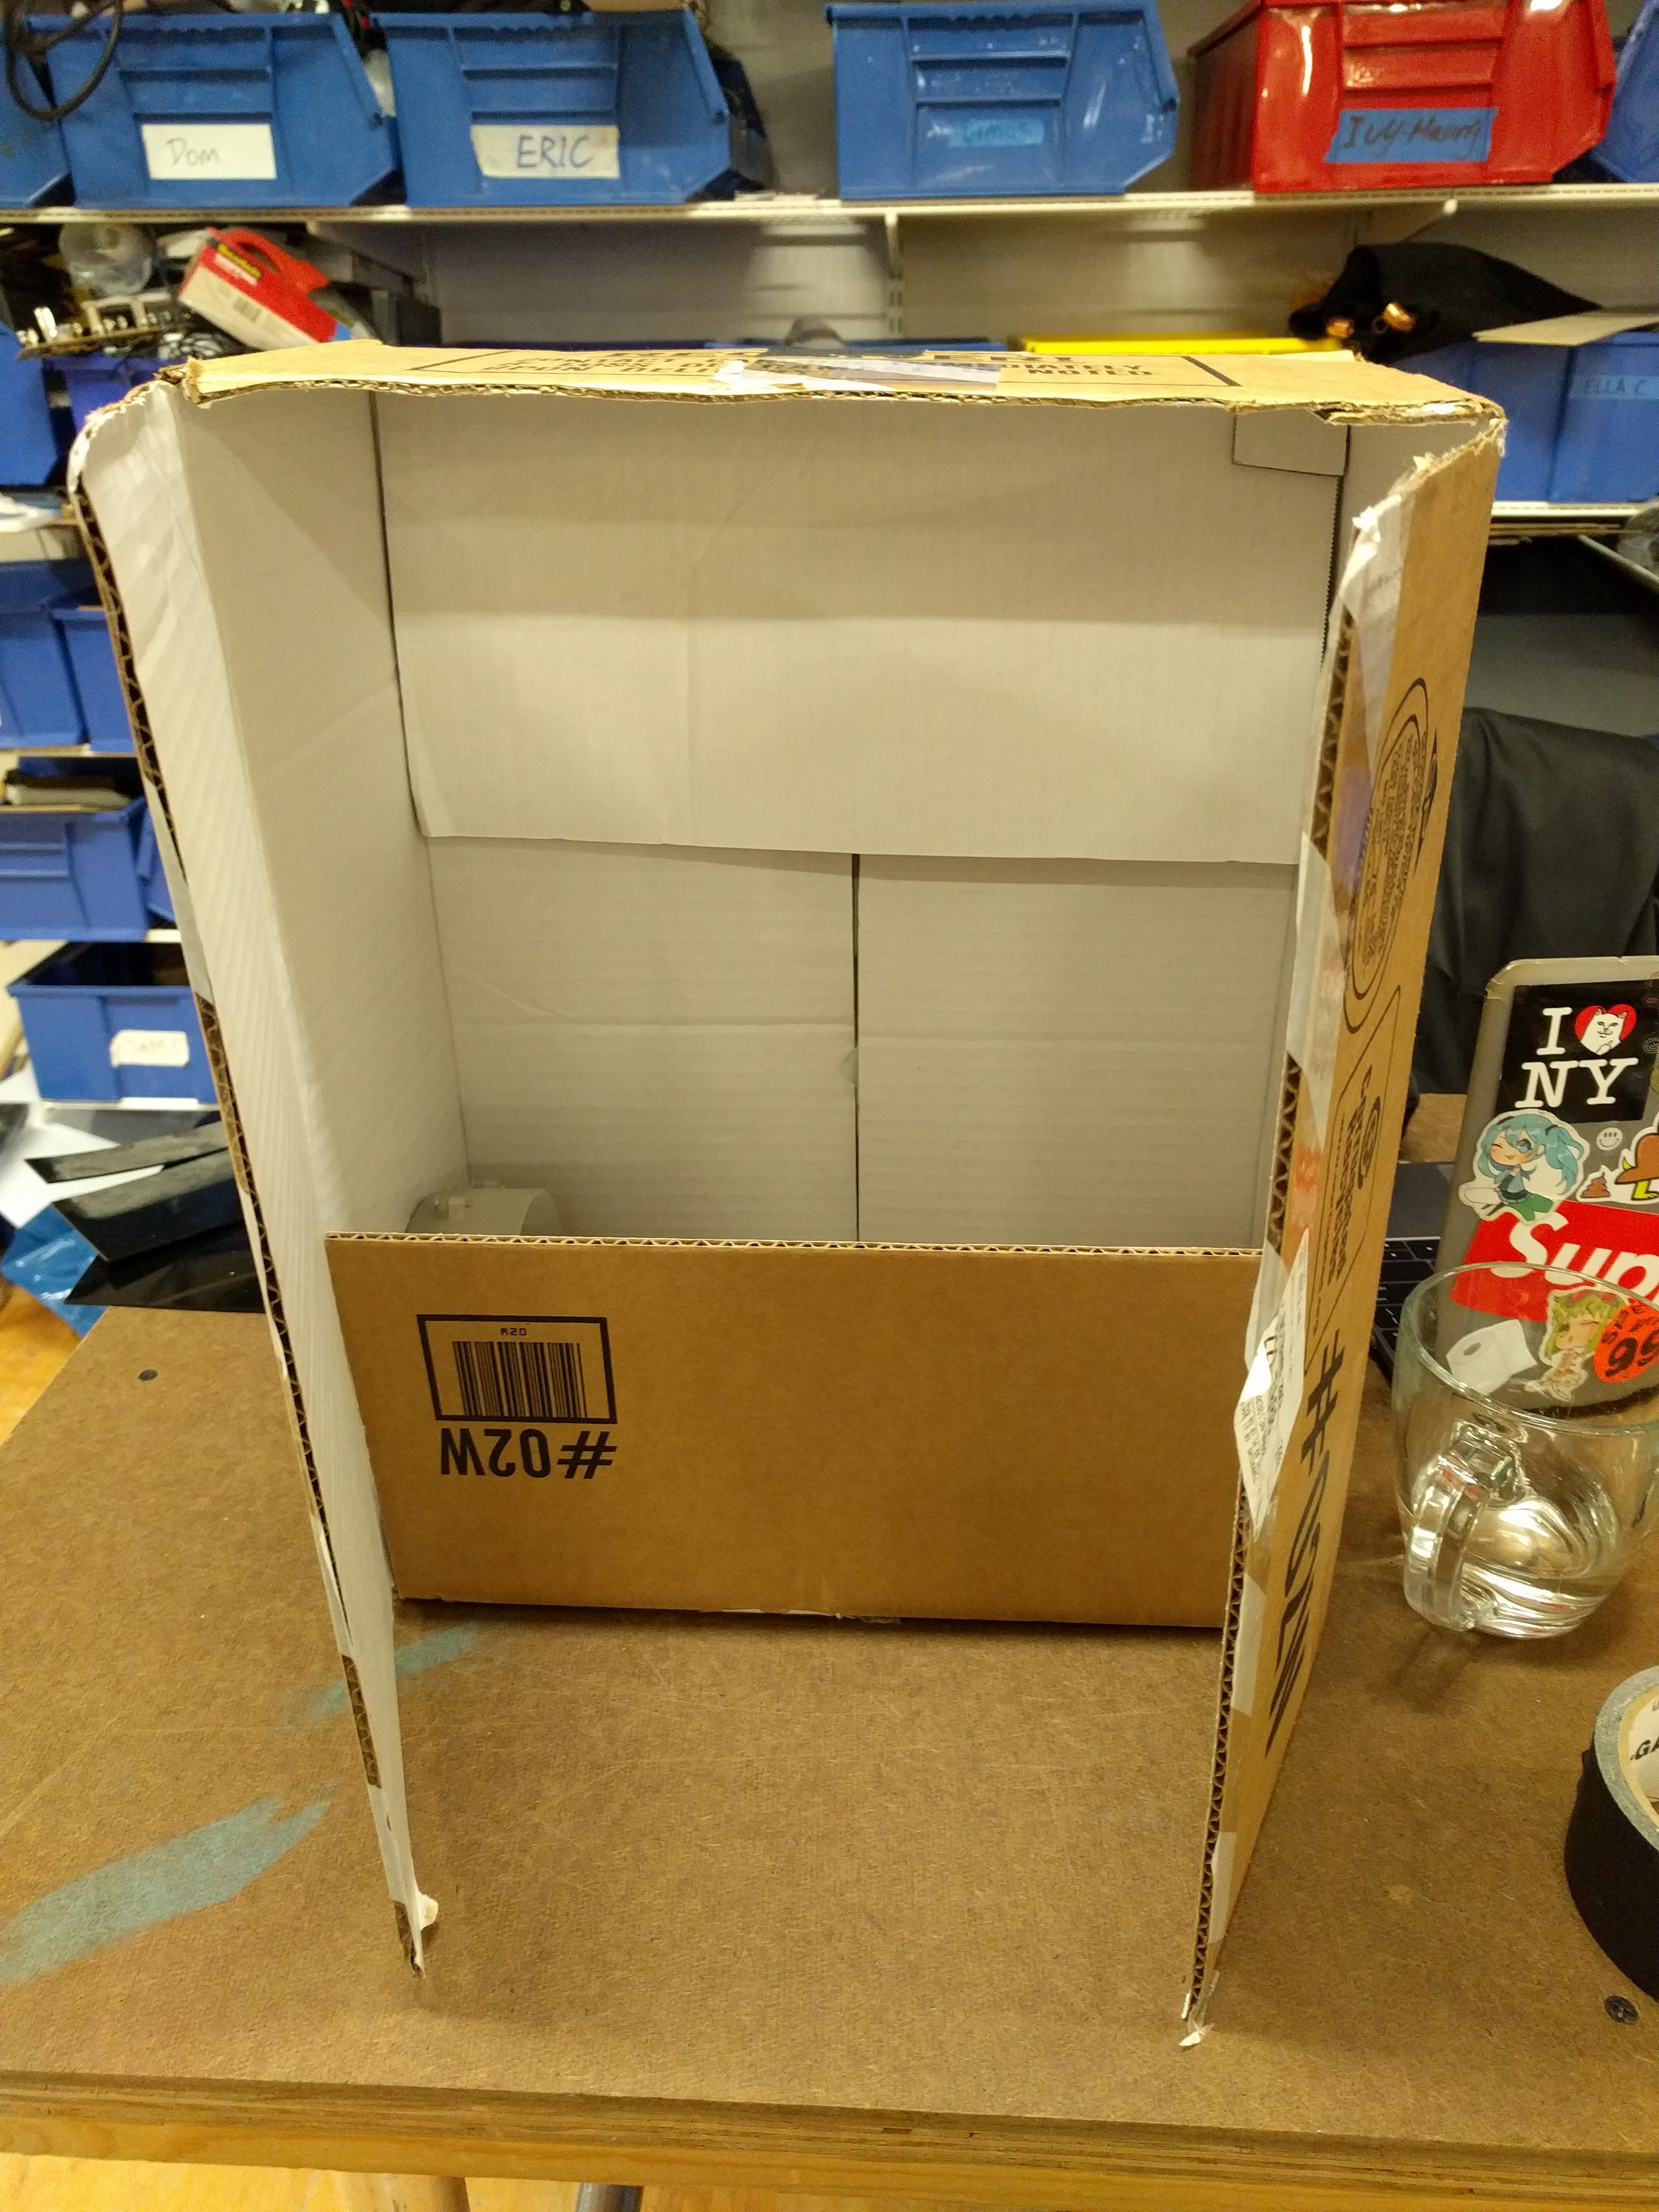
Testing airflow
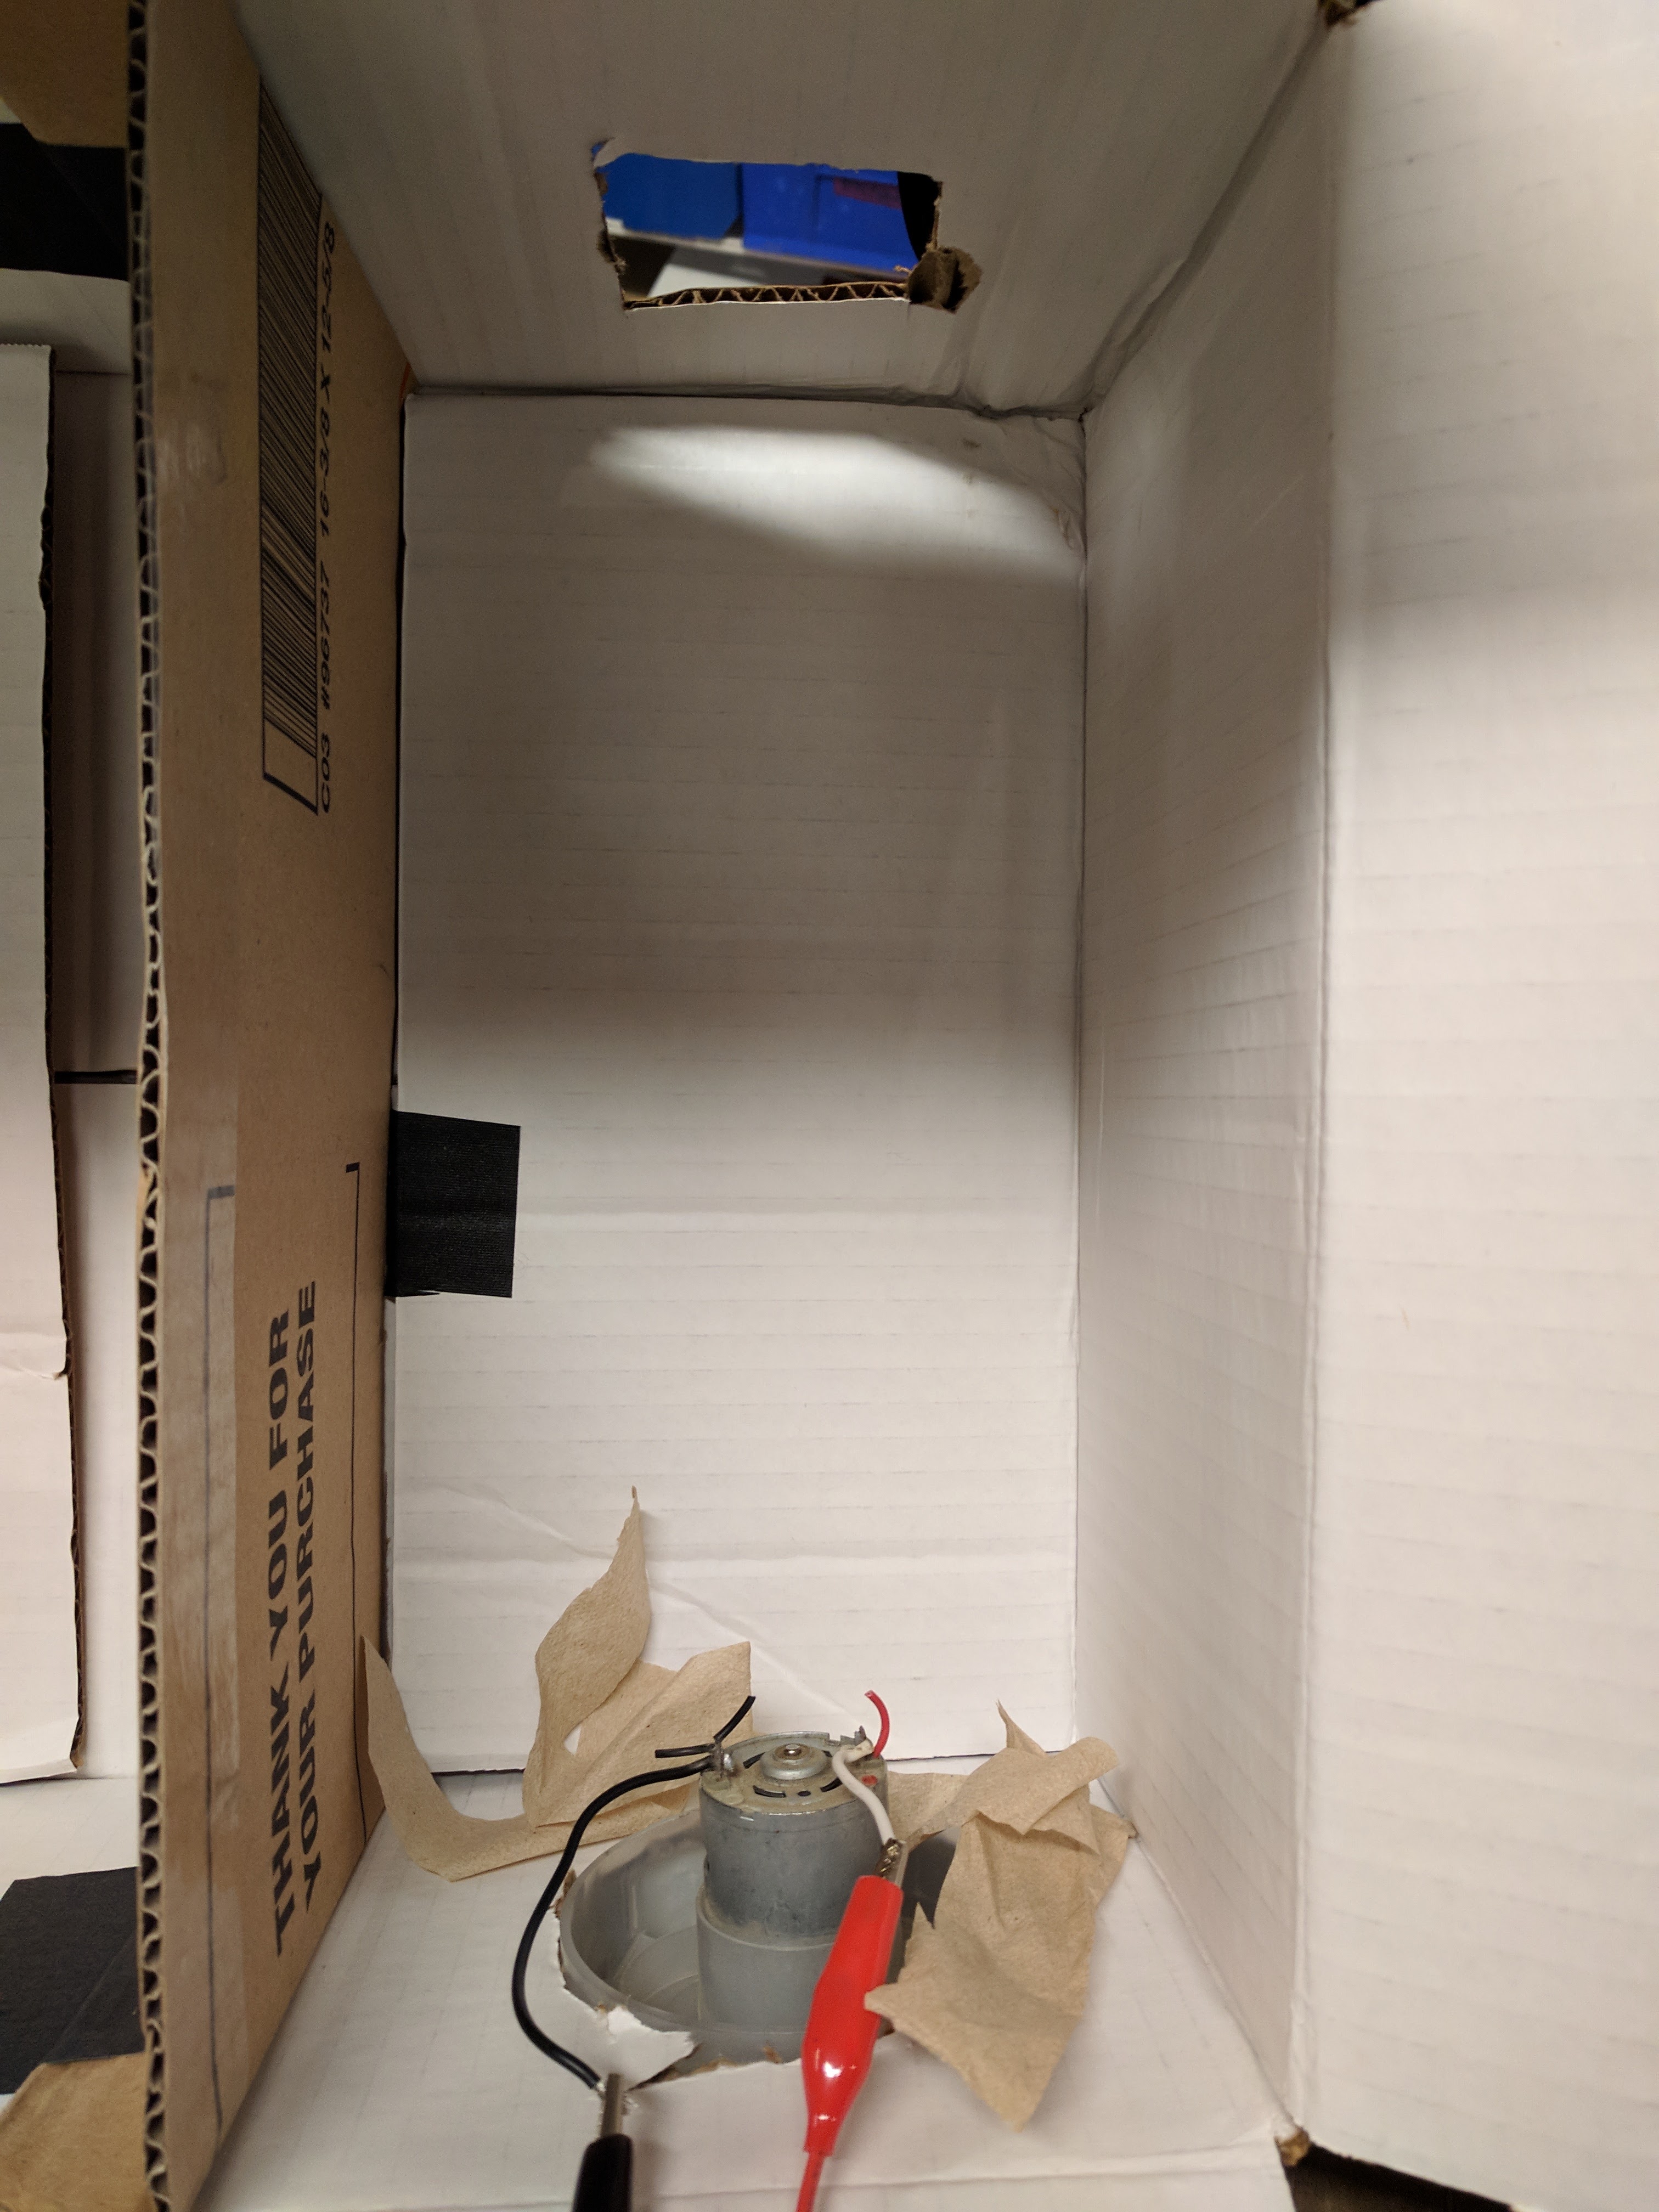
I don’t know anything about airflow so I decided to test in a cardboard box.
 I soon realized that dollar bills were too heavy to be lifted and circulated by this motor. I then used strips of paper napkins.
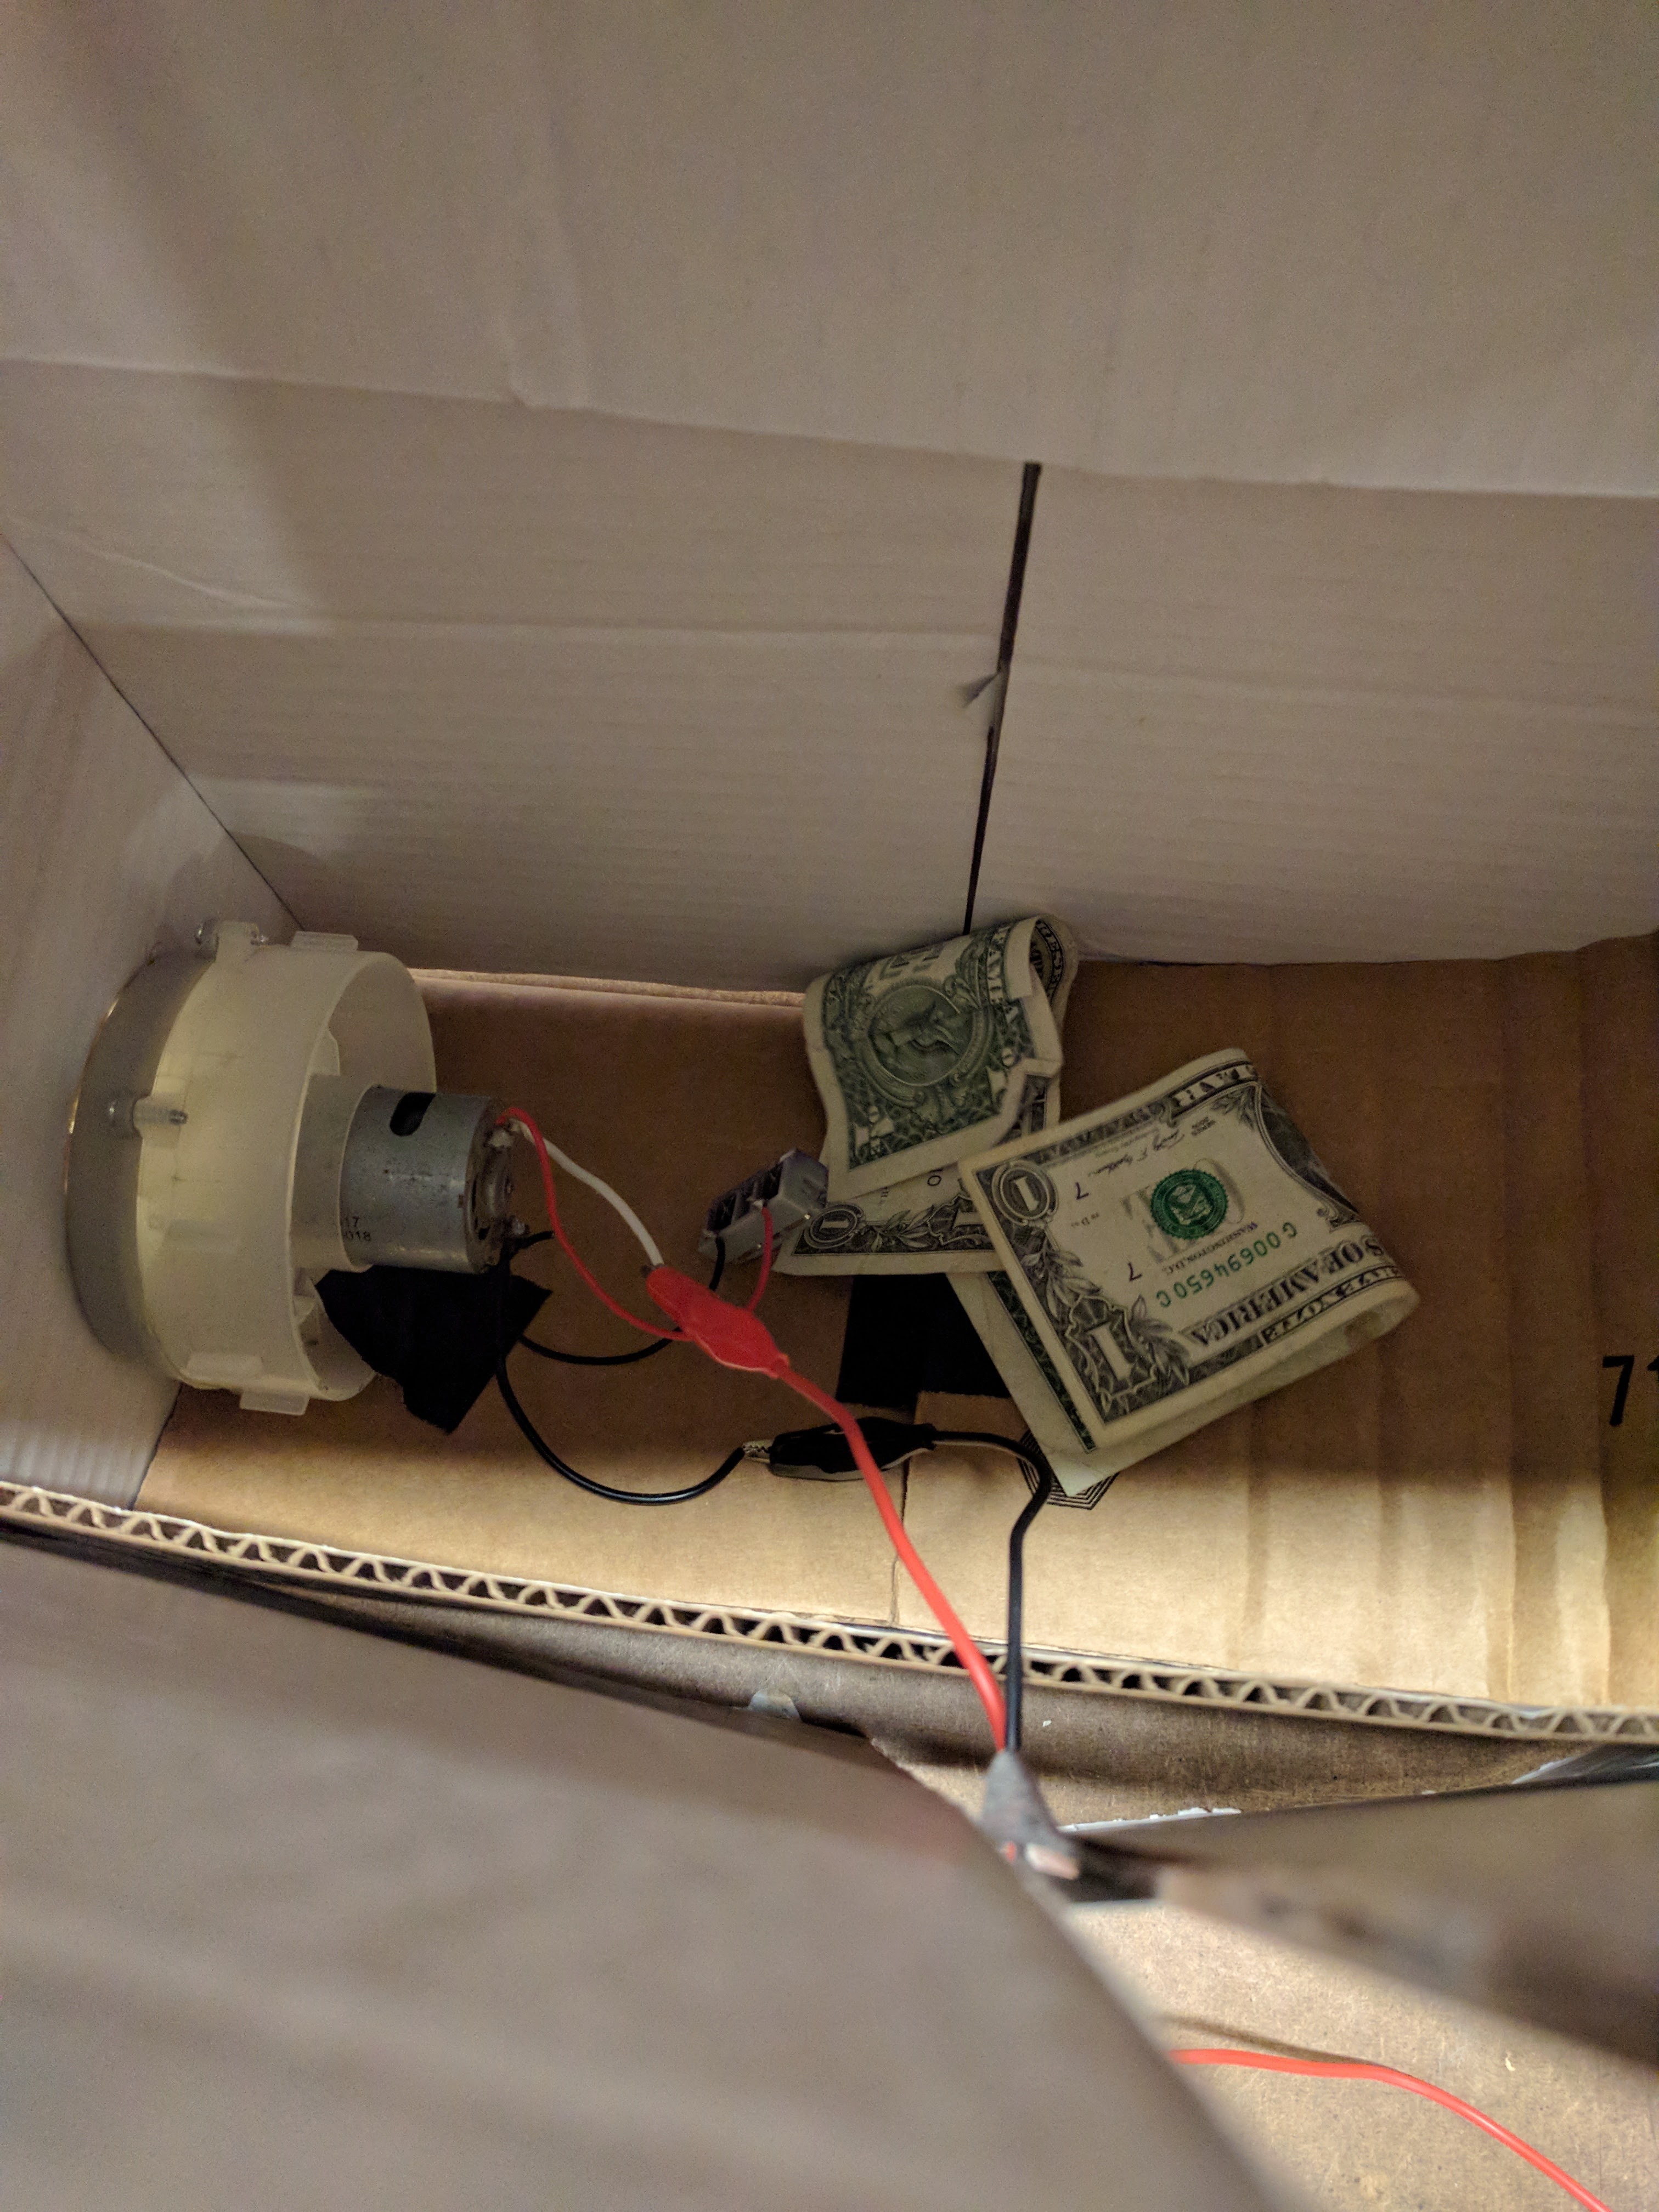 First I tested with a horizontal orientation with the fan on the side of the box. I made a curved piece of cardboard on the opposite side to redirect the air up. I learned that I needed ventilation to create an air flow.
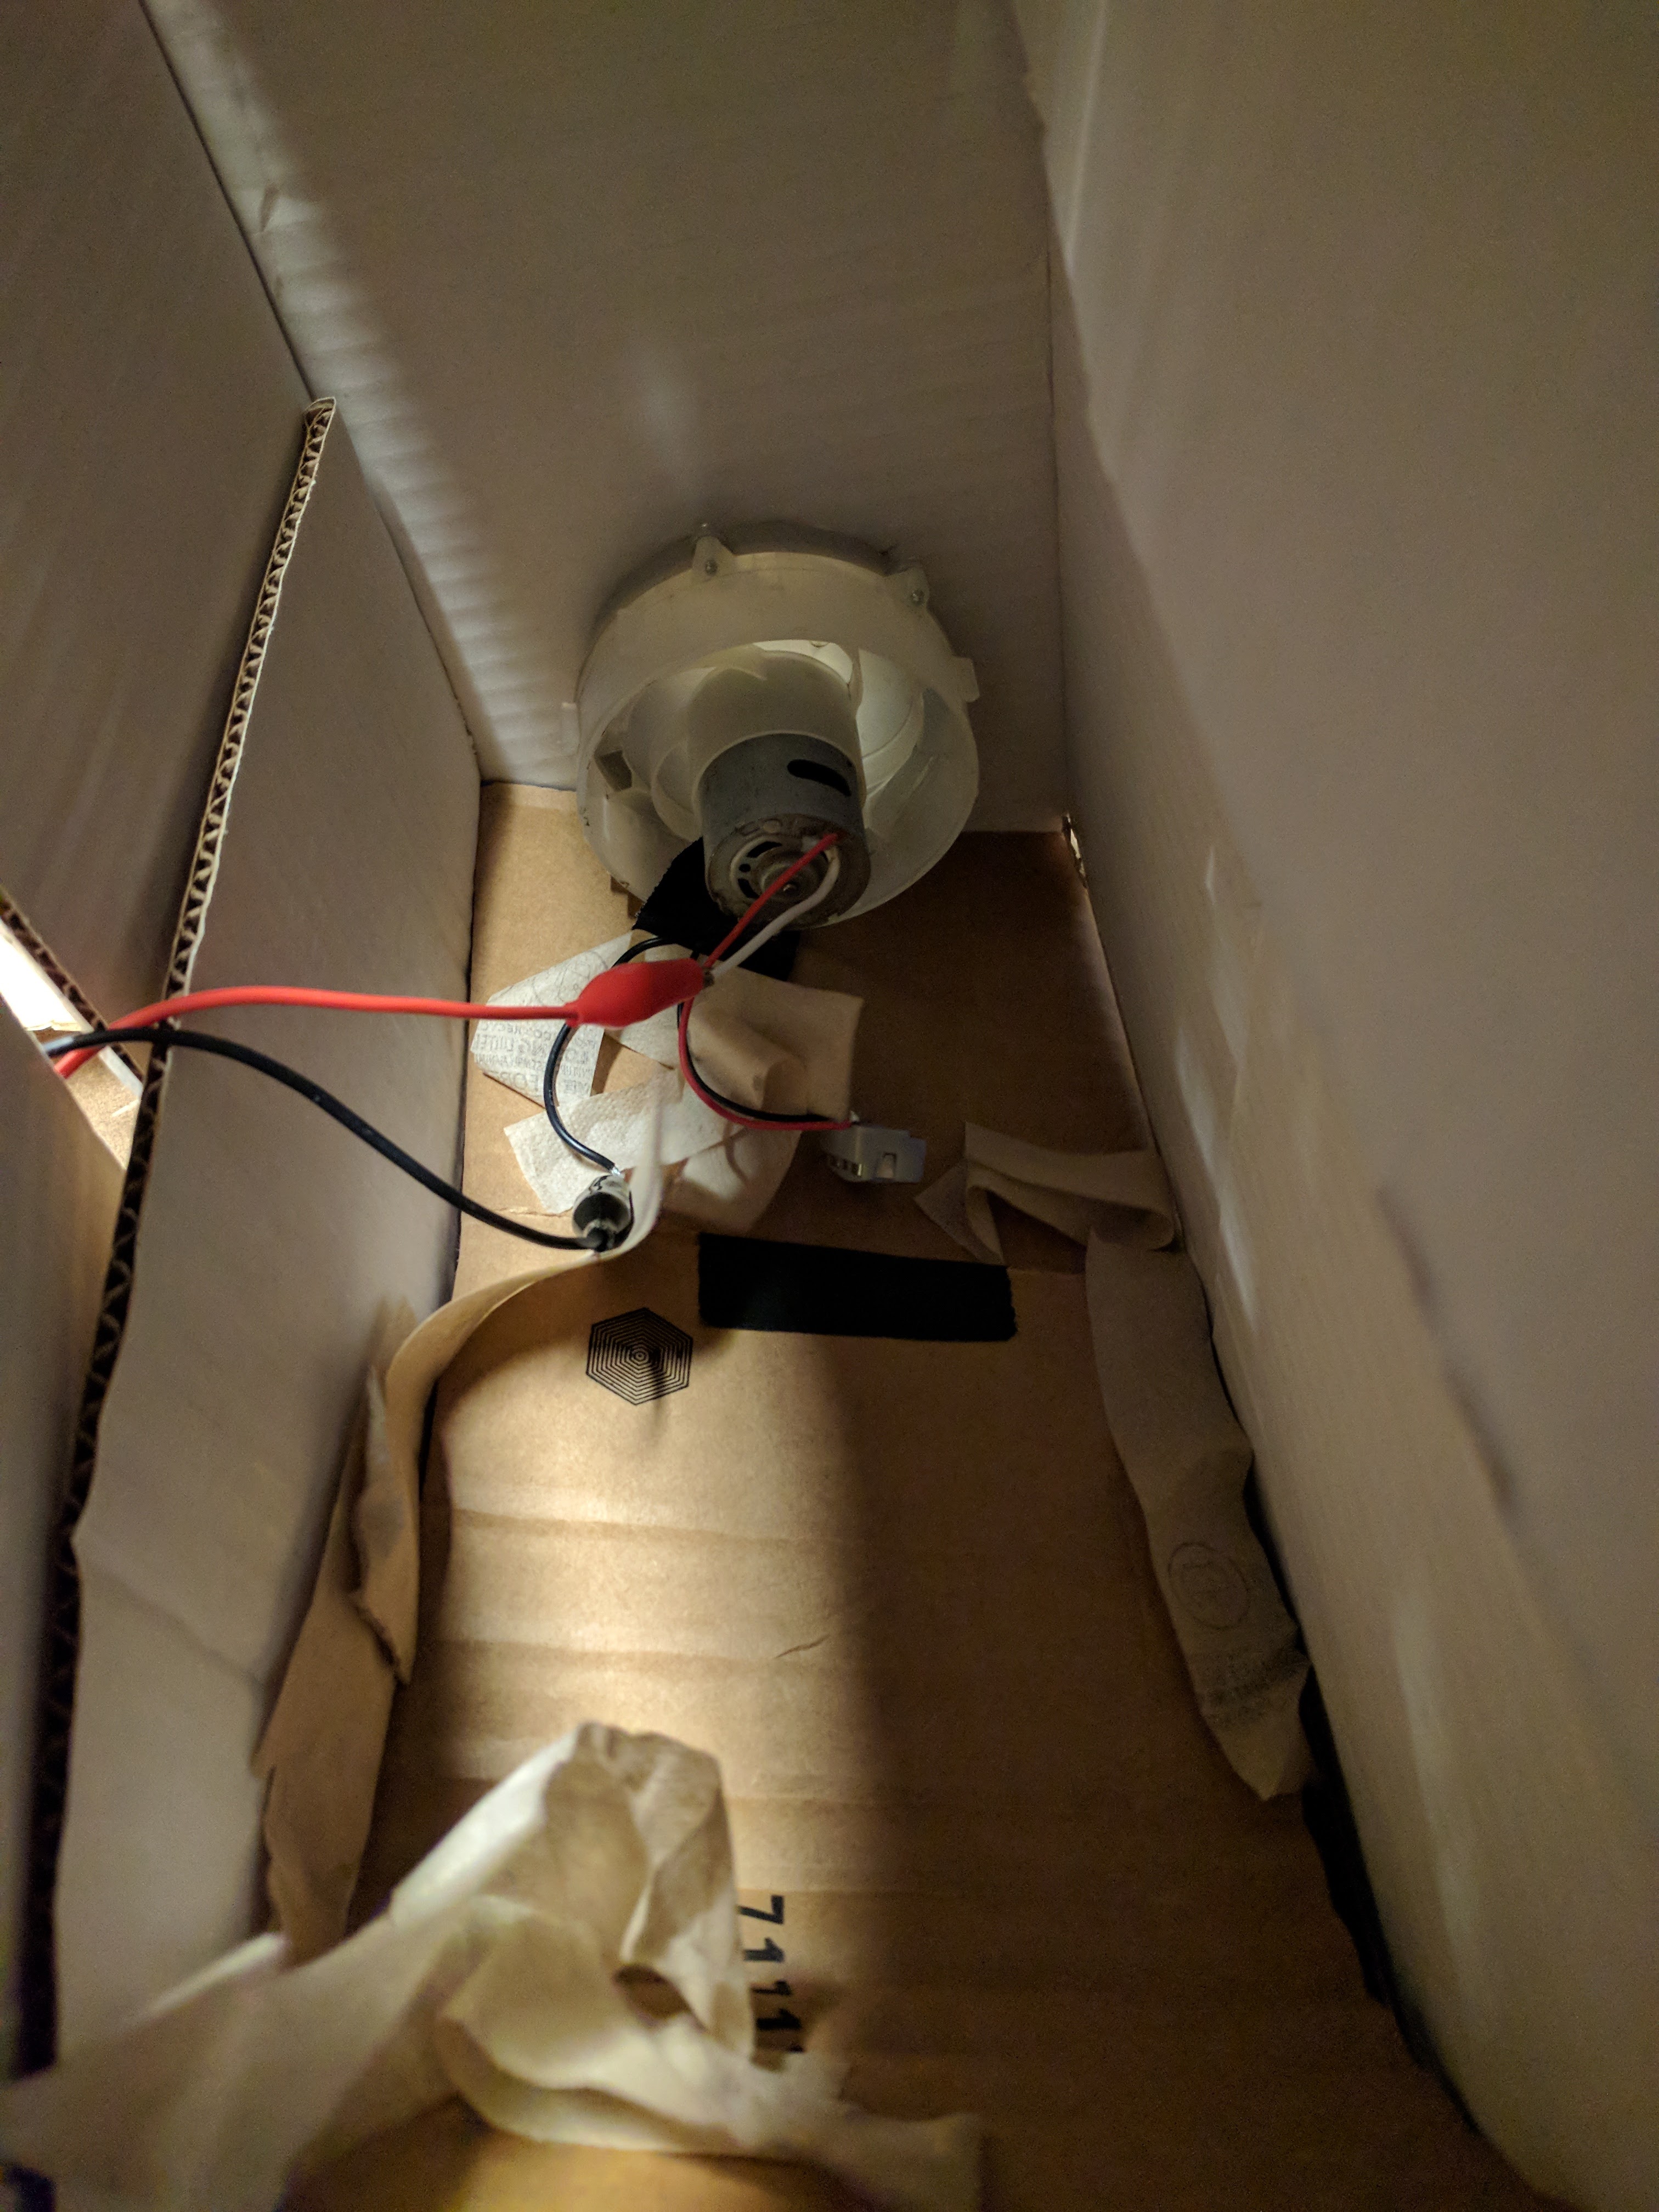 I then tried with the fan underneath, blowing up. This worked a lot better to circulate the air. However, I felt that the box was too large for the strength of the fan so I separated the box into a smaller section and tested within that.
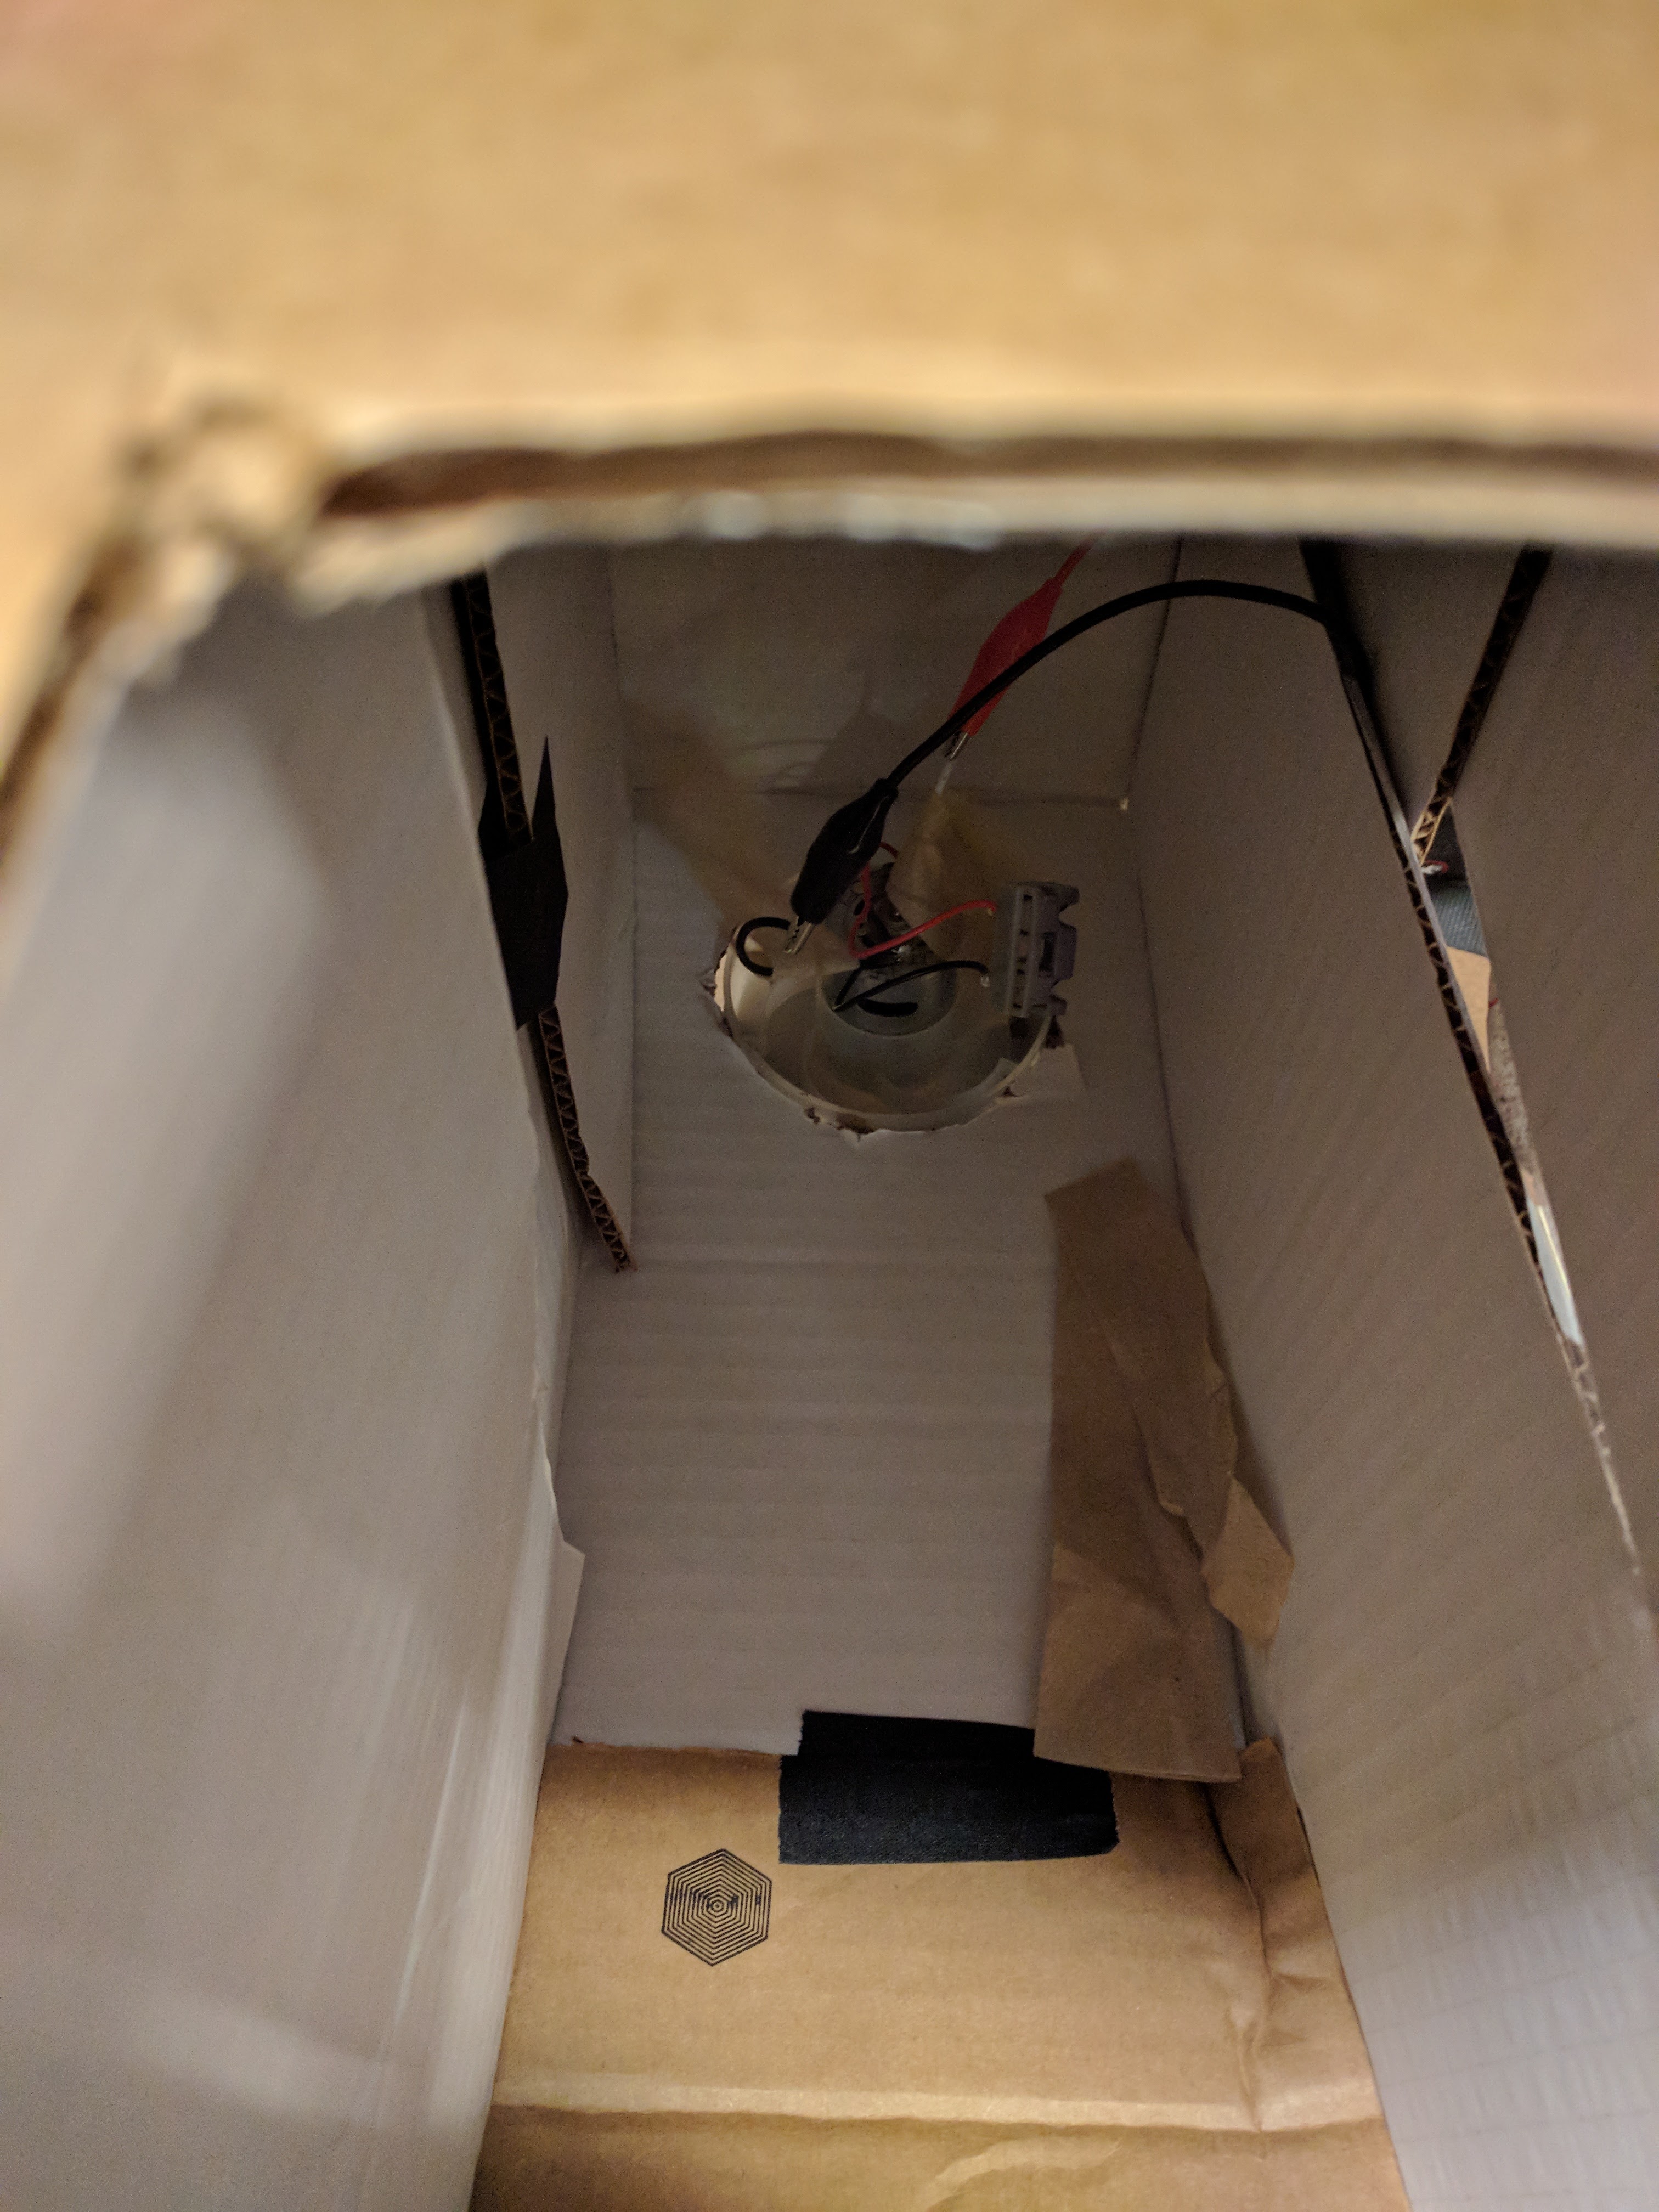
 When testing with the smaller section, I found that a side vent worked better to circulate the air than a top vent.
Making enclosure
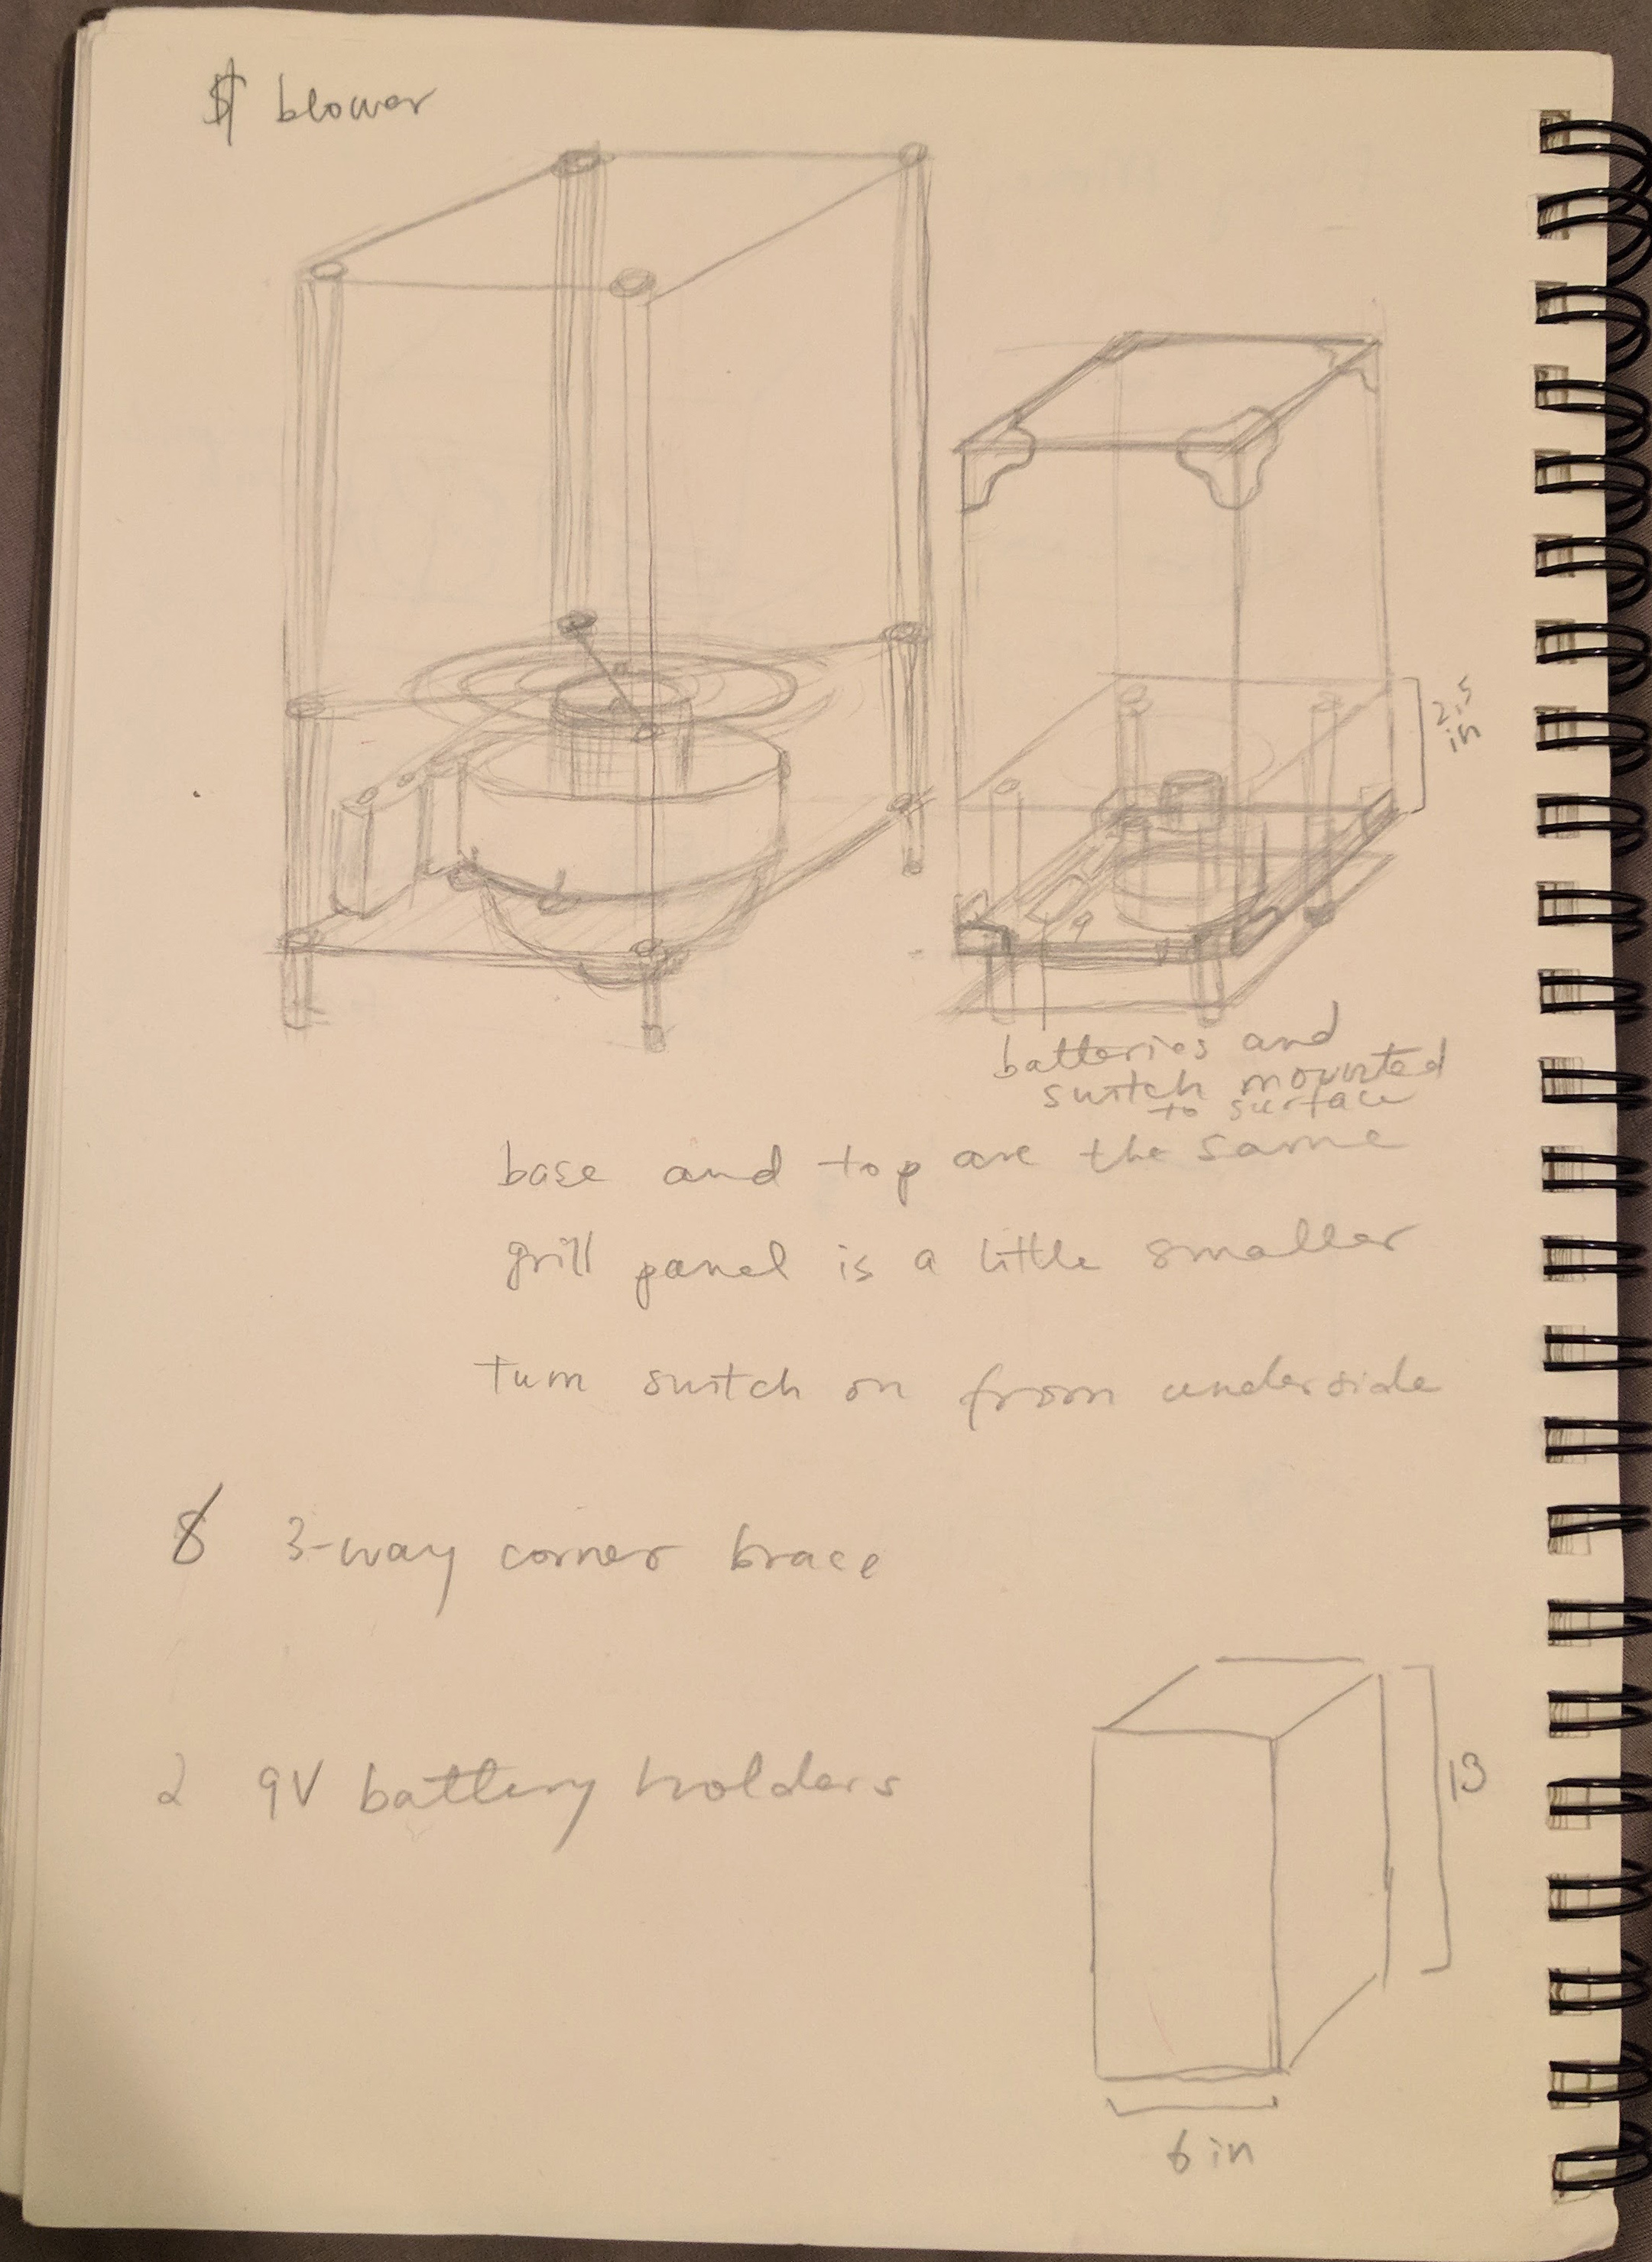
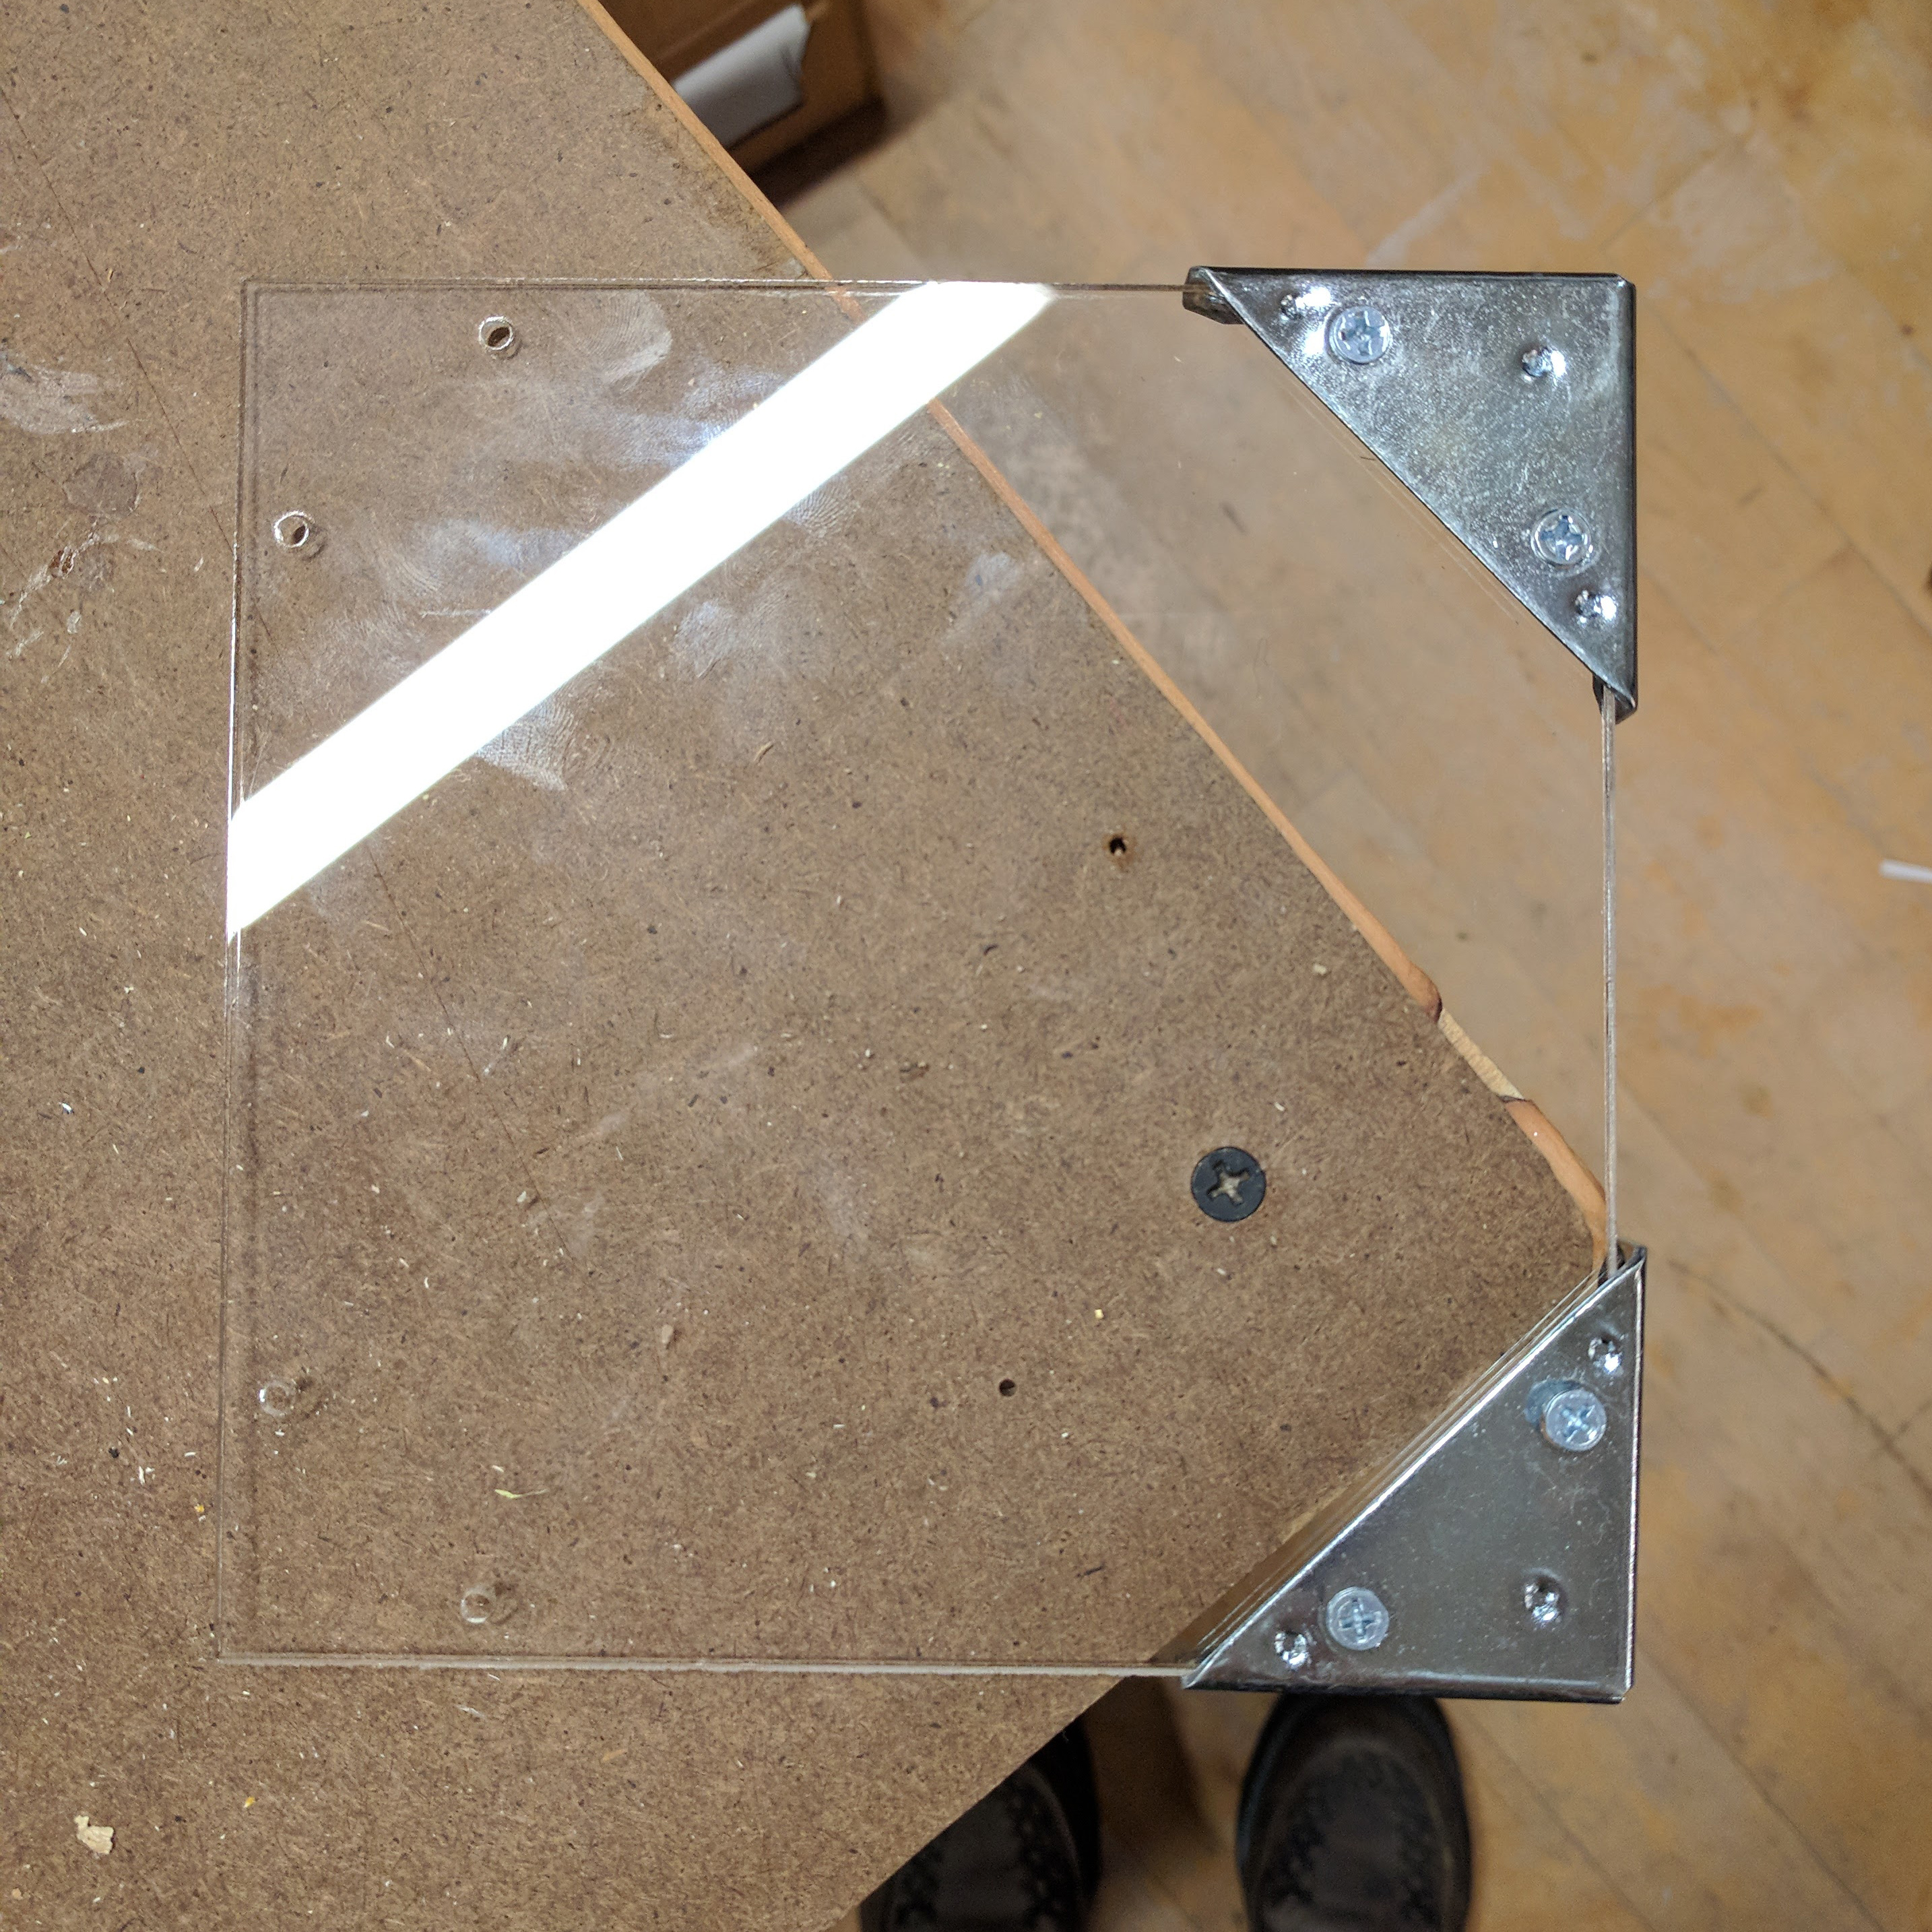
Enclosure designs that I ended up differing from. I sketched out each piece that I planned to lasercut.
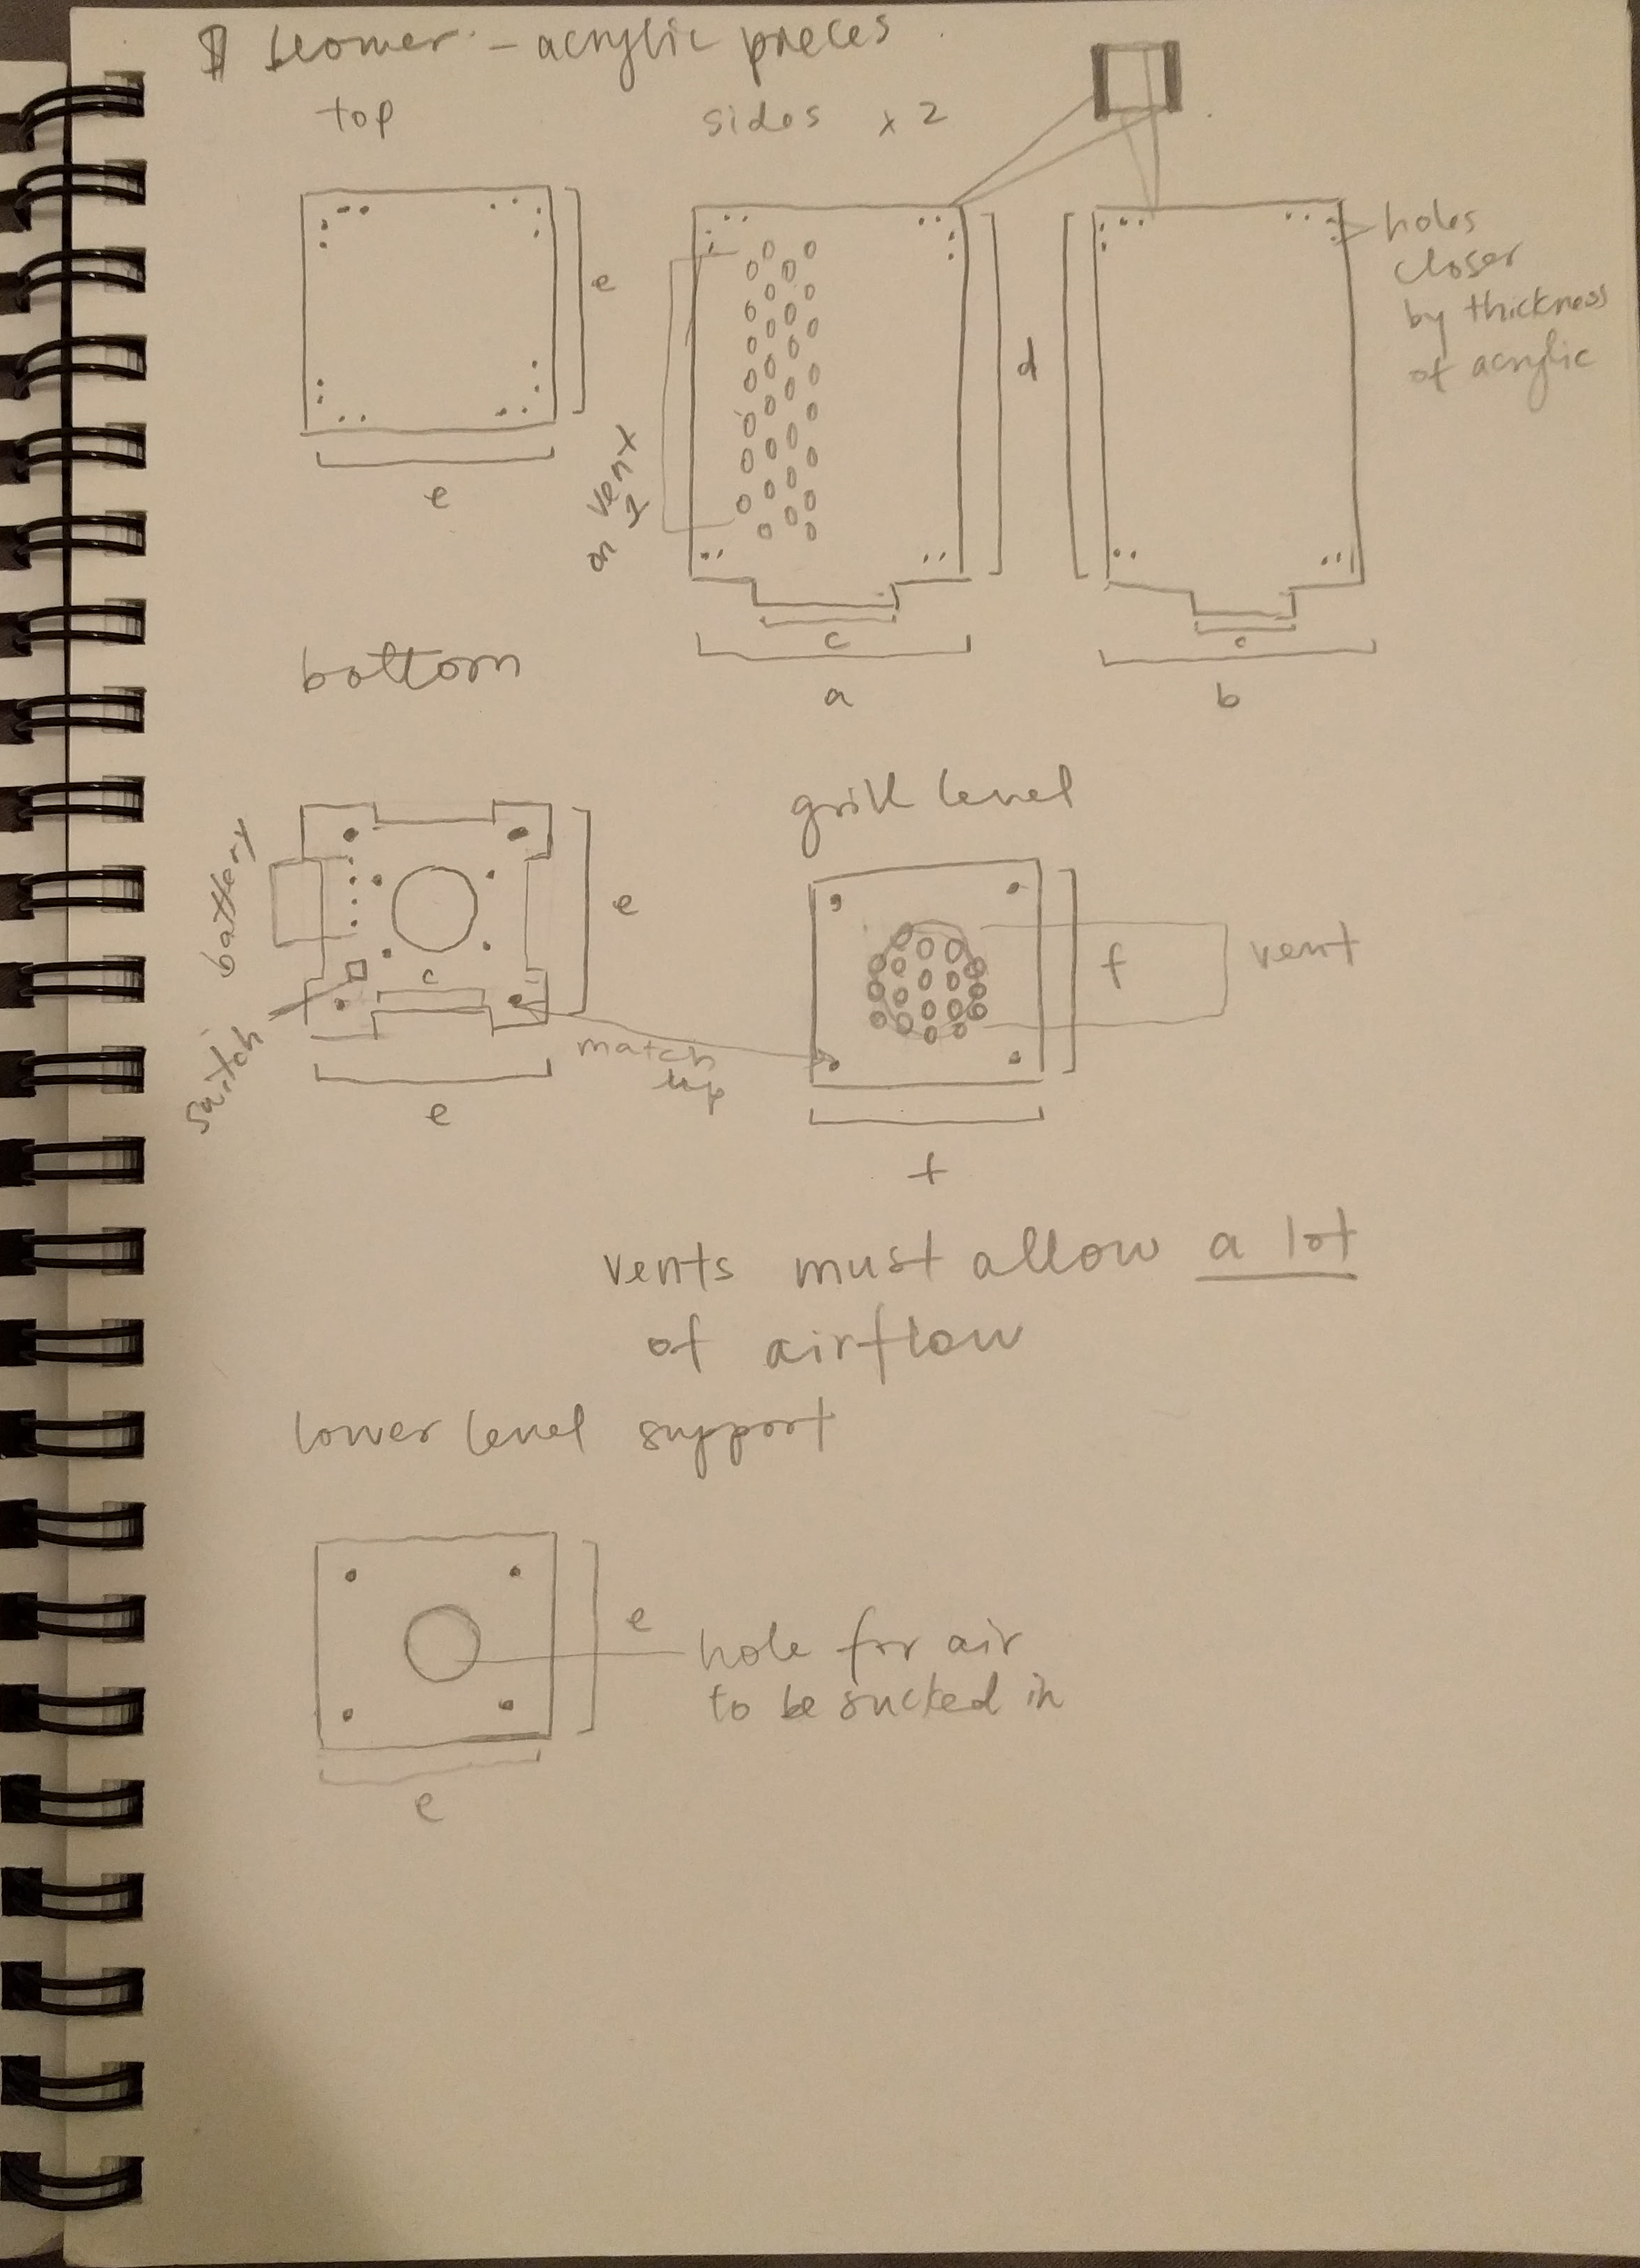
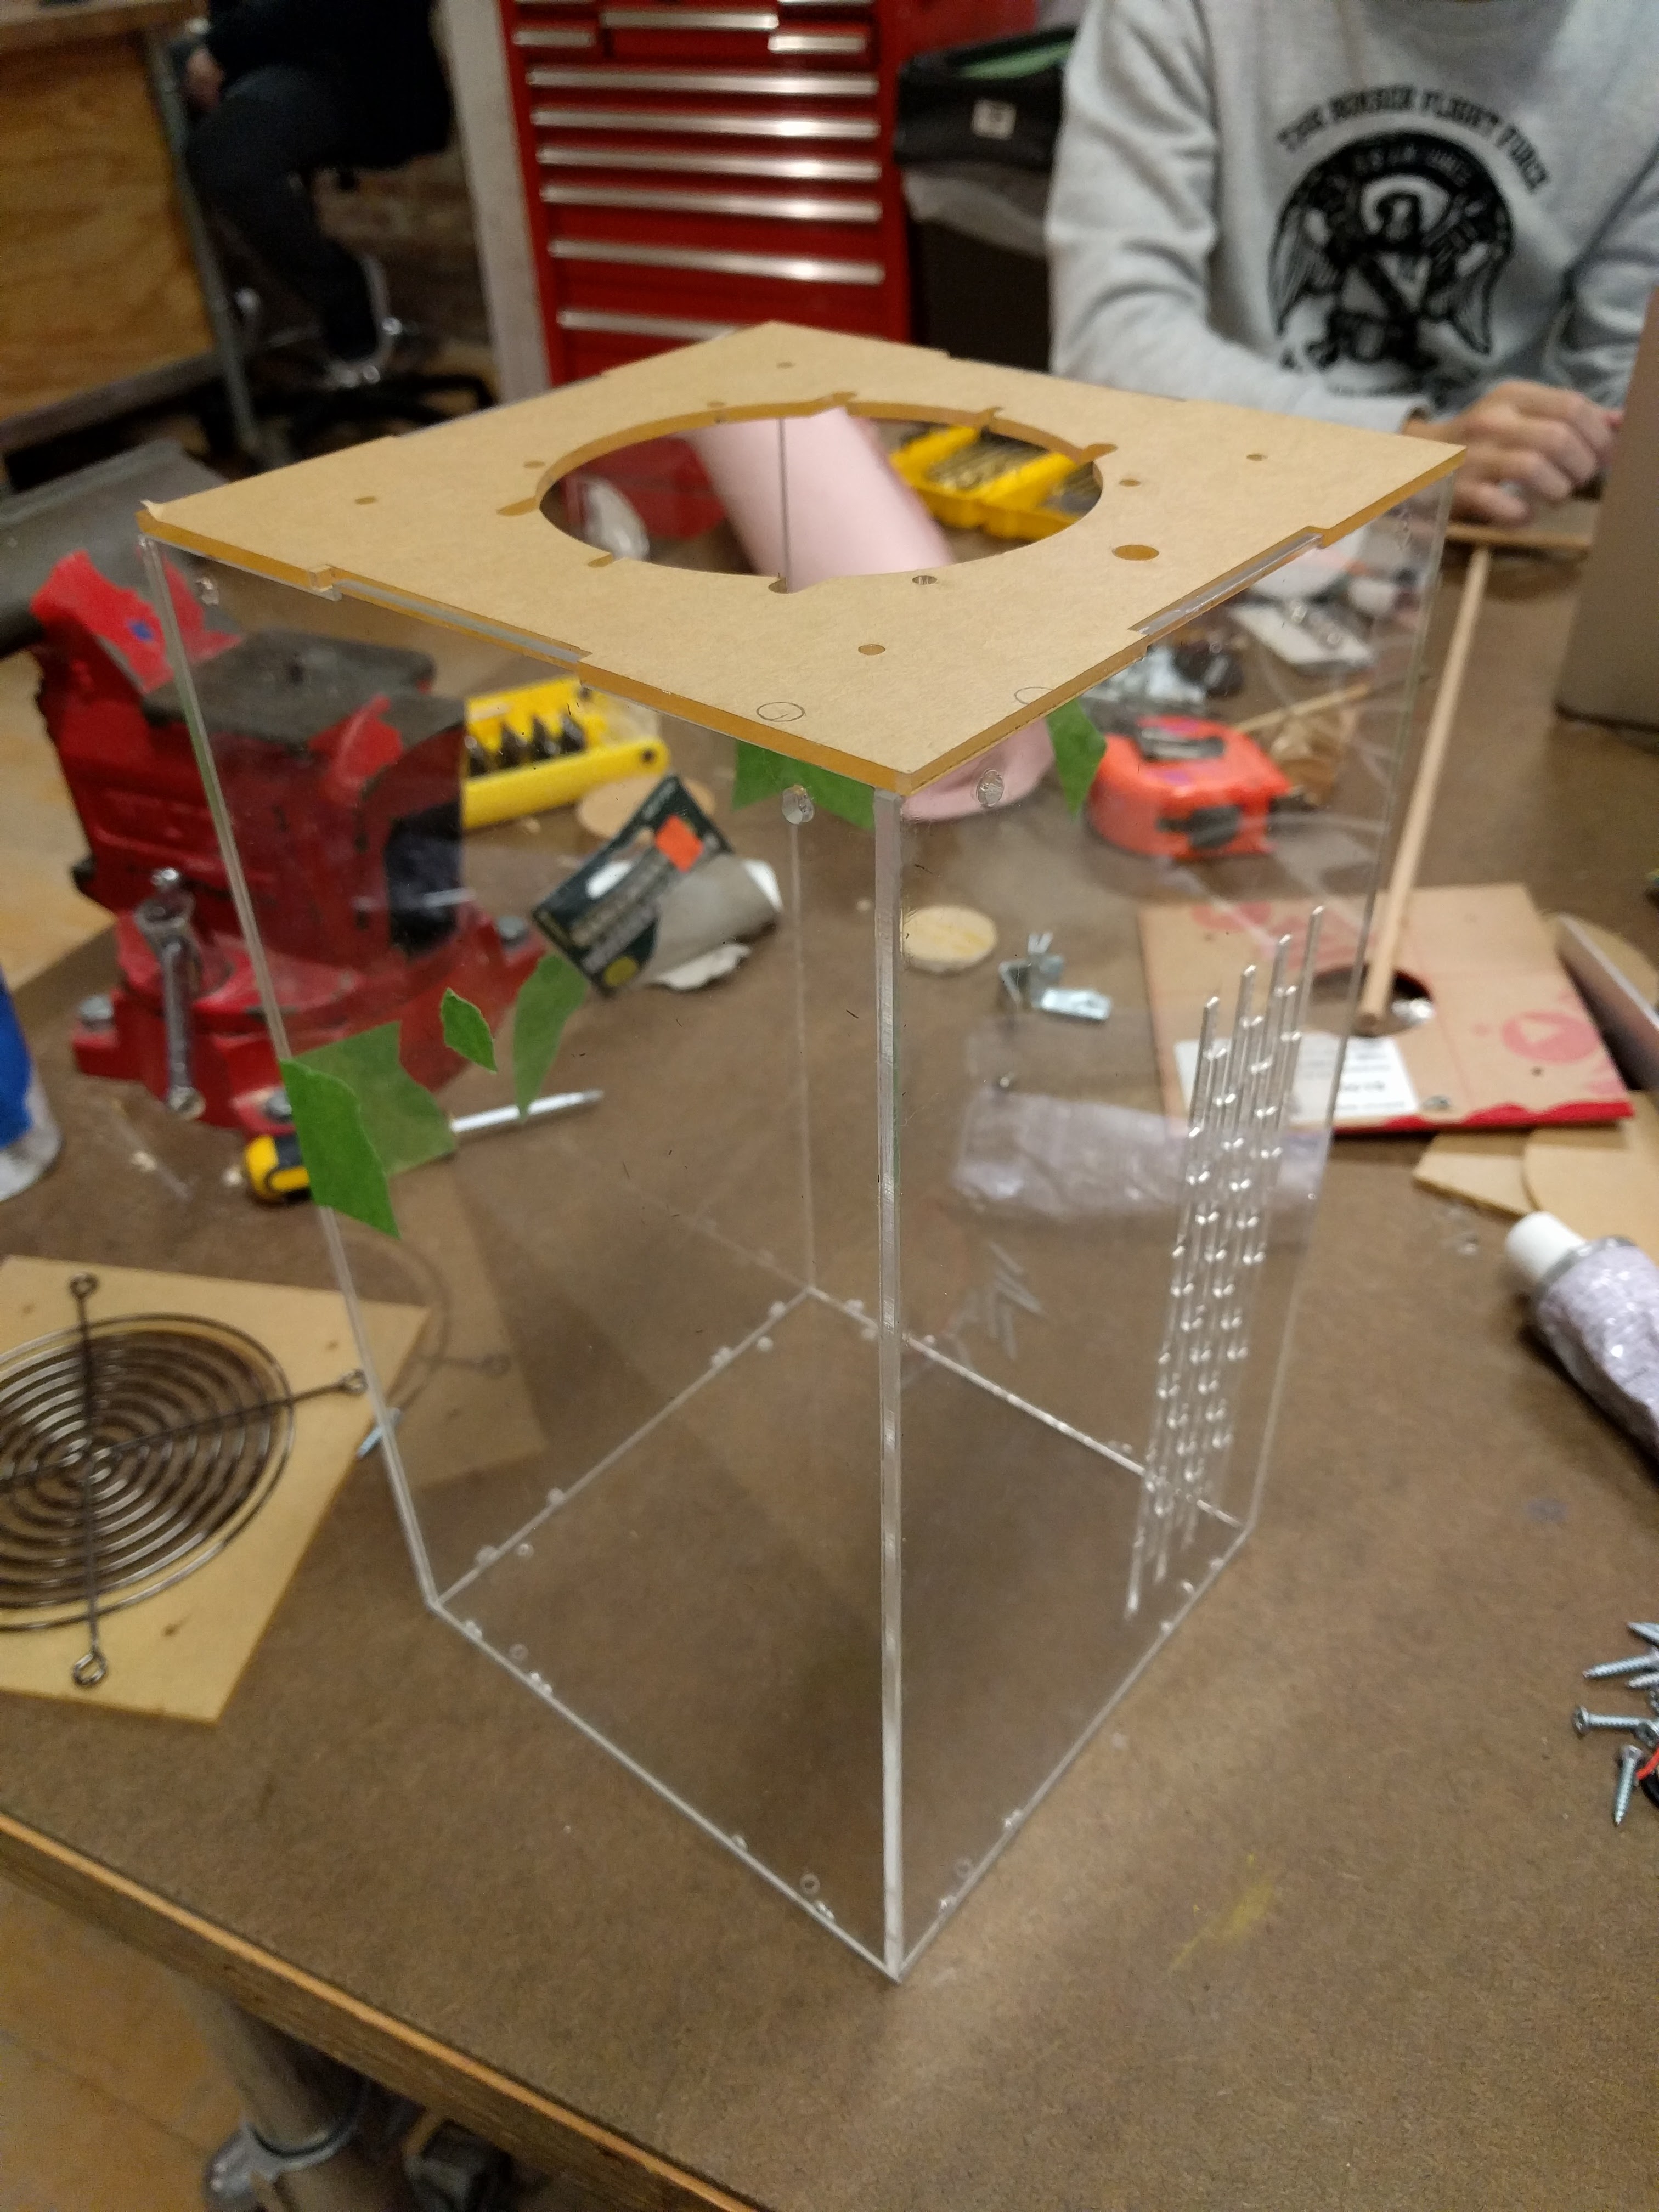
I originally planned to use metal brackets to connect the upper corners and sides. However, I messed up measuring for my lasercuts and all the holes on the right side of the panels did not measure up with the holes on the brackets. I then decided to just use acrylic solvent cement to glue the panels together in a box. This worked out really well and held together, although some angles are not exactly flush.
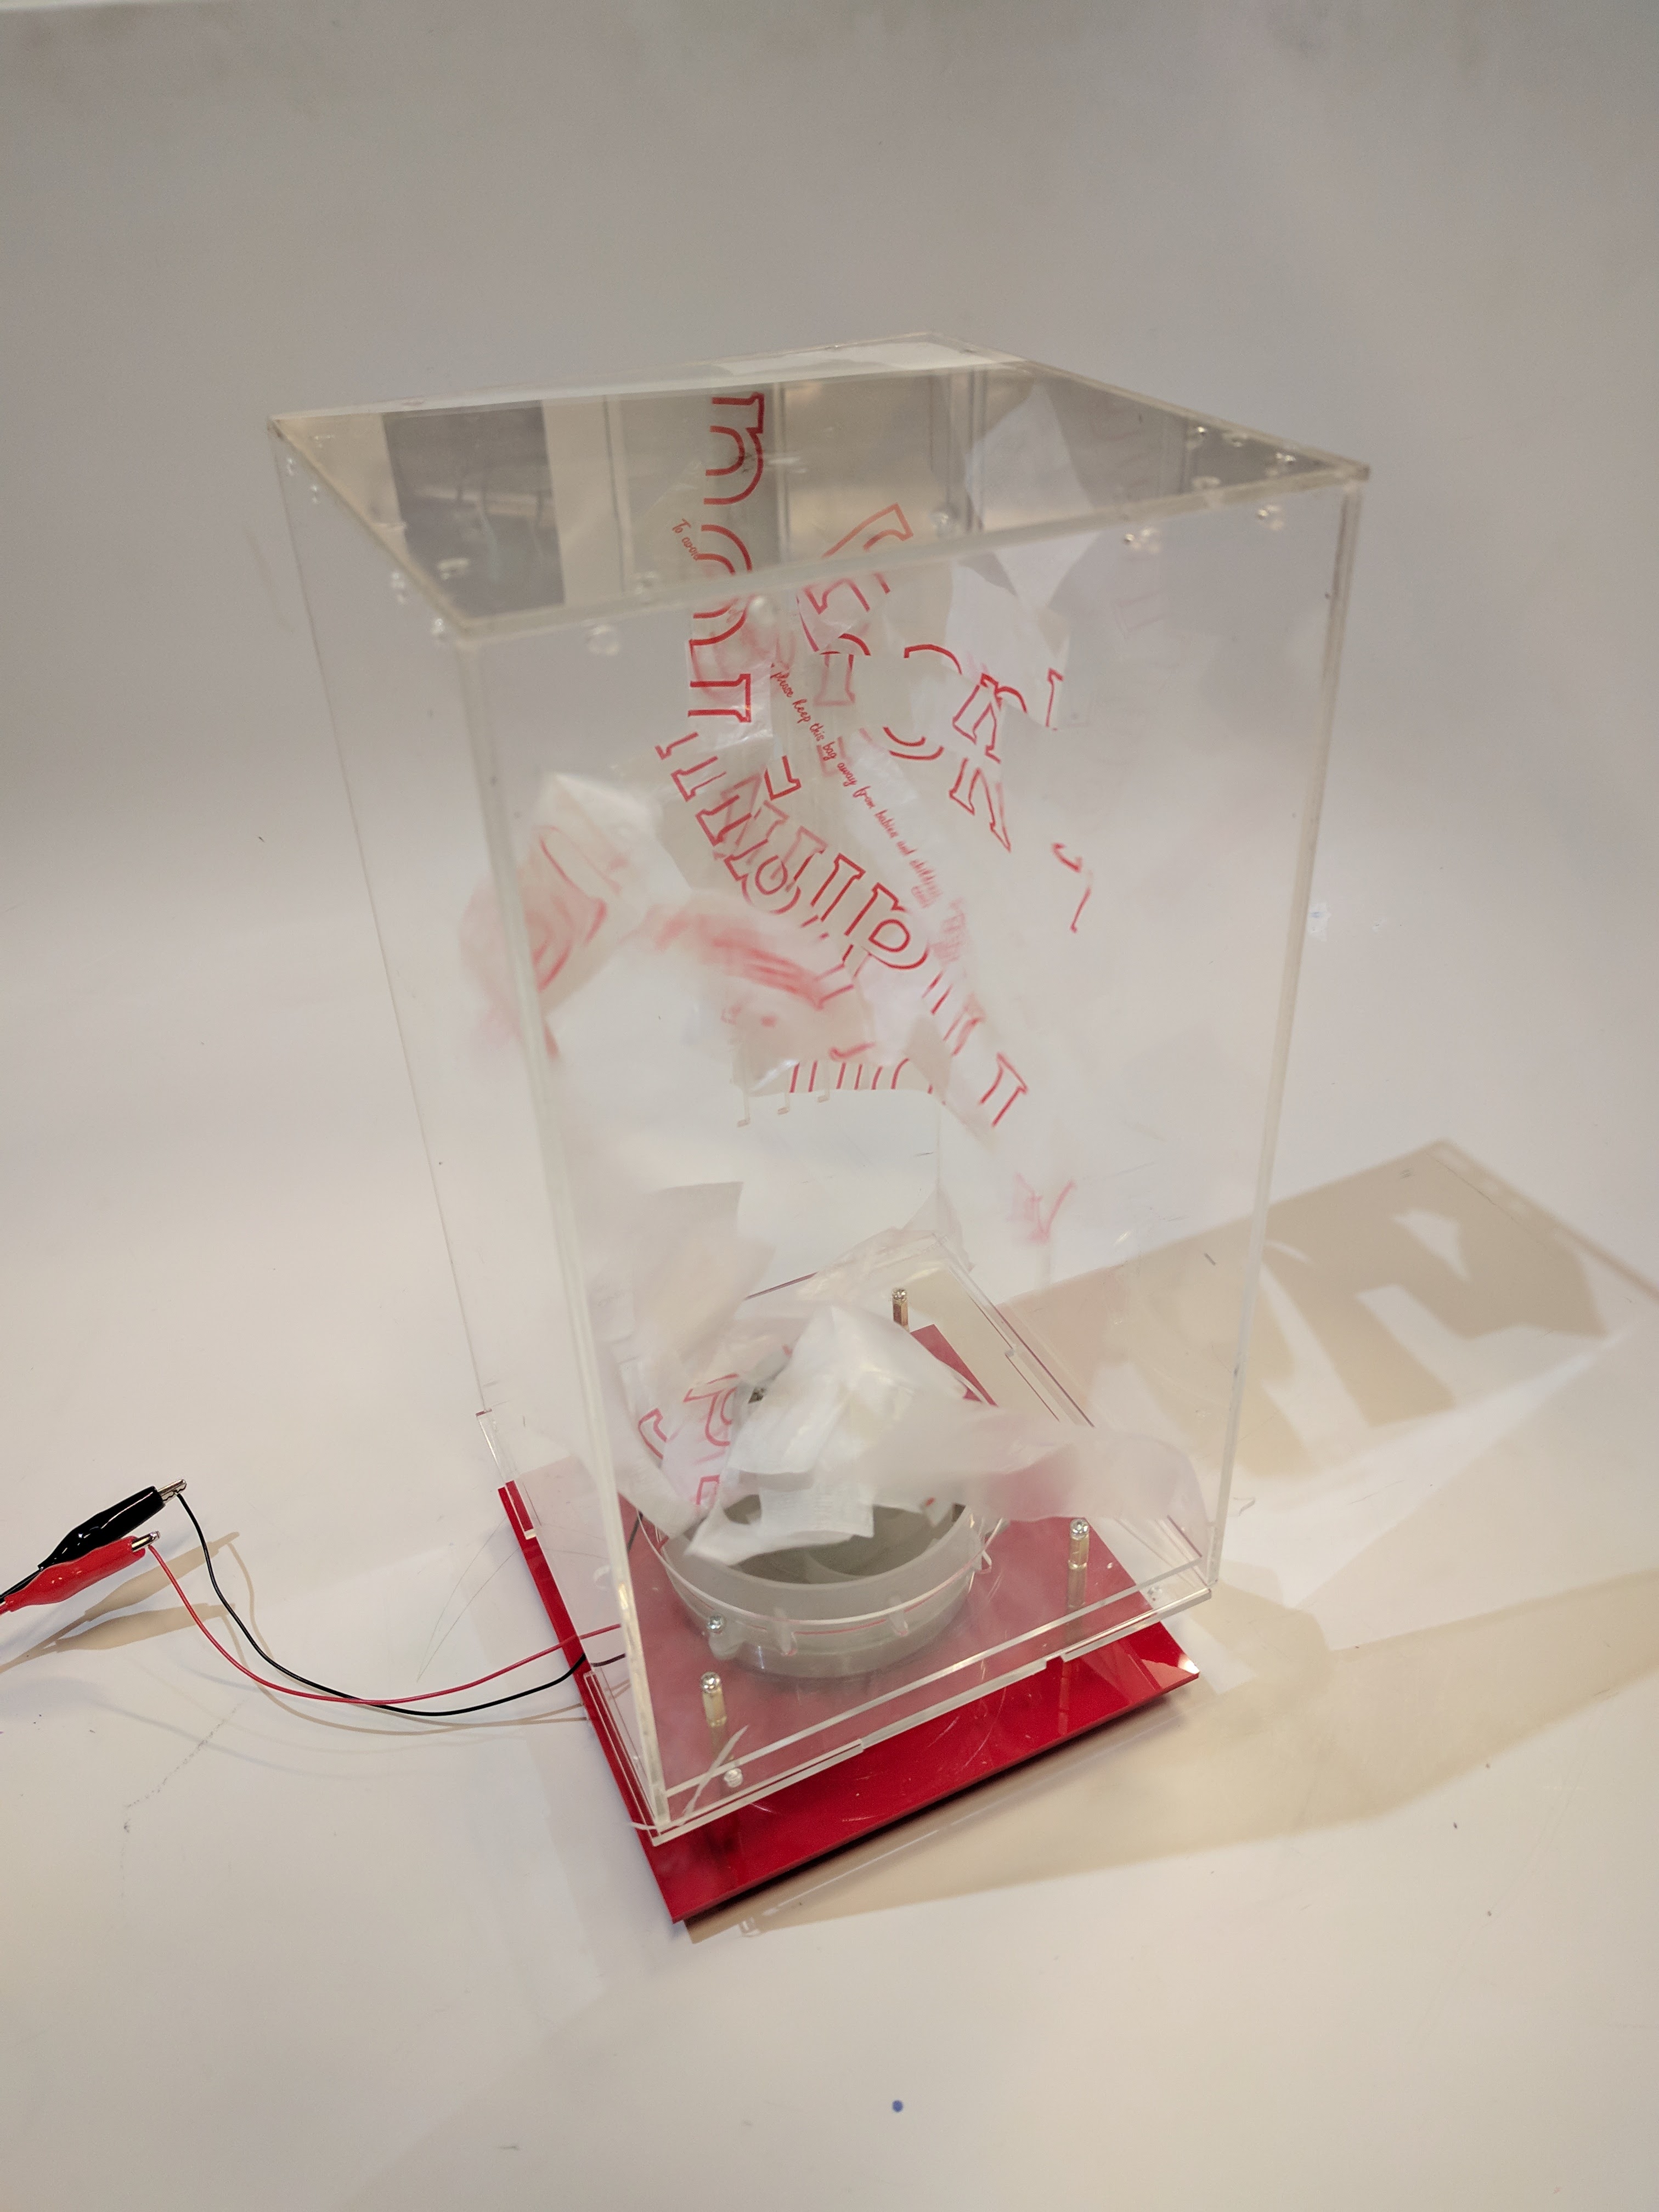
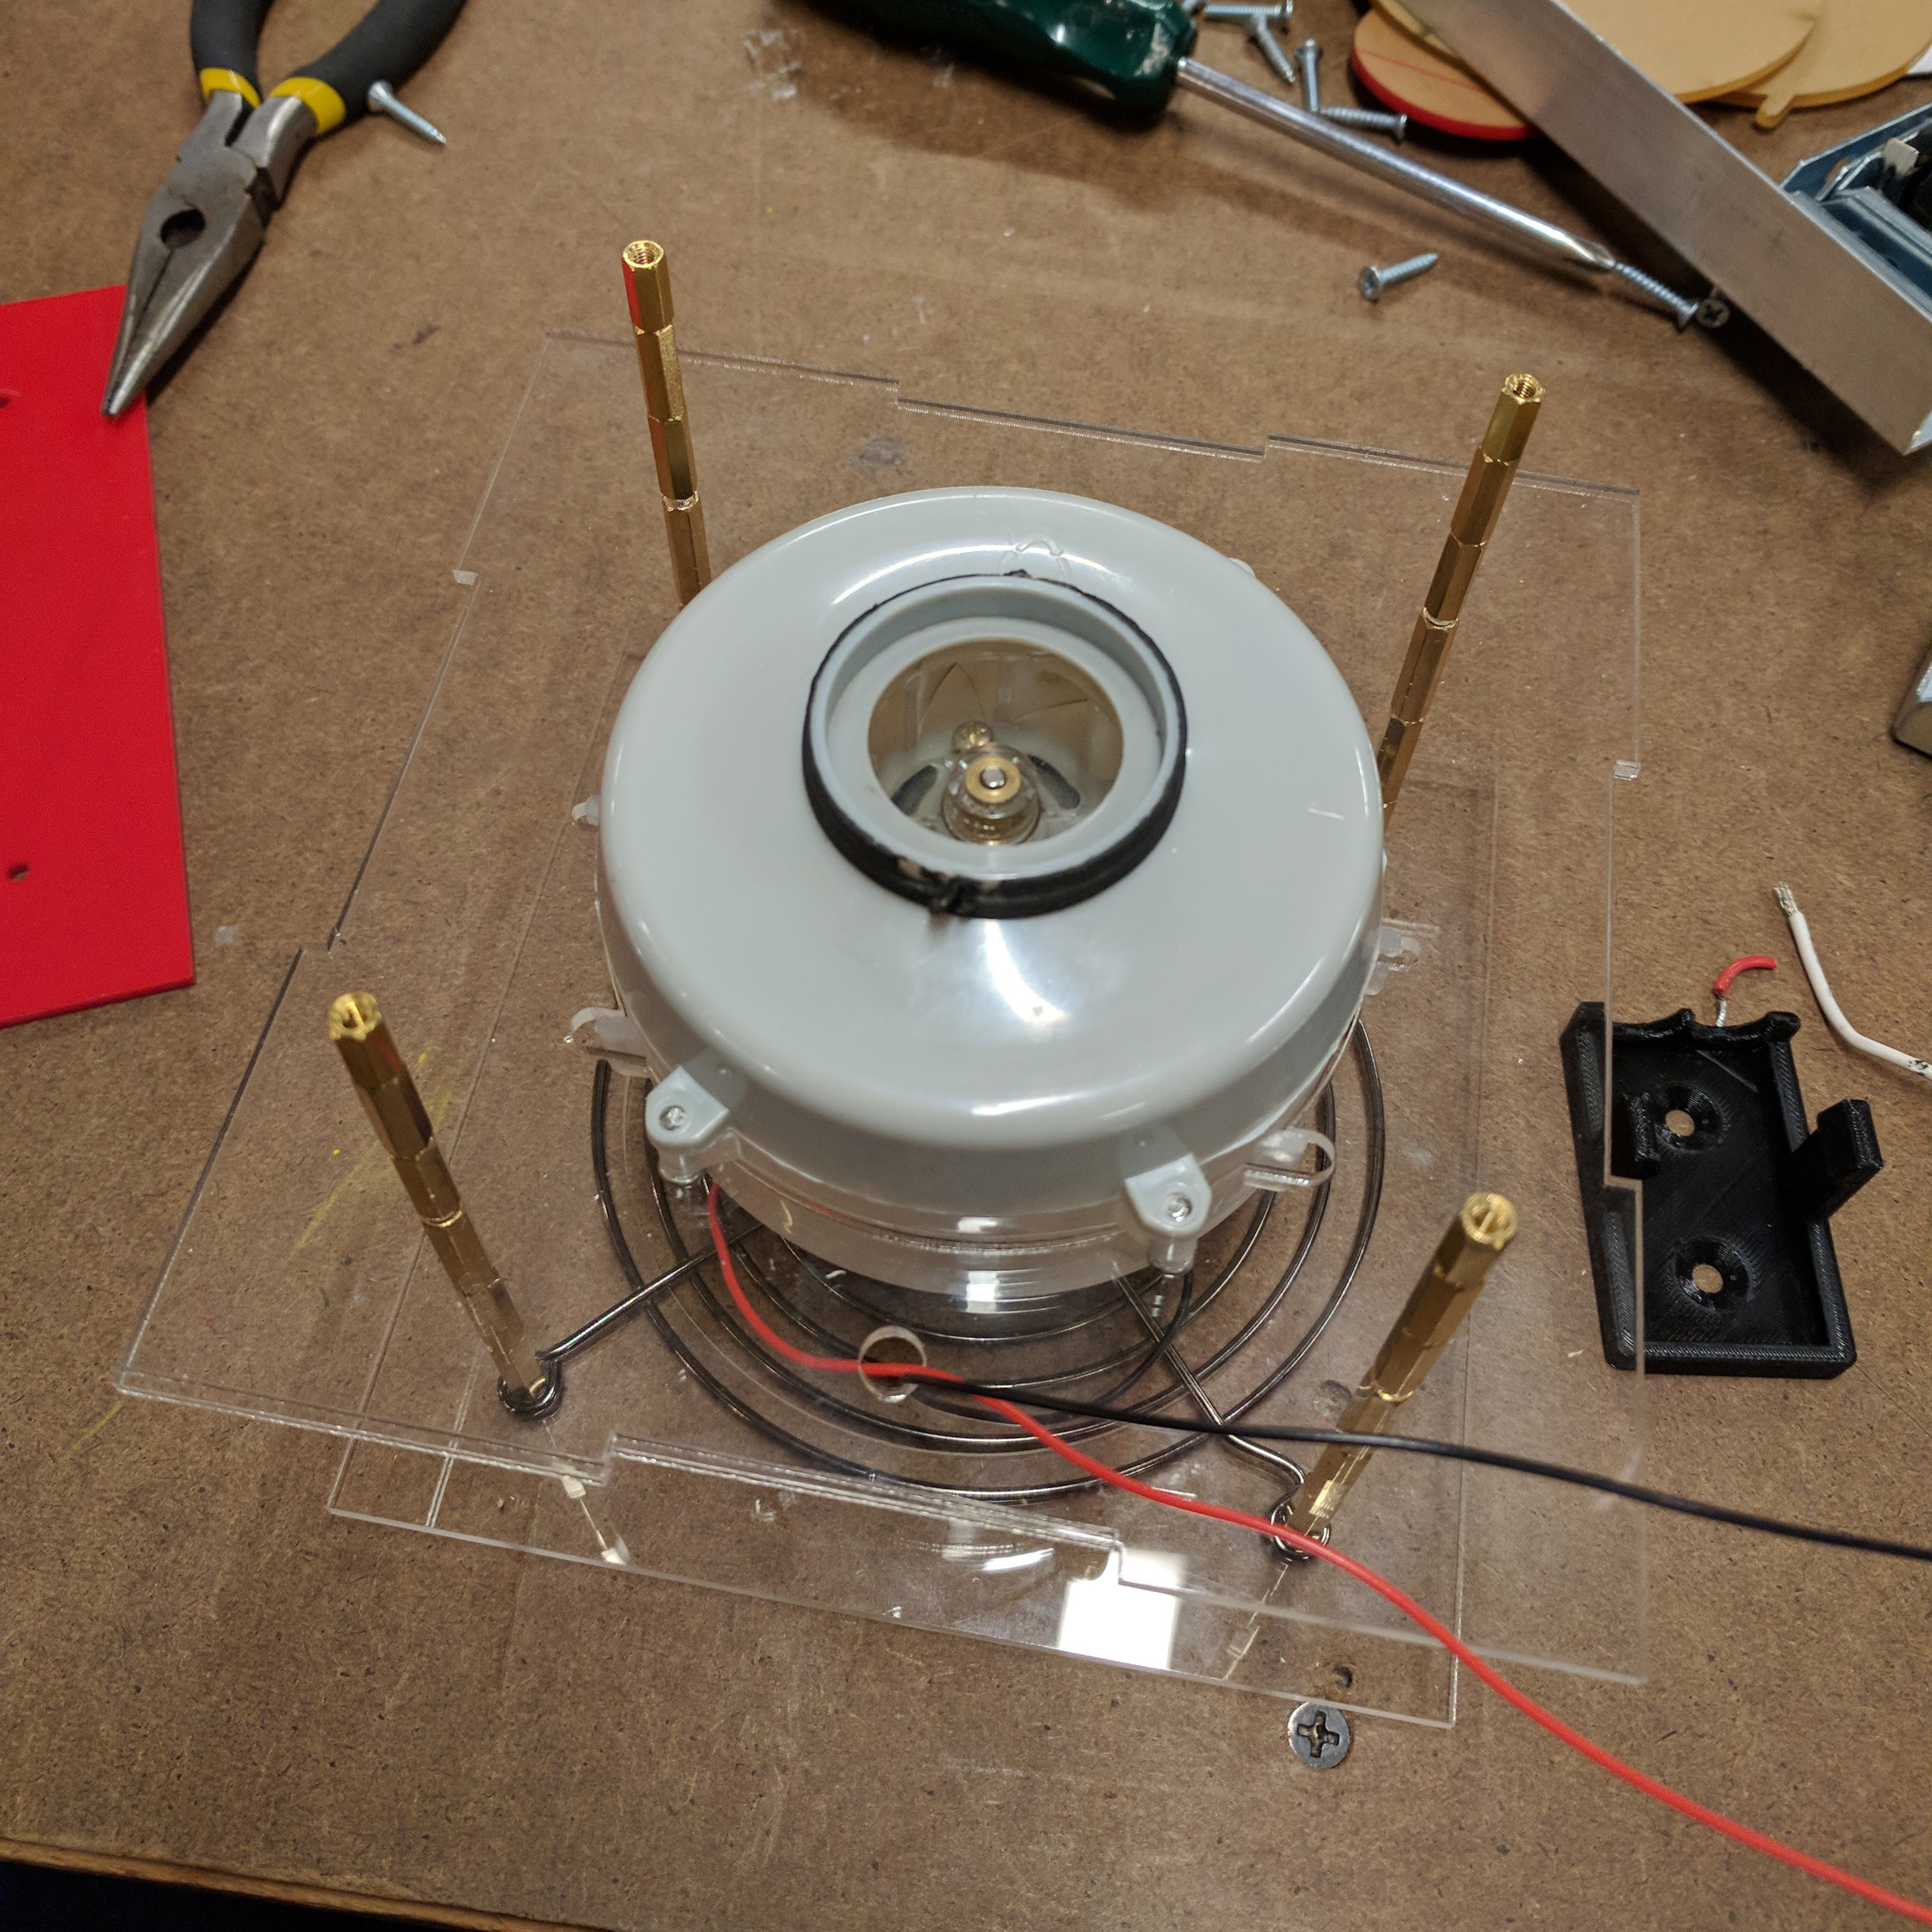
I mounted the motor by fitting a sheet of acrylic around the existing plastic fan and creating holes to match the existing screws. I used the existing screws to screw through the acrylic mount and then through the original holes in the fan. I went through many iterations in cardboard to fit the motor into the acrylic.
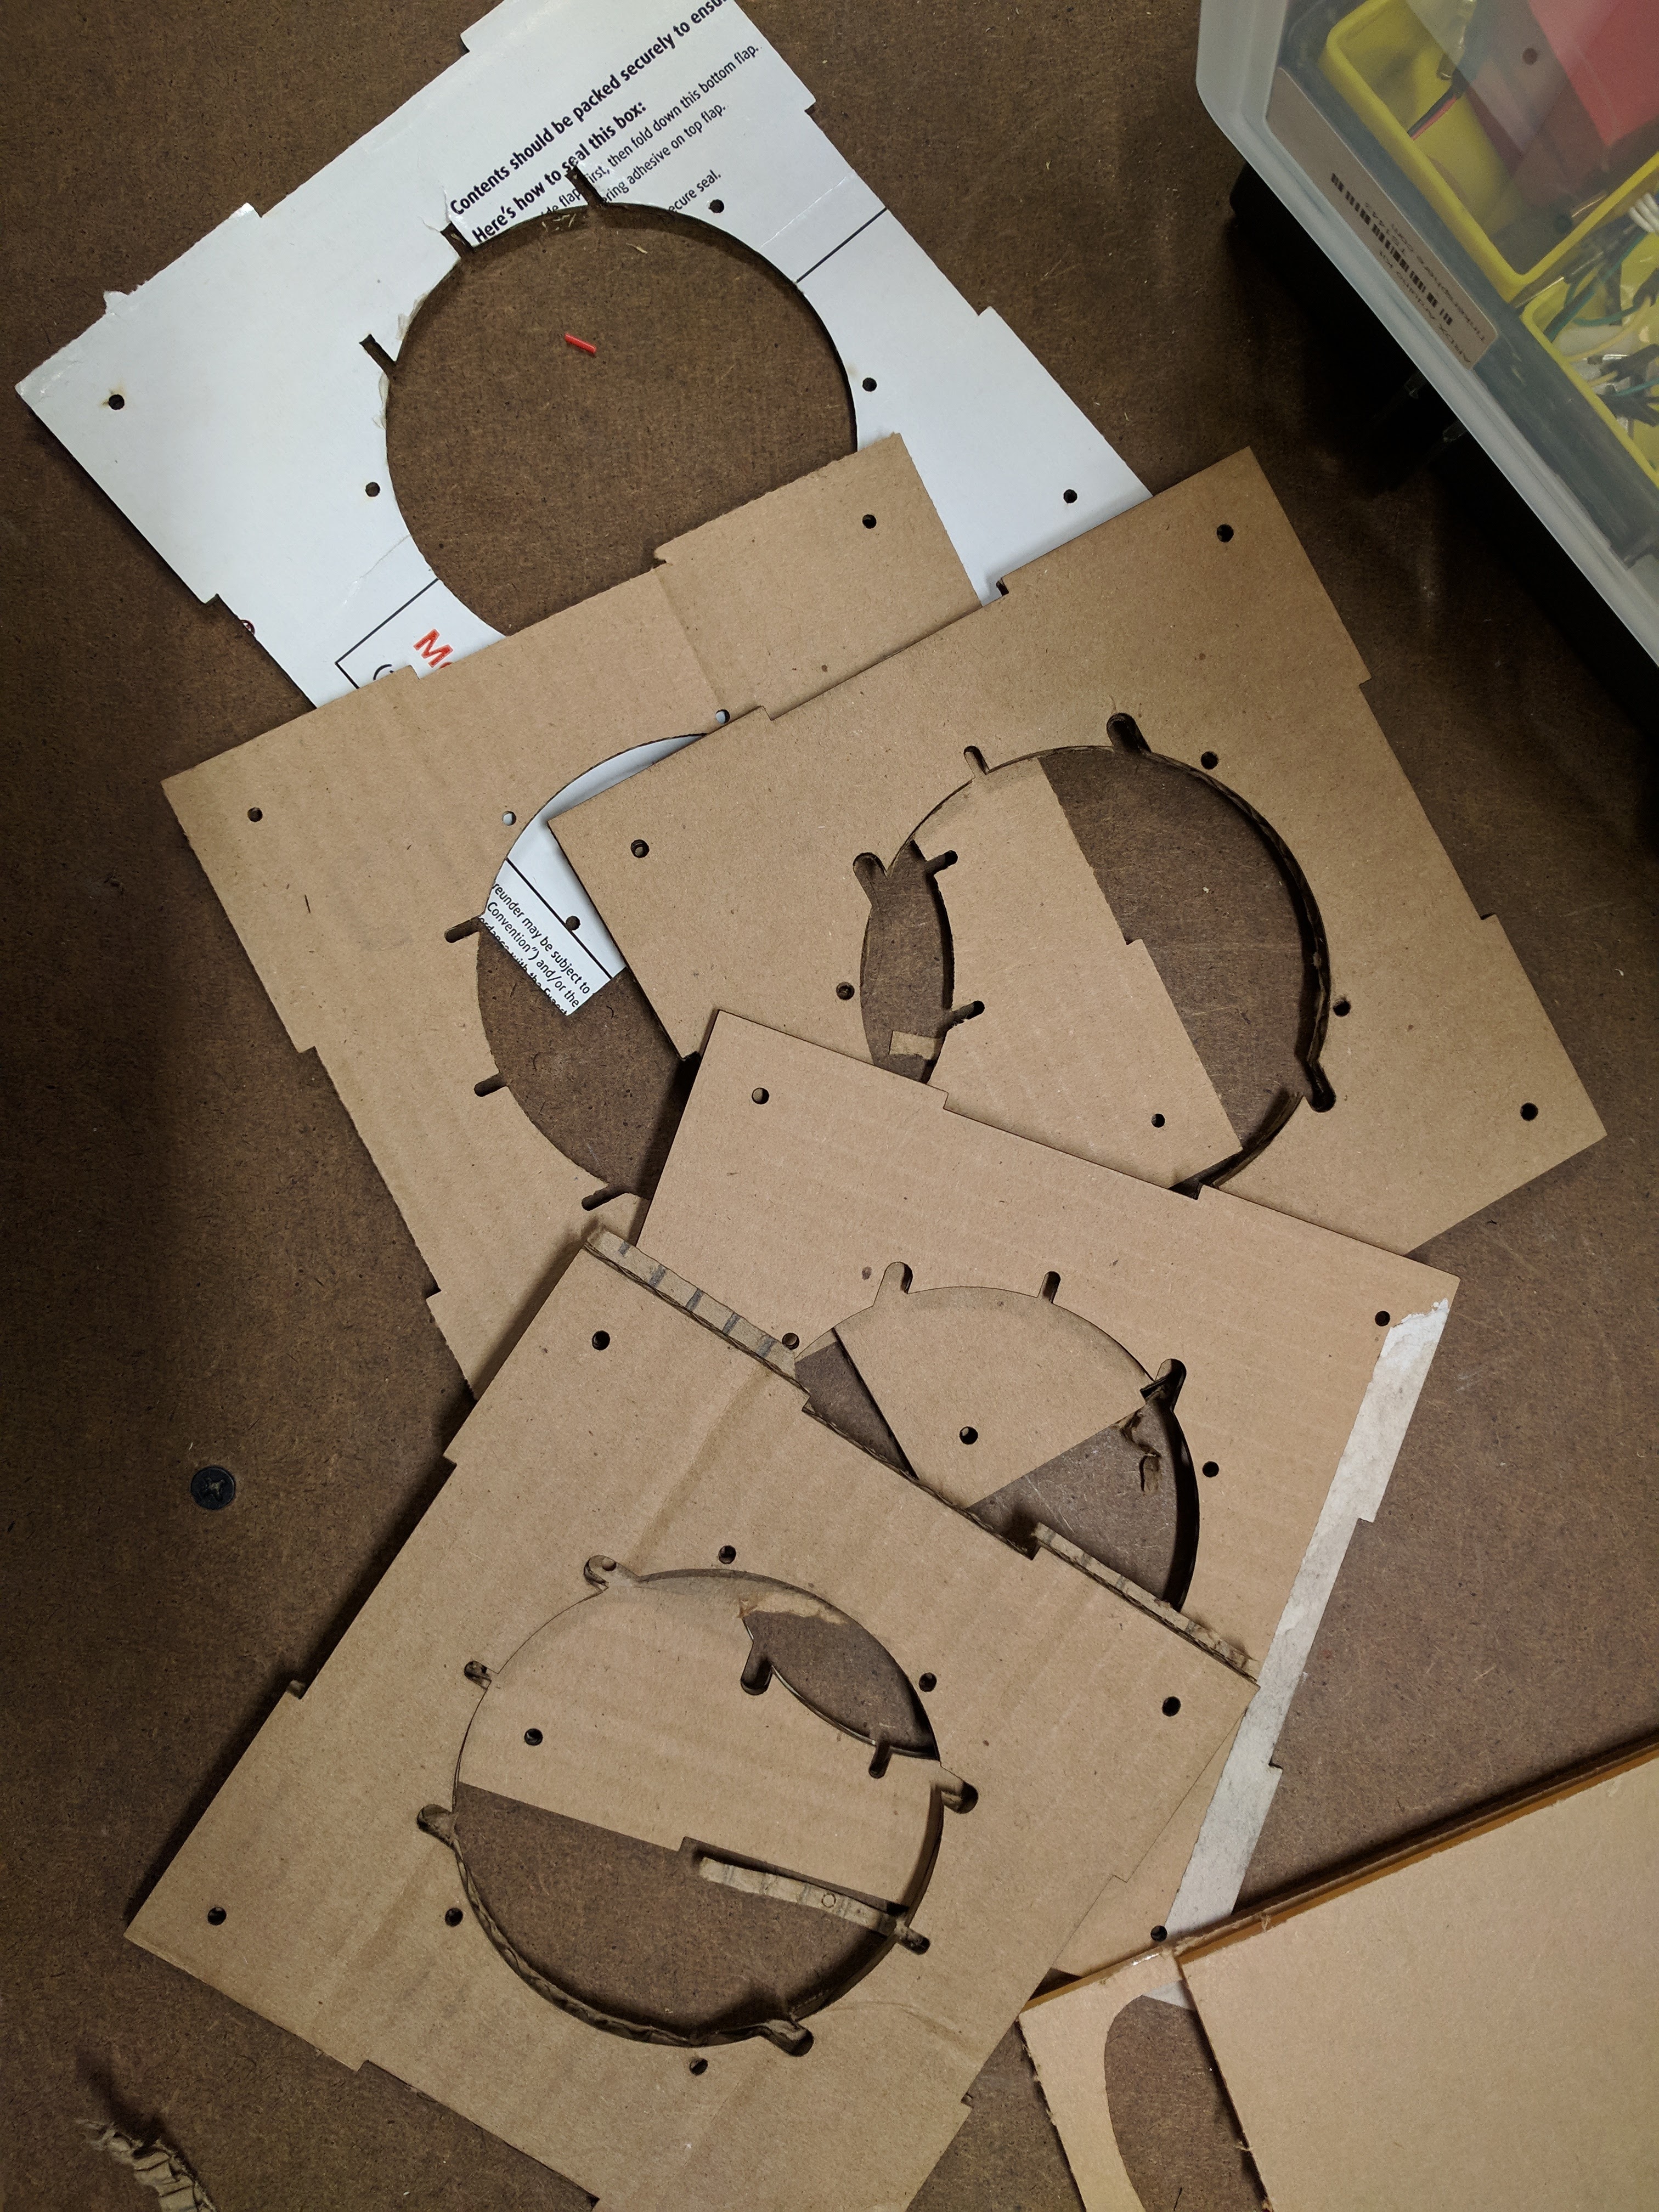
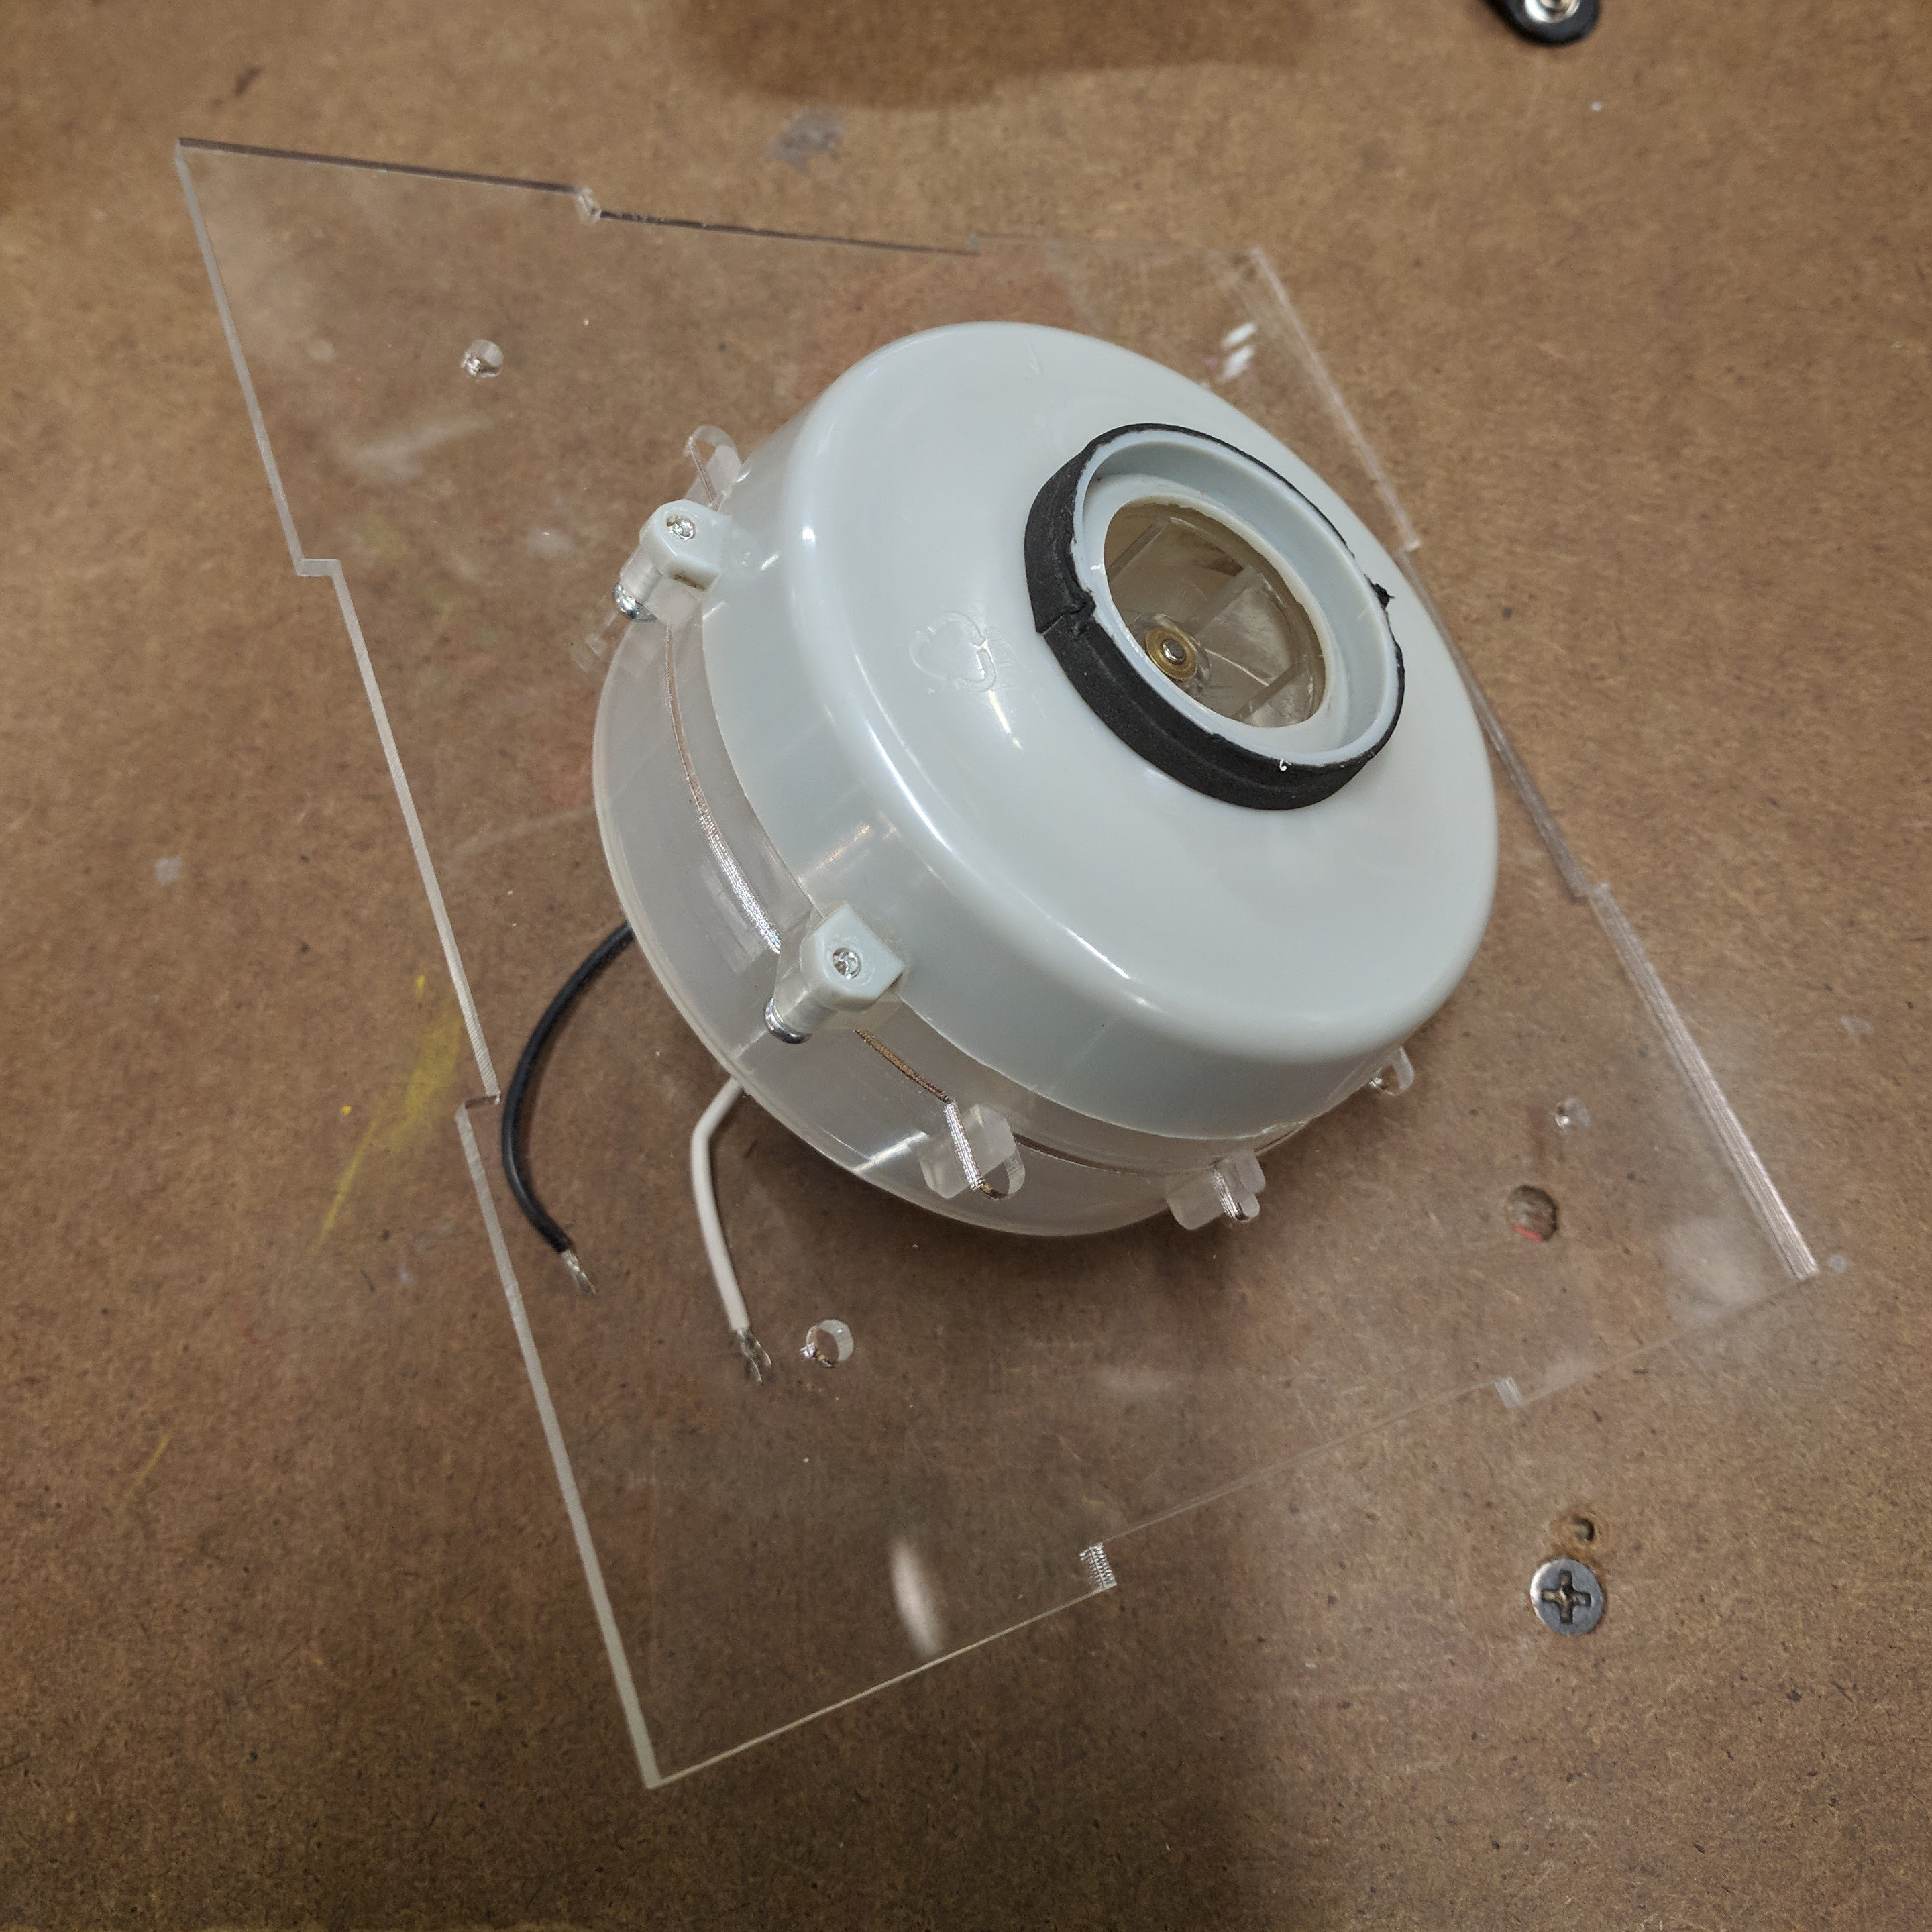
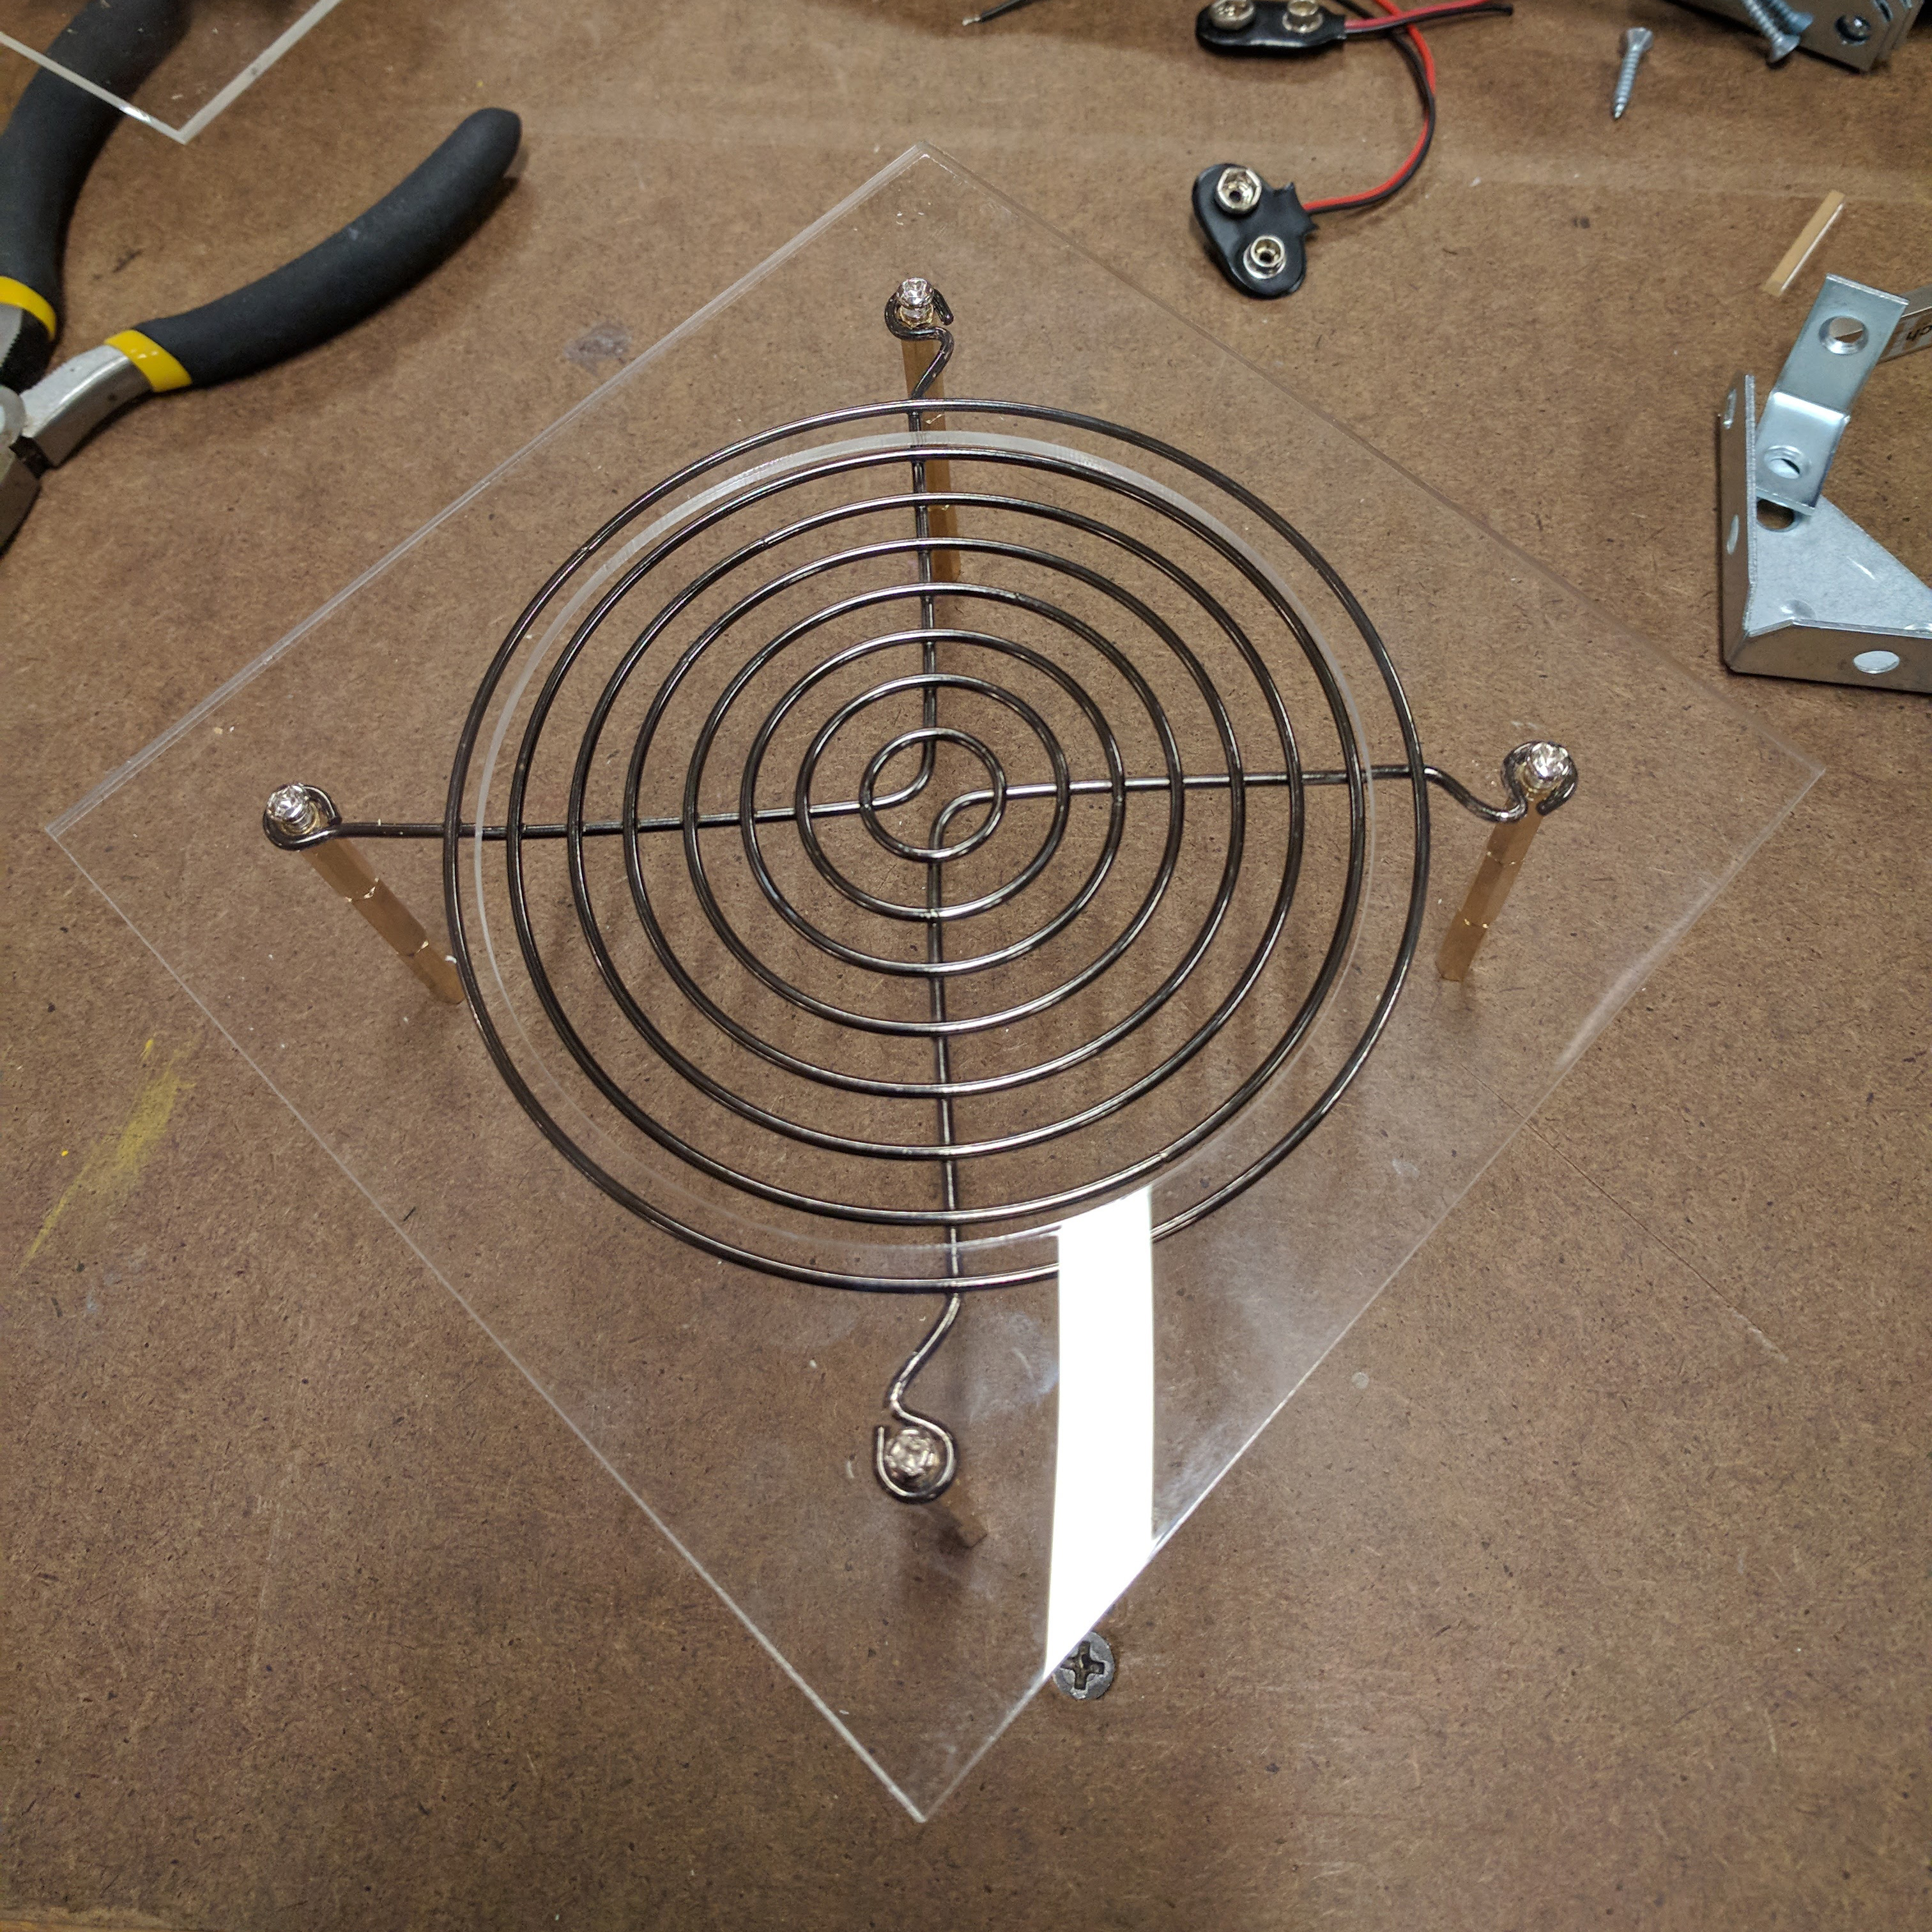
During my air flow tests, I saw that the paper often got stuck on the wires connected to the motor. That is why I designed a grill to sit on top of the motor which was mounted with standoffs. However, I didn’t end up using it because it caused even more airflow problems than the loose wires. Because of the distance between the fan and the grill, the grill layer caused a difference in air flow on either side of the layer, making the paper get sucked onto the grill. The paper flies up in a circular motion without the grill layer. I removed the metal and lowered the plastic layer to the level of the plastic fan edge.
Testing with different materials
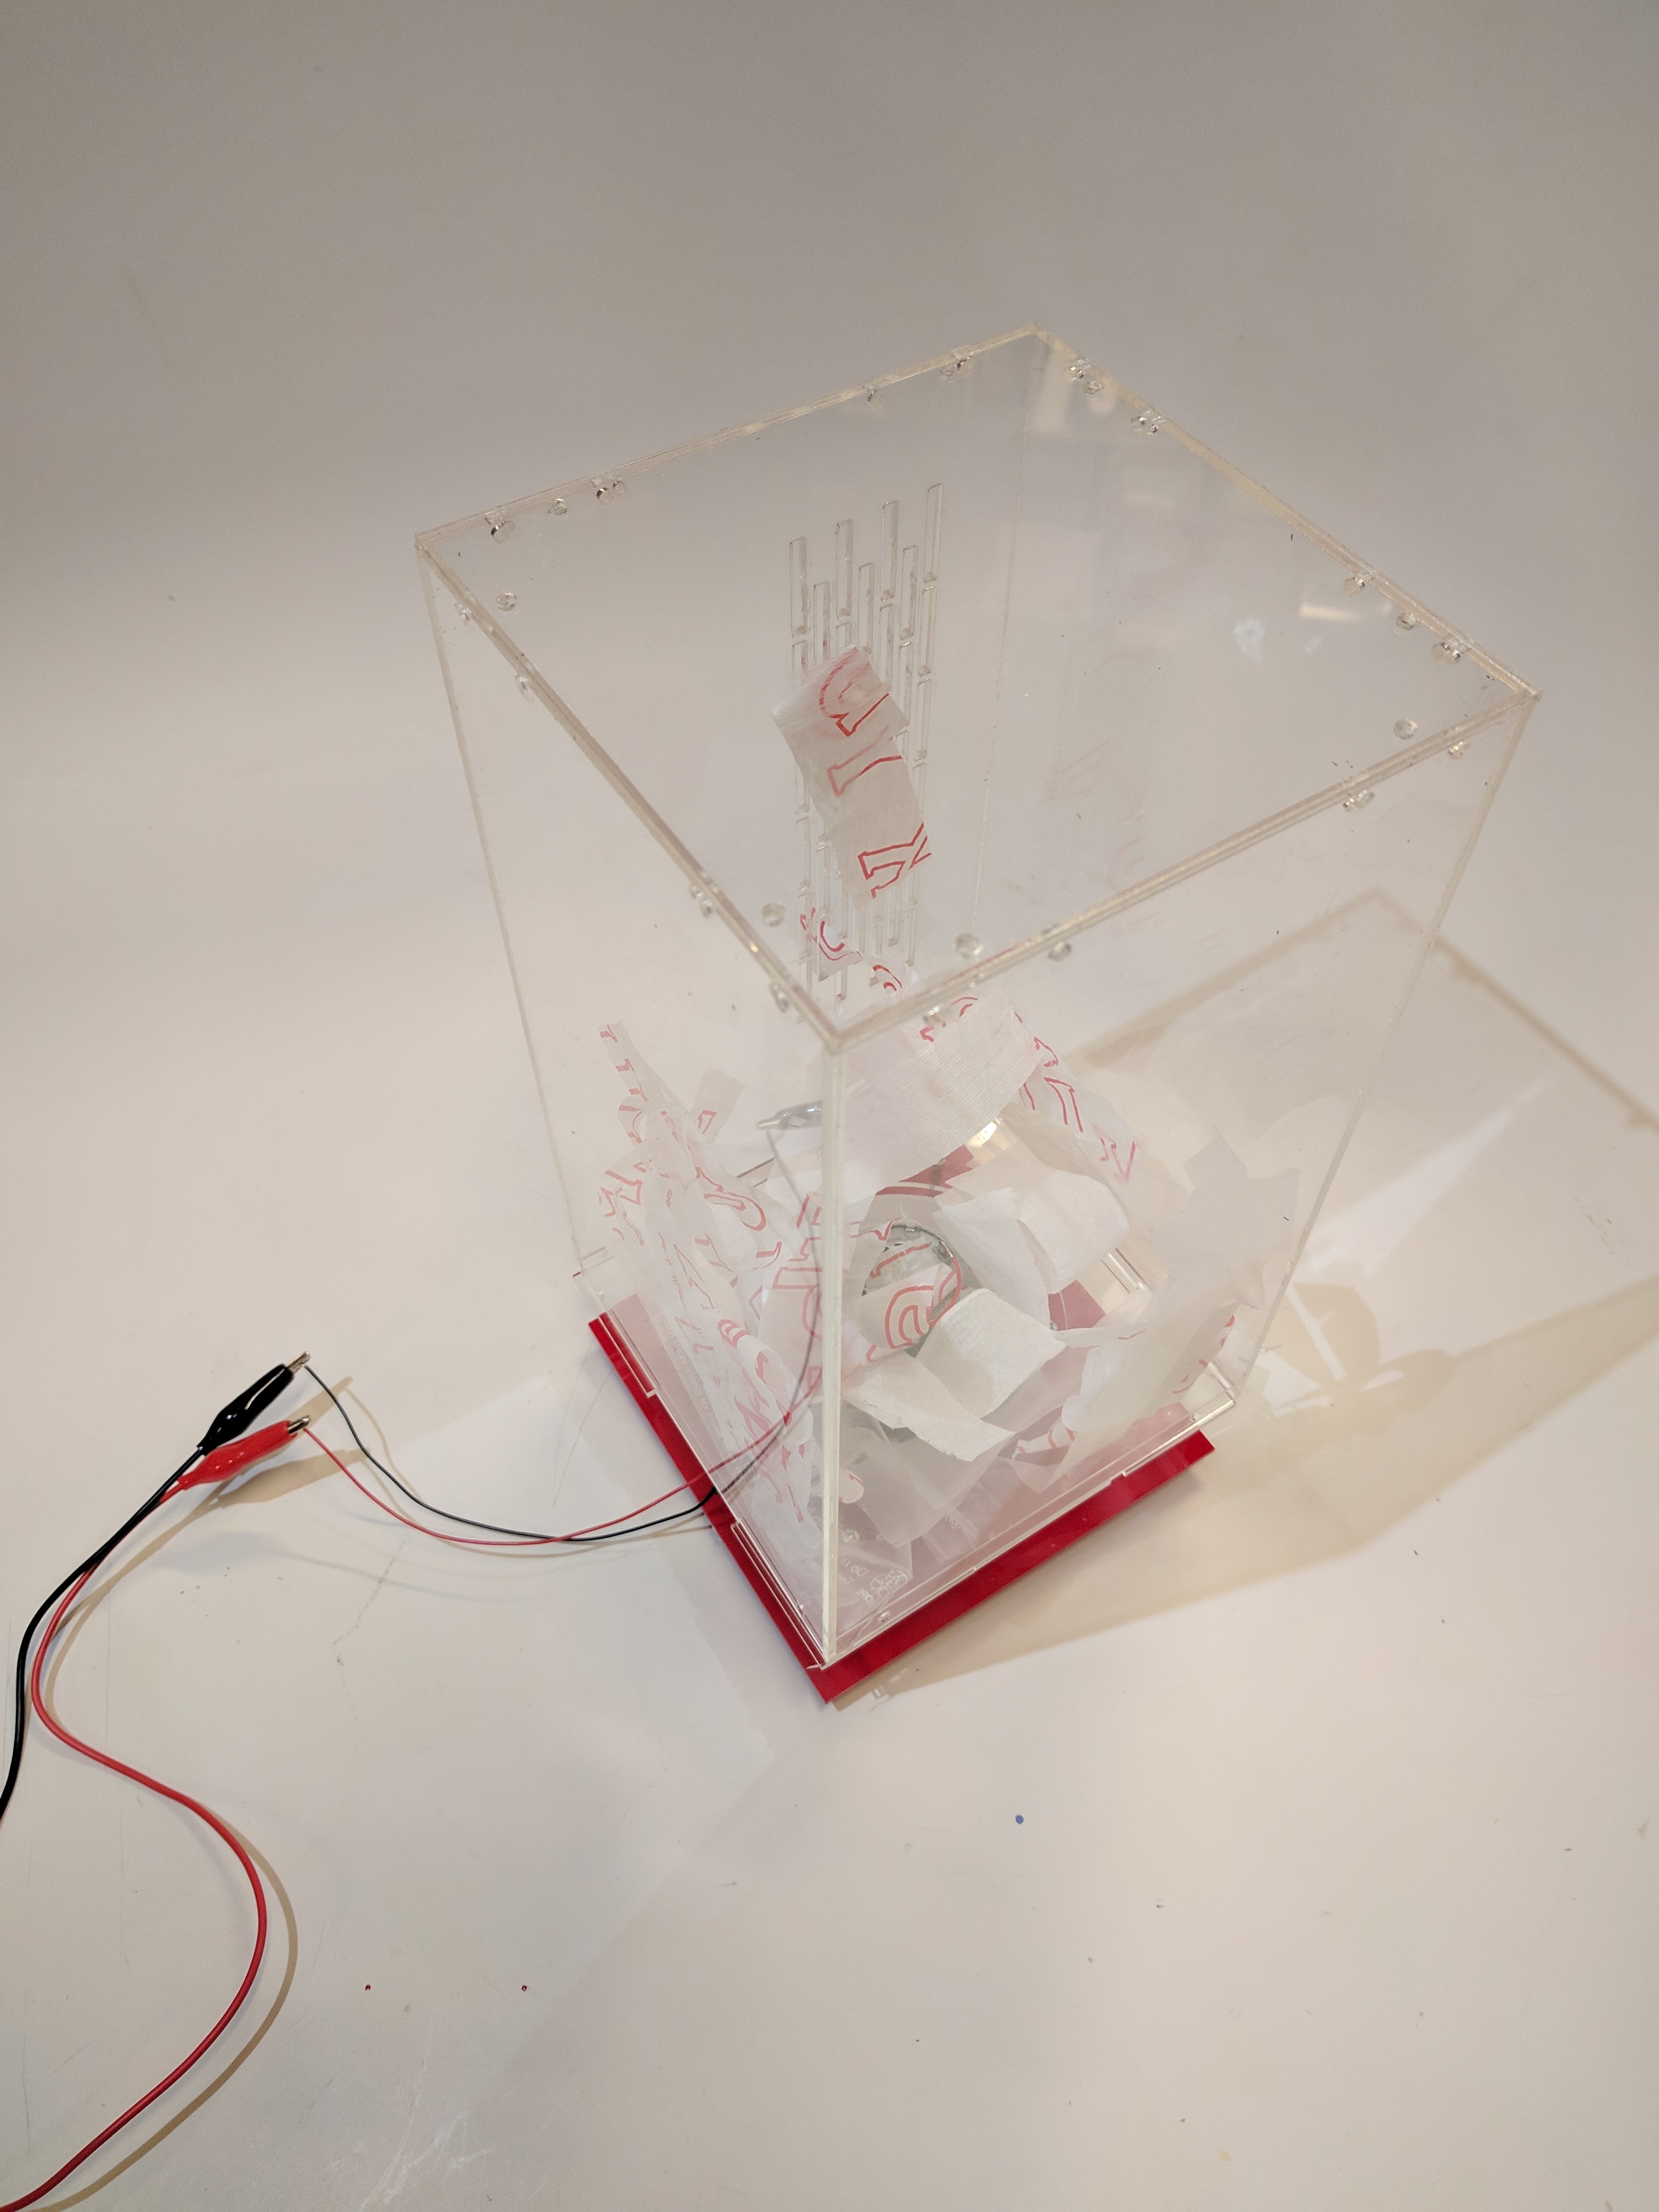
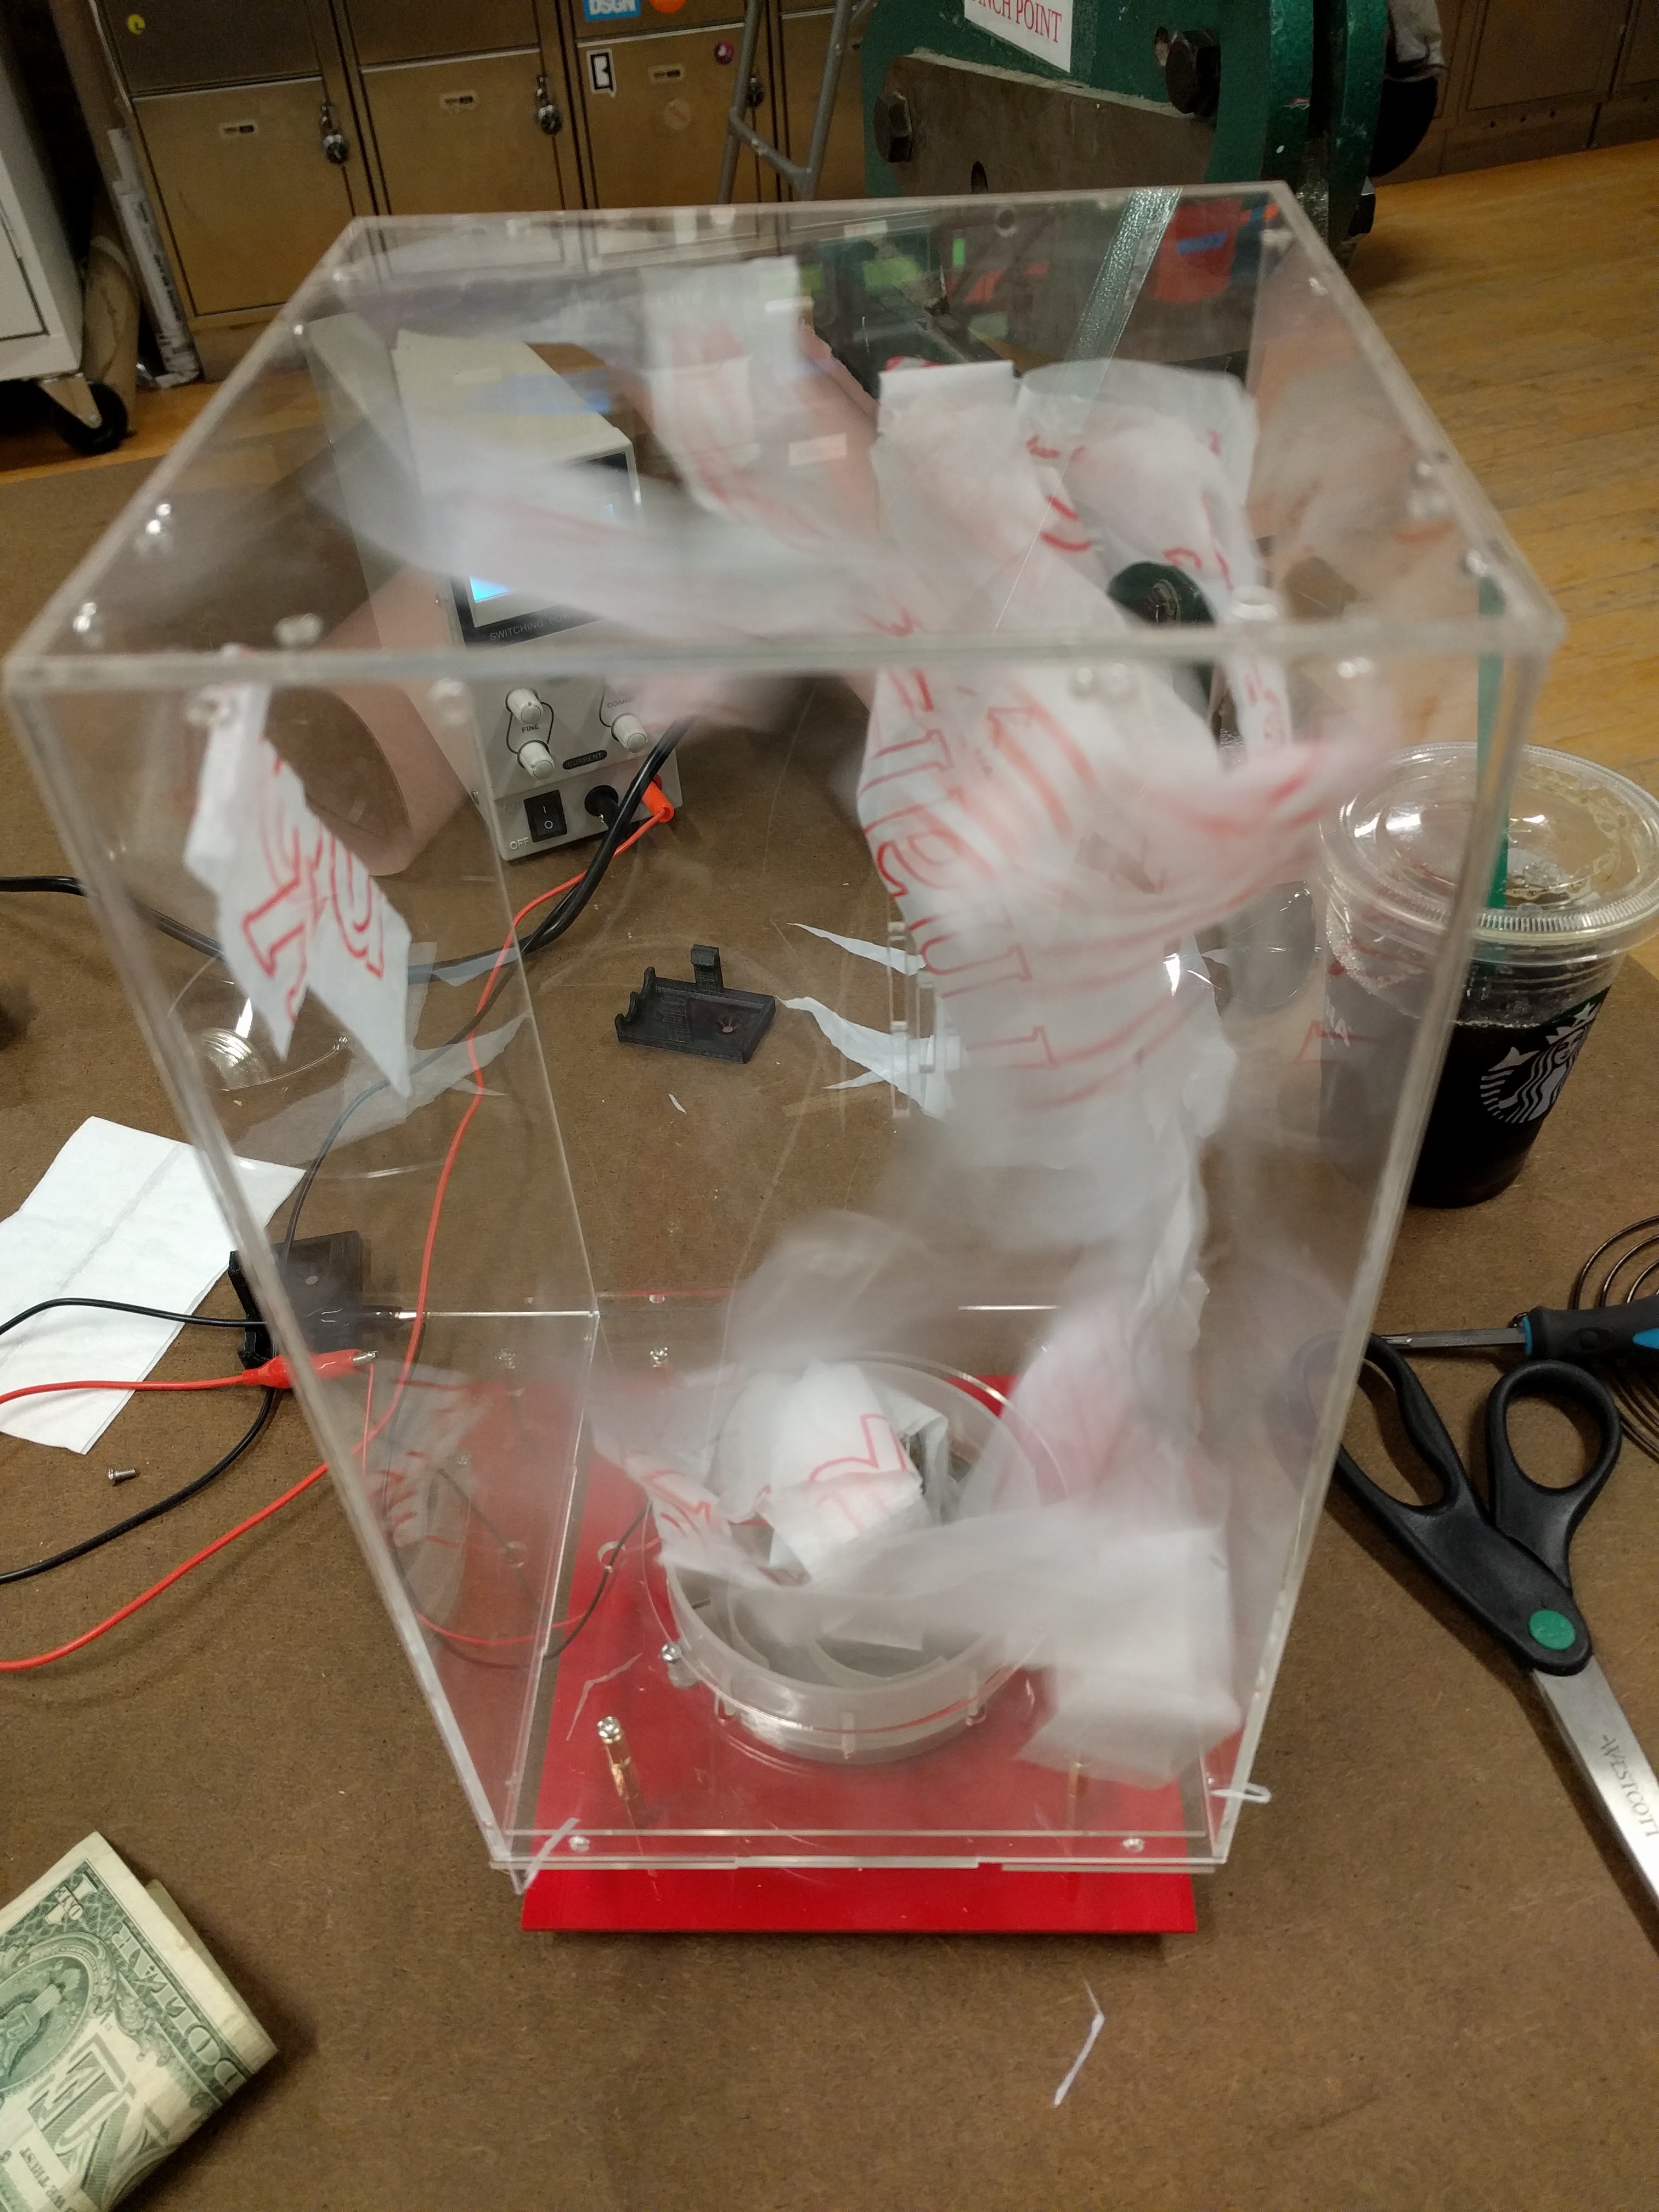 I found that the vent on the side panel was too large, making the papers stick to it. I ended up using cut up strips of trash bags and napkins. I kind of like how when the trash bag gets stuck to the side vent, you can read what’s printed on it.
Power Source
Currently, I am using a variable power supply to power the piece at 18V. Originally I planned to mount 2 9v batteries in series on the red acrylic layer. However, I realized there is no point to using batteries since the device is not portable anyway. I could mount a power supply jack to the red layer, soldering it to the loose red and black wires, and buy a 18V adapter that plugs into the wall.
Final piece