Arizona Speaker
 I made an Arizona can into a speaker. I wanted to be able to hold the can like I would normally hold an Arizona while also playing music on it! Since this assignment focused on enclosures (and not whatever’s inside), I took apart a cheap store bought rechargable bluetooth speaker and used its components.
I planned on cutting a hole at the top of the can where the speaker would point out. This hole had to be smaller than the speaker, creating a rim where the edge of the speaker could rest ontop. Then, I would lasercut a surface to go on top and secure it with screws going down into the top of the can.
Rough sketches:

My materials were an empty Arizona can that I drank the night before and an $8 speaker.

I began by taking apart the original speaker and unscrewing the circuit boards from the enclosure.
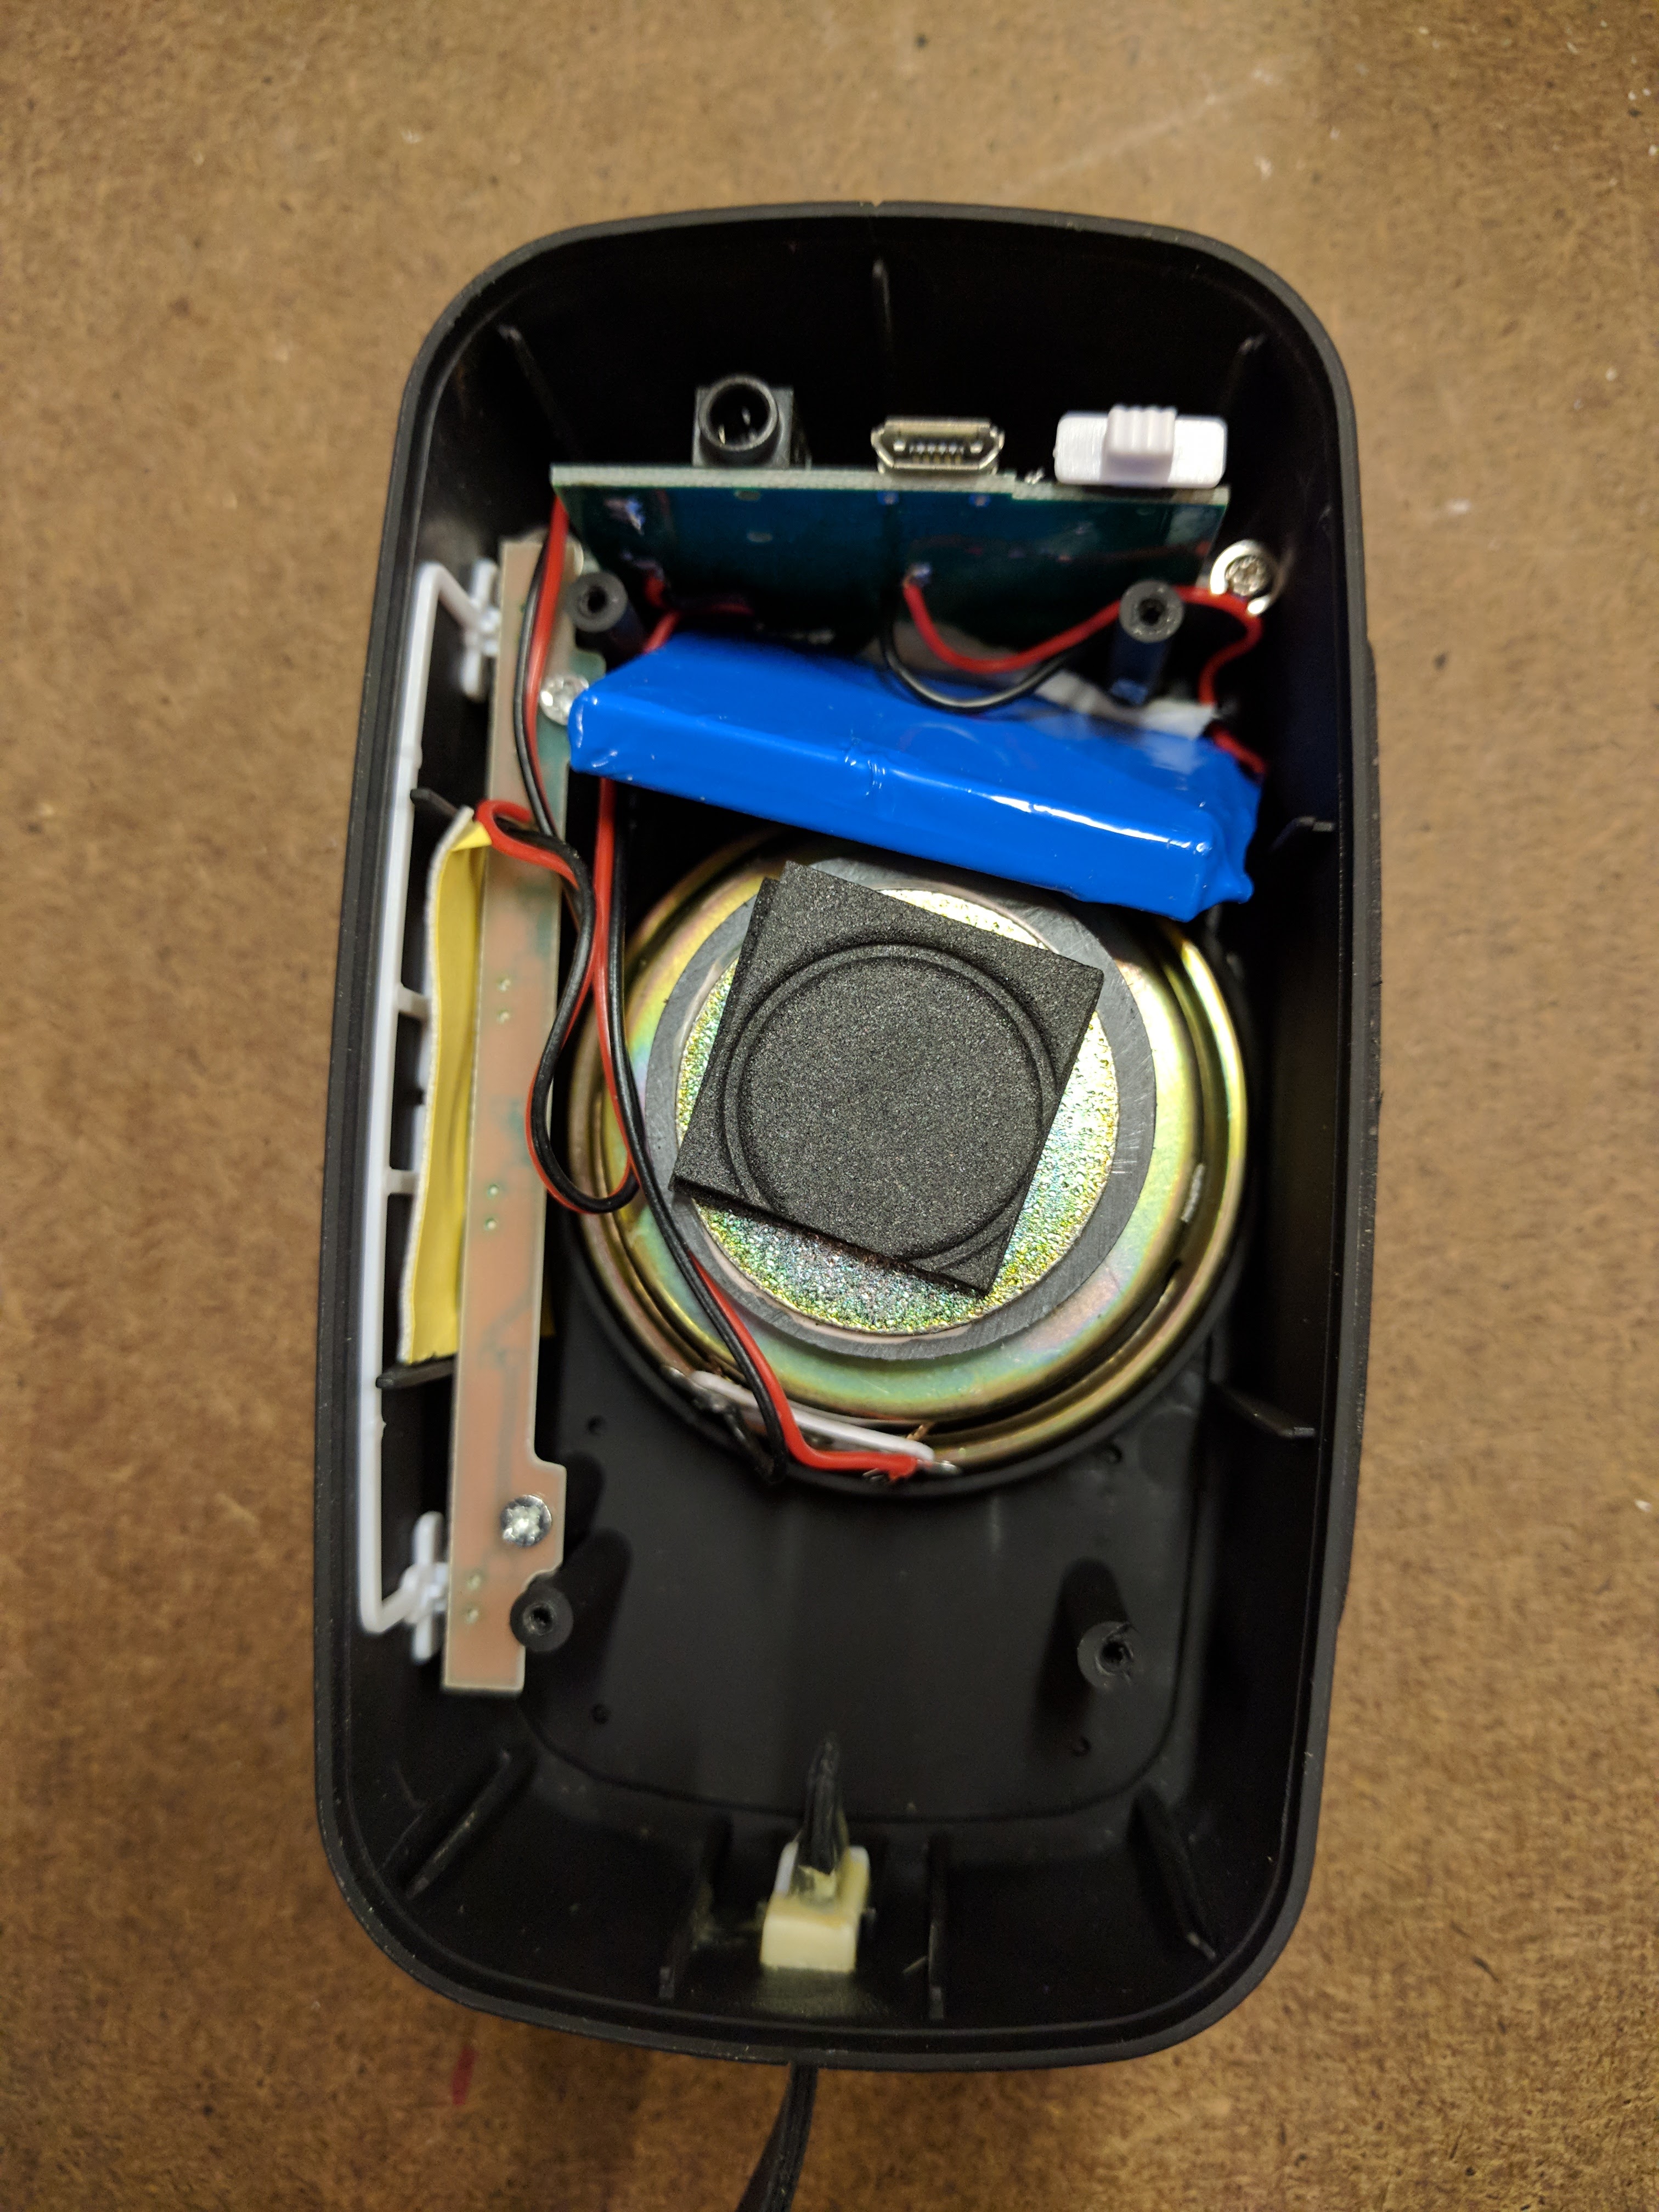
I then began cutting out the top hole where all my components would enter the can and the speaker would point out of. I used a nibbler to roughly cut it out while constantly fitting it against the speaker. I then sanded down the edges.
I designed the pieces that had to be lazer cut: the grill surface that would be installed on top of the speaker and the surface the ports would fit into. I used digital calipers to measure the diameter of the can top as well as the distances and sizes of the port holes. I was originally going to use a thin wood board; however after practicing on cardboard, I decided I liked the look of cardboard with the can.
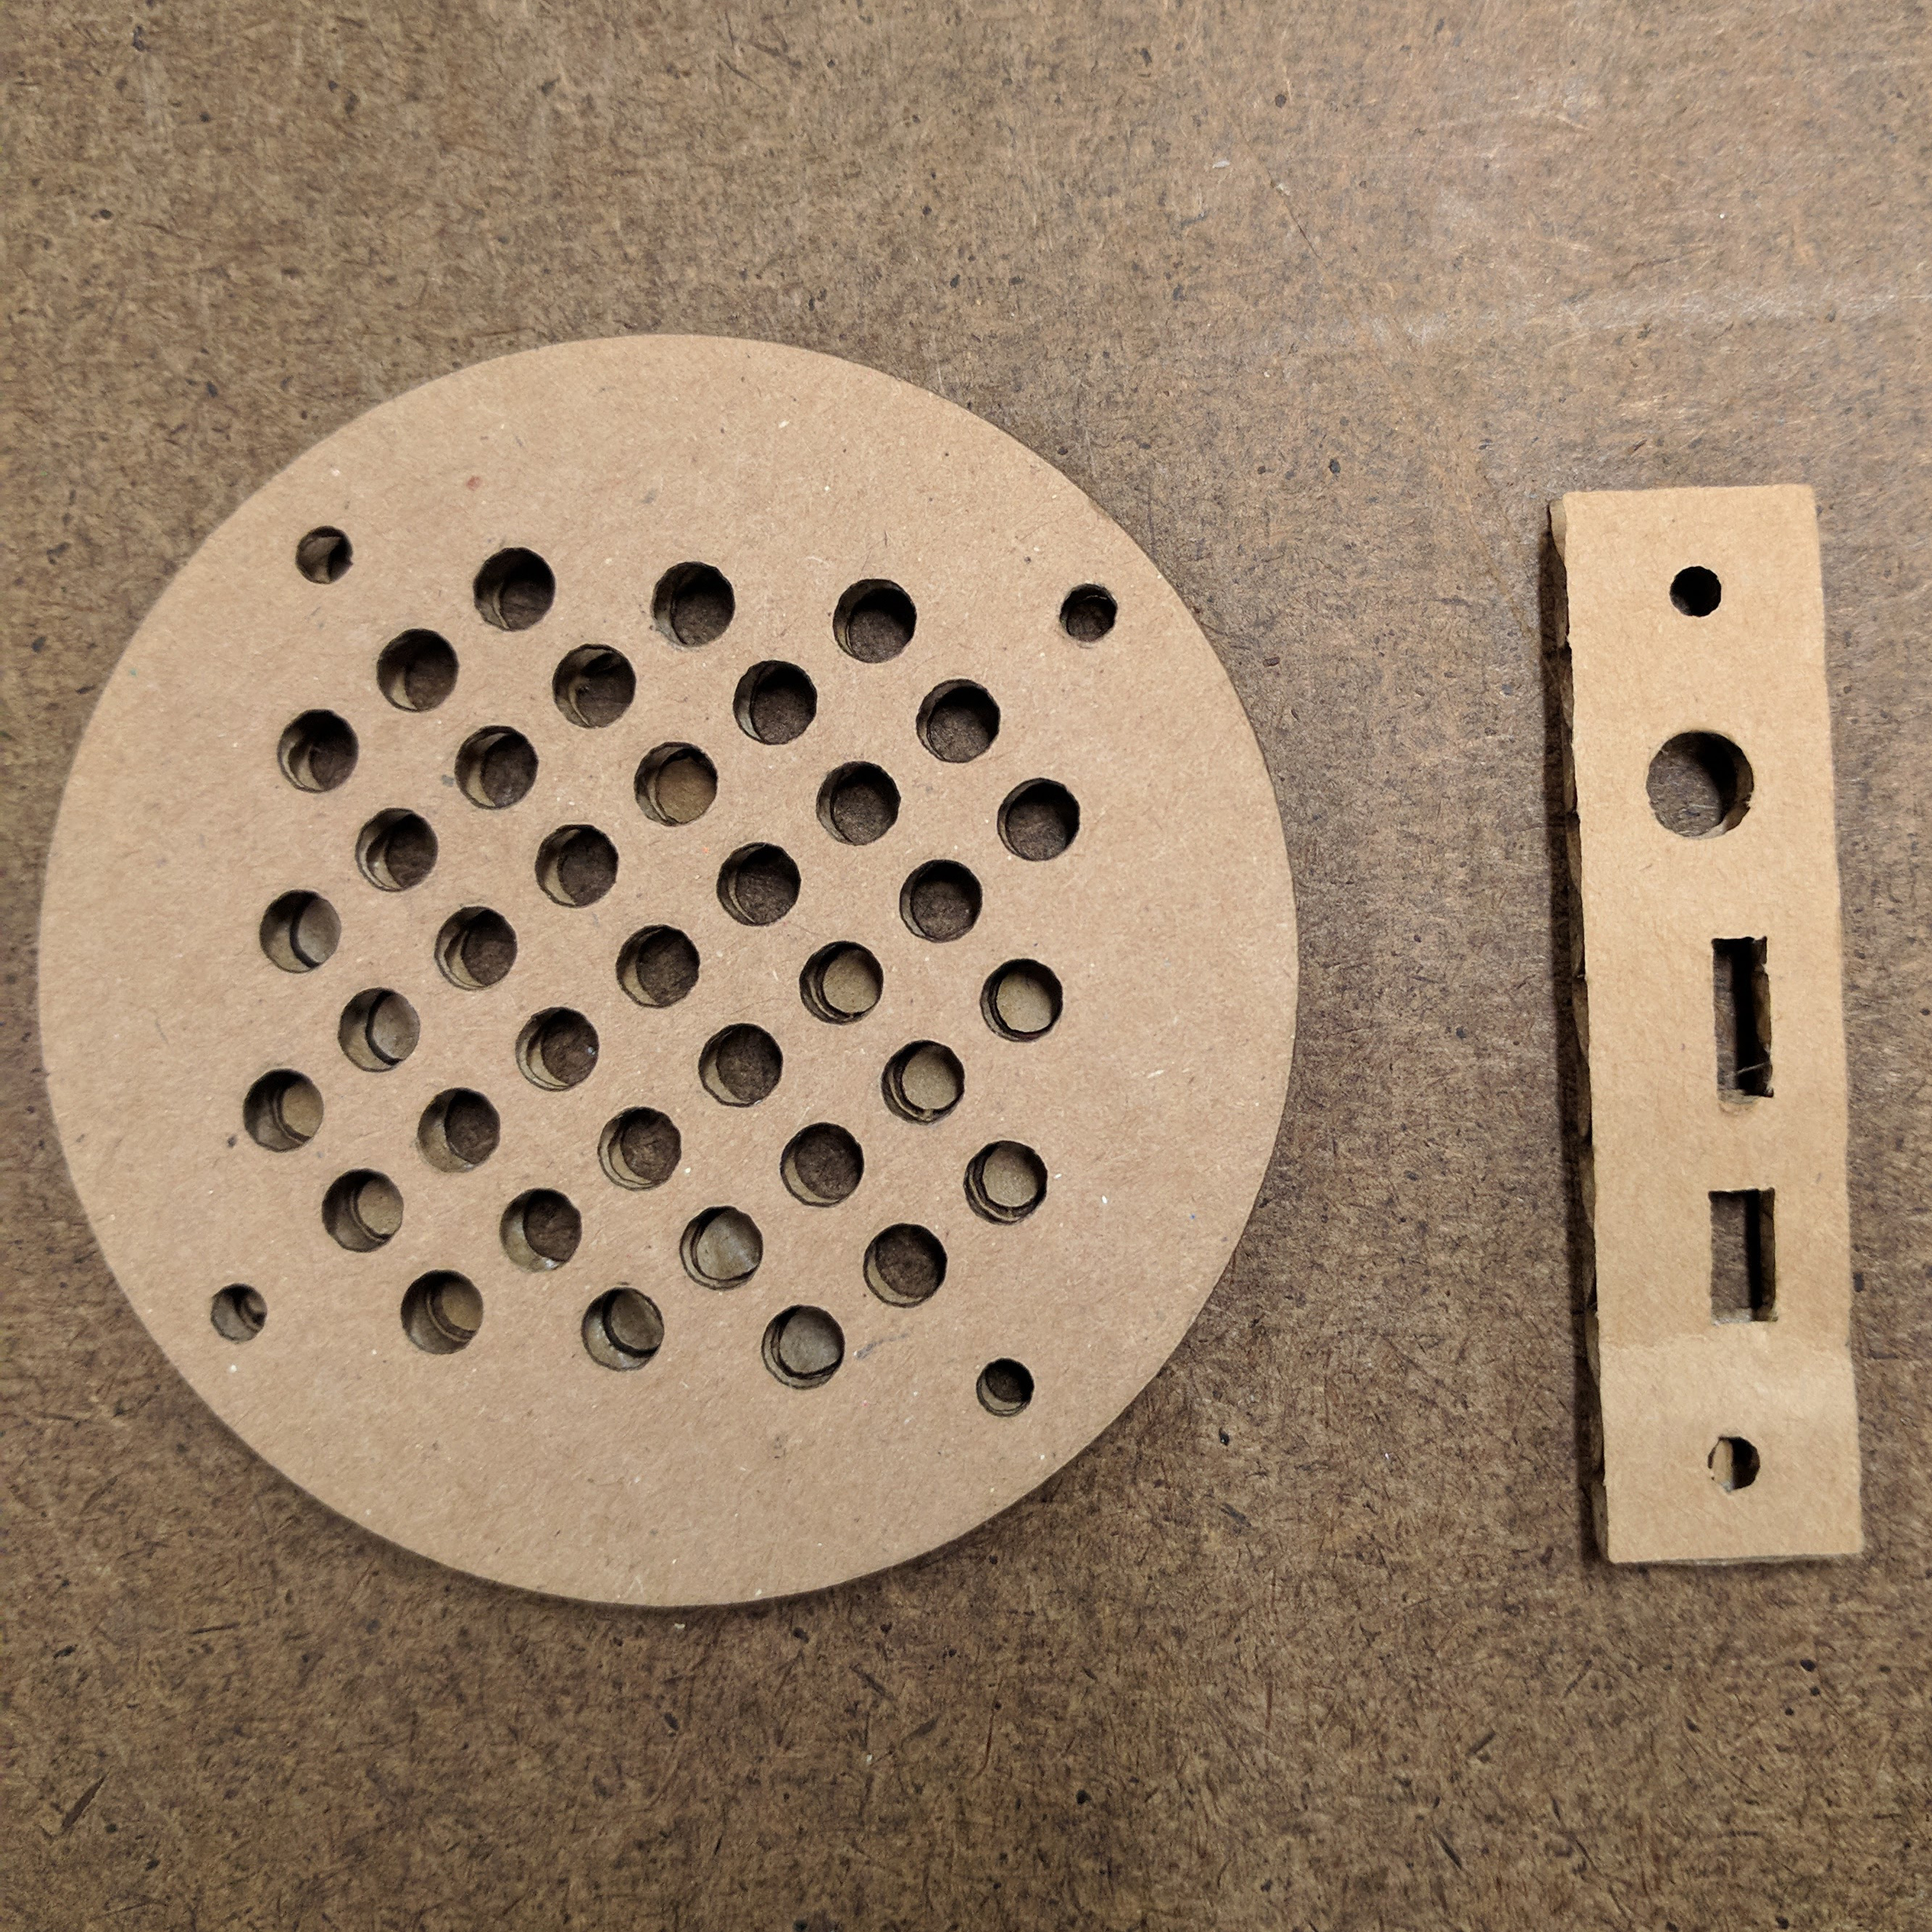 The length of the port holes surface and the distance of the screws from the edge on the top surface had to be adjusted many times.
I tested whether the circuits were still working and if the ports were usable a lot. I ended up switching to a thinner cardboard so that cords could access the ports easier.
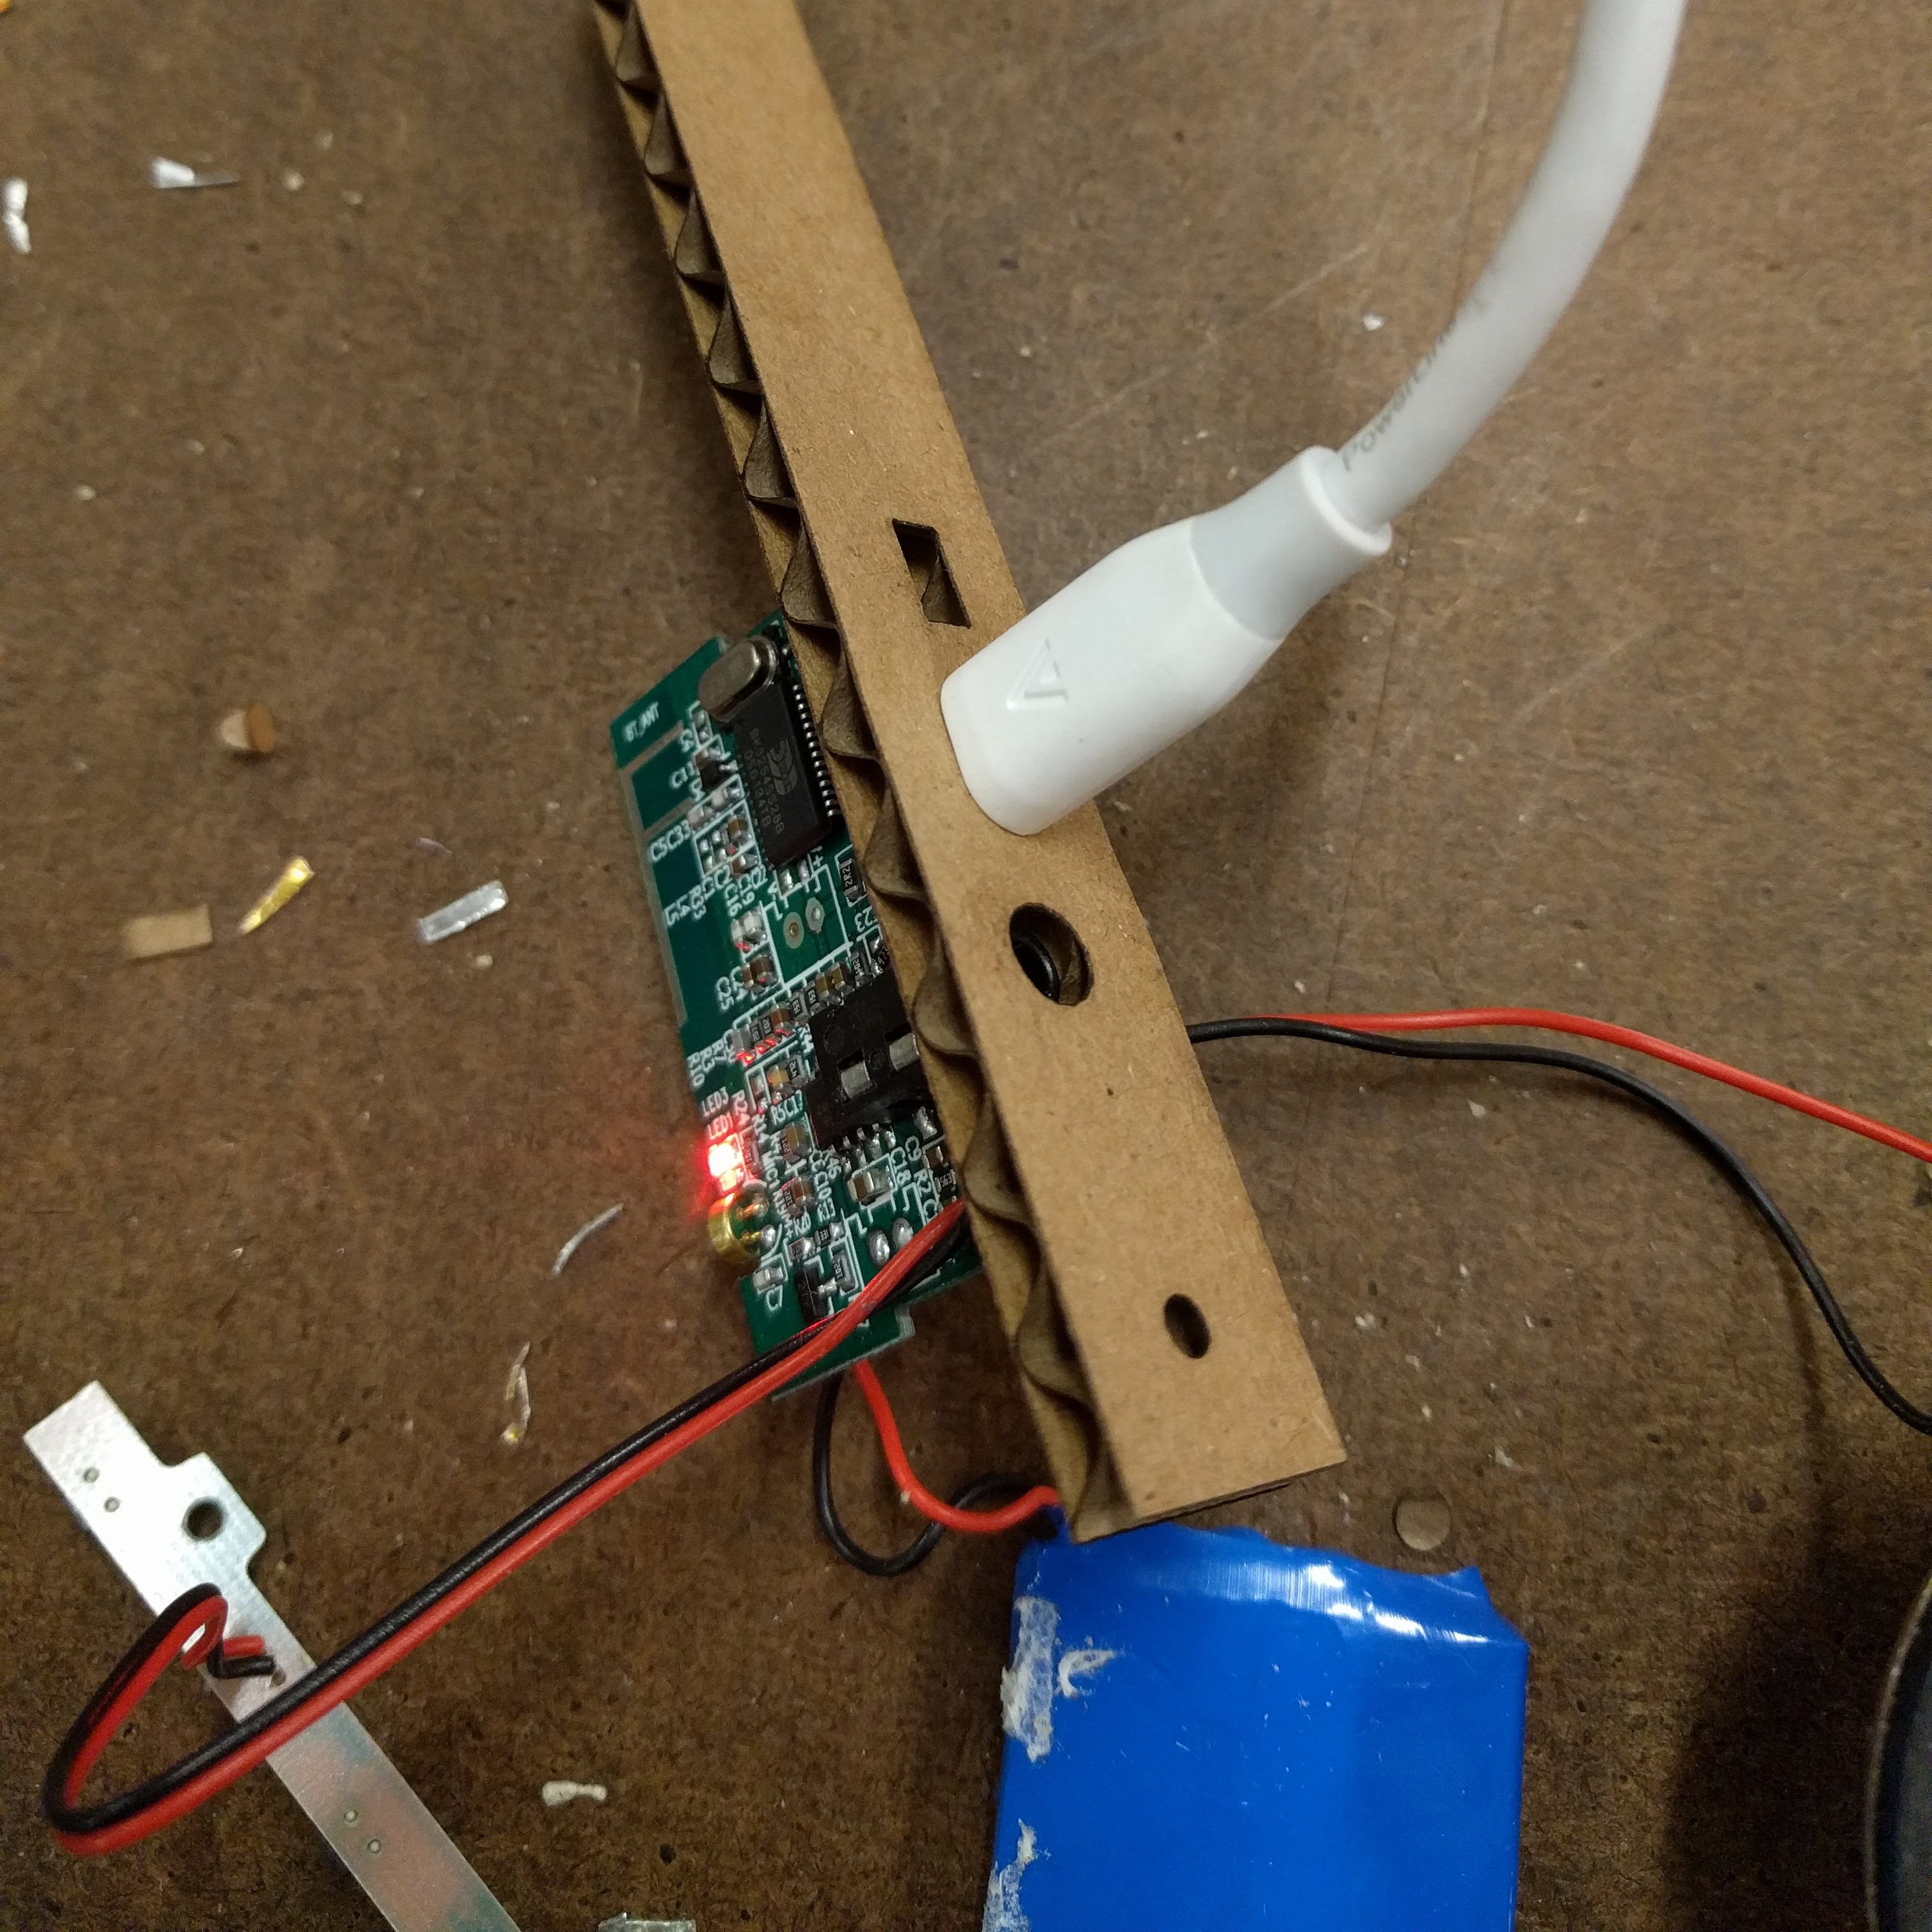
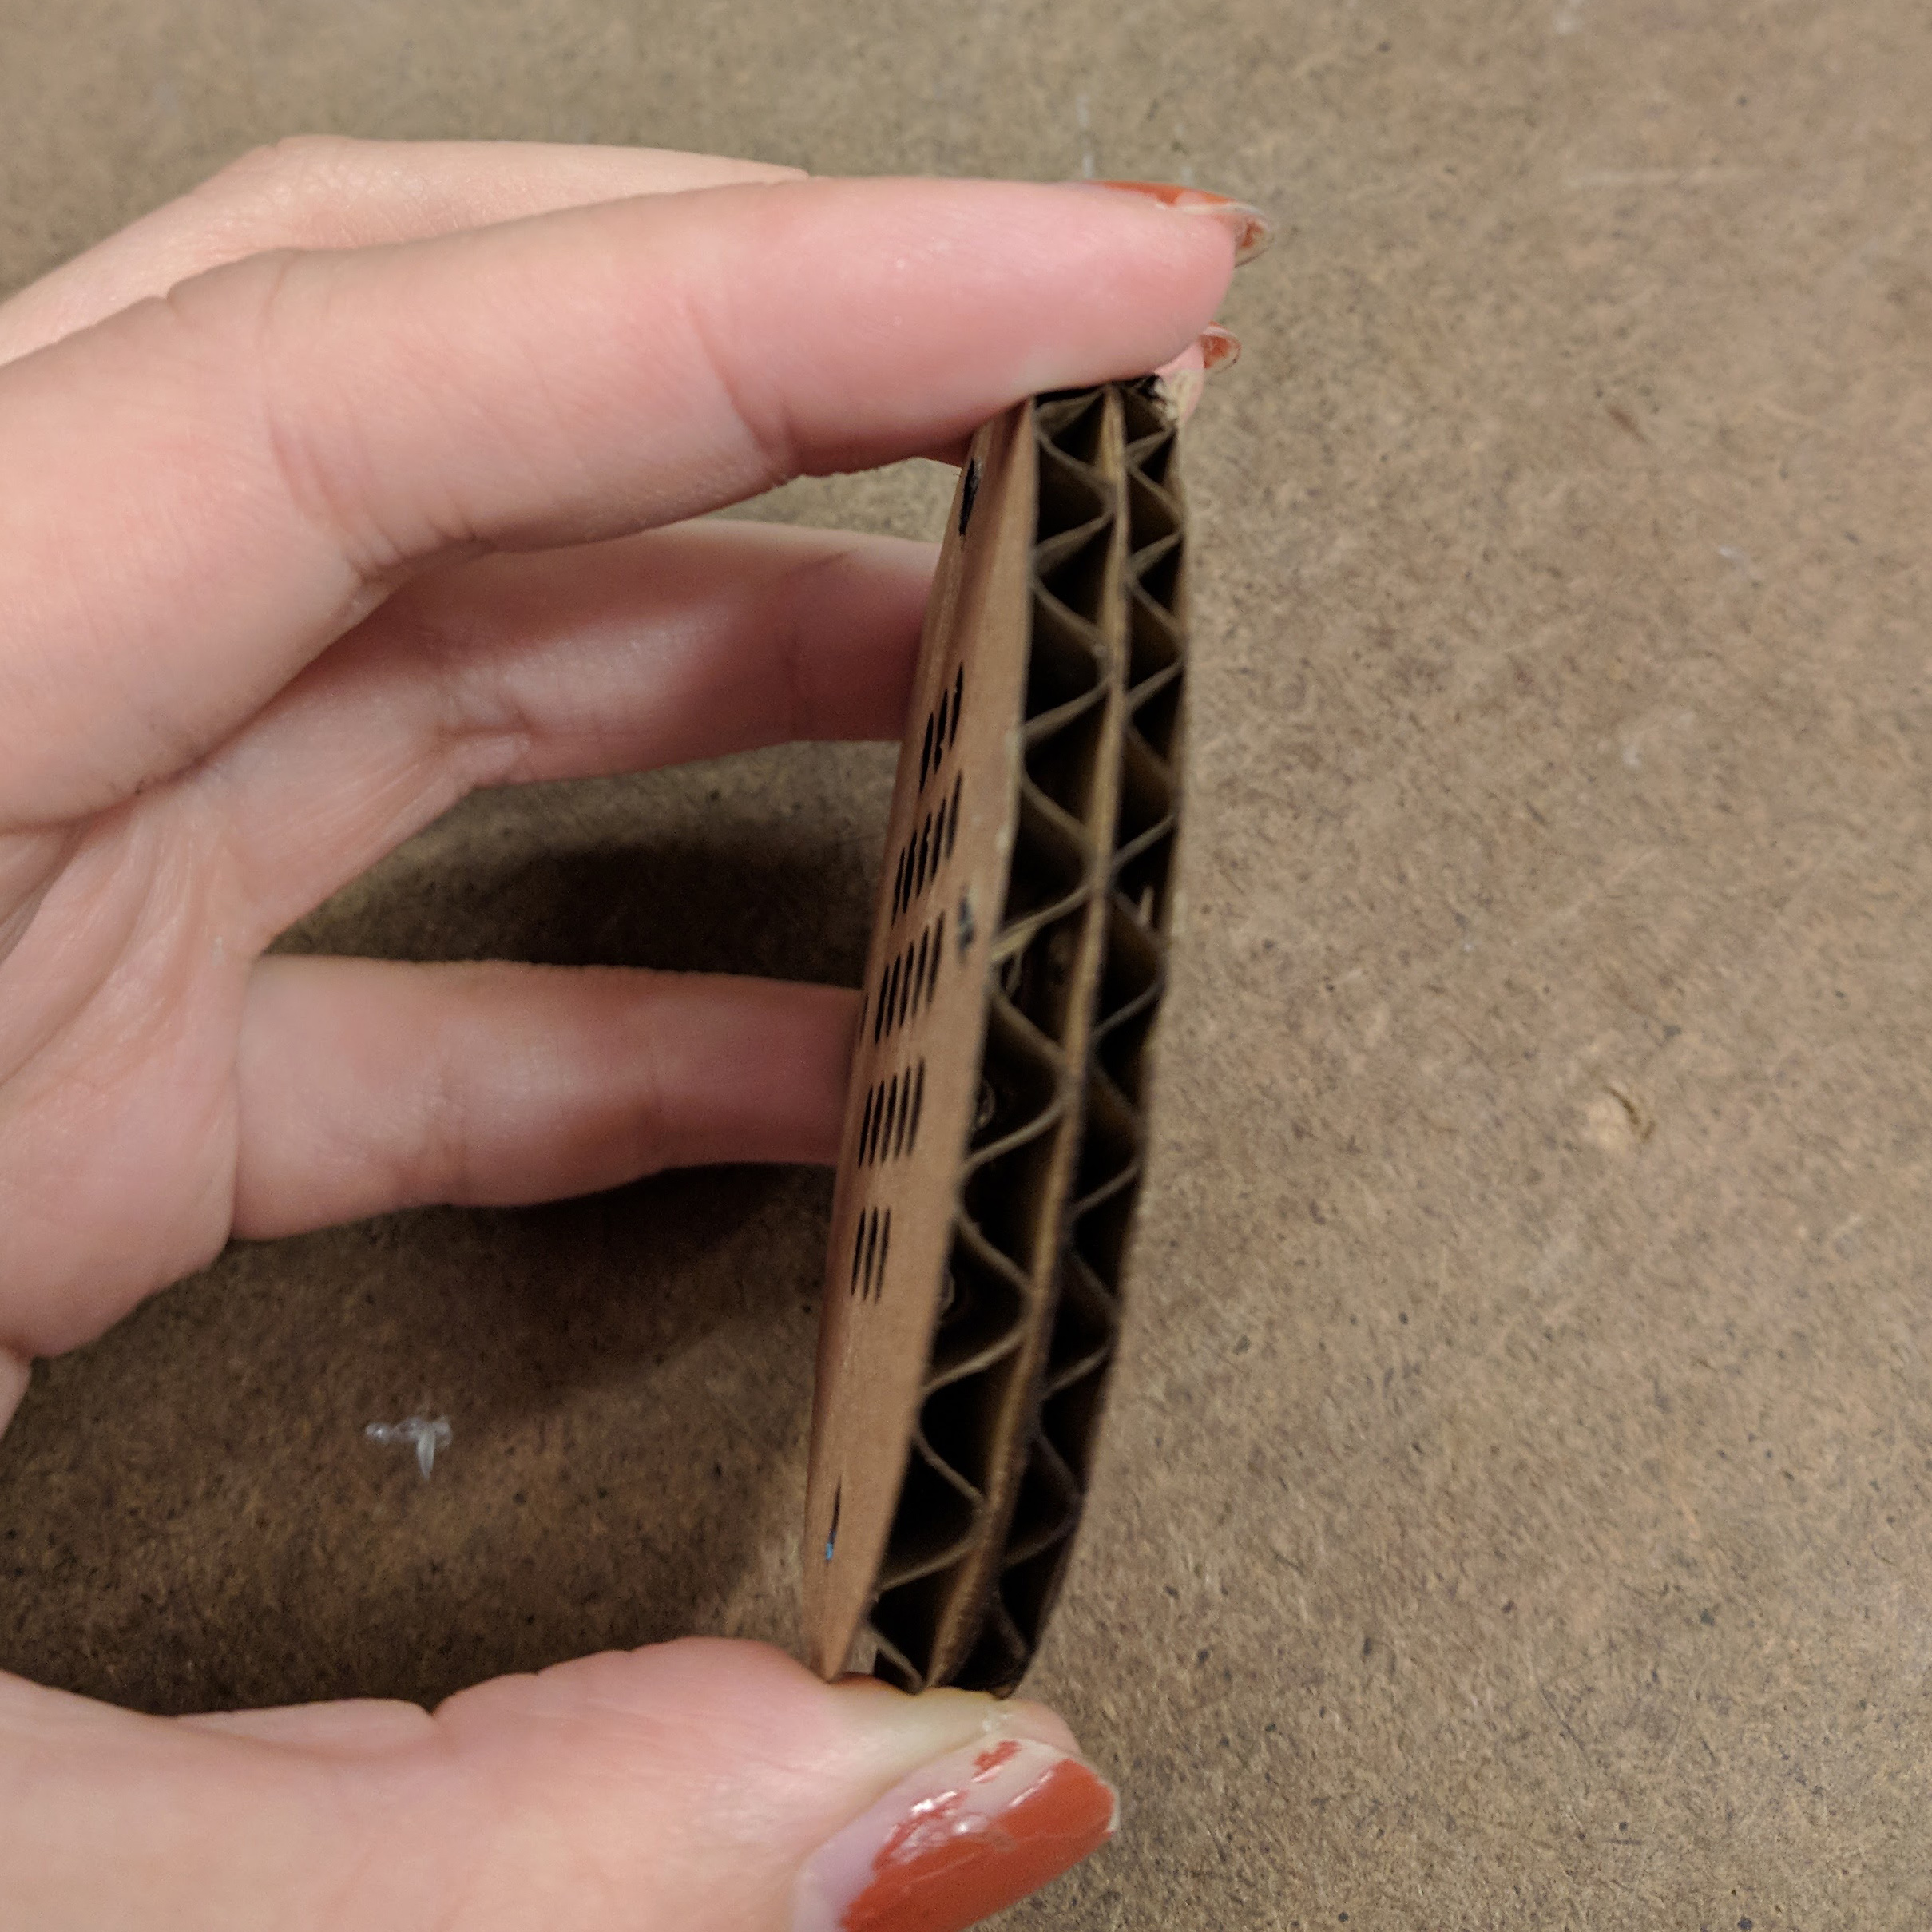
Every component was then secured to a long piece of cardboard (the length of the can) that folded at the bottom. This cardboard would sit vertically in the can and support all the components. A lot of the original wire connections came loose and I had to solder them again. I also rewired the connections to the speakers so the wire would be longer and reach from the board (that had to be at the bottom because I wanted the ports at the bottom) to the speakers at the top.
 The board and port surface were secured with hot glue so it could with stand the force of putting a cord into a port. Everything else was taped down.
I then had to cut the hole for the ports on the side of the can. It had to be at a place that would line up with the board on the inside. I did this by making a hole so that I could see the ports inside at least a little bit and then lining up and measuring with another copy of the port surface I had cut before.
I made the hole by first poking small holes with a needle until I could make a larger hole. Then I used the nibbler to make a nice rectangle. I used the needle again to make the screw holes.
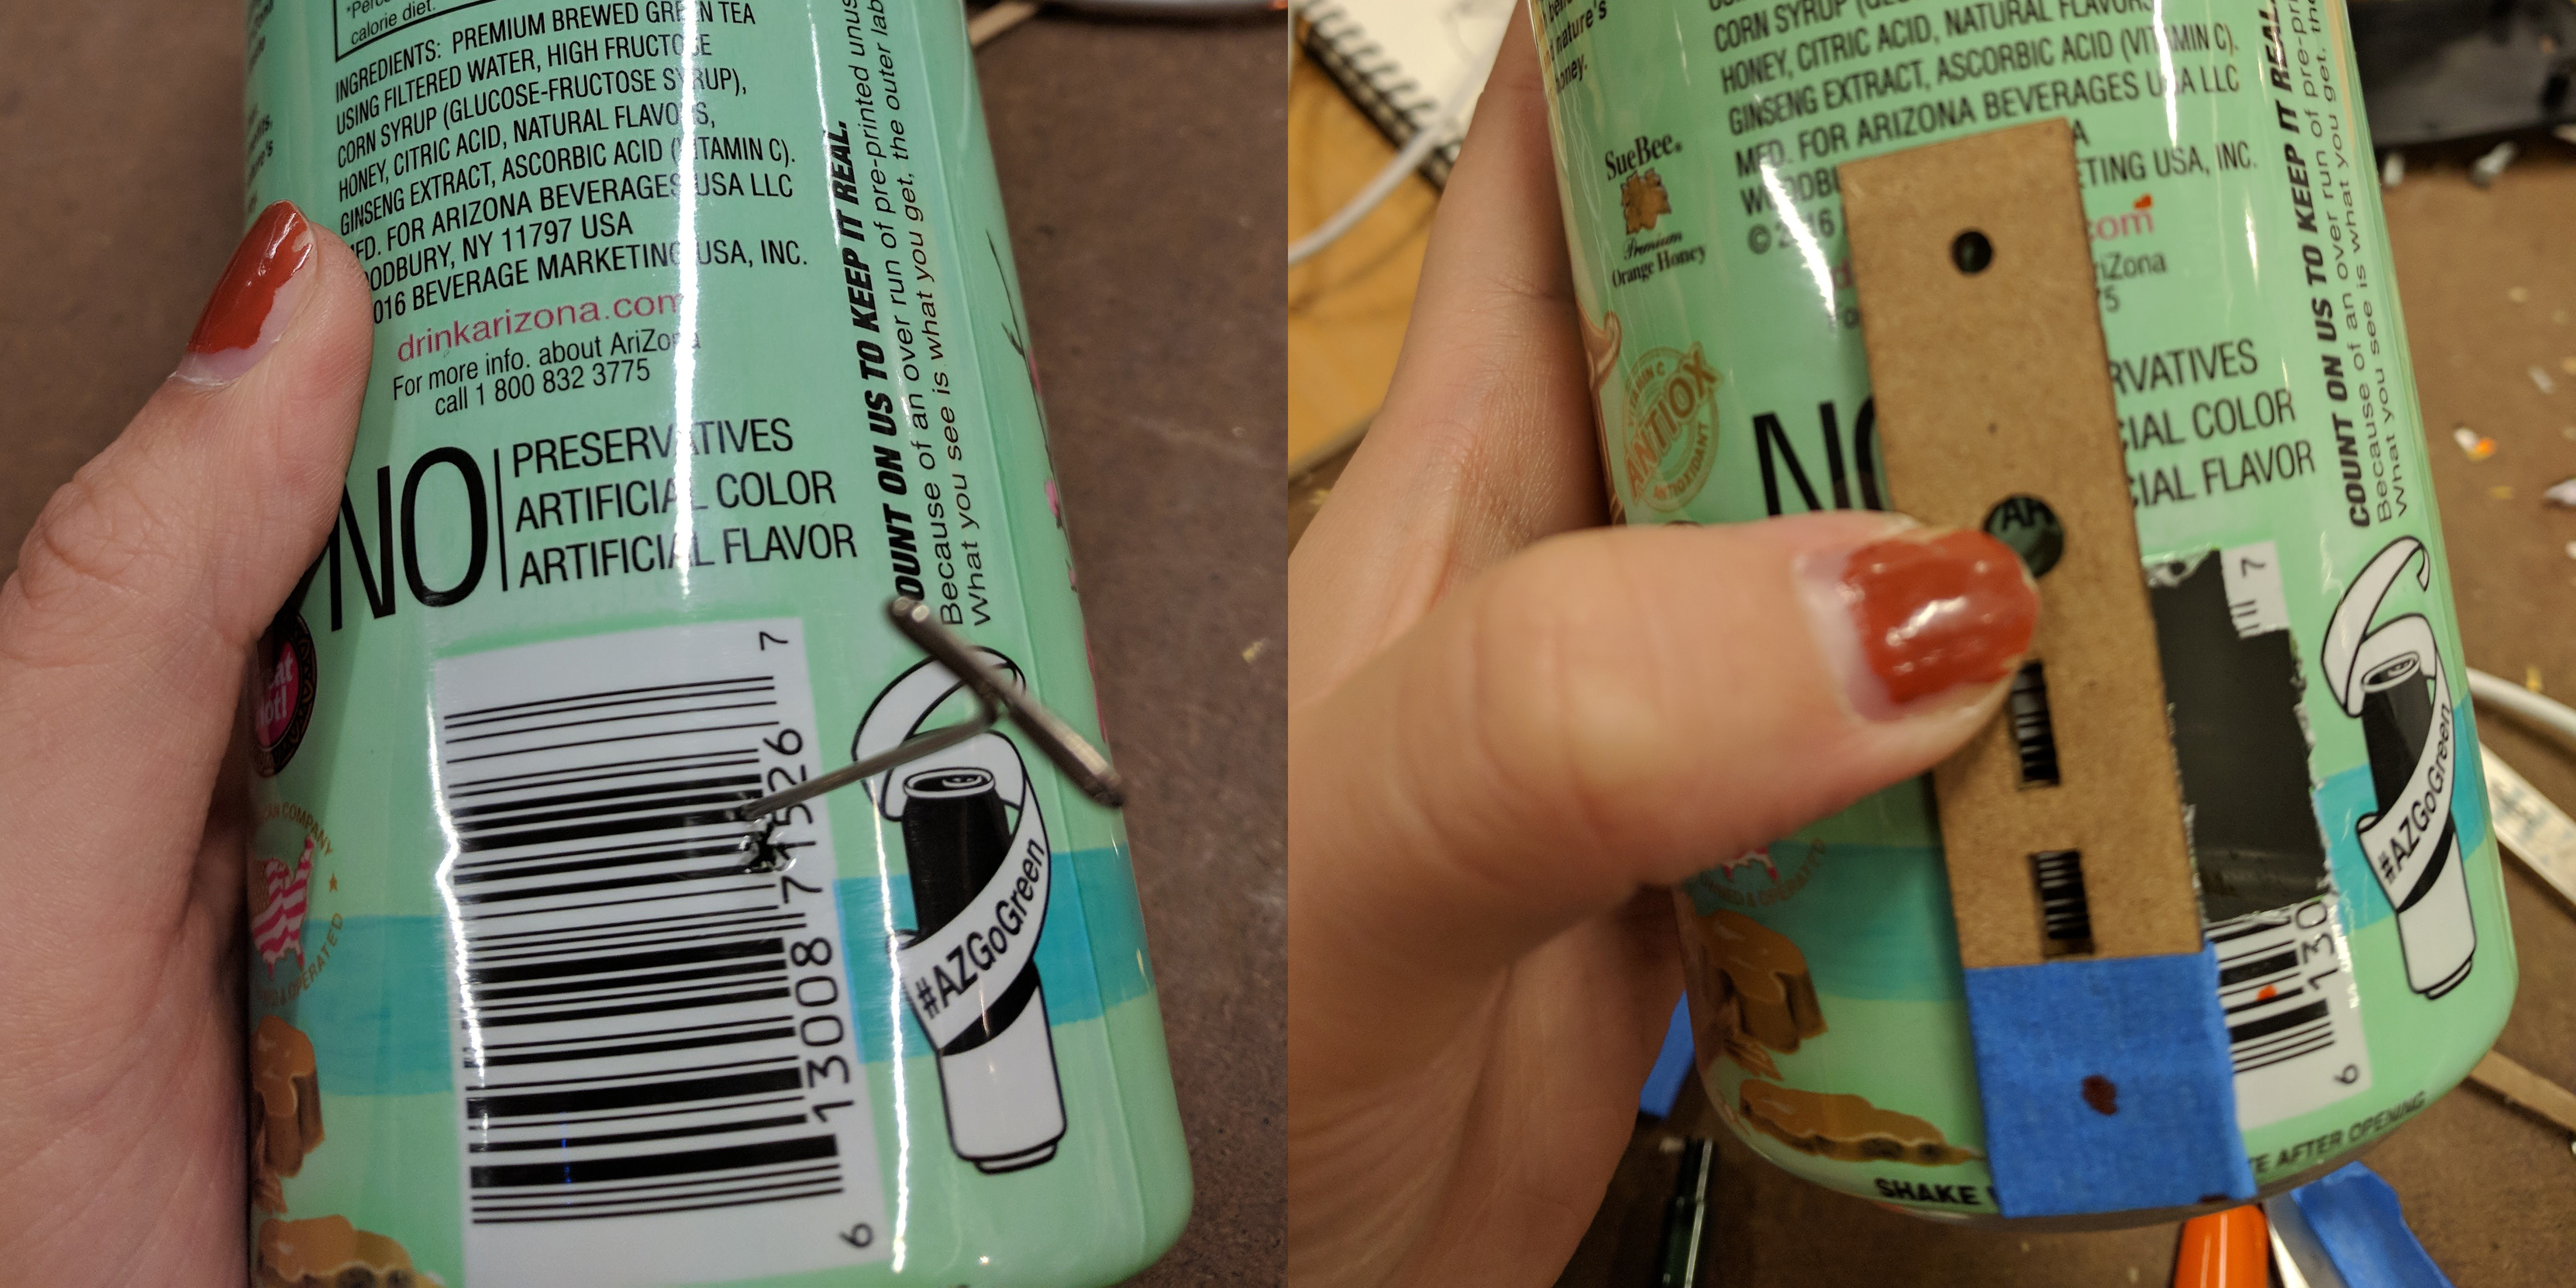
Then it was time to line up the ports surface from the inside and screw it to the can from the outside. This part was so hard!! I realized trying to screw into cardboard and expecting it to stay put wasn’t going to work. I ended up hot glueing washers to the backsides of the holes on the ports surface.
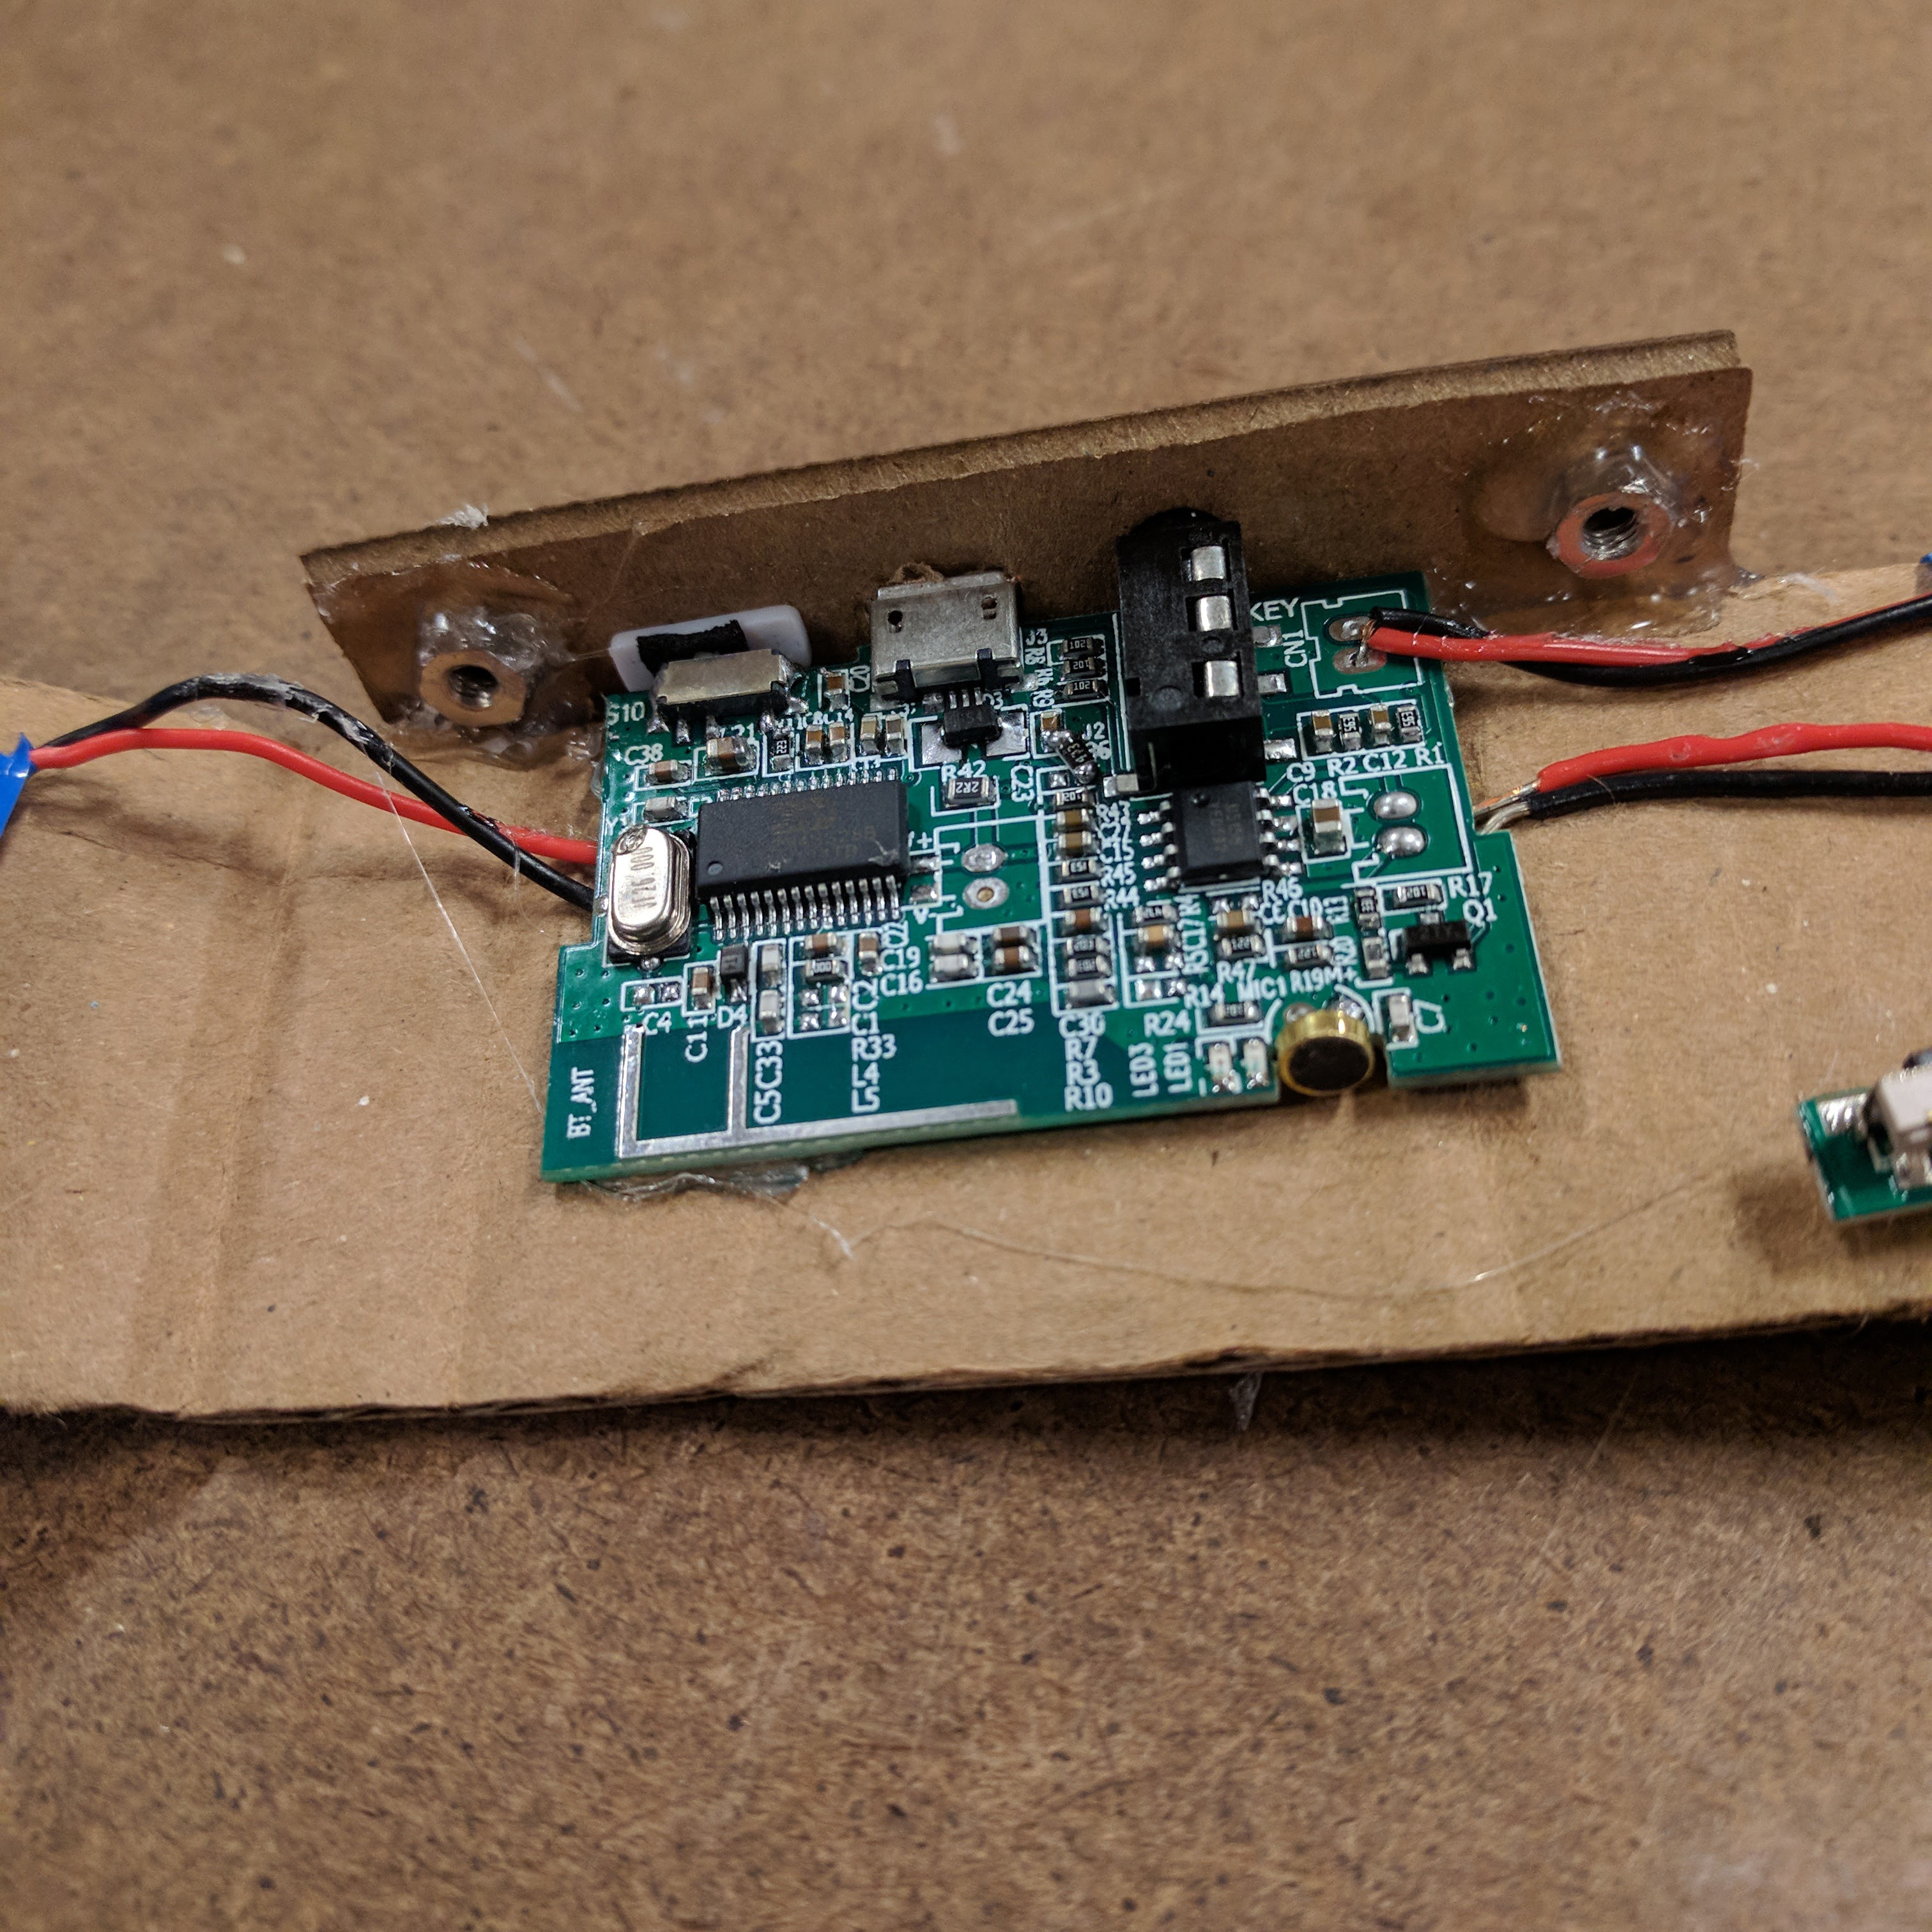
I was then able to screw into the ports surface from the outside of the can. This is the most fragile part of the build. This is the finished ports:

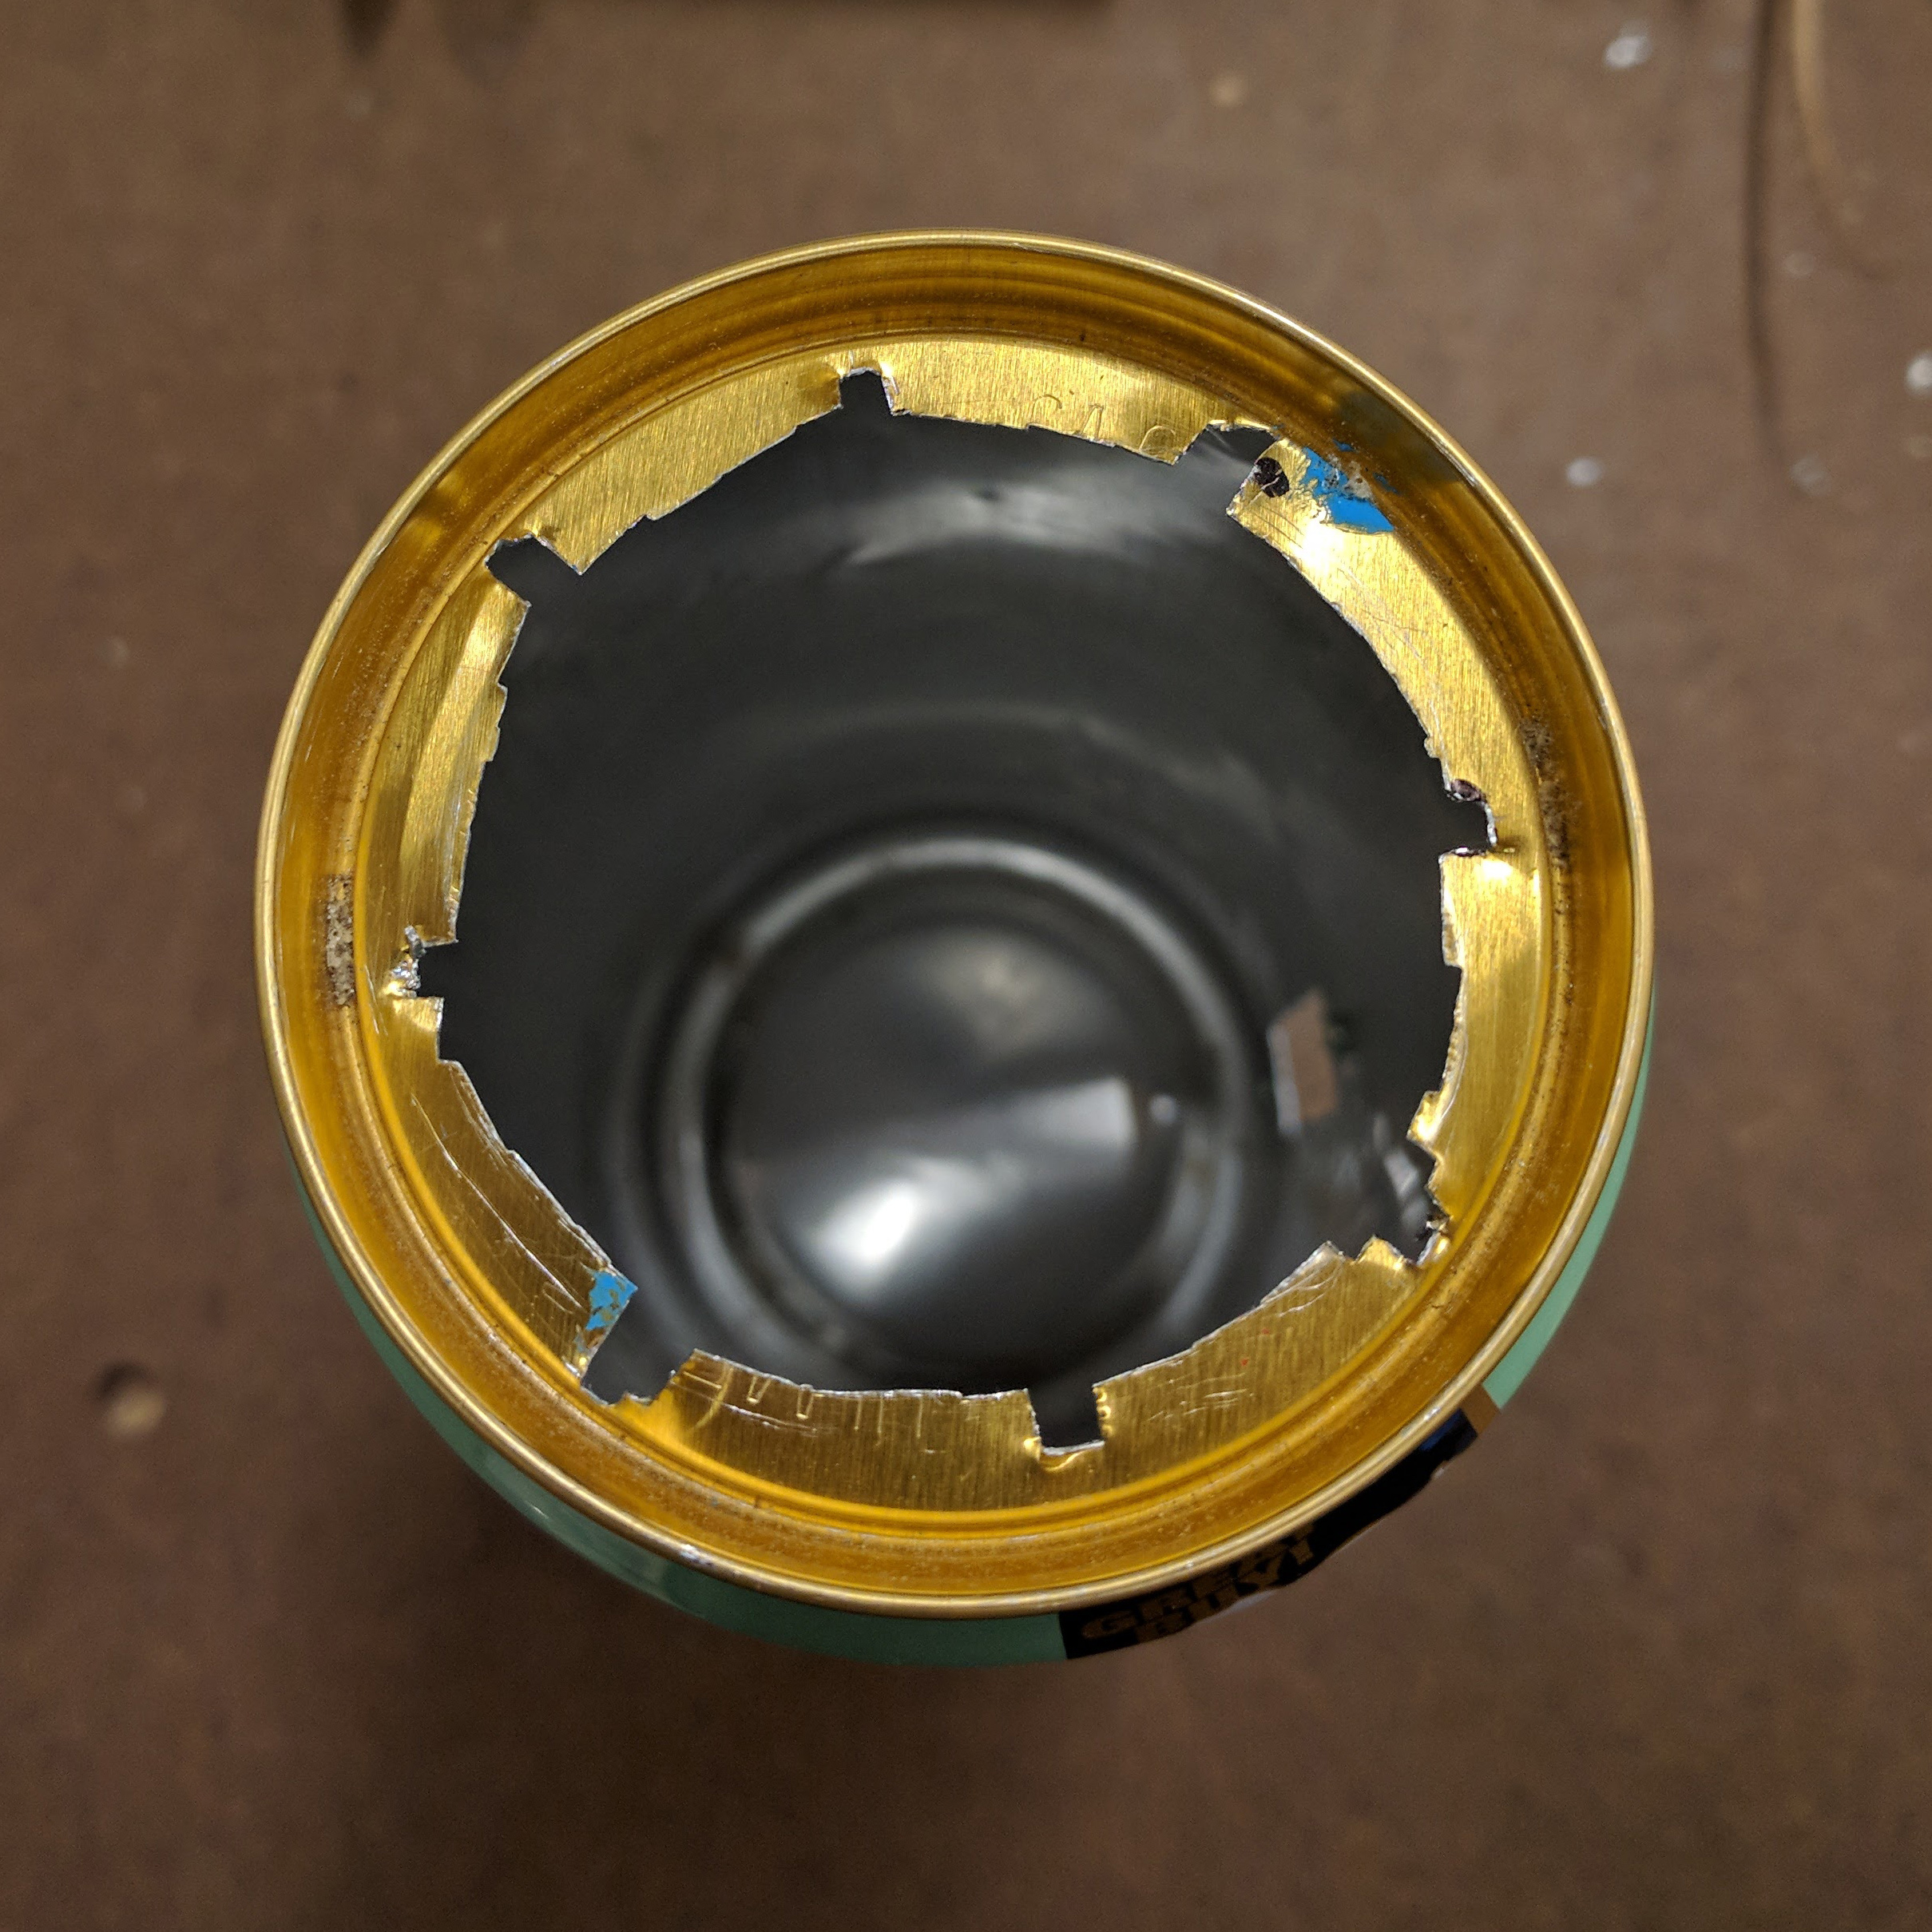
Now I only had to put the speaker in and screw on the top. I used metal shears to cut thin notches out from the hole for the screws to hold onto. There was not enough space to drill proper holes. There are 8 notches pictures (when there are only 4 screws at the top) because I messed up trying to use the nibbler at first. The nibbler is too wide for the threads of the screws.
Then I put the cardboard surface on top and screwed it down. Done!
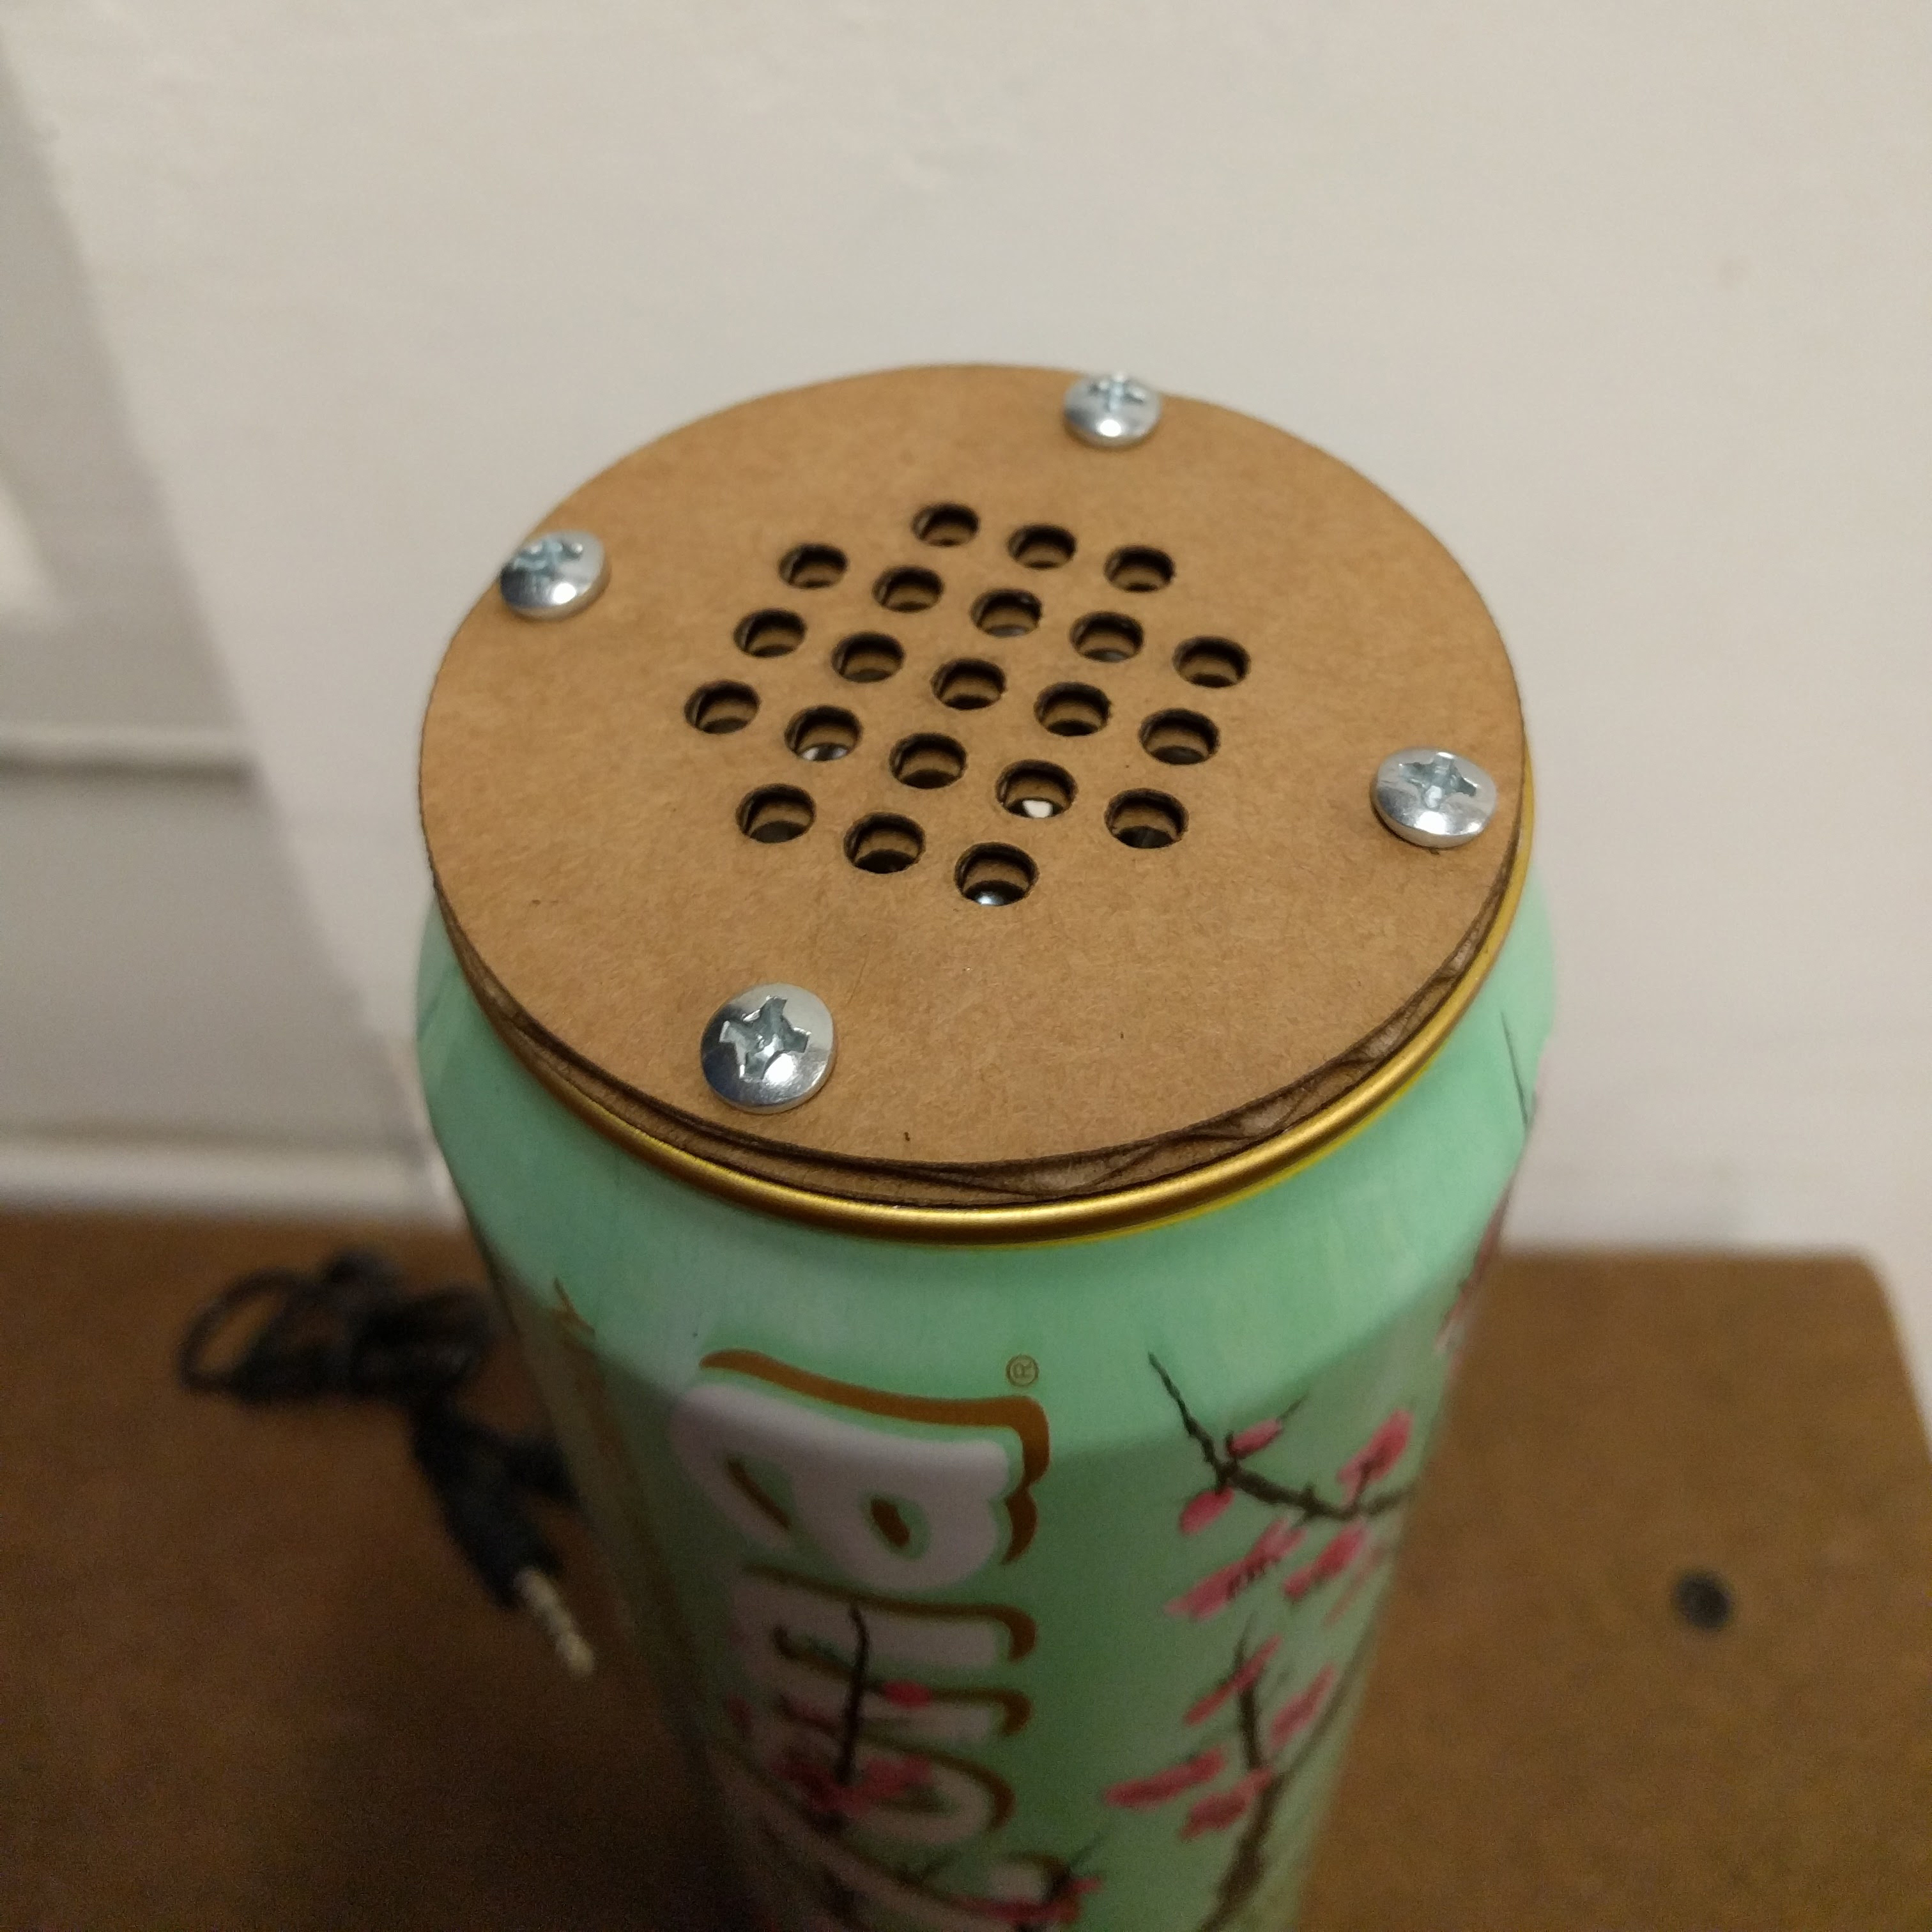


I didn’t produce the circuitry for this speaker but I’m happy to say I didn’t destroy the functionality while building this enclosure either. The speaker fully works and can play music from my phone!
