Filed Under #intro3d
Sketches and Drawings Layouts

Process Documentation
The design of the nails changed many times during the process due to realizing limitations with the 3D printers on the floor. I first started with a basic square shape to test the fit on my fingers. I used calipers to measure my fingernails and later varied the widths of the model based on my print results.
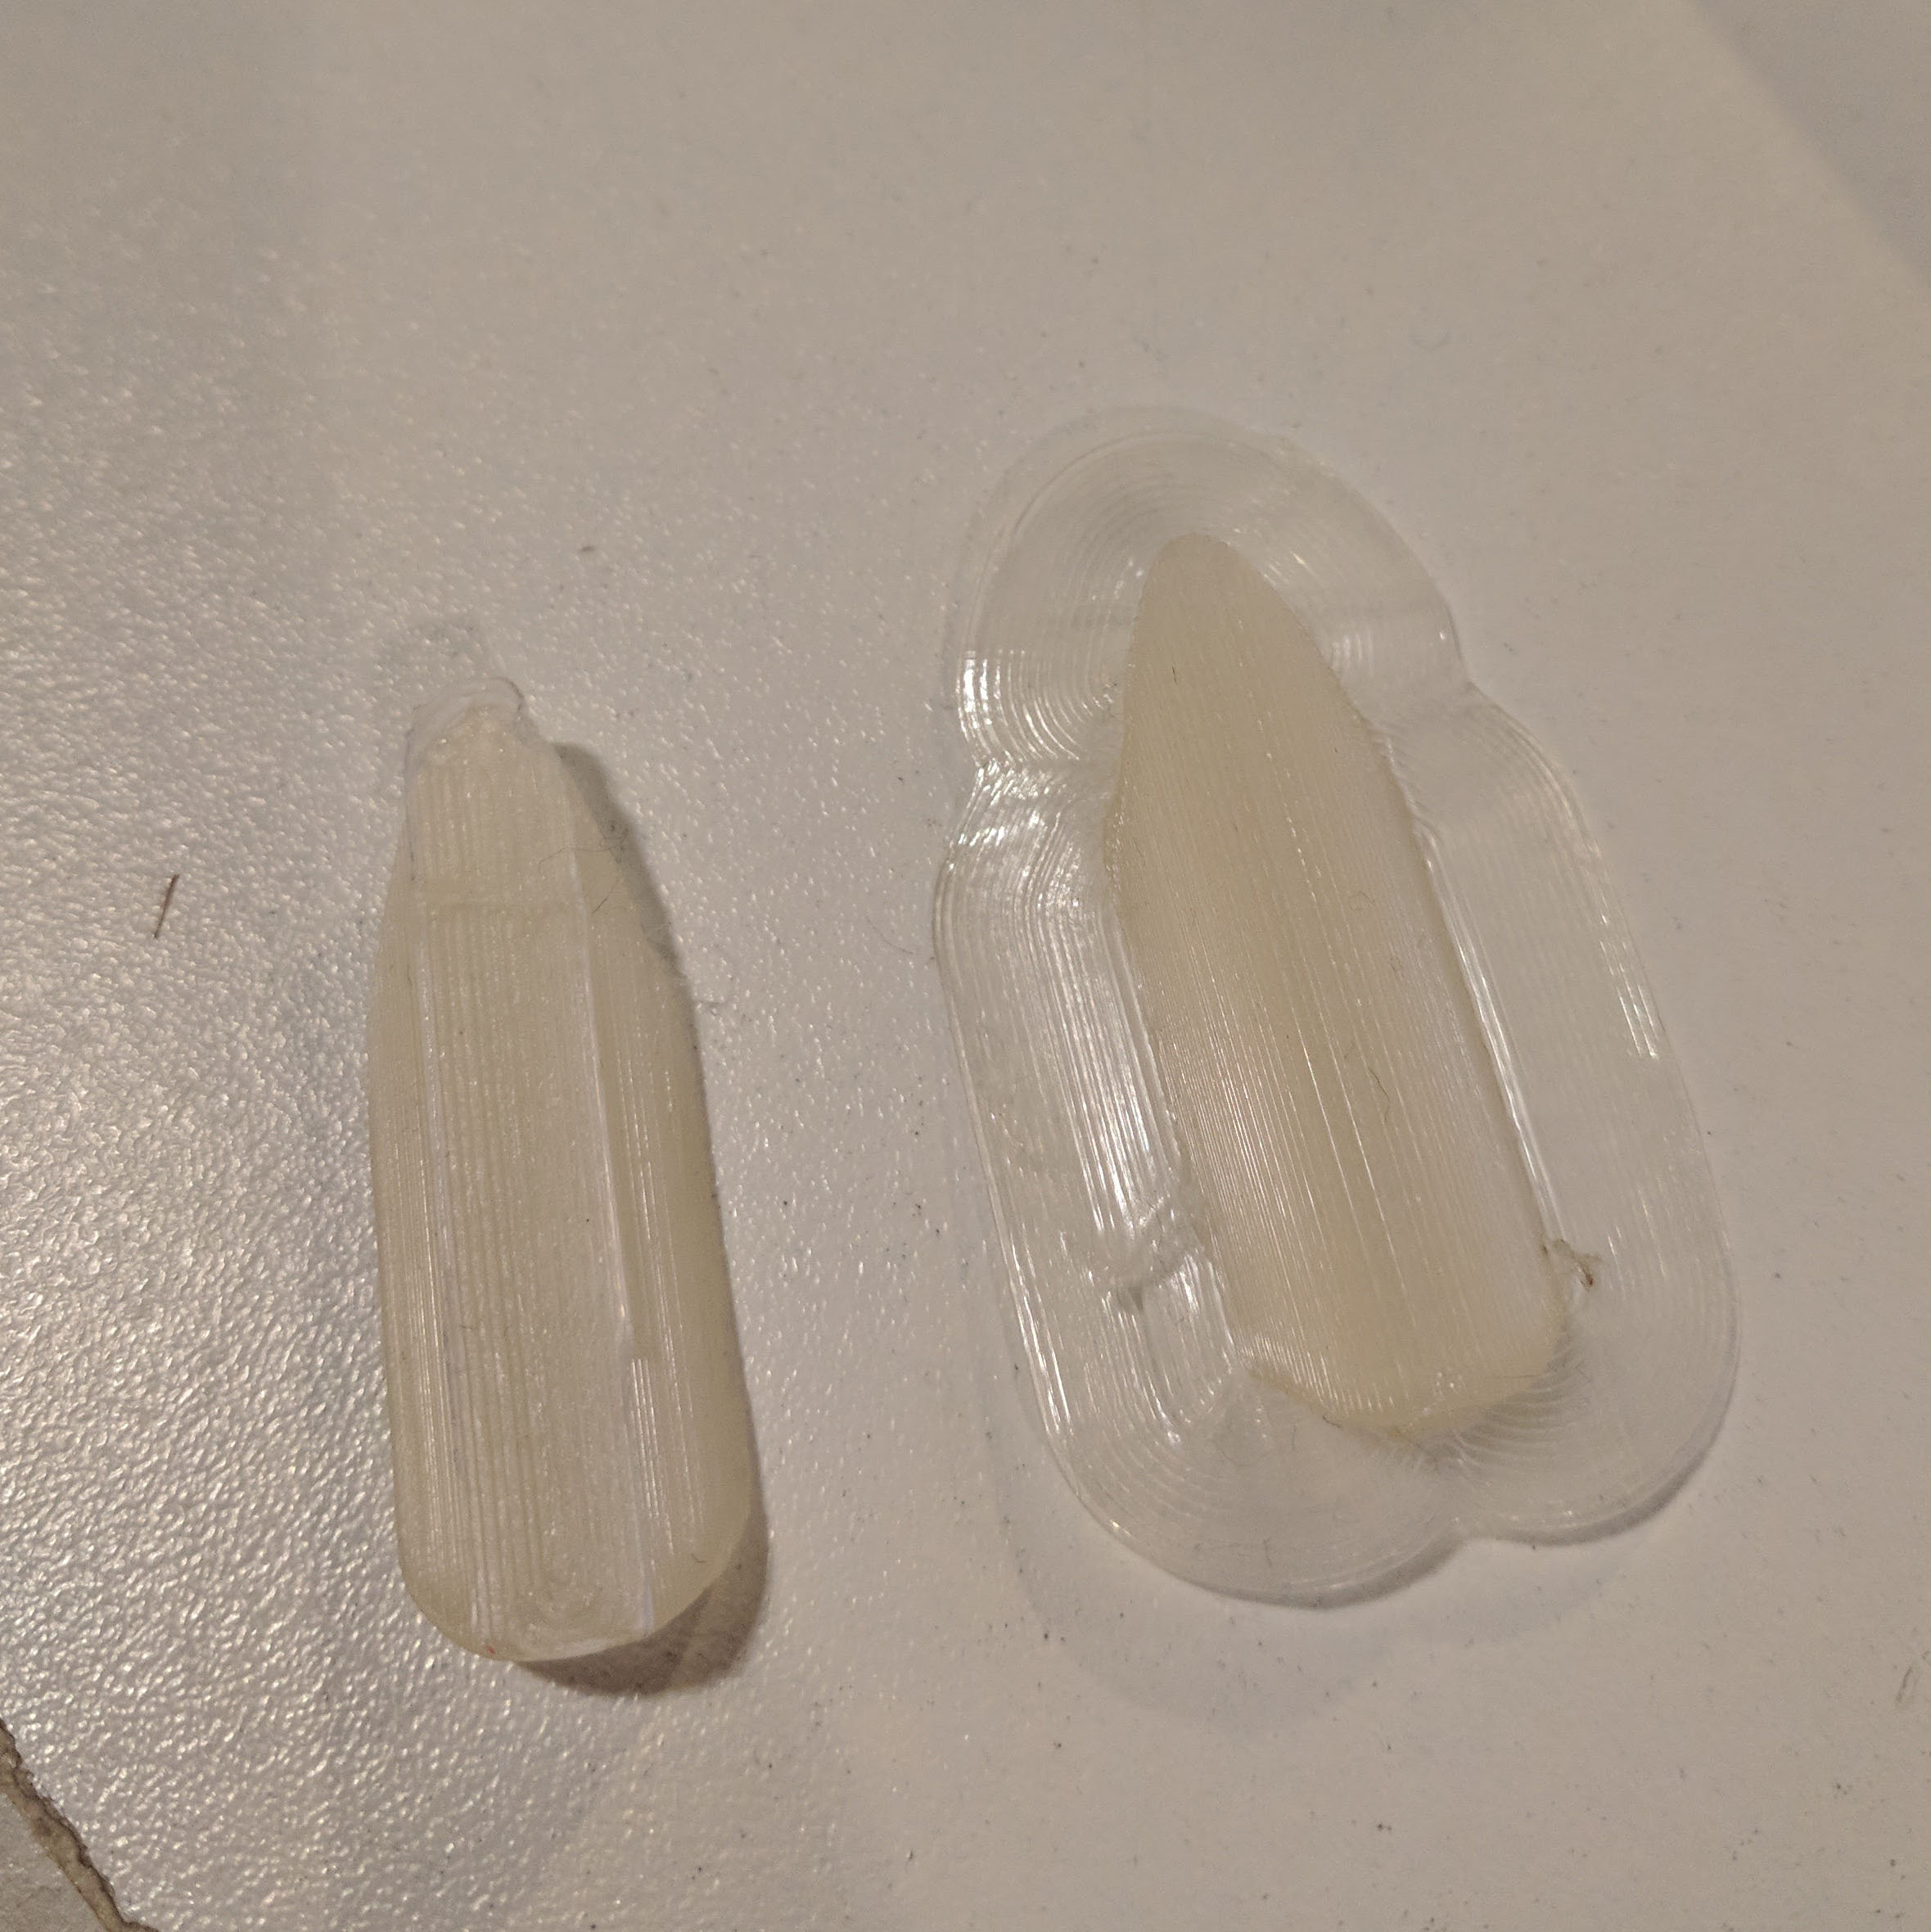
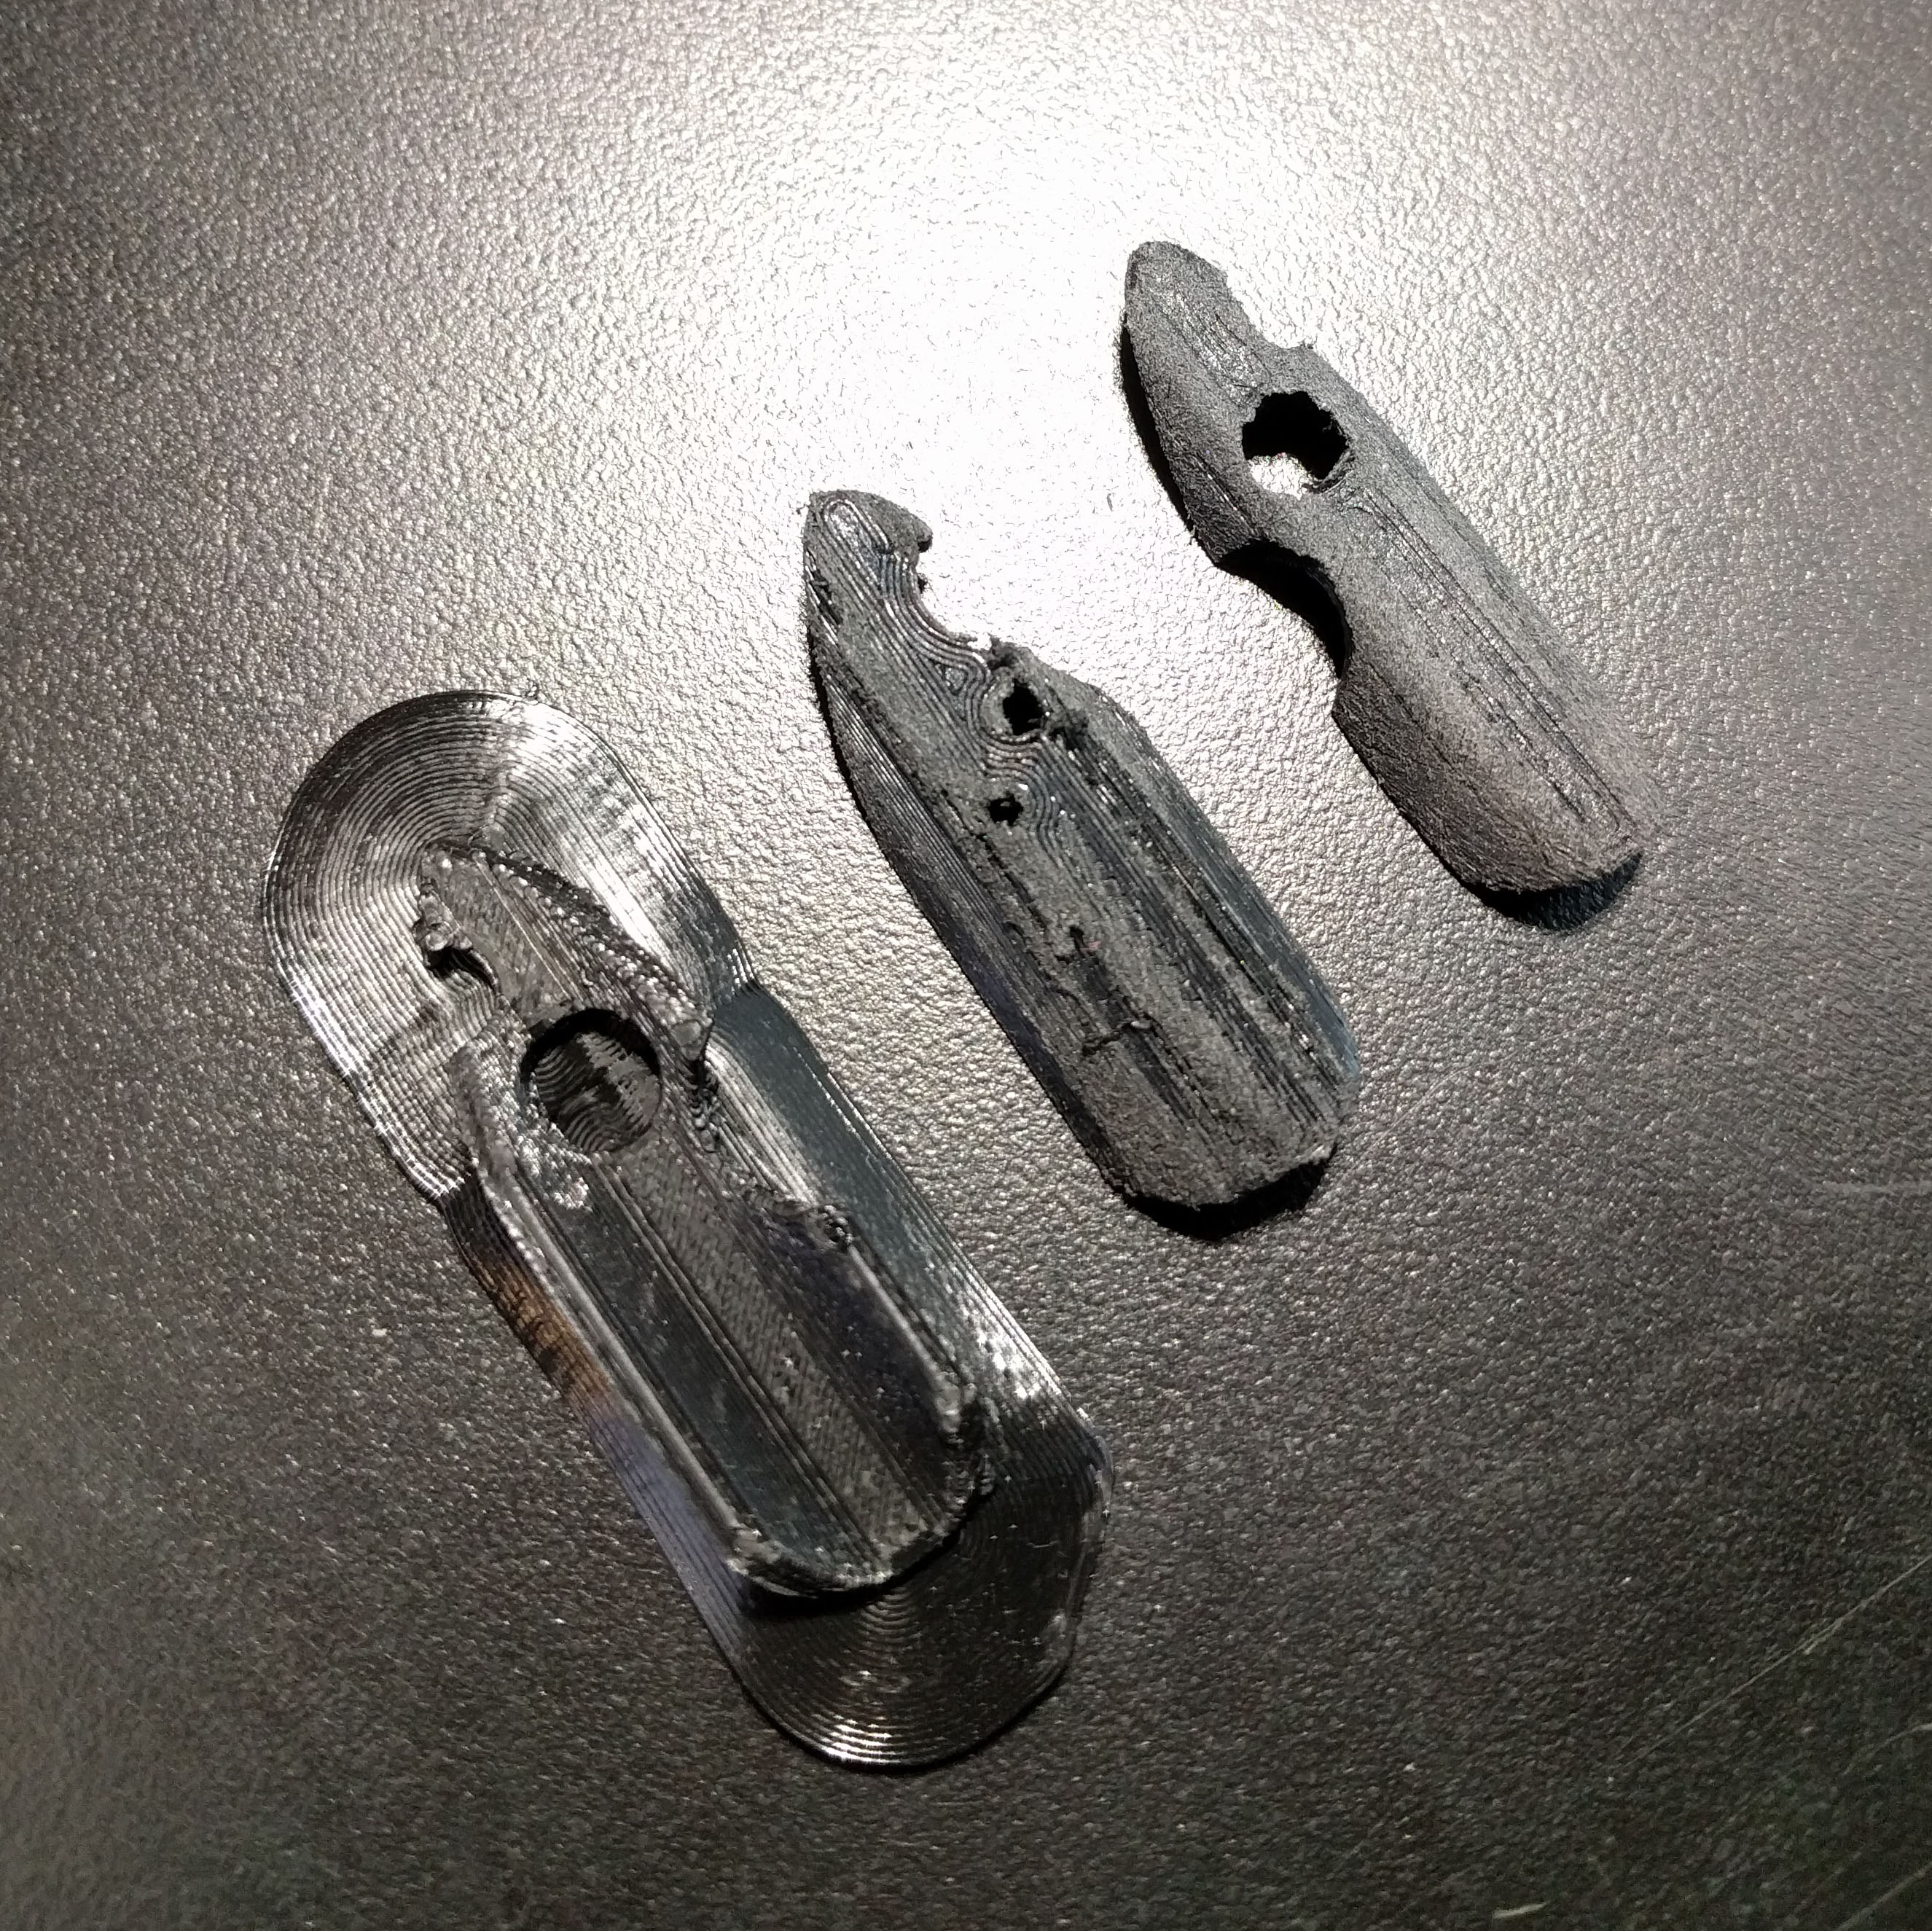
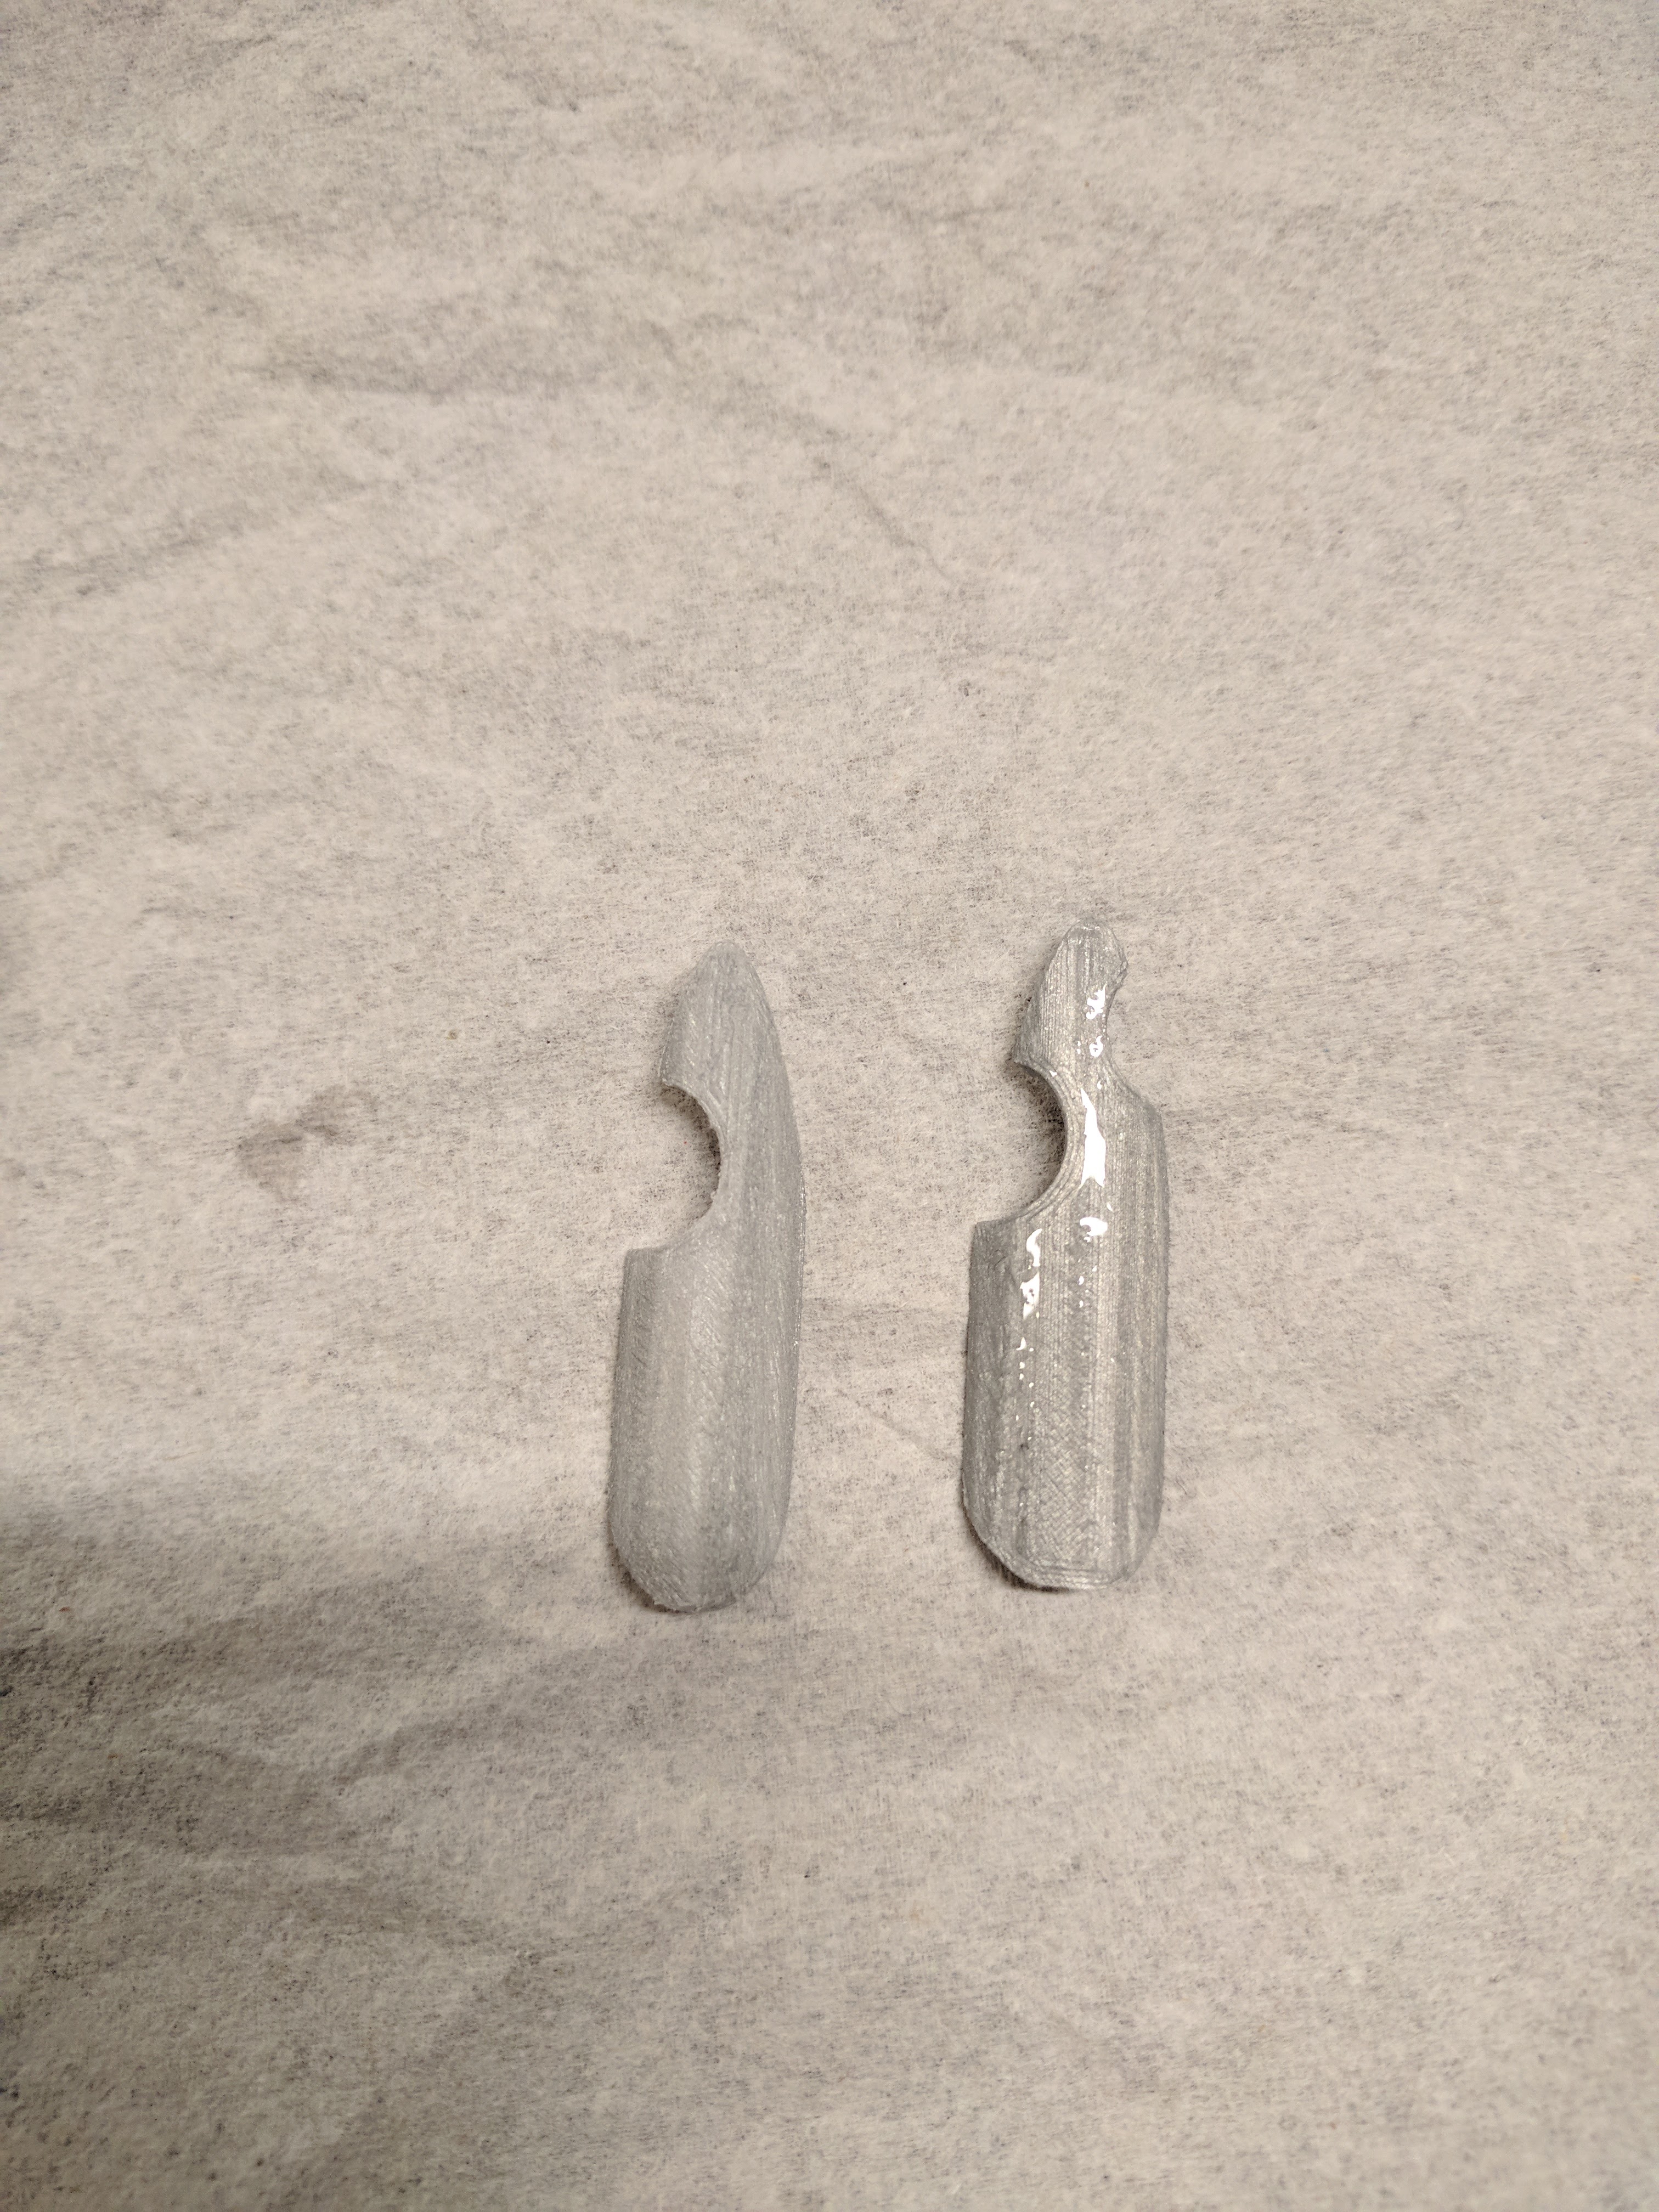
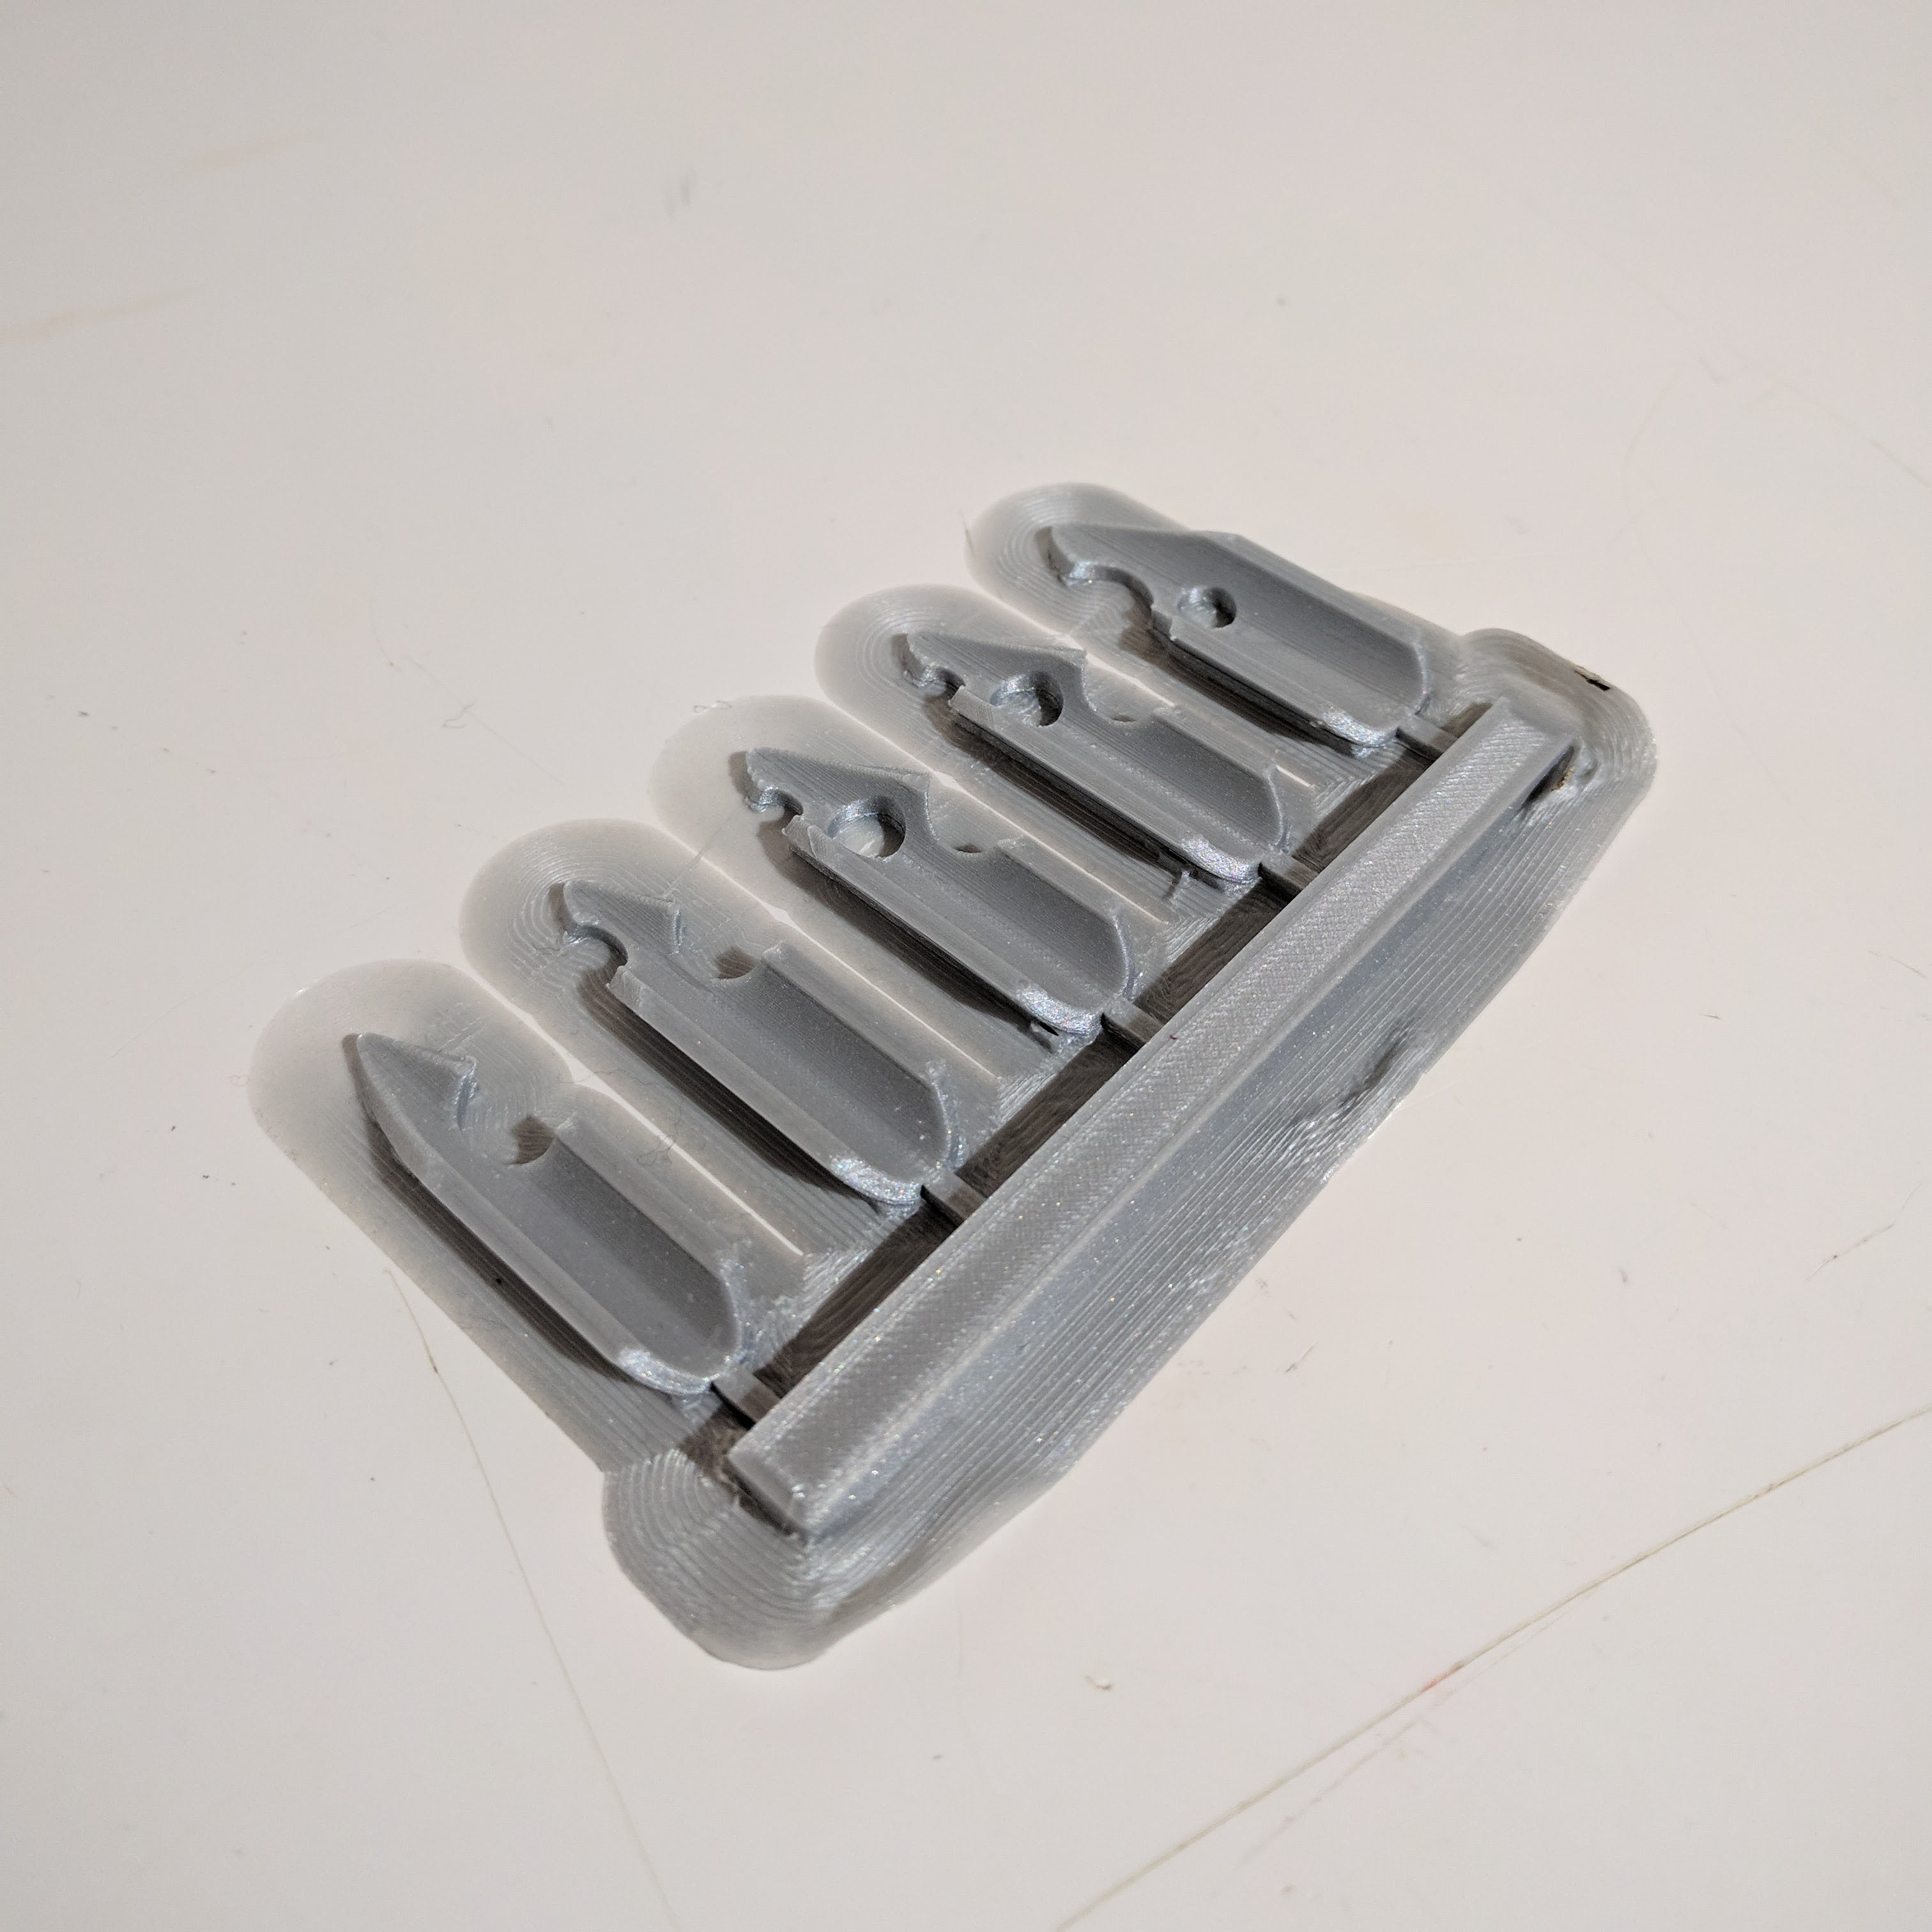
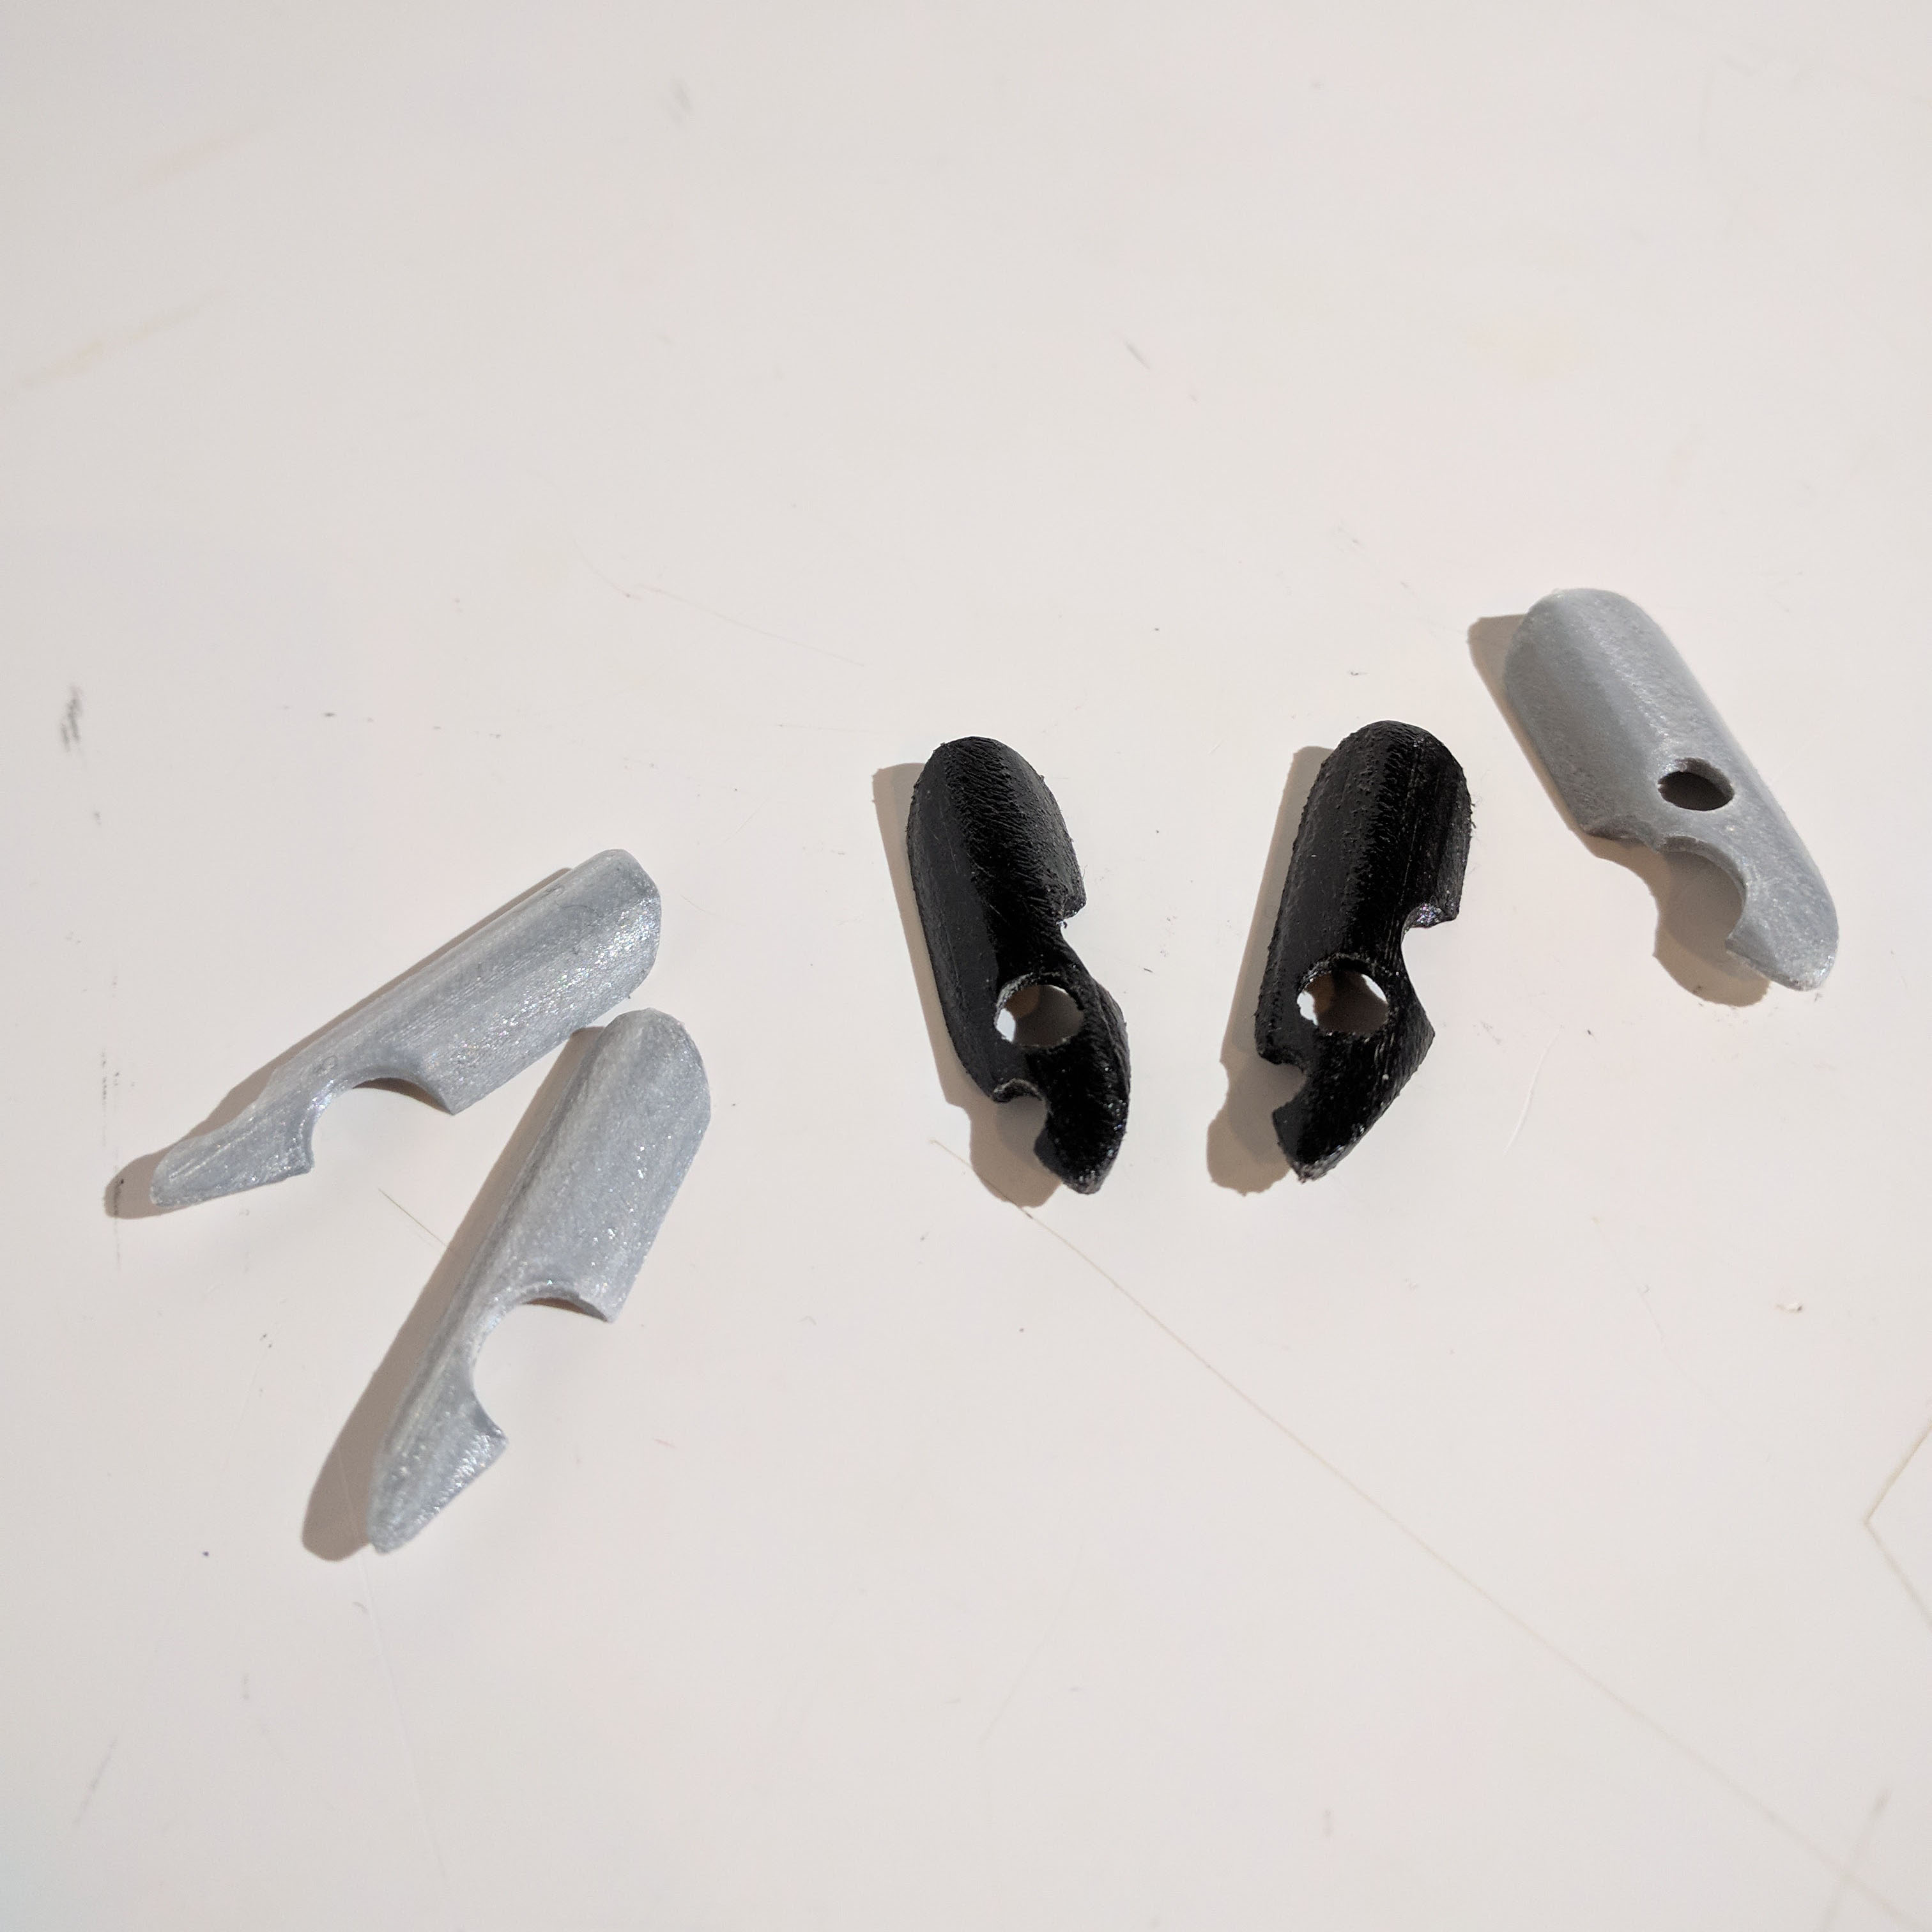
I then settled on a pointy stiletto nail shape. I tried different printing orientations. I had been printing the nails upside down (curve facing up) but wanted to have 3d extrusion designs on top of the nail. I thought I could add tall extruded designs on the top and then print flipped (curve facing down) but I soon realized that it would be too hard to get out all the support material out from inside the curve. In this image, the nail was printed curve facing up on the left and curve facing down on the right. After this, I decided to have my design be in the negative space of the nail (cut holes into it). I tried printing with both 0.4 nozzle and 0.6 nozzle and realized that my models no longer fit my fingers with prints from the 0.6 nozzle.
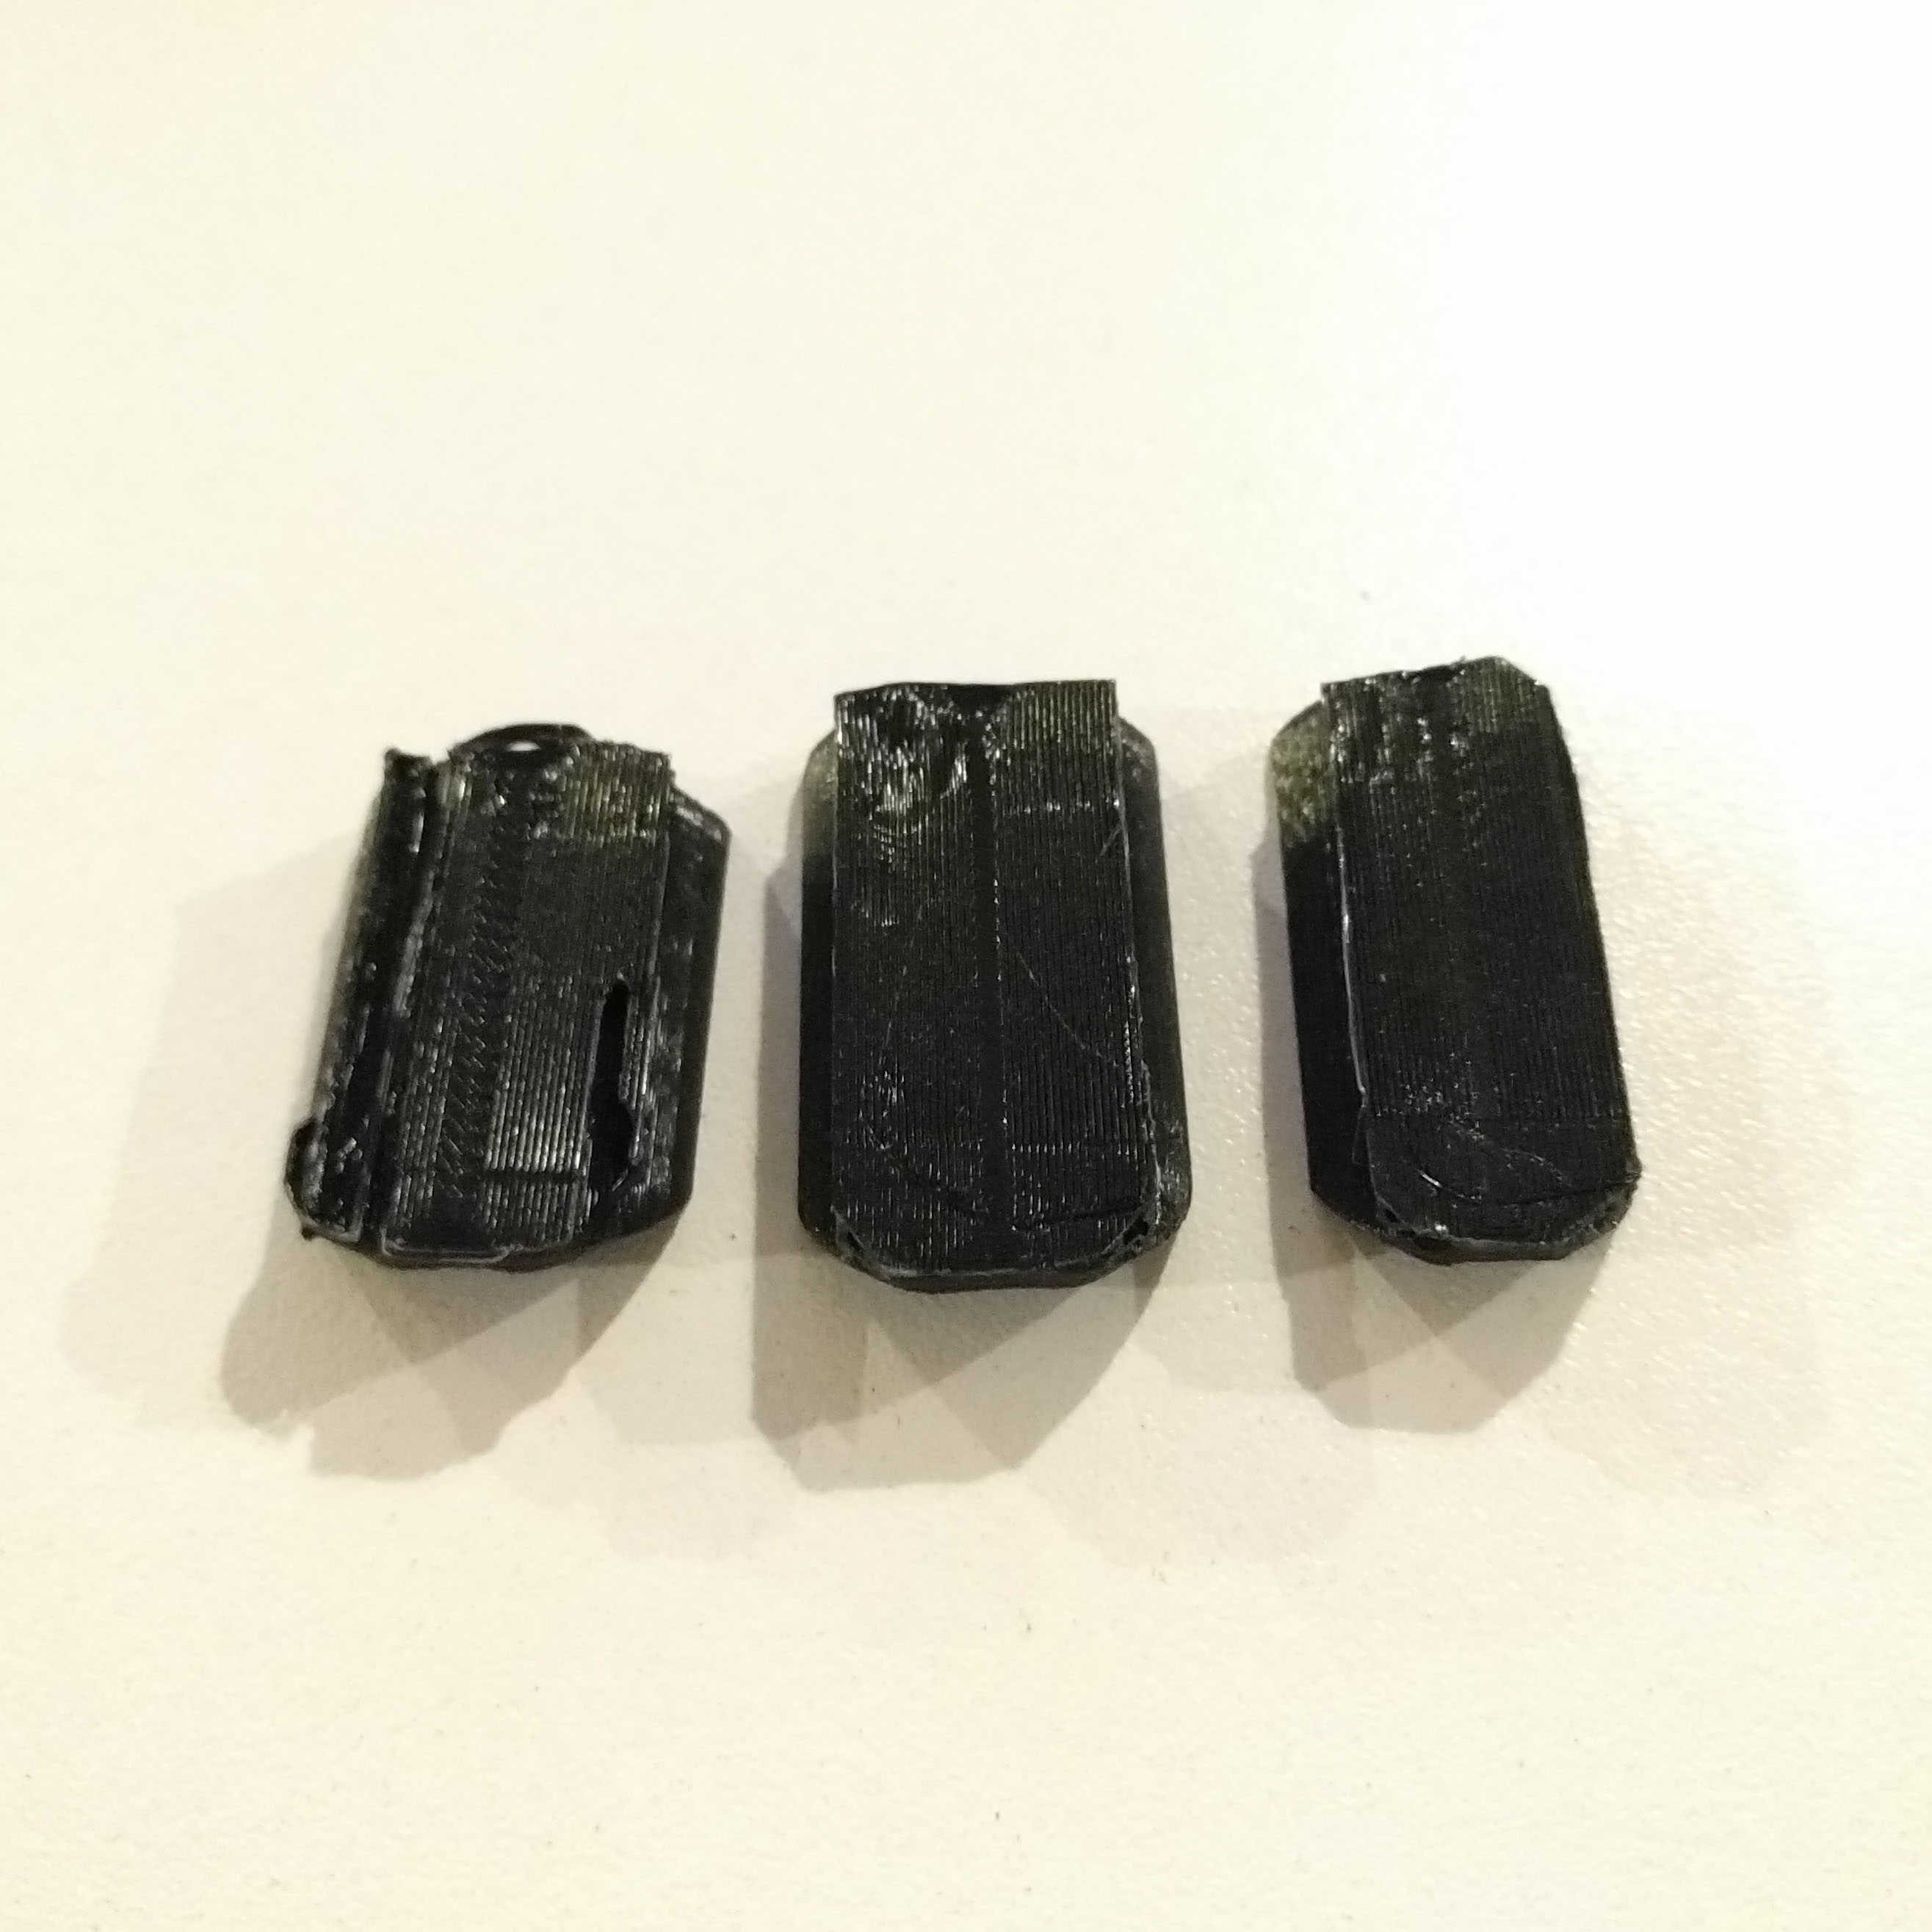
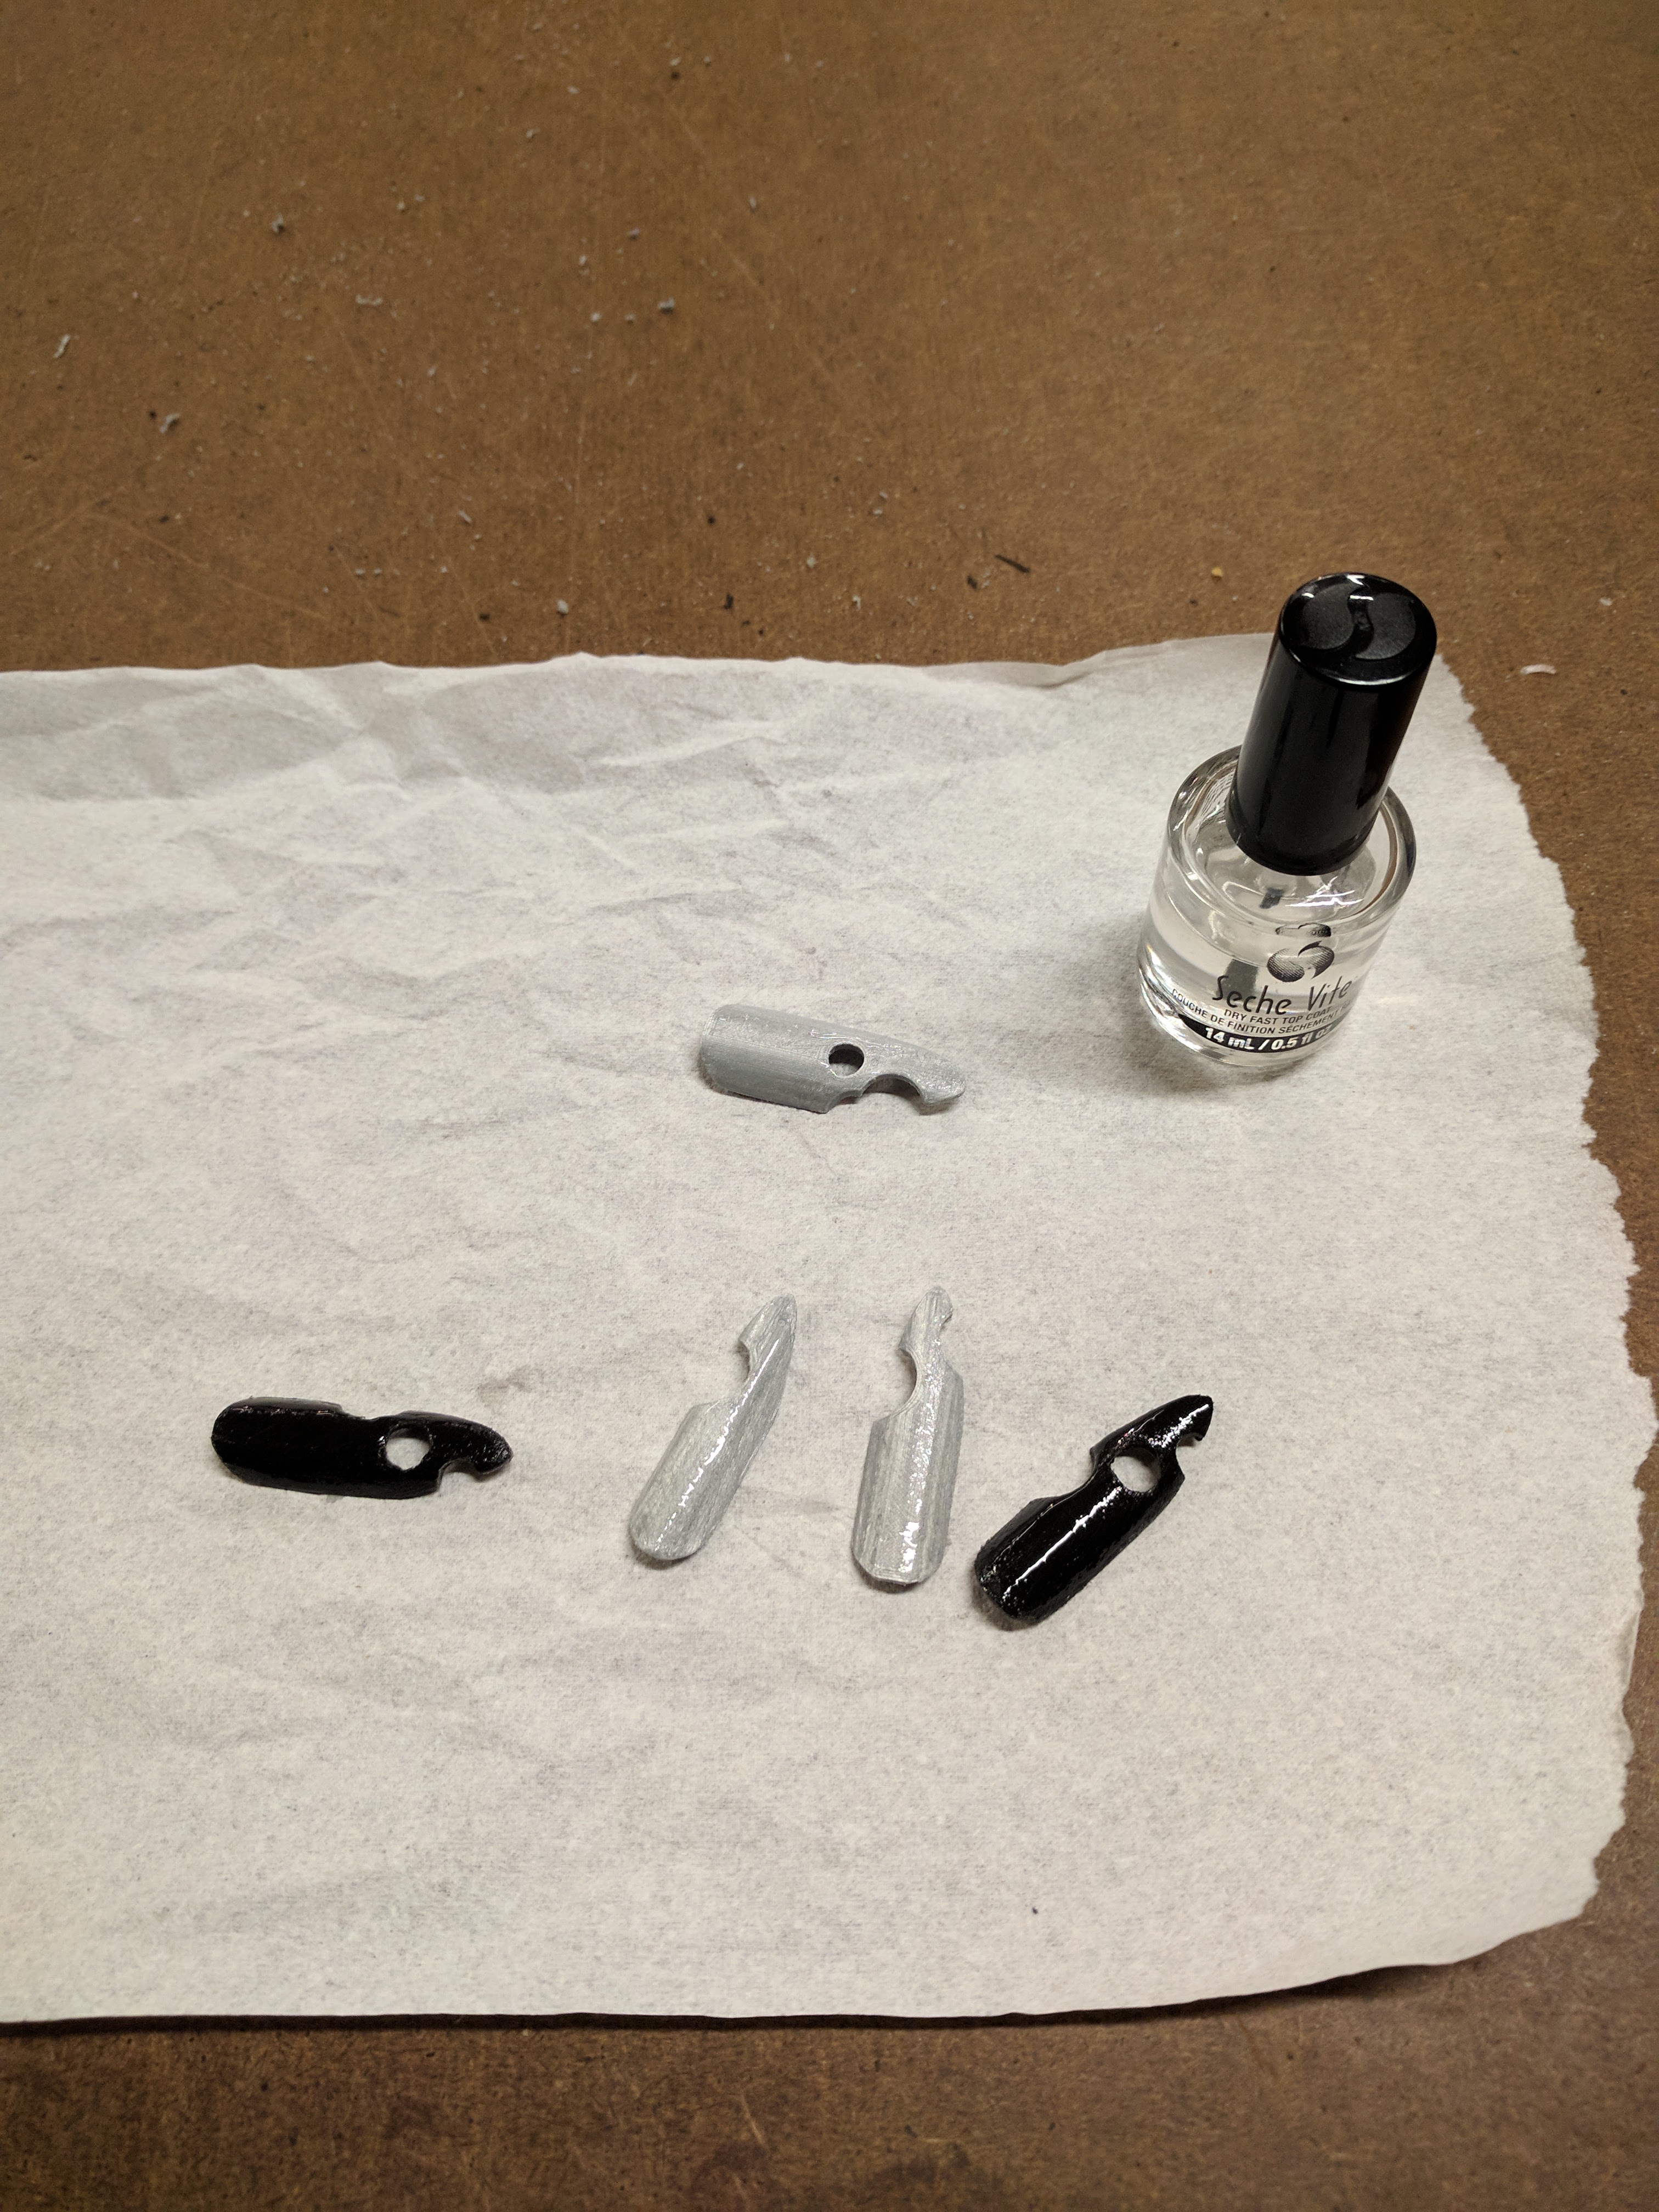
I sanded down the outside surface of each nail. This is an image of examples of the prints at every state: just removed from printer, support material and brim broken off, and sanded down.
I then coated every nail with two coats of Seche Vite glossy top coat nail polish.
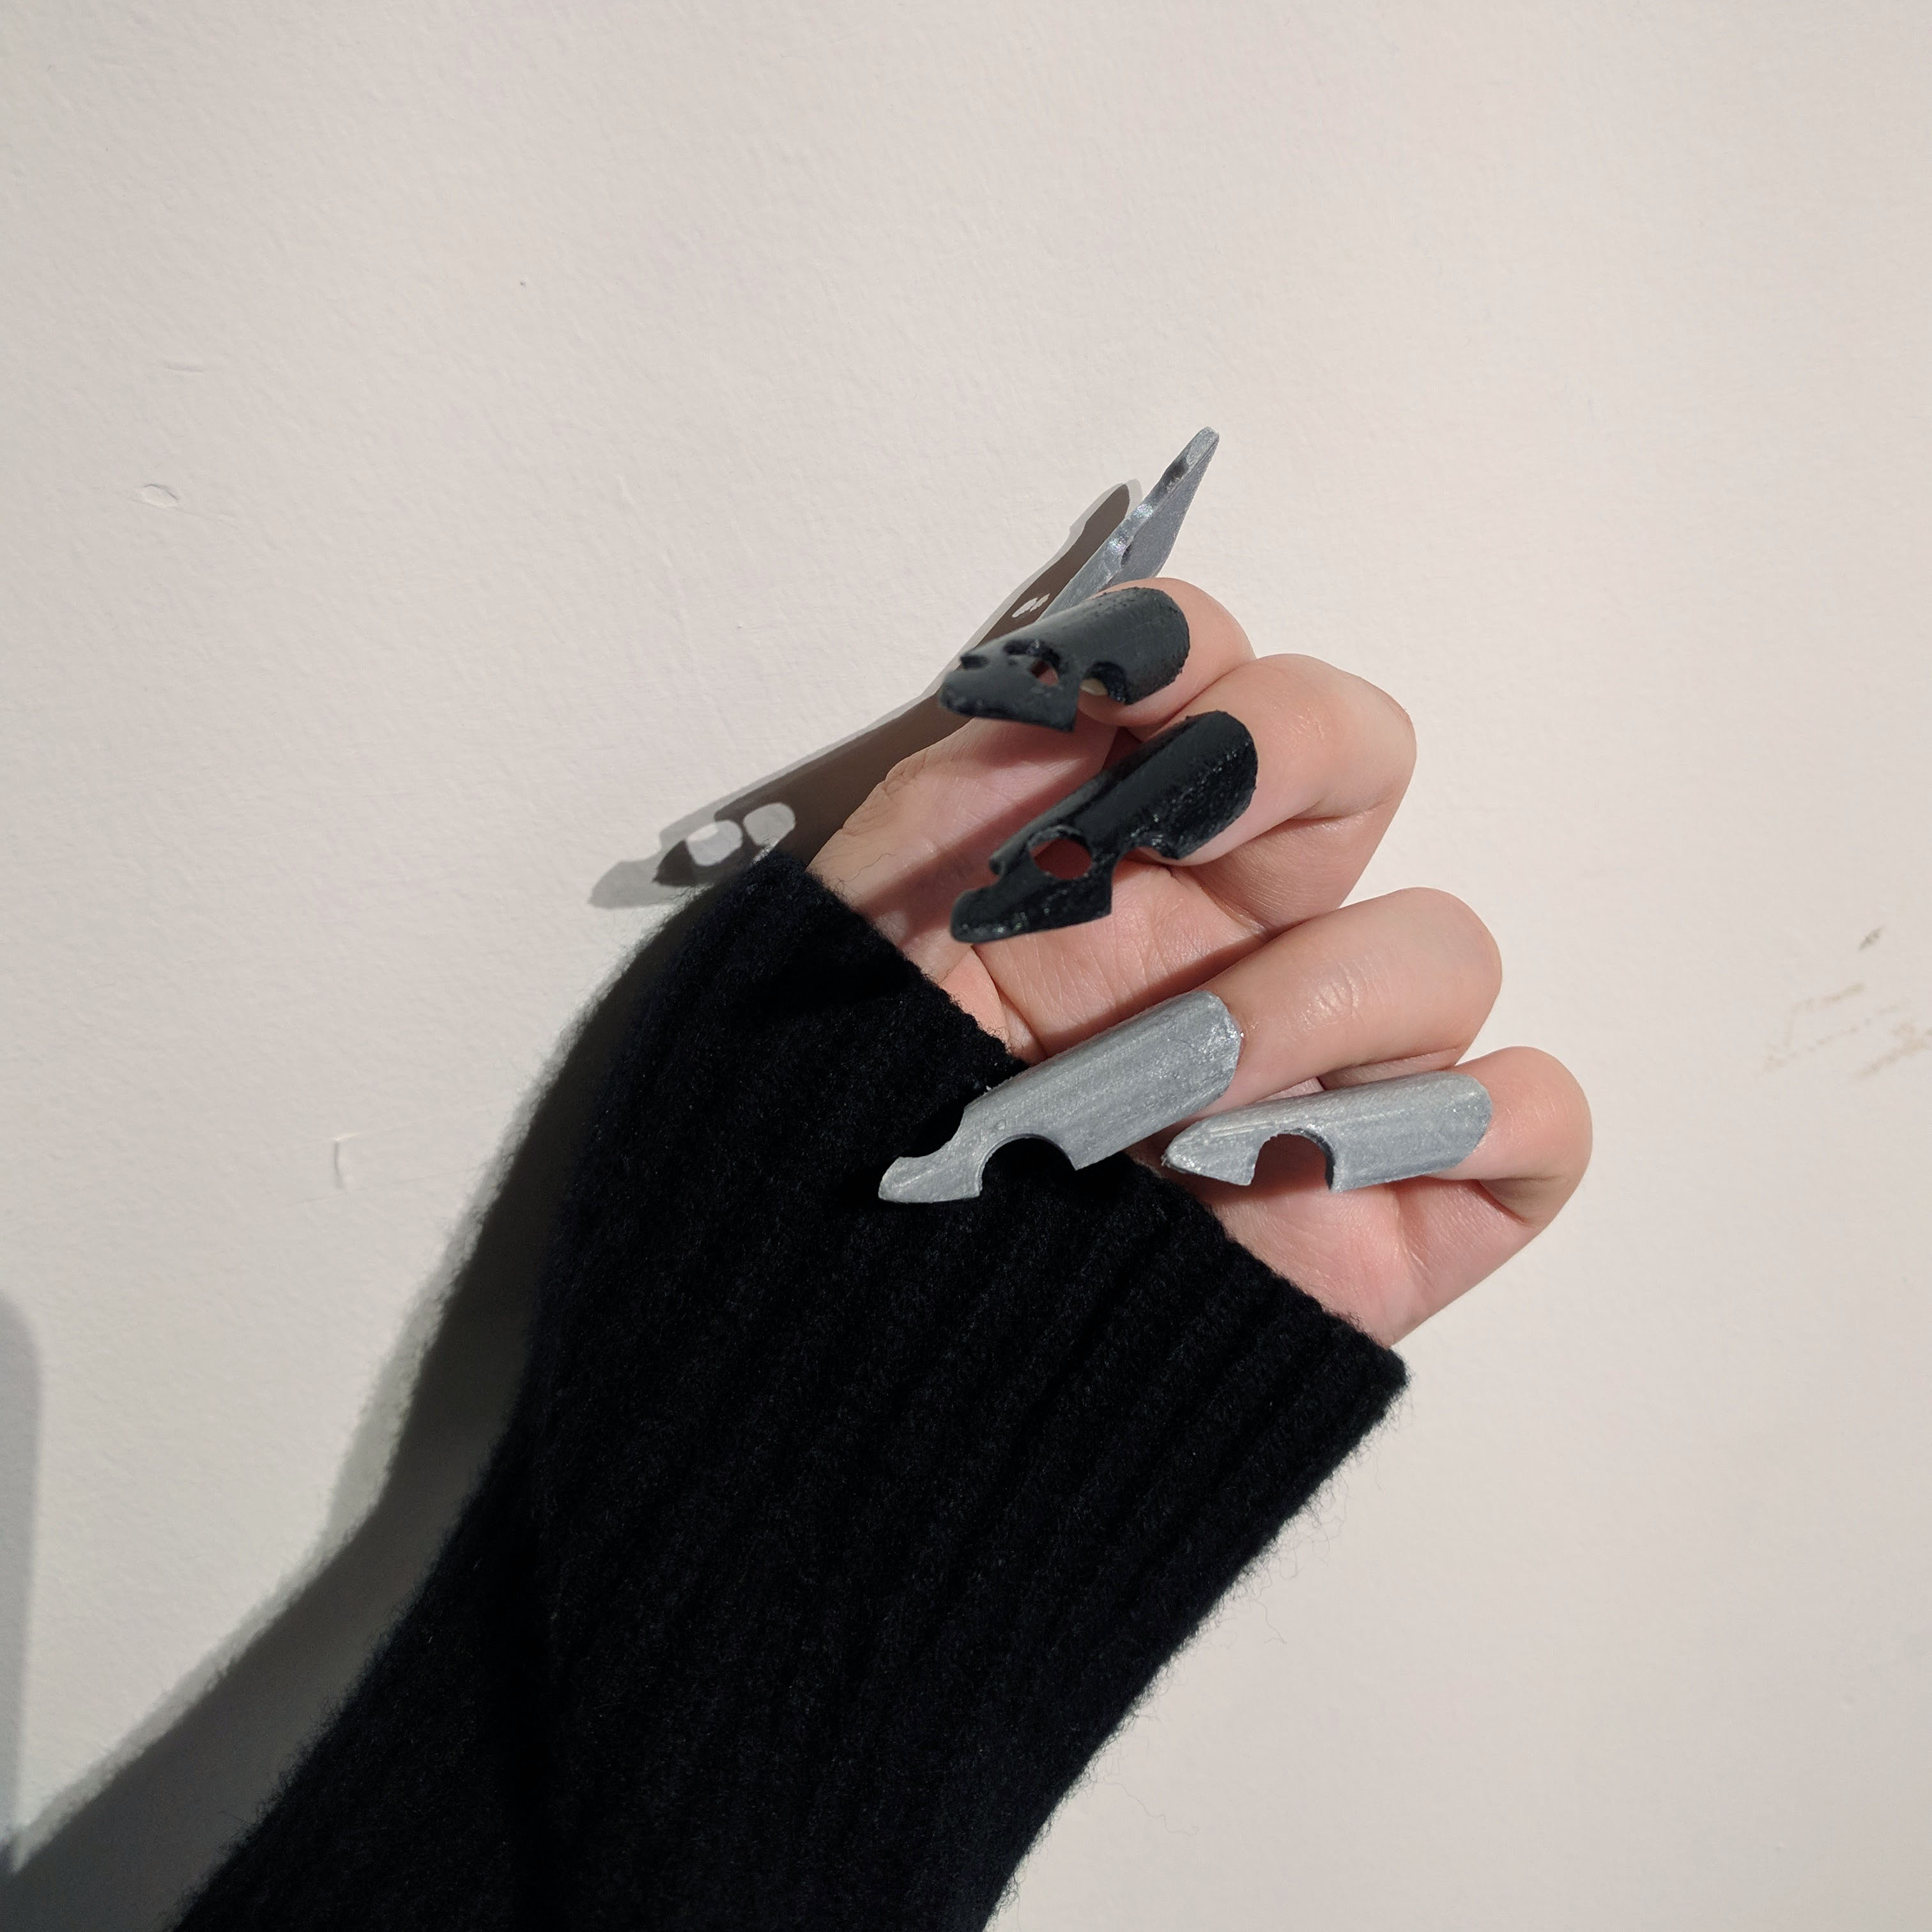
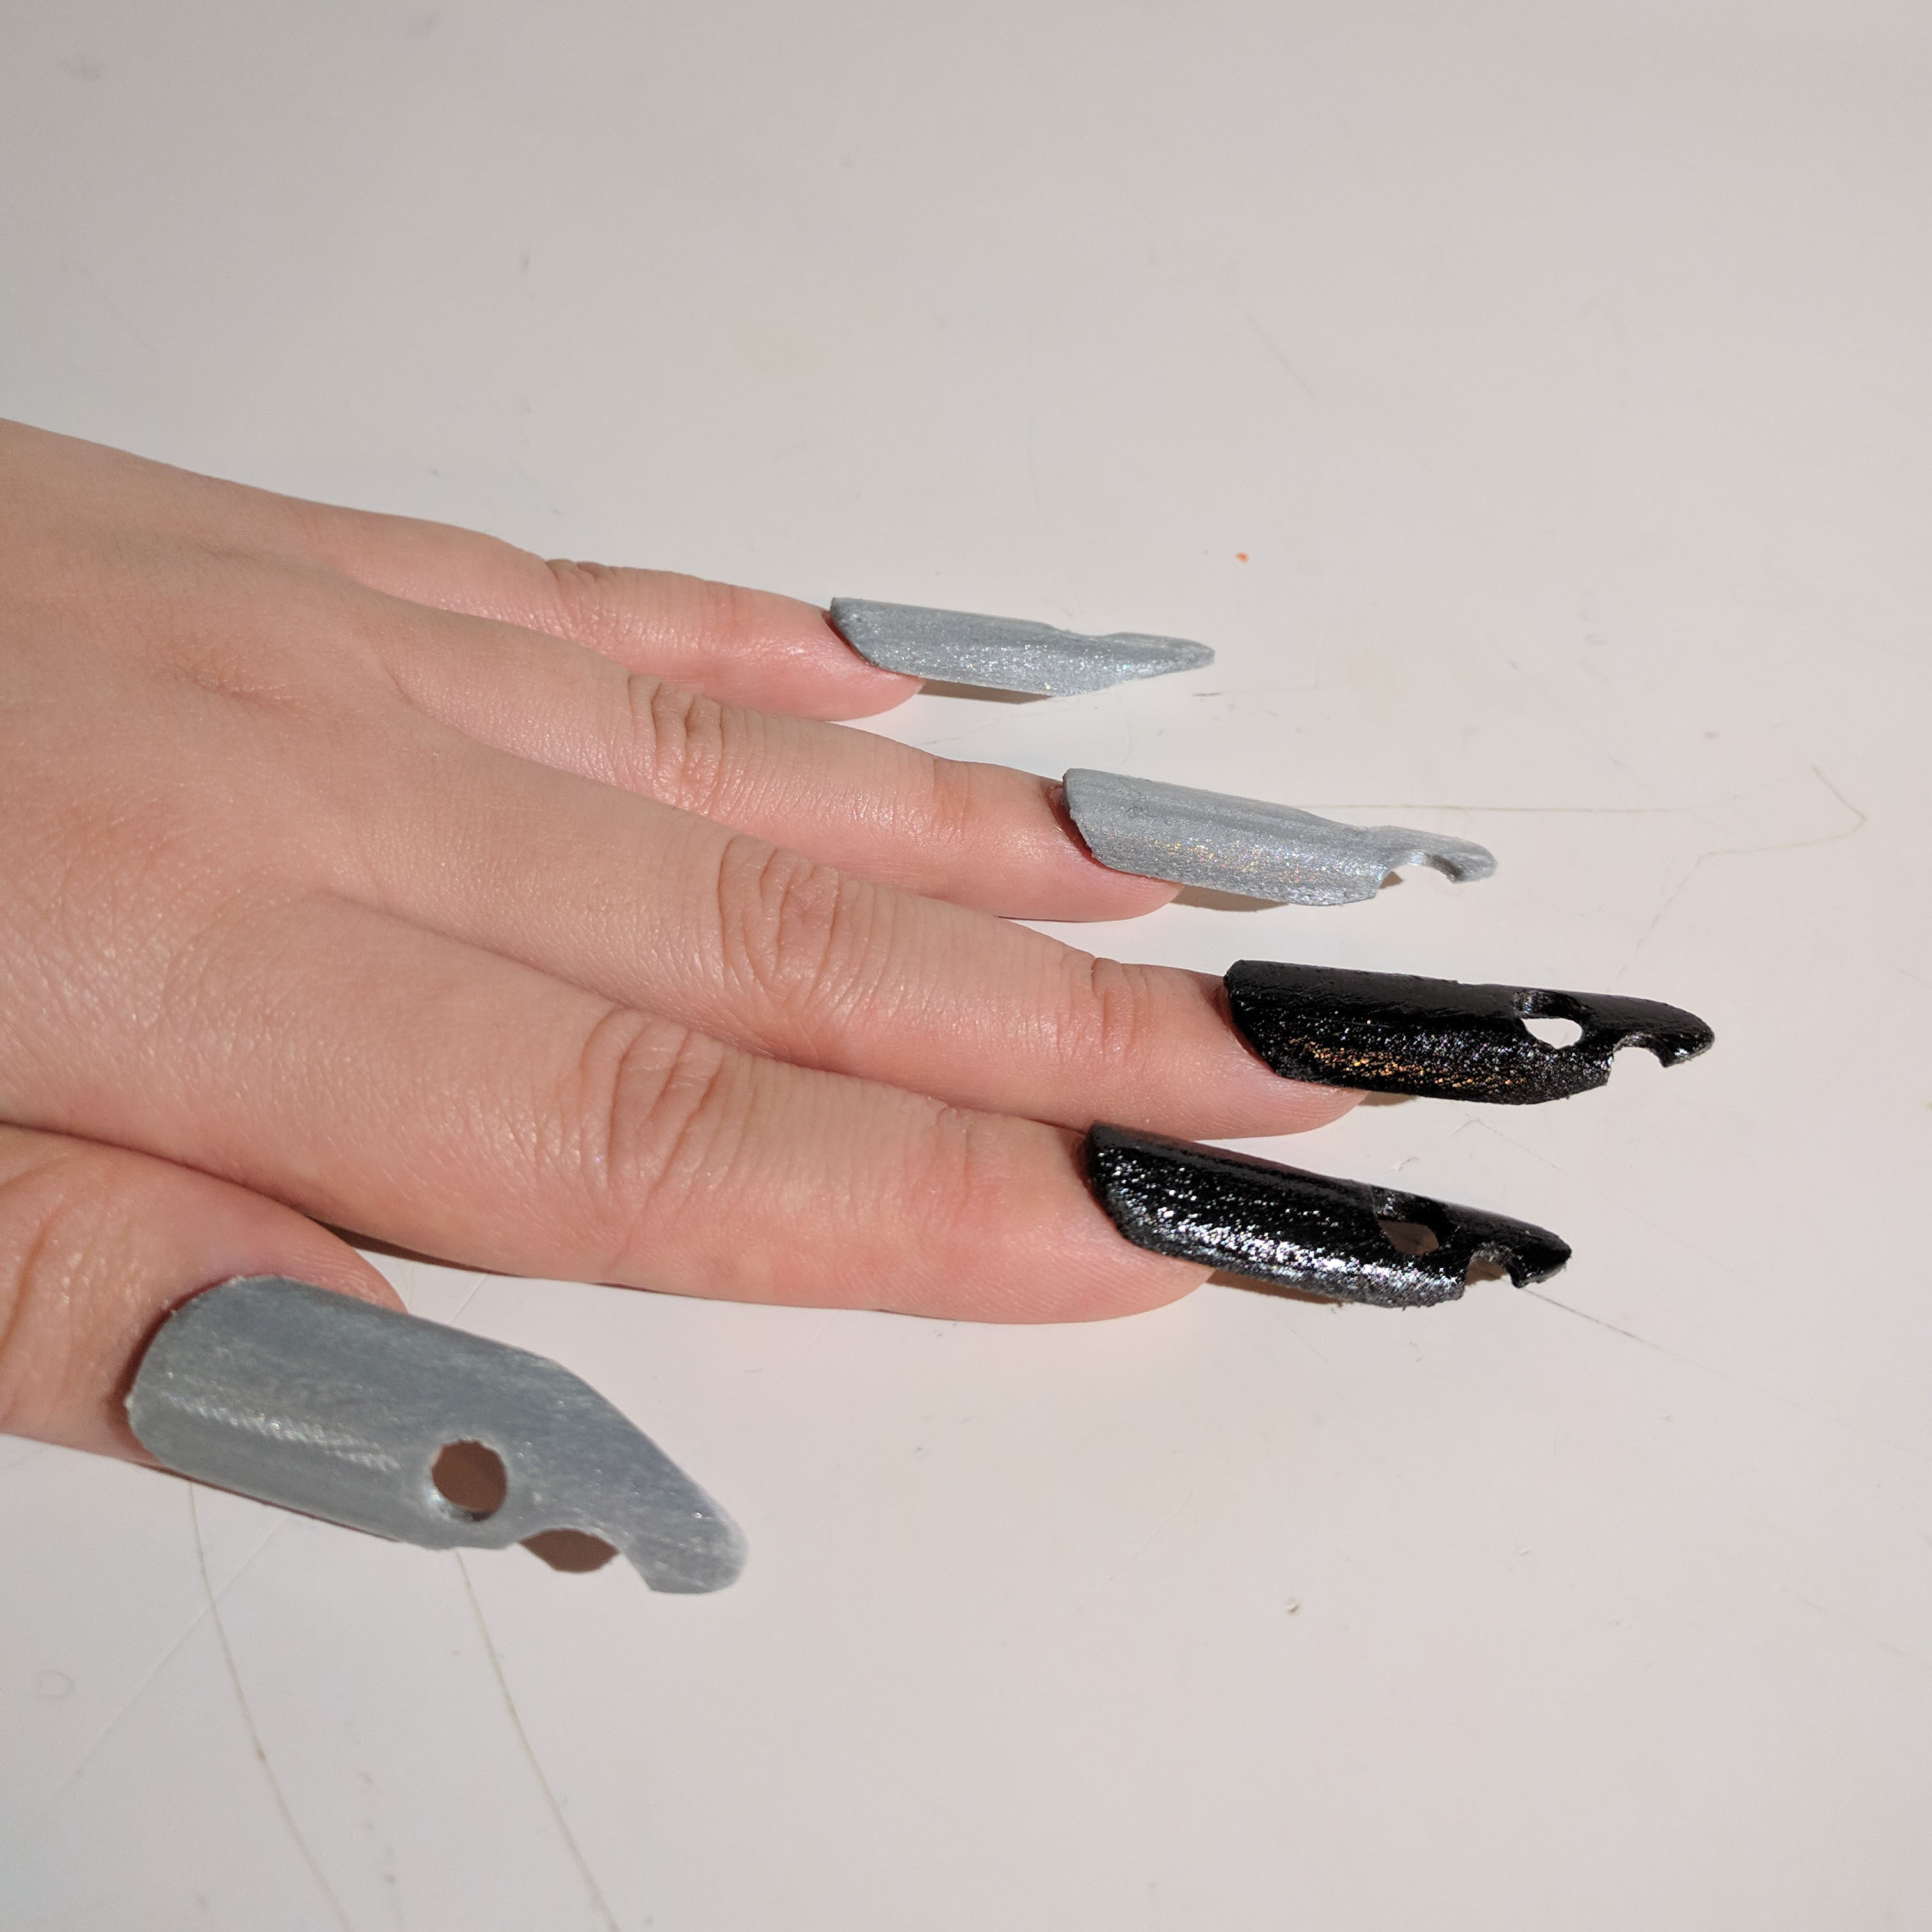
I attached the nails to my real nails using standard nail glue.
Final Product Images

Conclusion
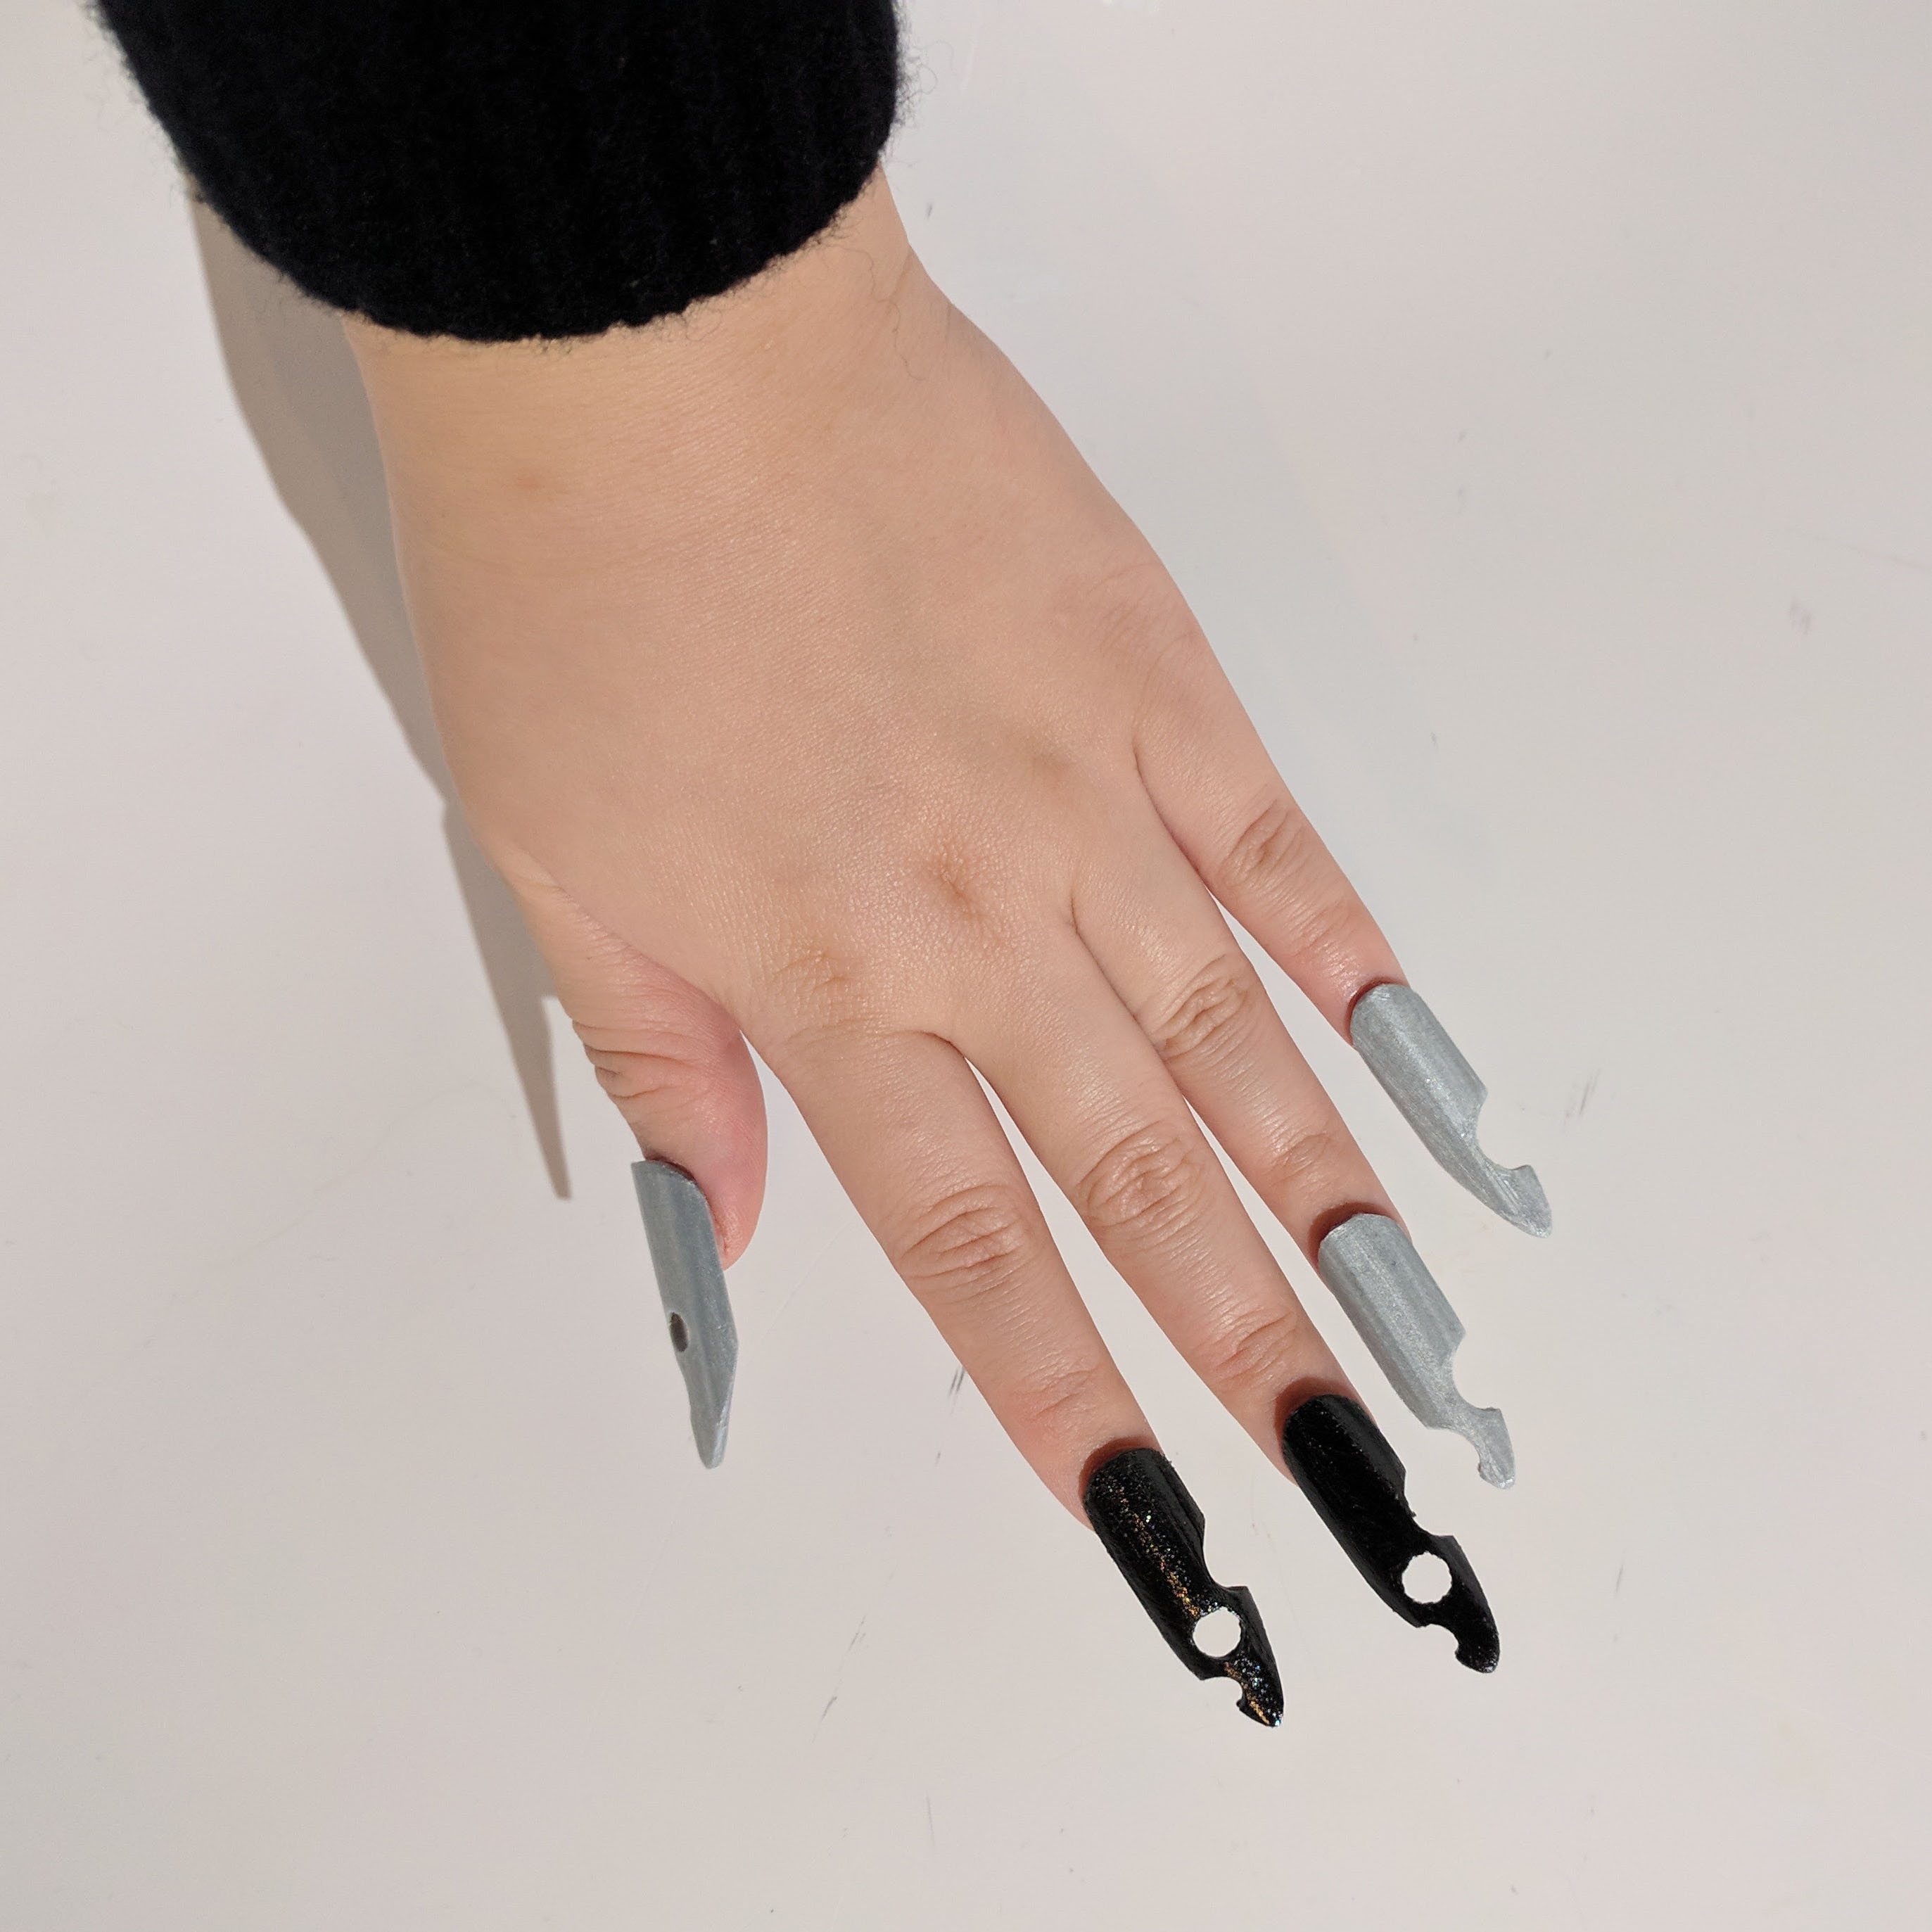
The nails don’t fit exactly to the curvature of my real nails but stay on pretty well with nail glue. I would like to improve my design to be more intricate, try different and more unconventional nail shapes, and implement 3-dimensional designs on top.
Written on October 30, 2017
After thinking about how to make my glasses frames more 3-dimensional, I decided to change my concept and 3d print fake press-on nails. I’m doing this because I used to have really long natural nails that I painted every week. My nails have broken from doing physical work and are crusty from not having time to do them because of ITP. Ideally, I want to make the fake nails fit over my short natural nails so I will need to make around 5 different sizes.
I did some research to see if anyone had did this before and made it work and found this{target=”_blank”}. I think I can make designs that are more 3-dimensional and less representational.
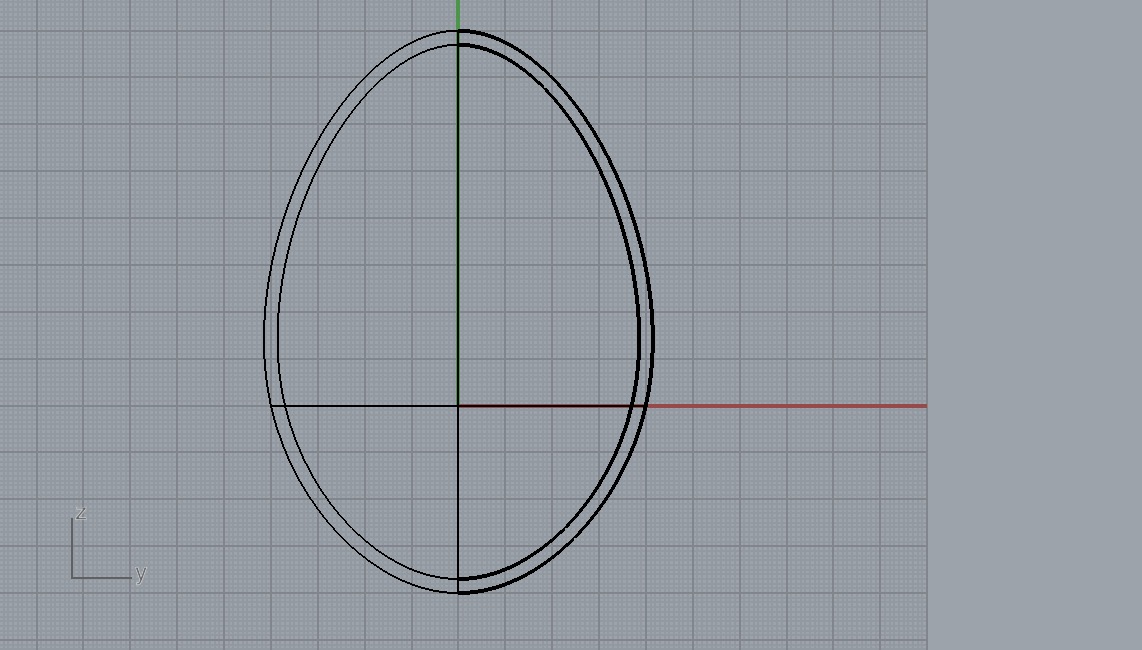
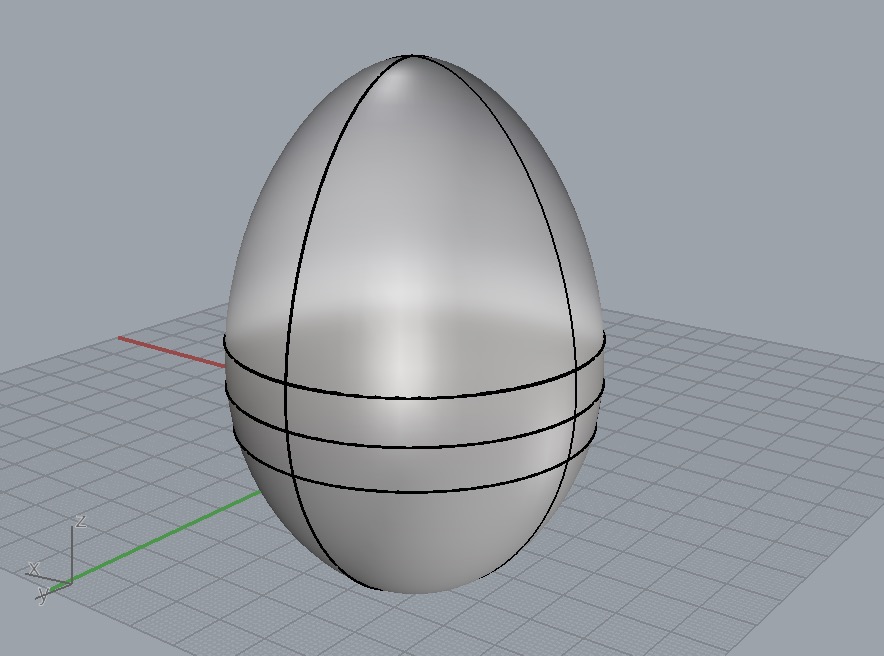
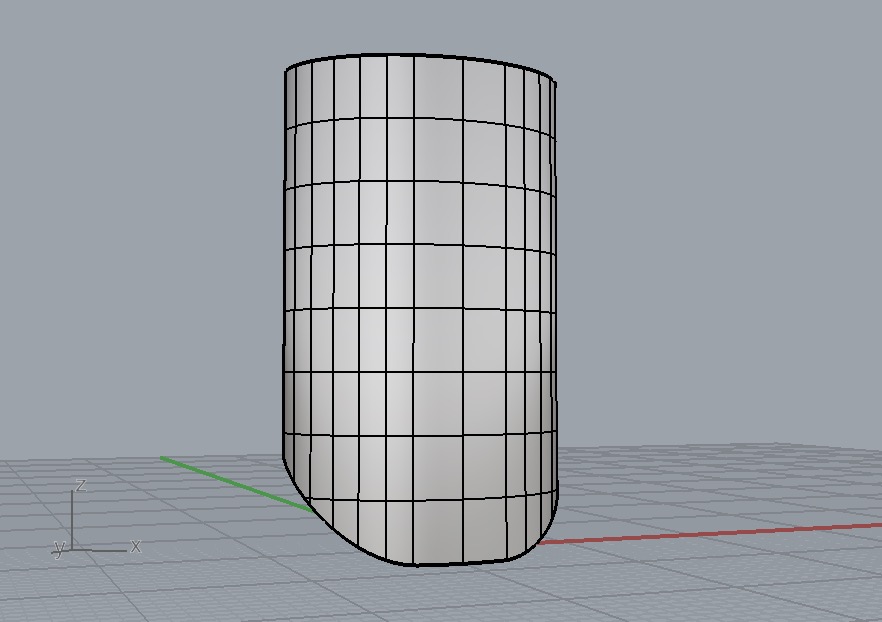
Took me a while to figure out how to even model a plain fake nail. My first models failed to print because they were too thin.
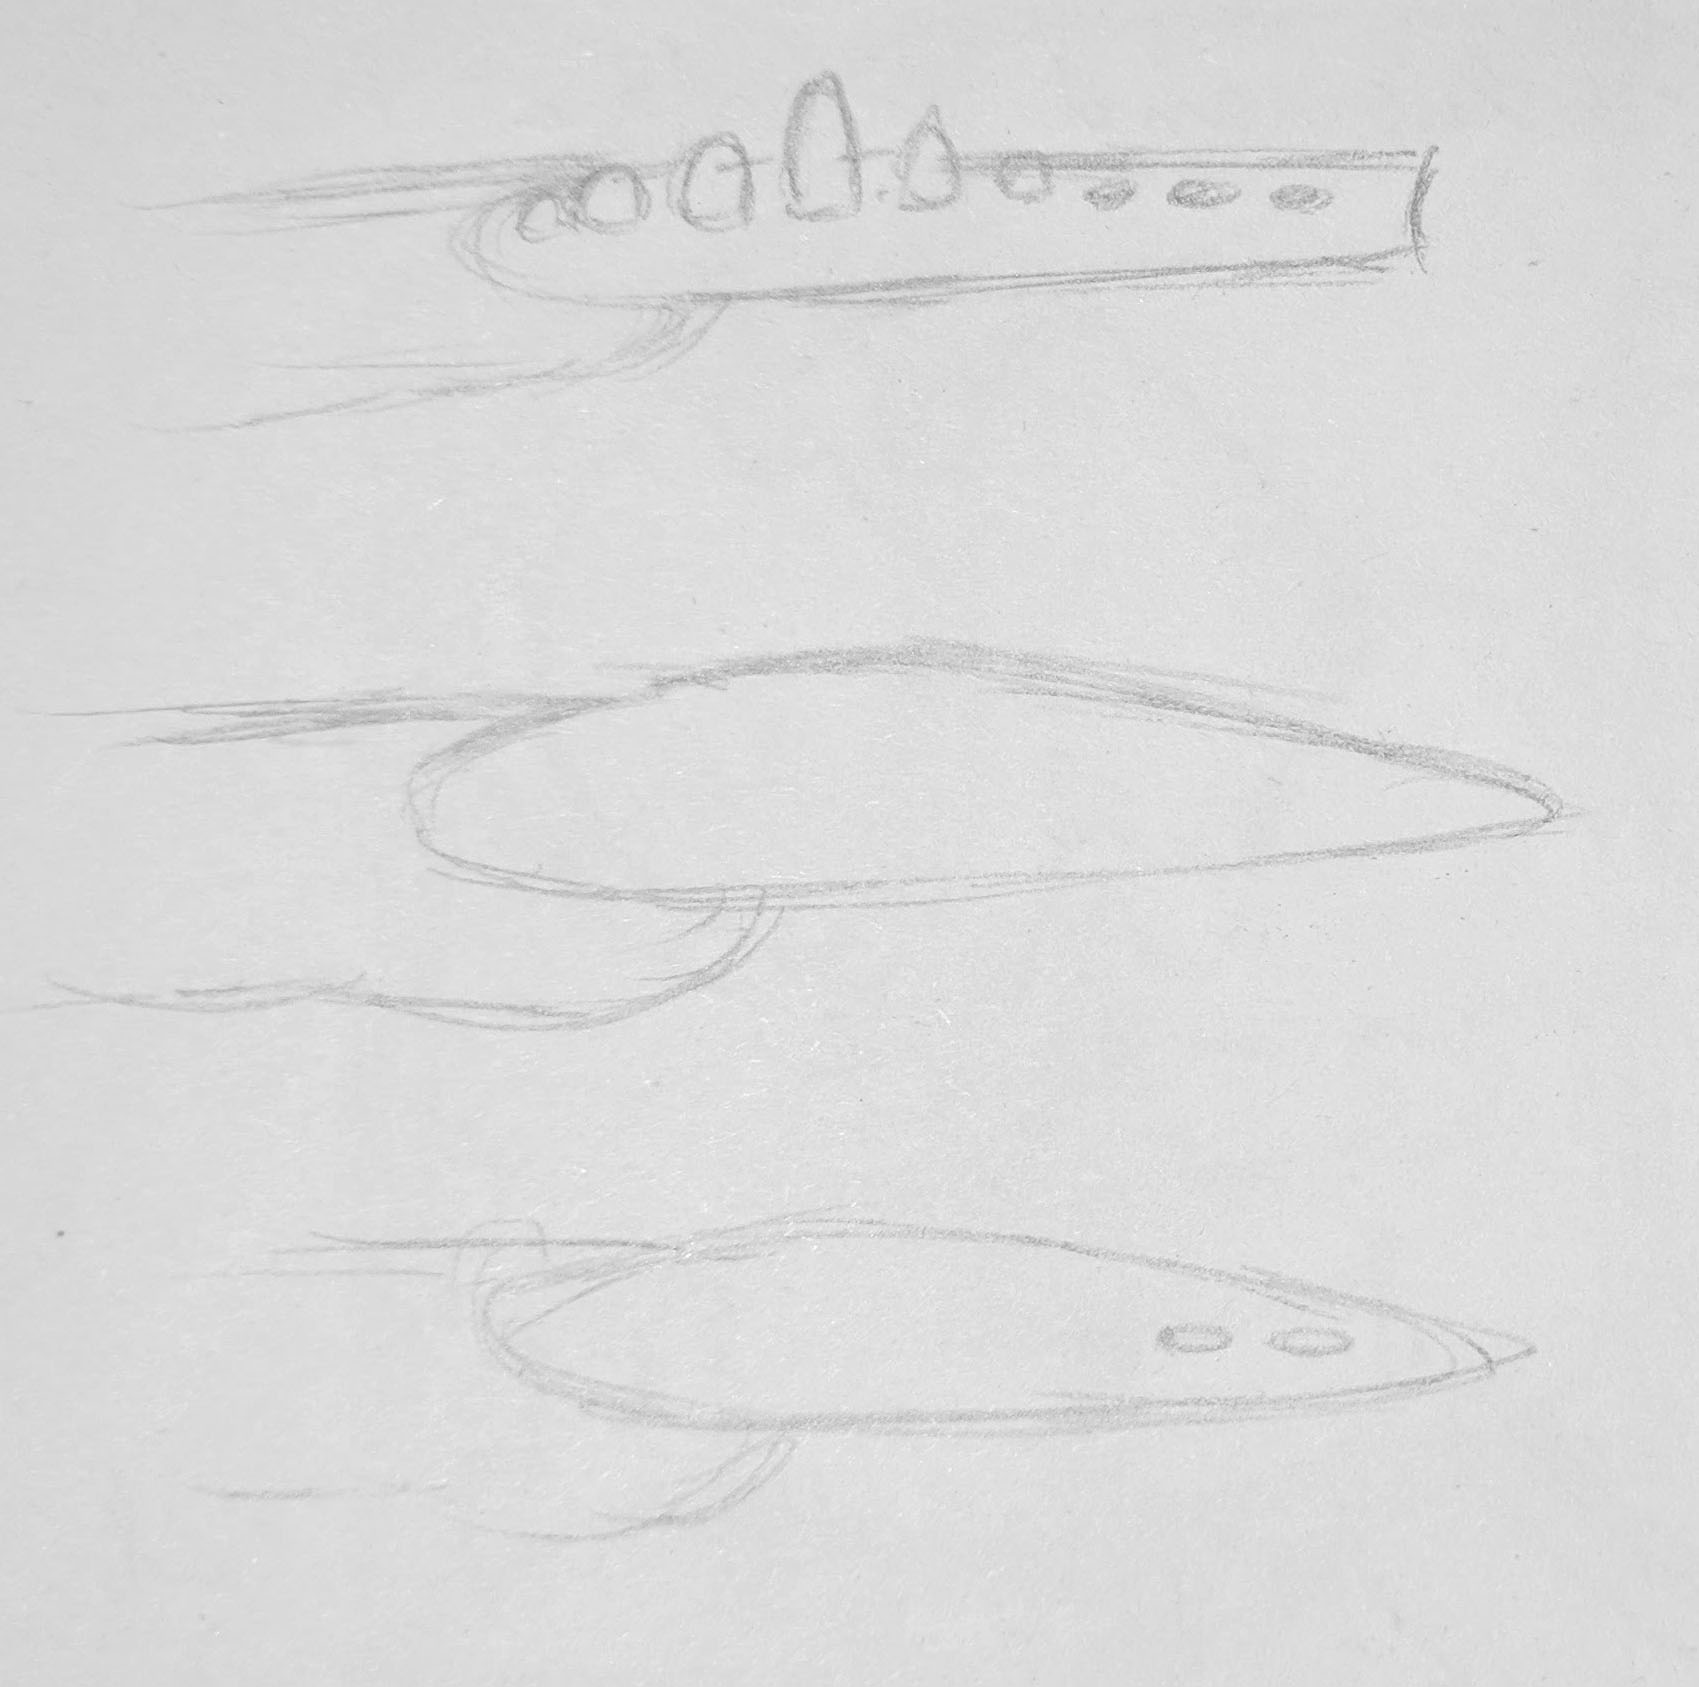
I’m still experimenting with designs and fit. For this week, I wanted to experiment with fitting the shapes around my fingers; however, I was unable to find a time slot where a 3d-printer was open after improving my plain nail models. So, I started making some possible designs. I want to make my final design more extreme than the one below.
Written on October 23, 2017
I tried to improve my print of the traffic cone by using a different type of filament. Since traffic cones are rubbery and flexible, I tried printing with NinjaTek Cheetah on the LulzBot TAZ. I used the settings on the ITP shop website.
The first attempt didn’t work because the nozzle temperature was too high at 240 degrees.
After changing the nozzle temperature to 224 degress, it was able to print successfully. The cone is flexible but not as flexible as I expected. I should probably make the walls of the cone part thinner. The extra pieces also should be cut or sanded off.Â
Written on October 15, 2017
My concept is to 3d print sunglass frames. I do not necessarily have to be able to fit in ready made lenses (this is so my frame design can be more unconventional). I want to use metal temples and nose bridge so that the frame is more sturdy.
I wanted to make frames that had a wavy design and looked like they were melting. I originally thought I would have a thick 3D printed plastic frame. While looking online for examples of 3D printed glasses, I found this work by Noy Biri.
I liked the deconstructed forms of the frames. However, I still wanted to have irregular and assymetrical shaped lenses. I then decided to have a thinner, “normal” width for the frames.

I will finalize the shape of the frames while making an outline on illustrator. I will then check for size and balance by lazercutting the outline and measuring against my face.
Written on October 15, 2017
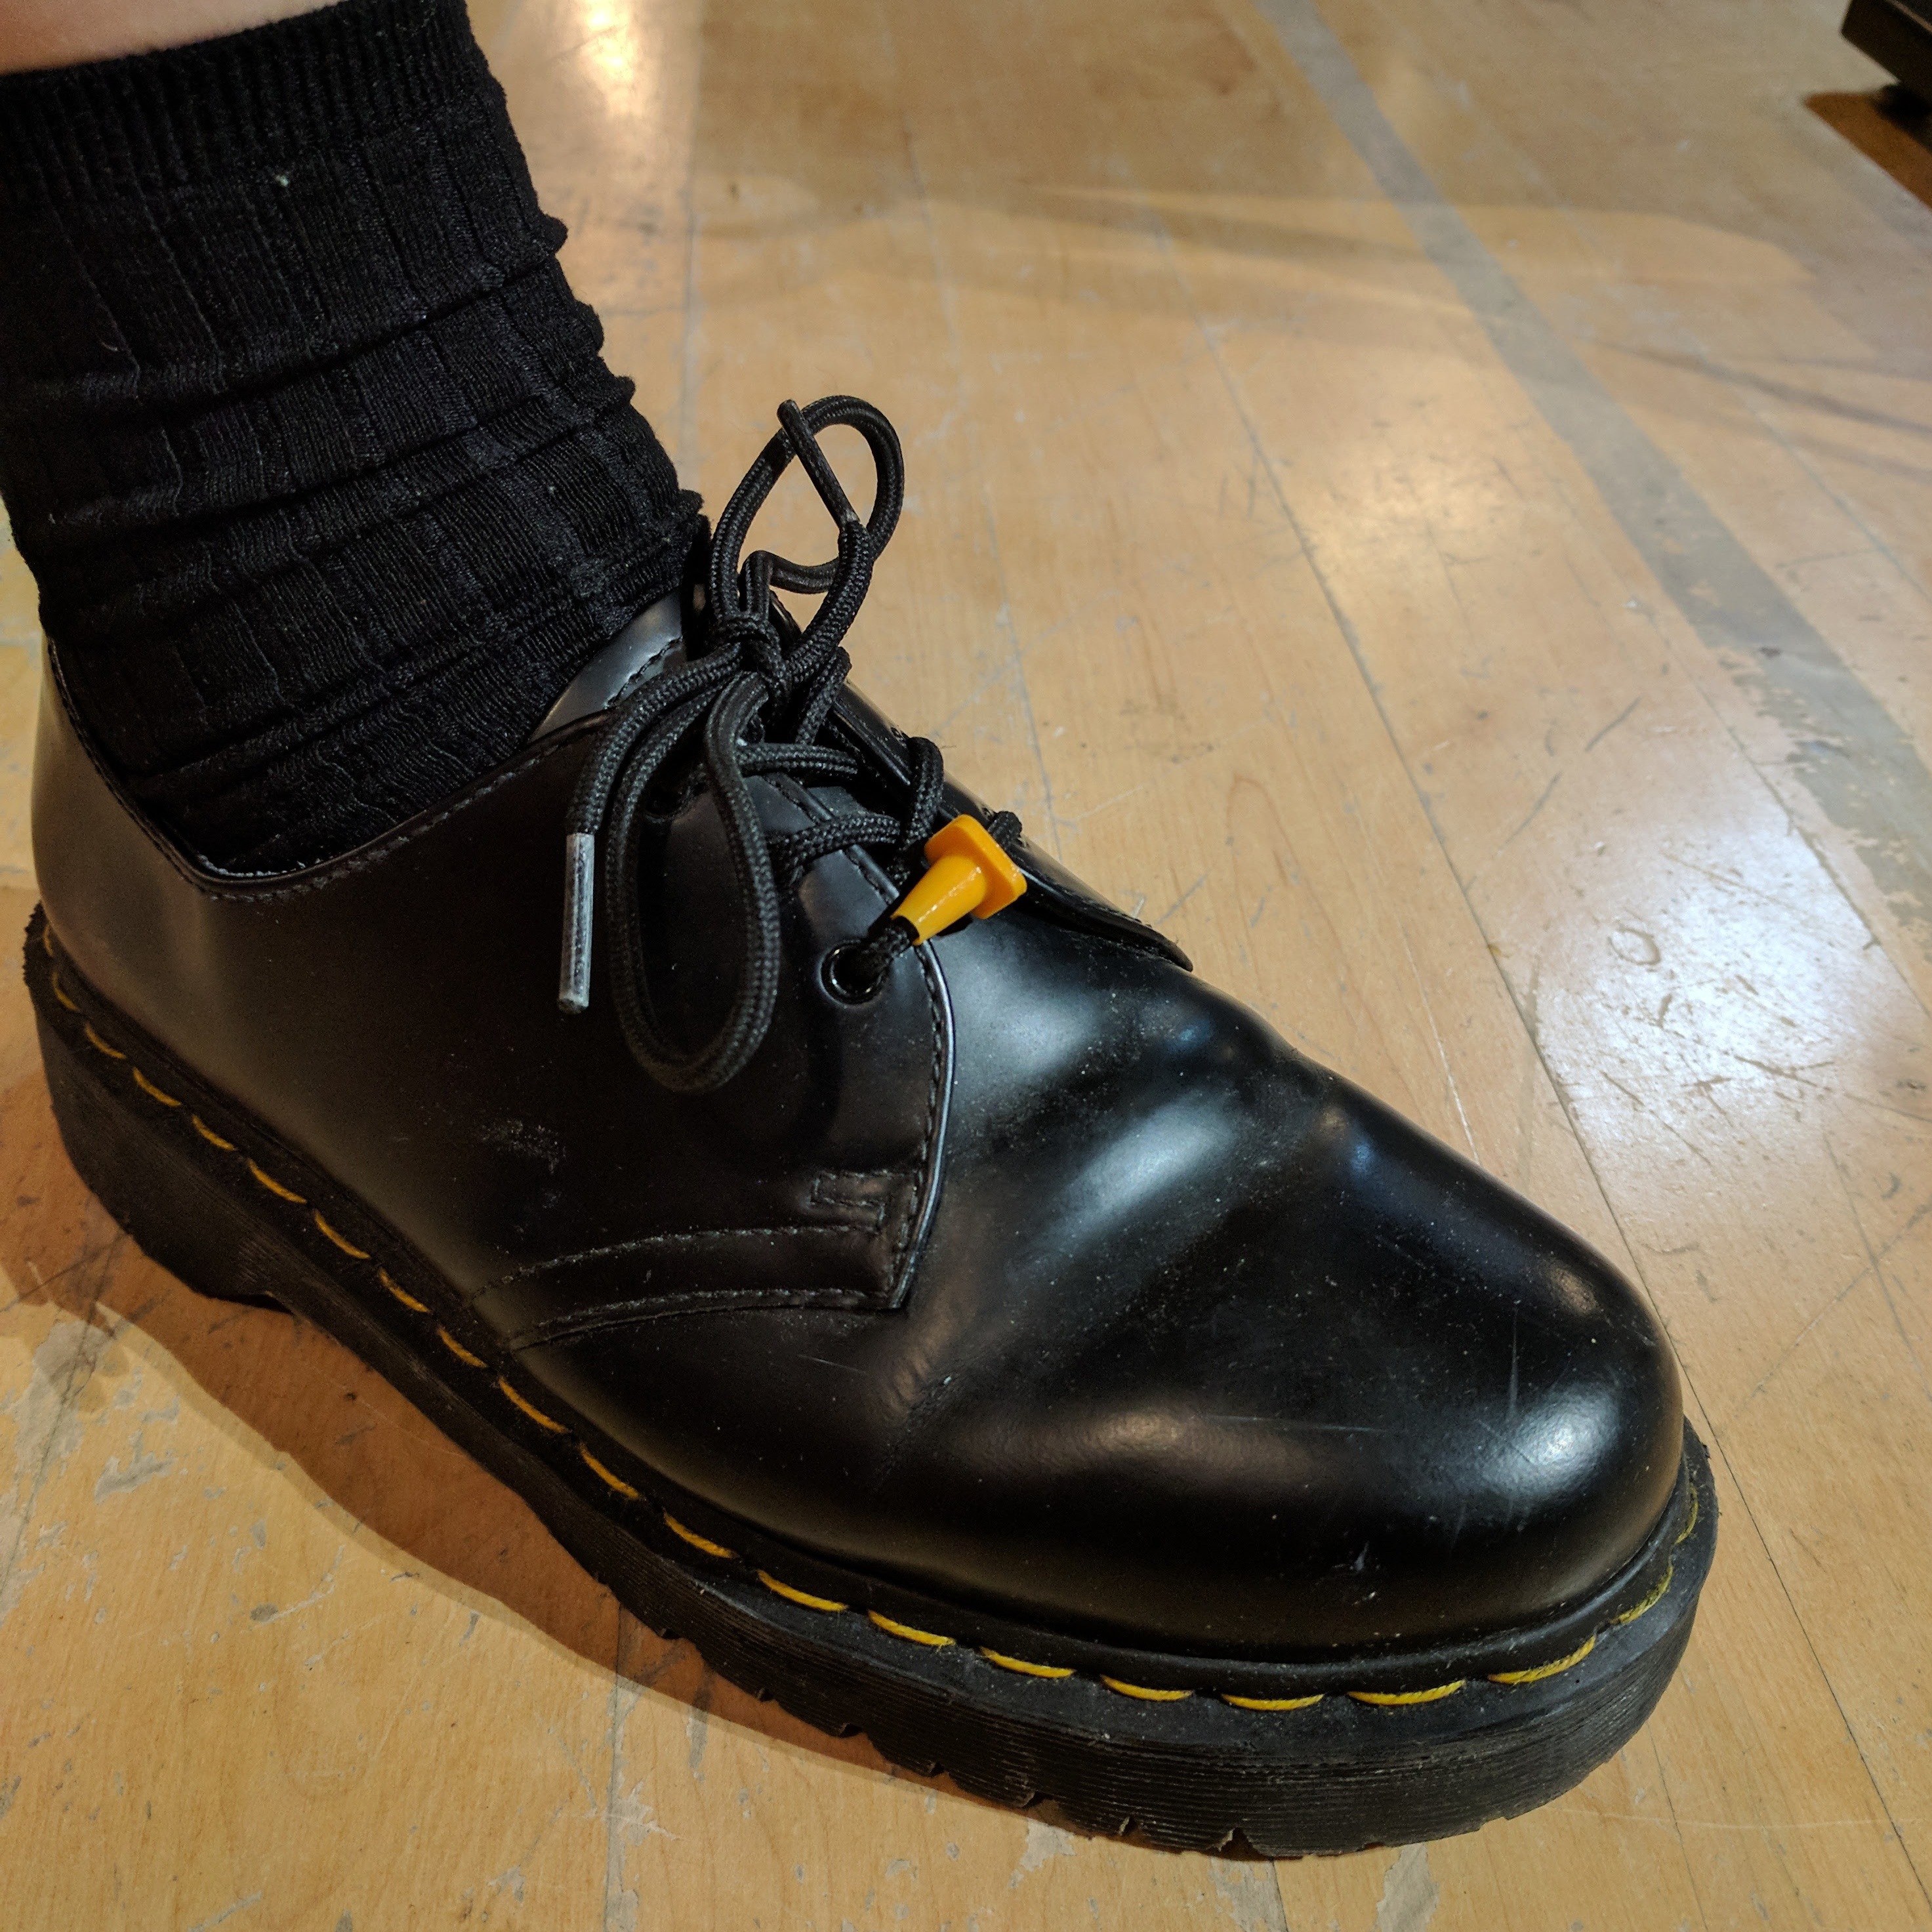
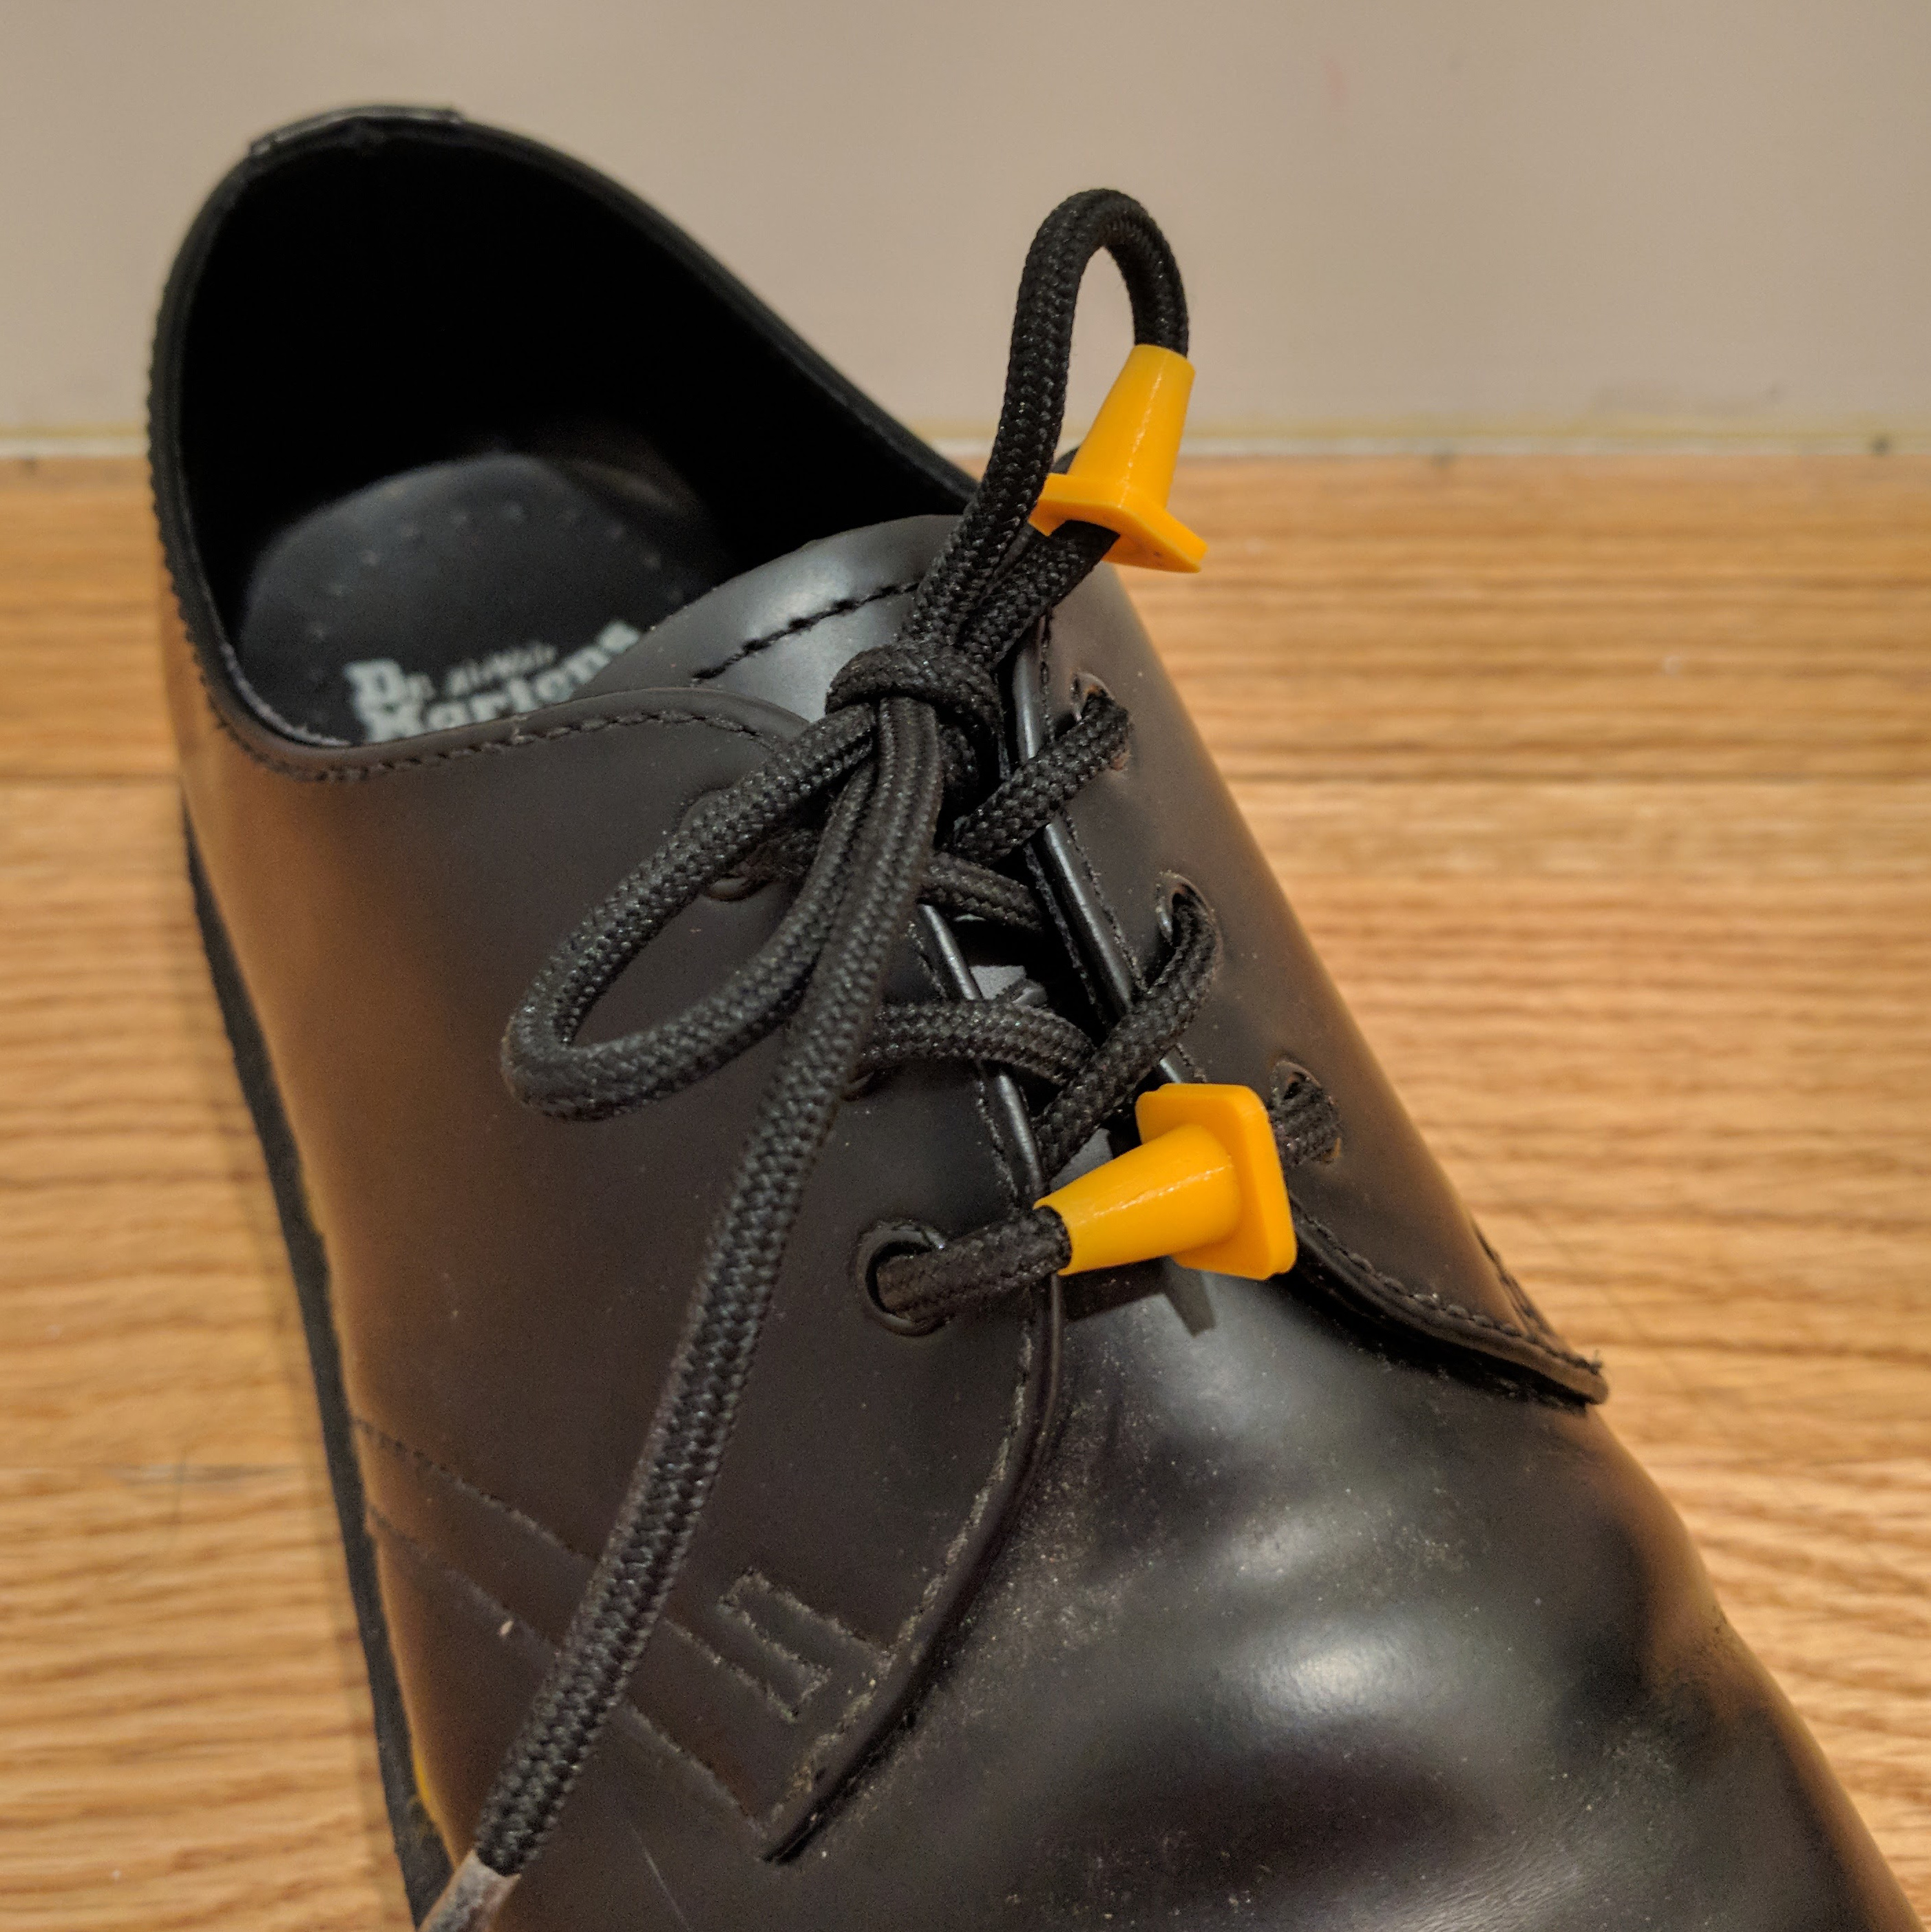 My concept was to design something that fits around my shoelaces. My shoelaces are round and the tip has a diameter of 2.7 mm. I thought that this would be a safe idea for my first 3d prints ever since they are so small and won’t take too long to print in case I mess up.
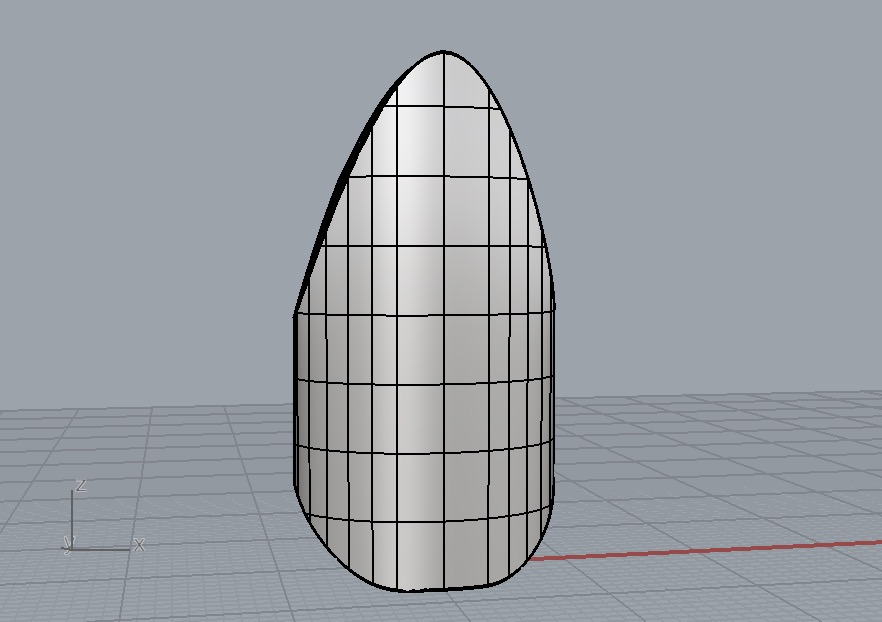
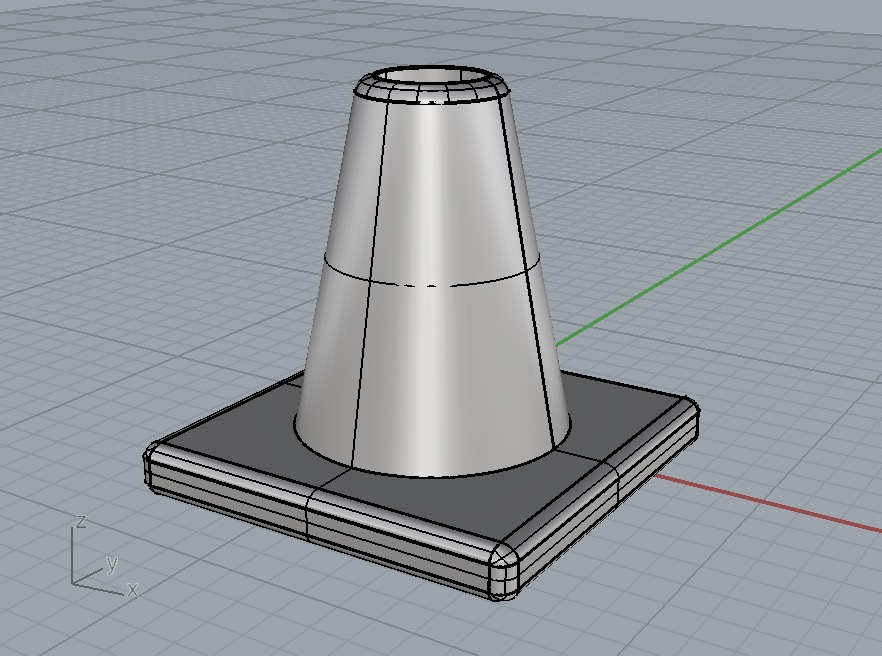
I modeled the traffic cone using a truncated cone and box.
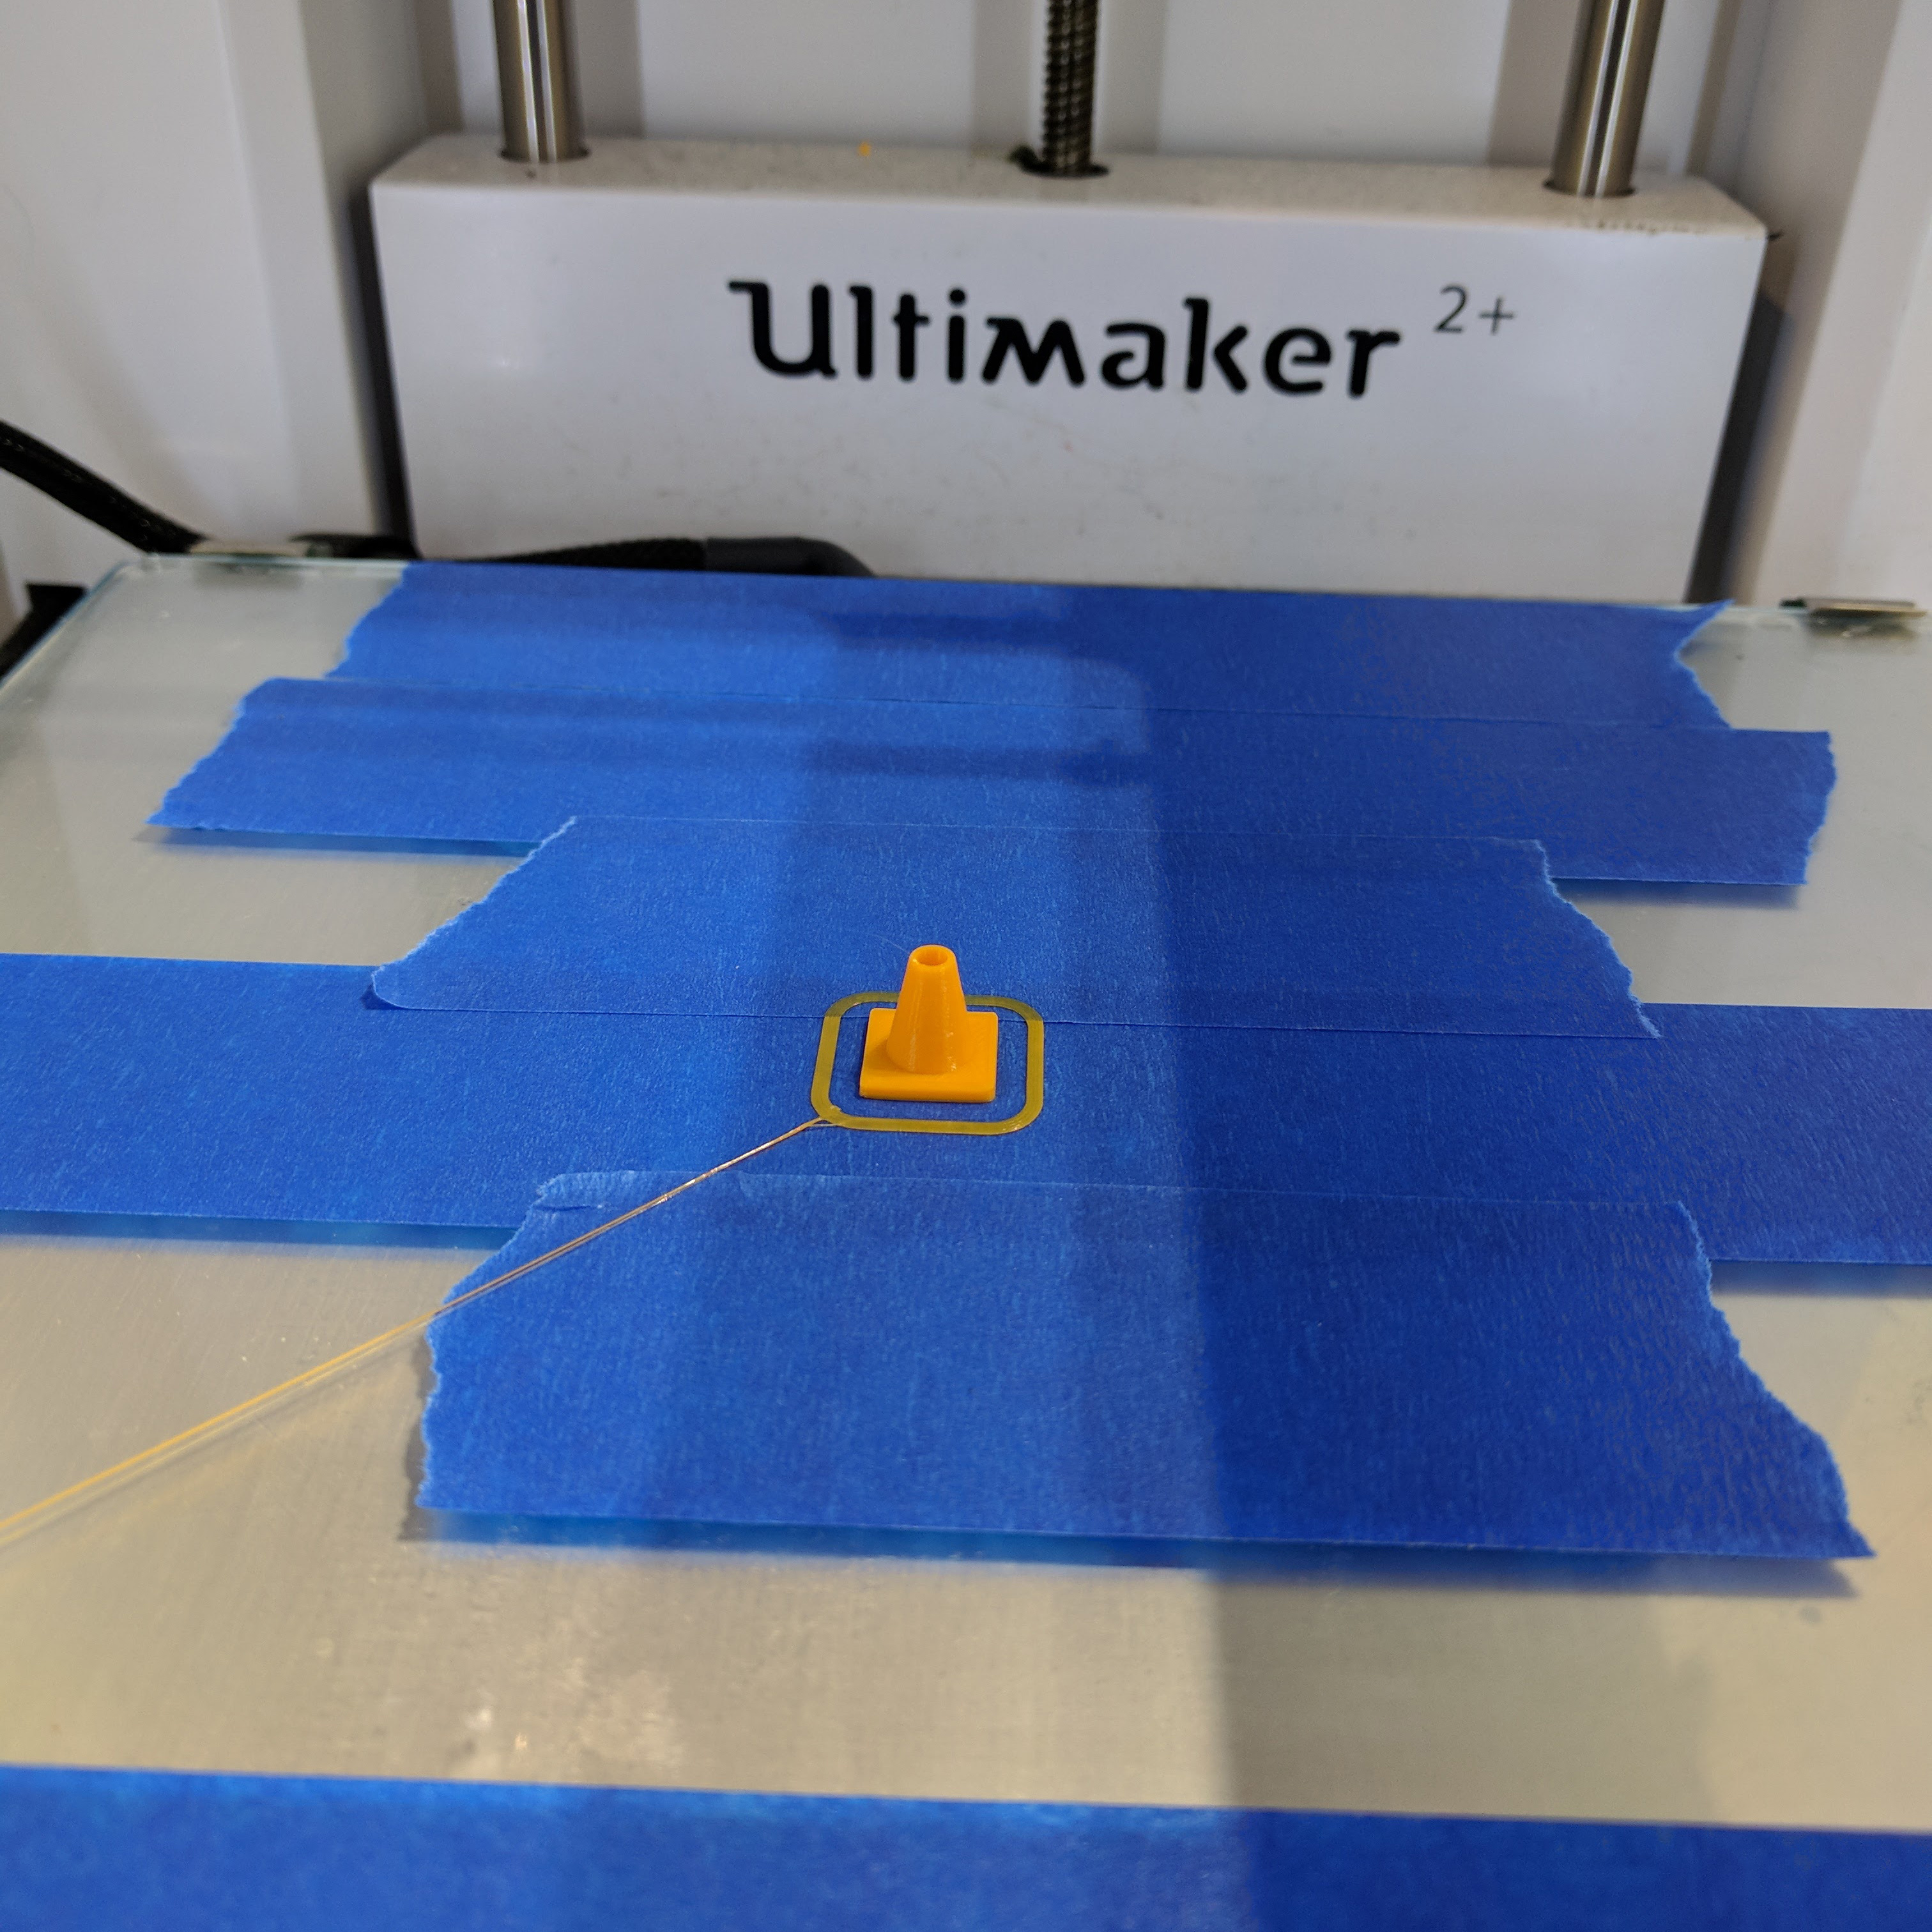
Printing process using Ultimaker 2+ with 0.4 mm nozzle:

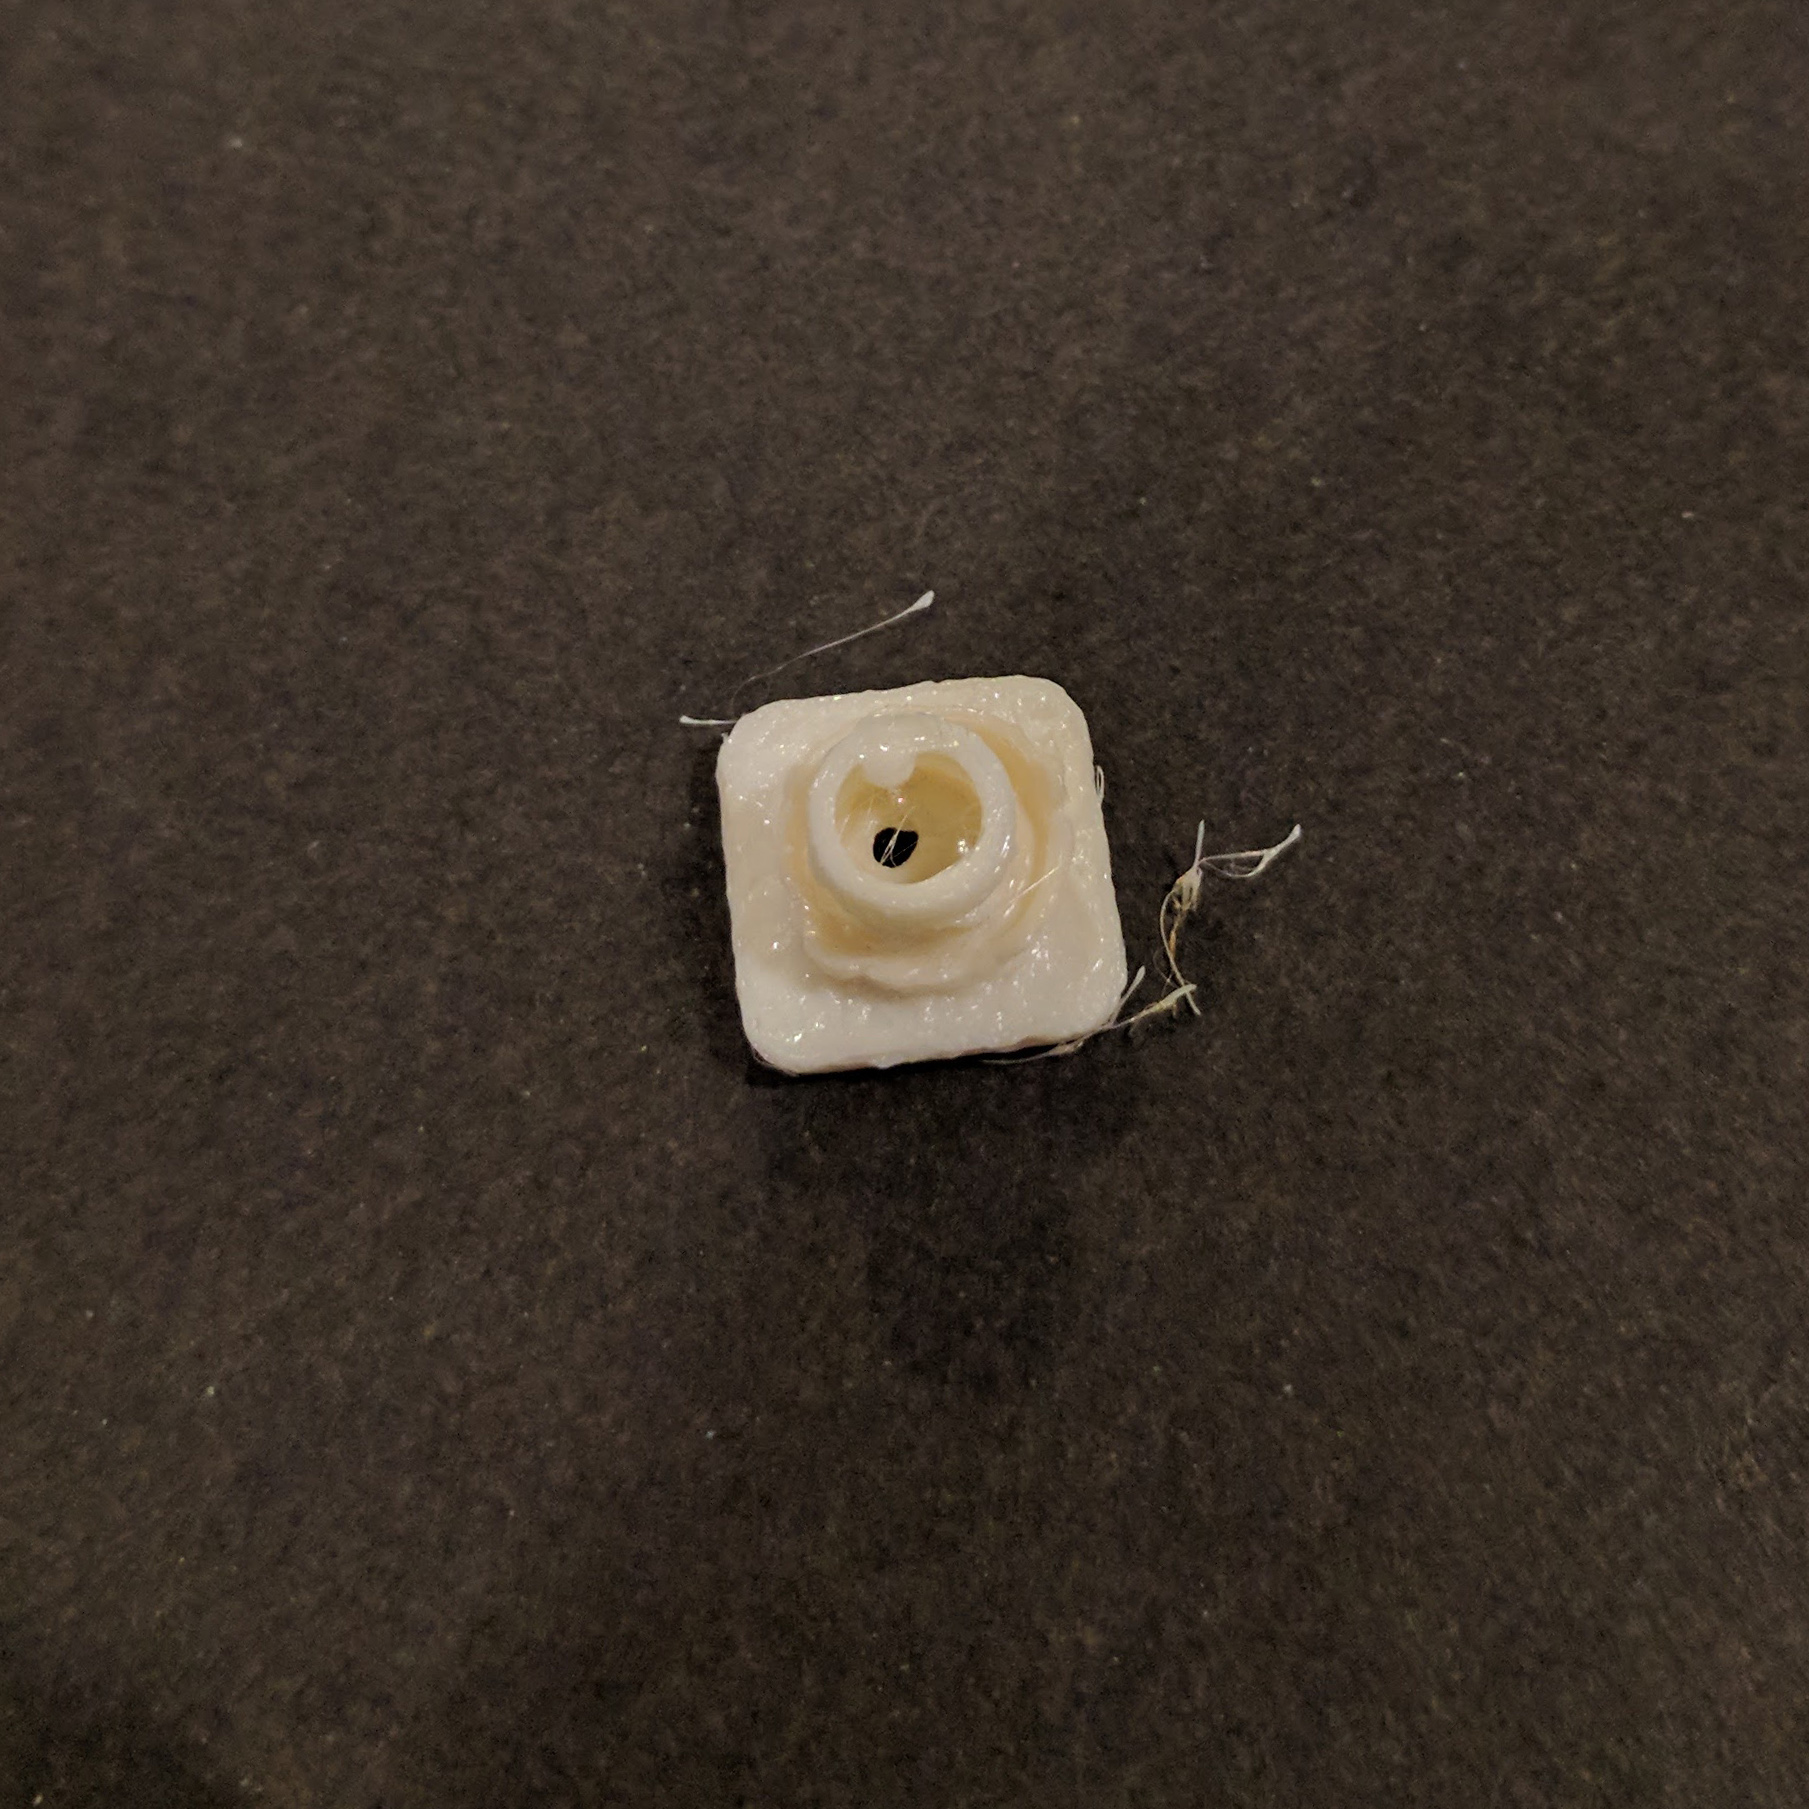
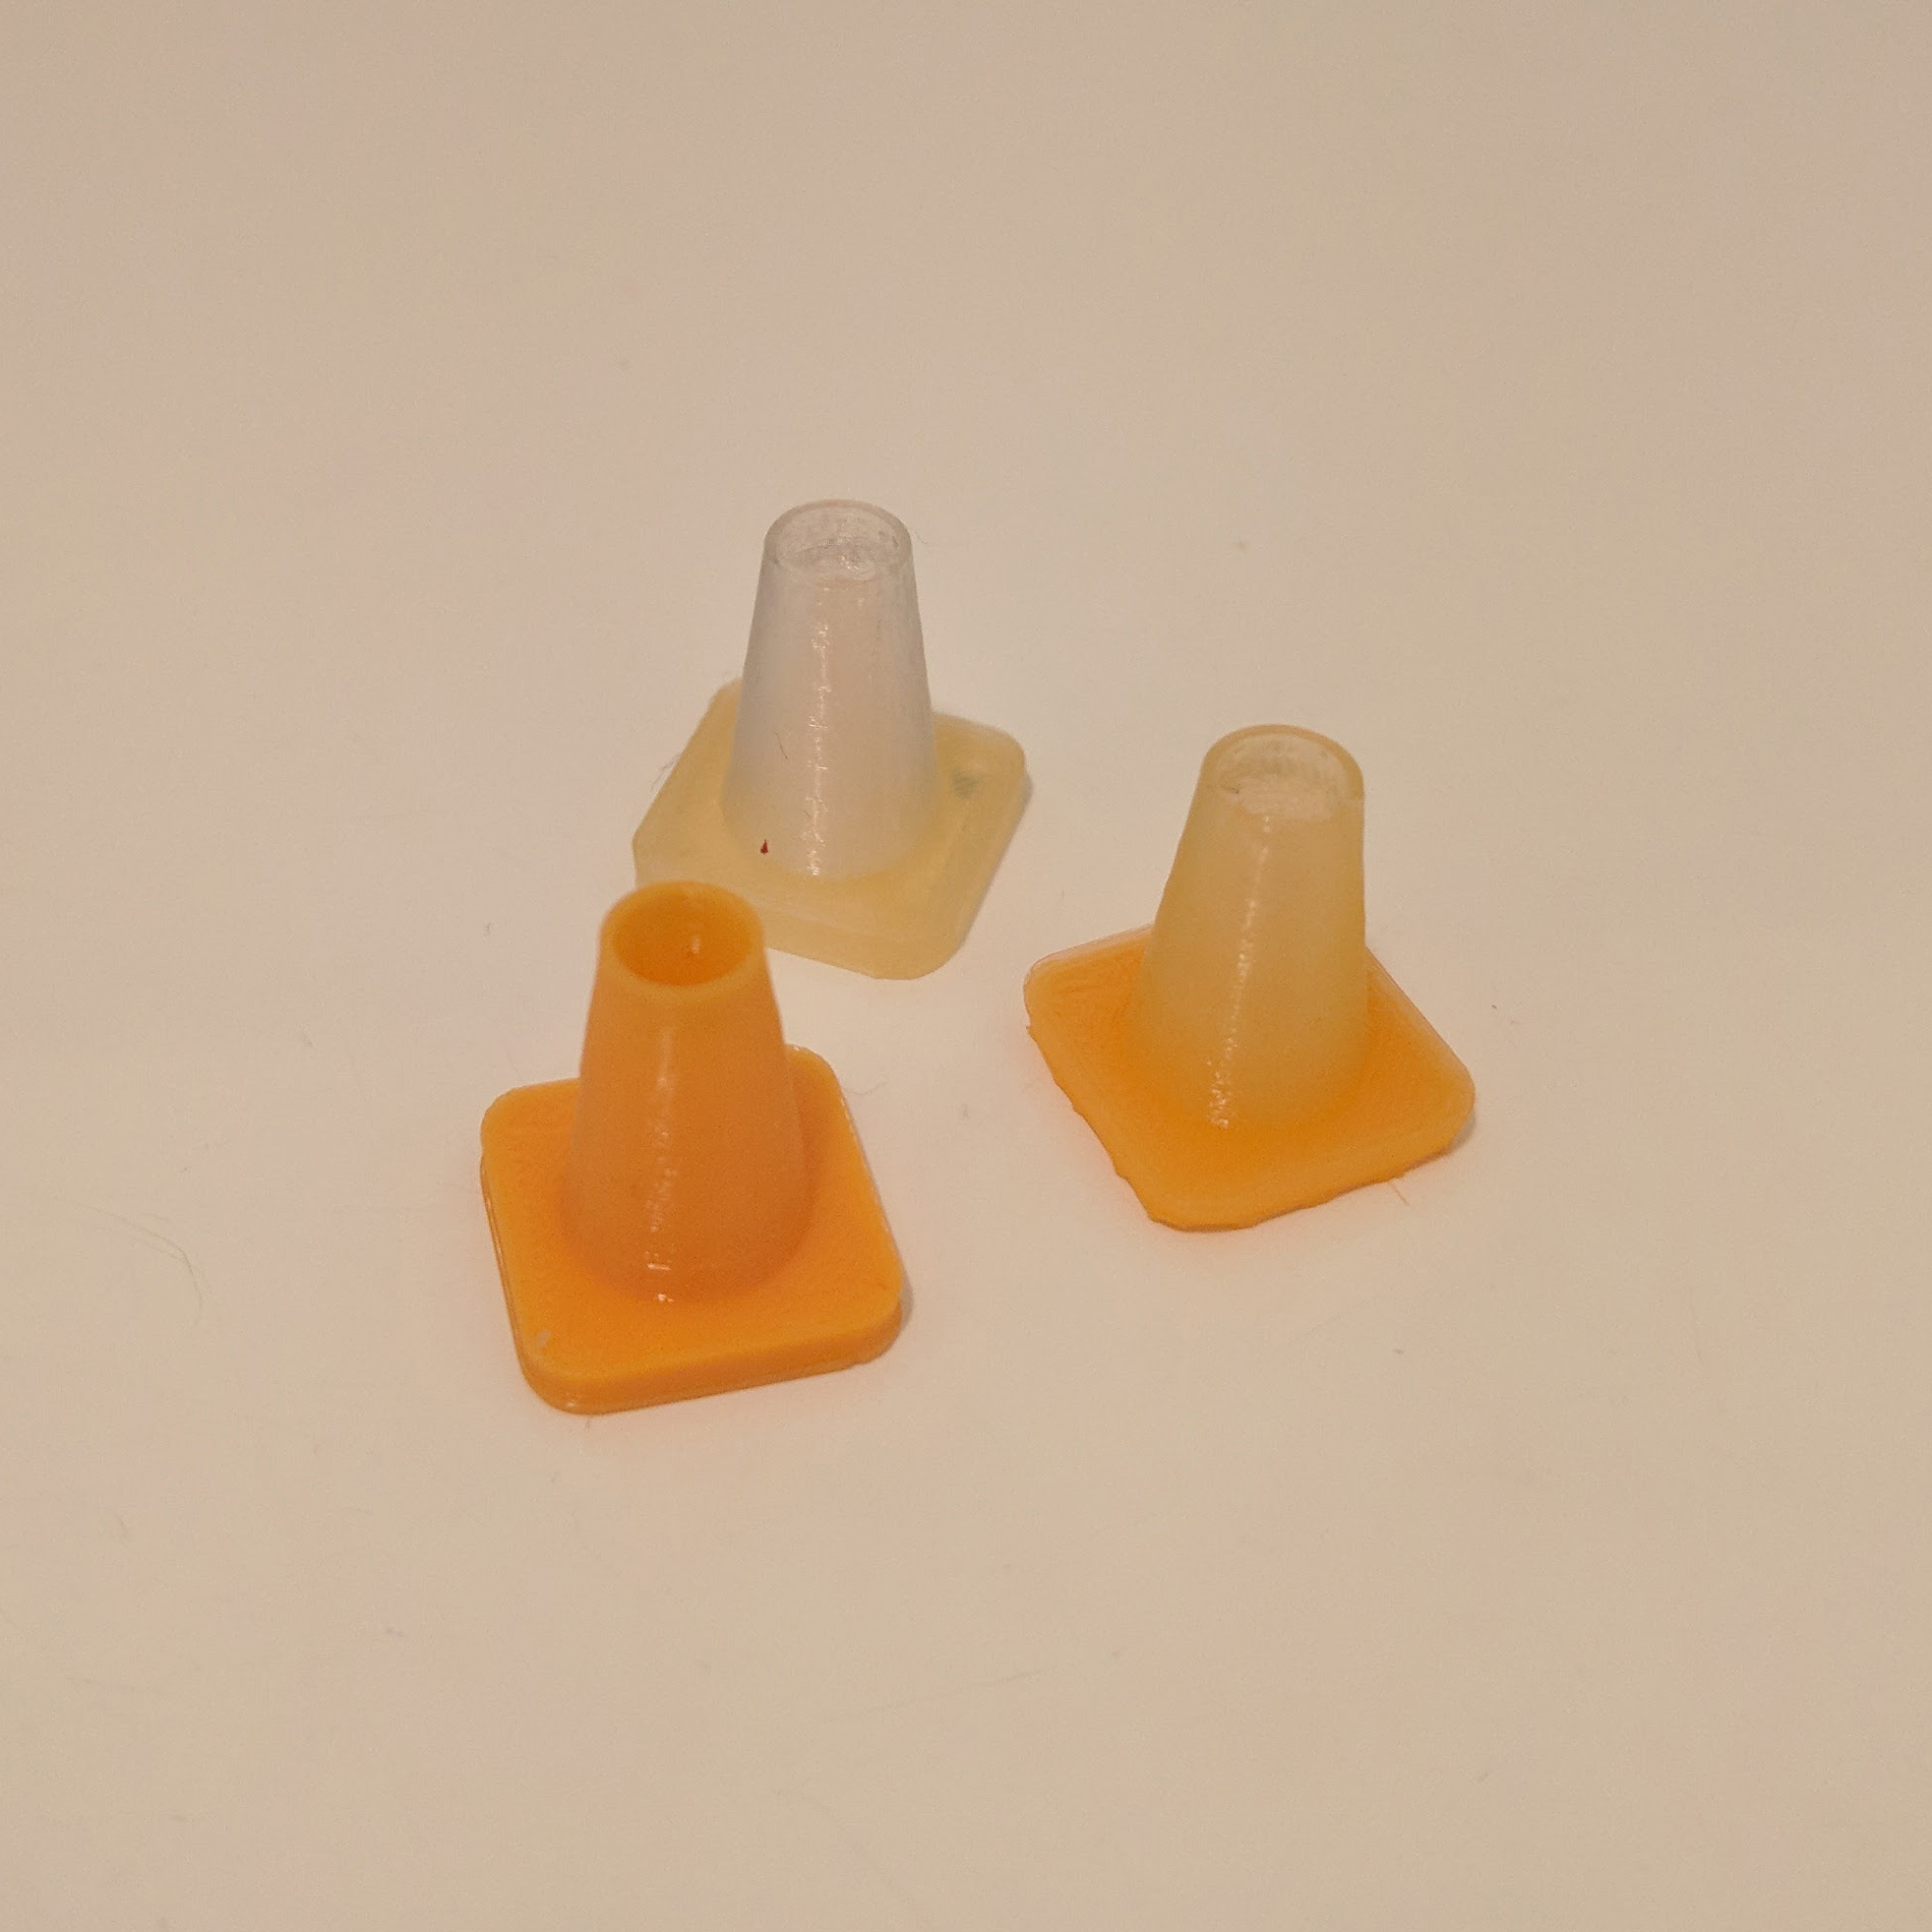
After trying to fit the print on my shoelace, I realized the hole at the top was too small. I had made it 3 mm which did not give enough leeway for the shoelace to actually fit through. I then adjusted my model to fit, as well as changed the design to make it look more like a traffic cone.

Comparison of first design (right) and second (left):
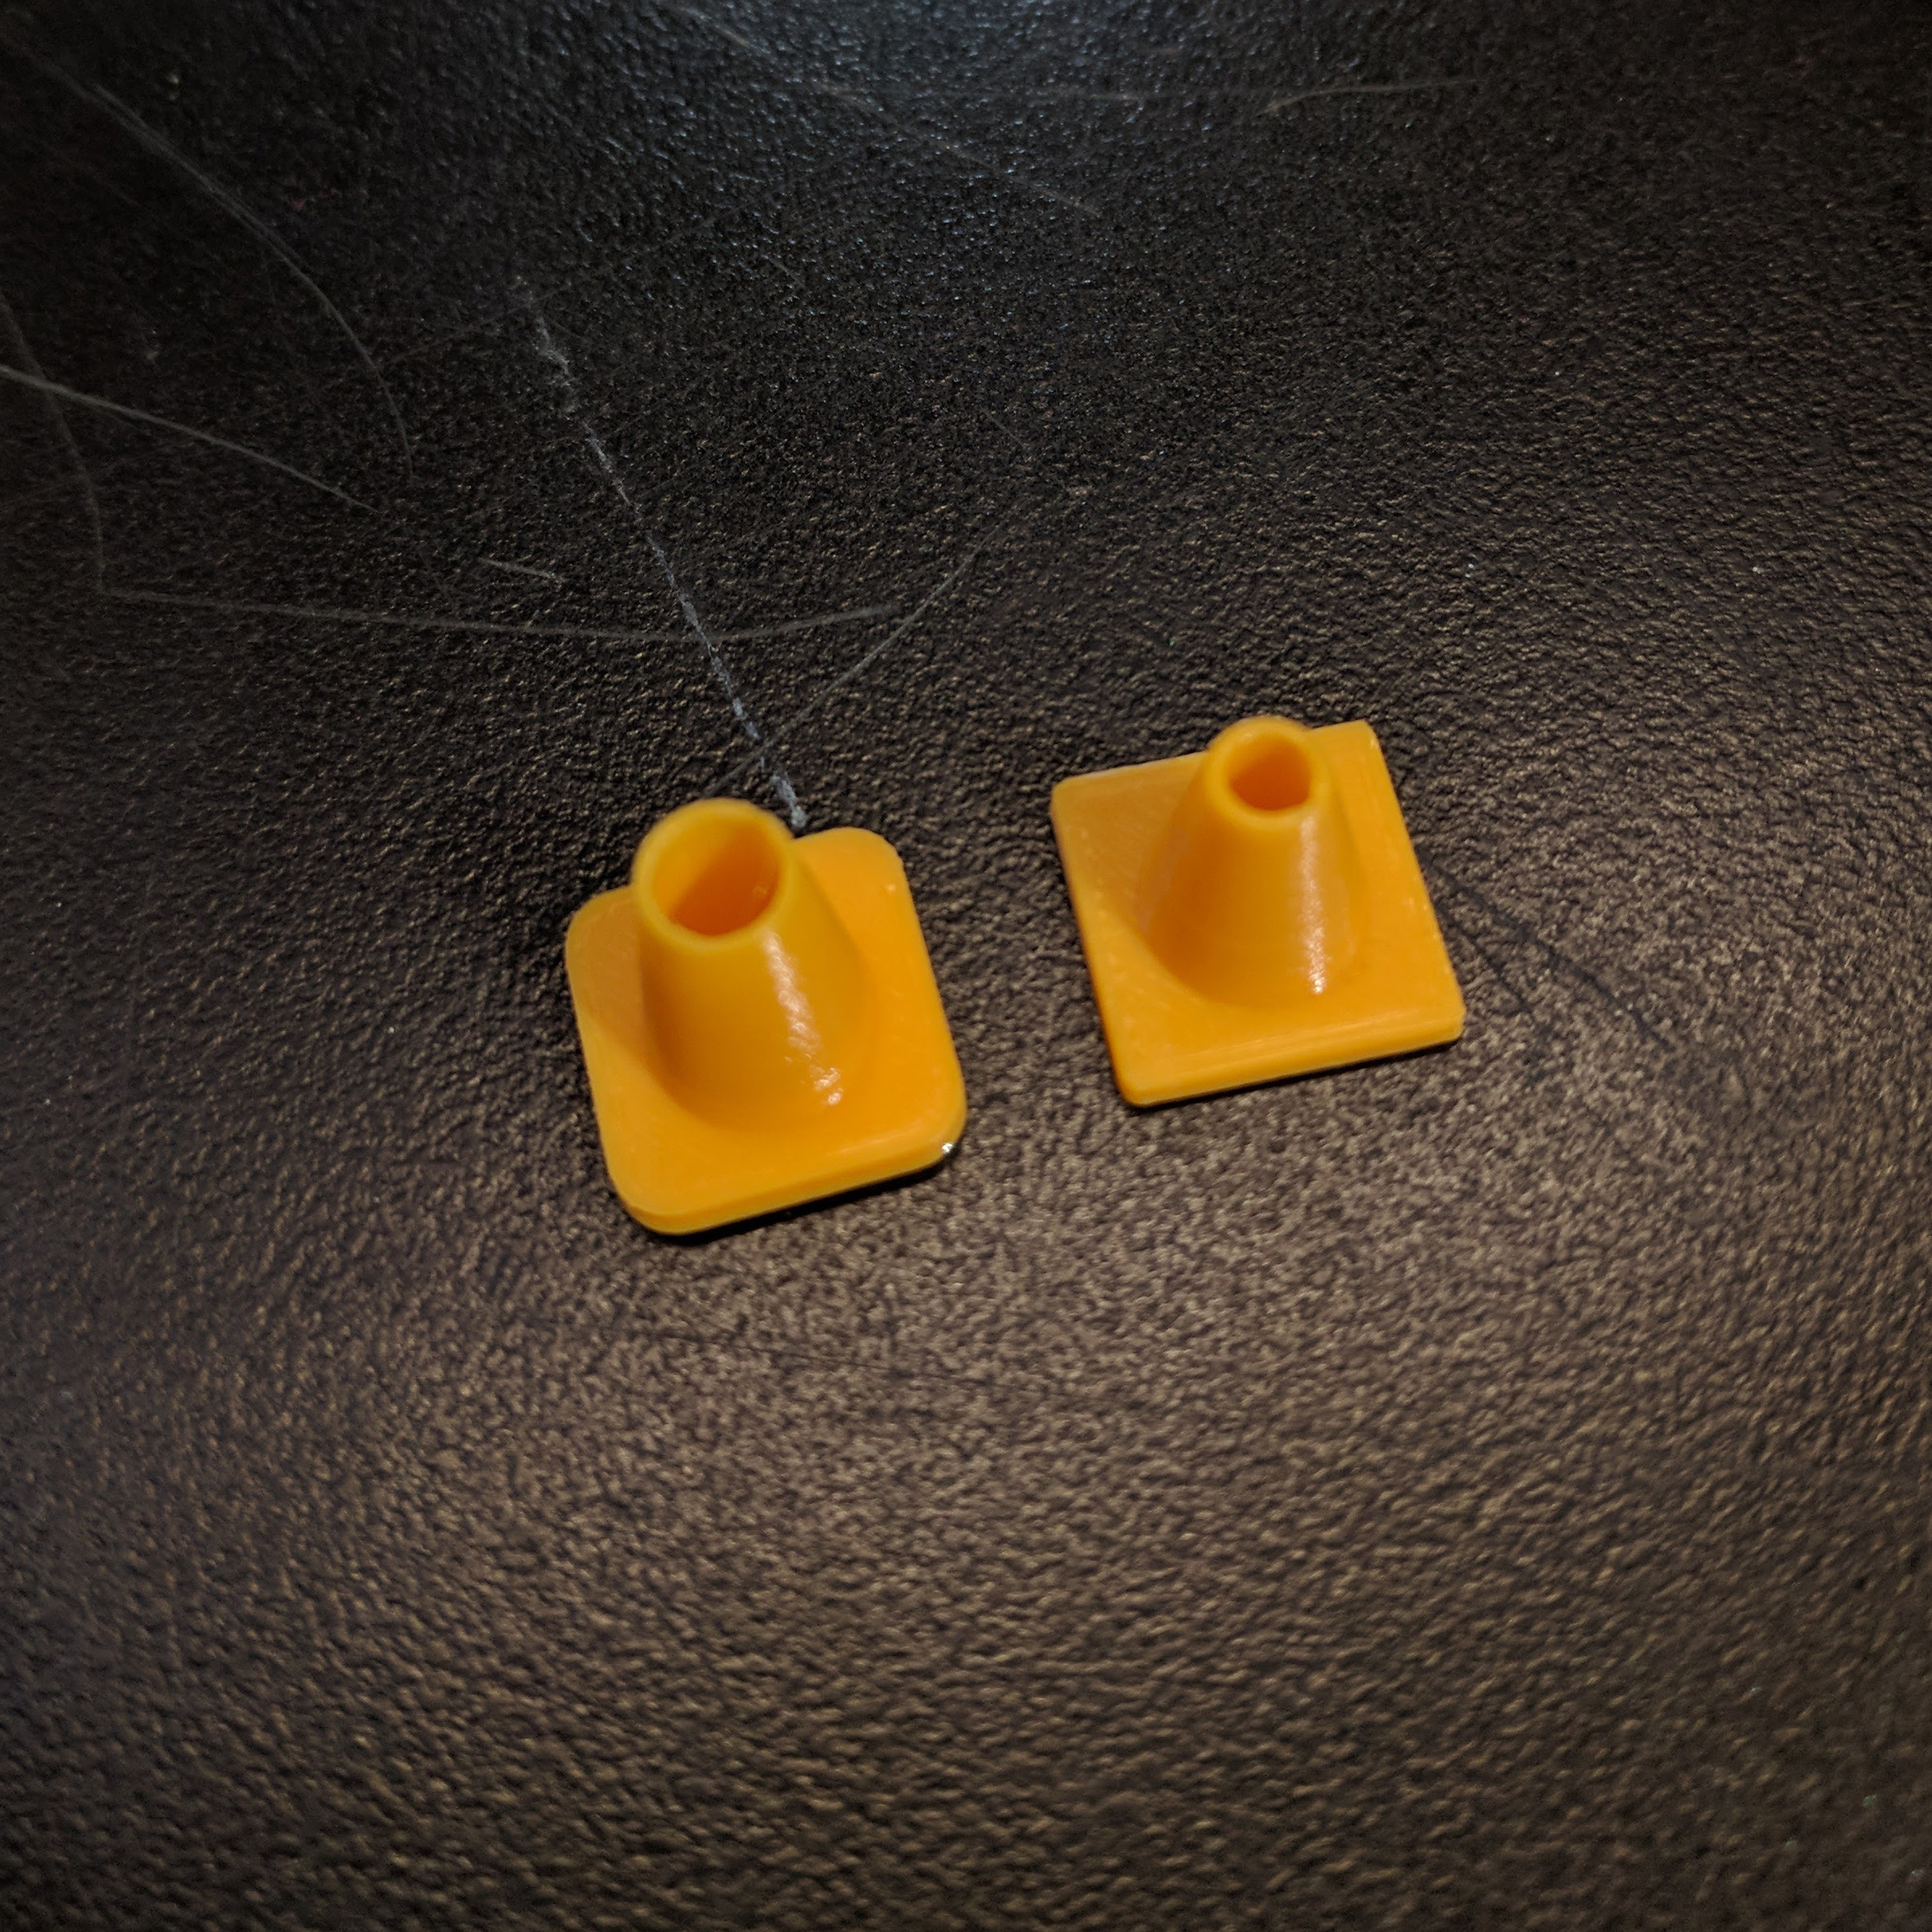

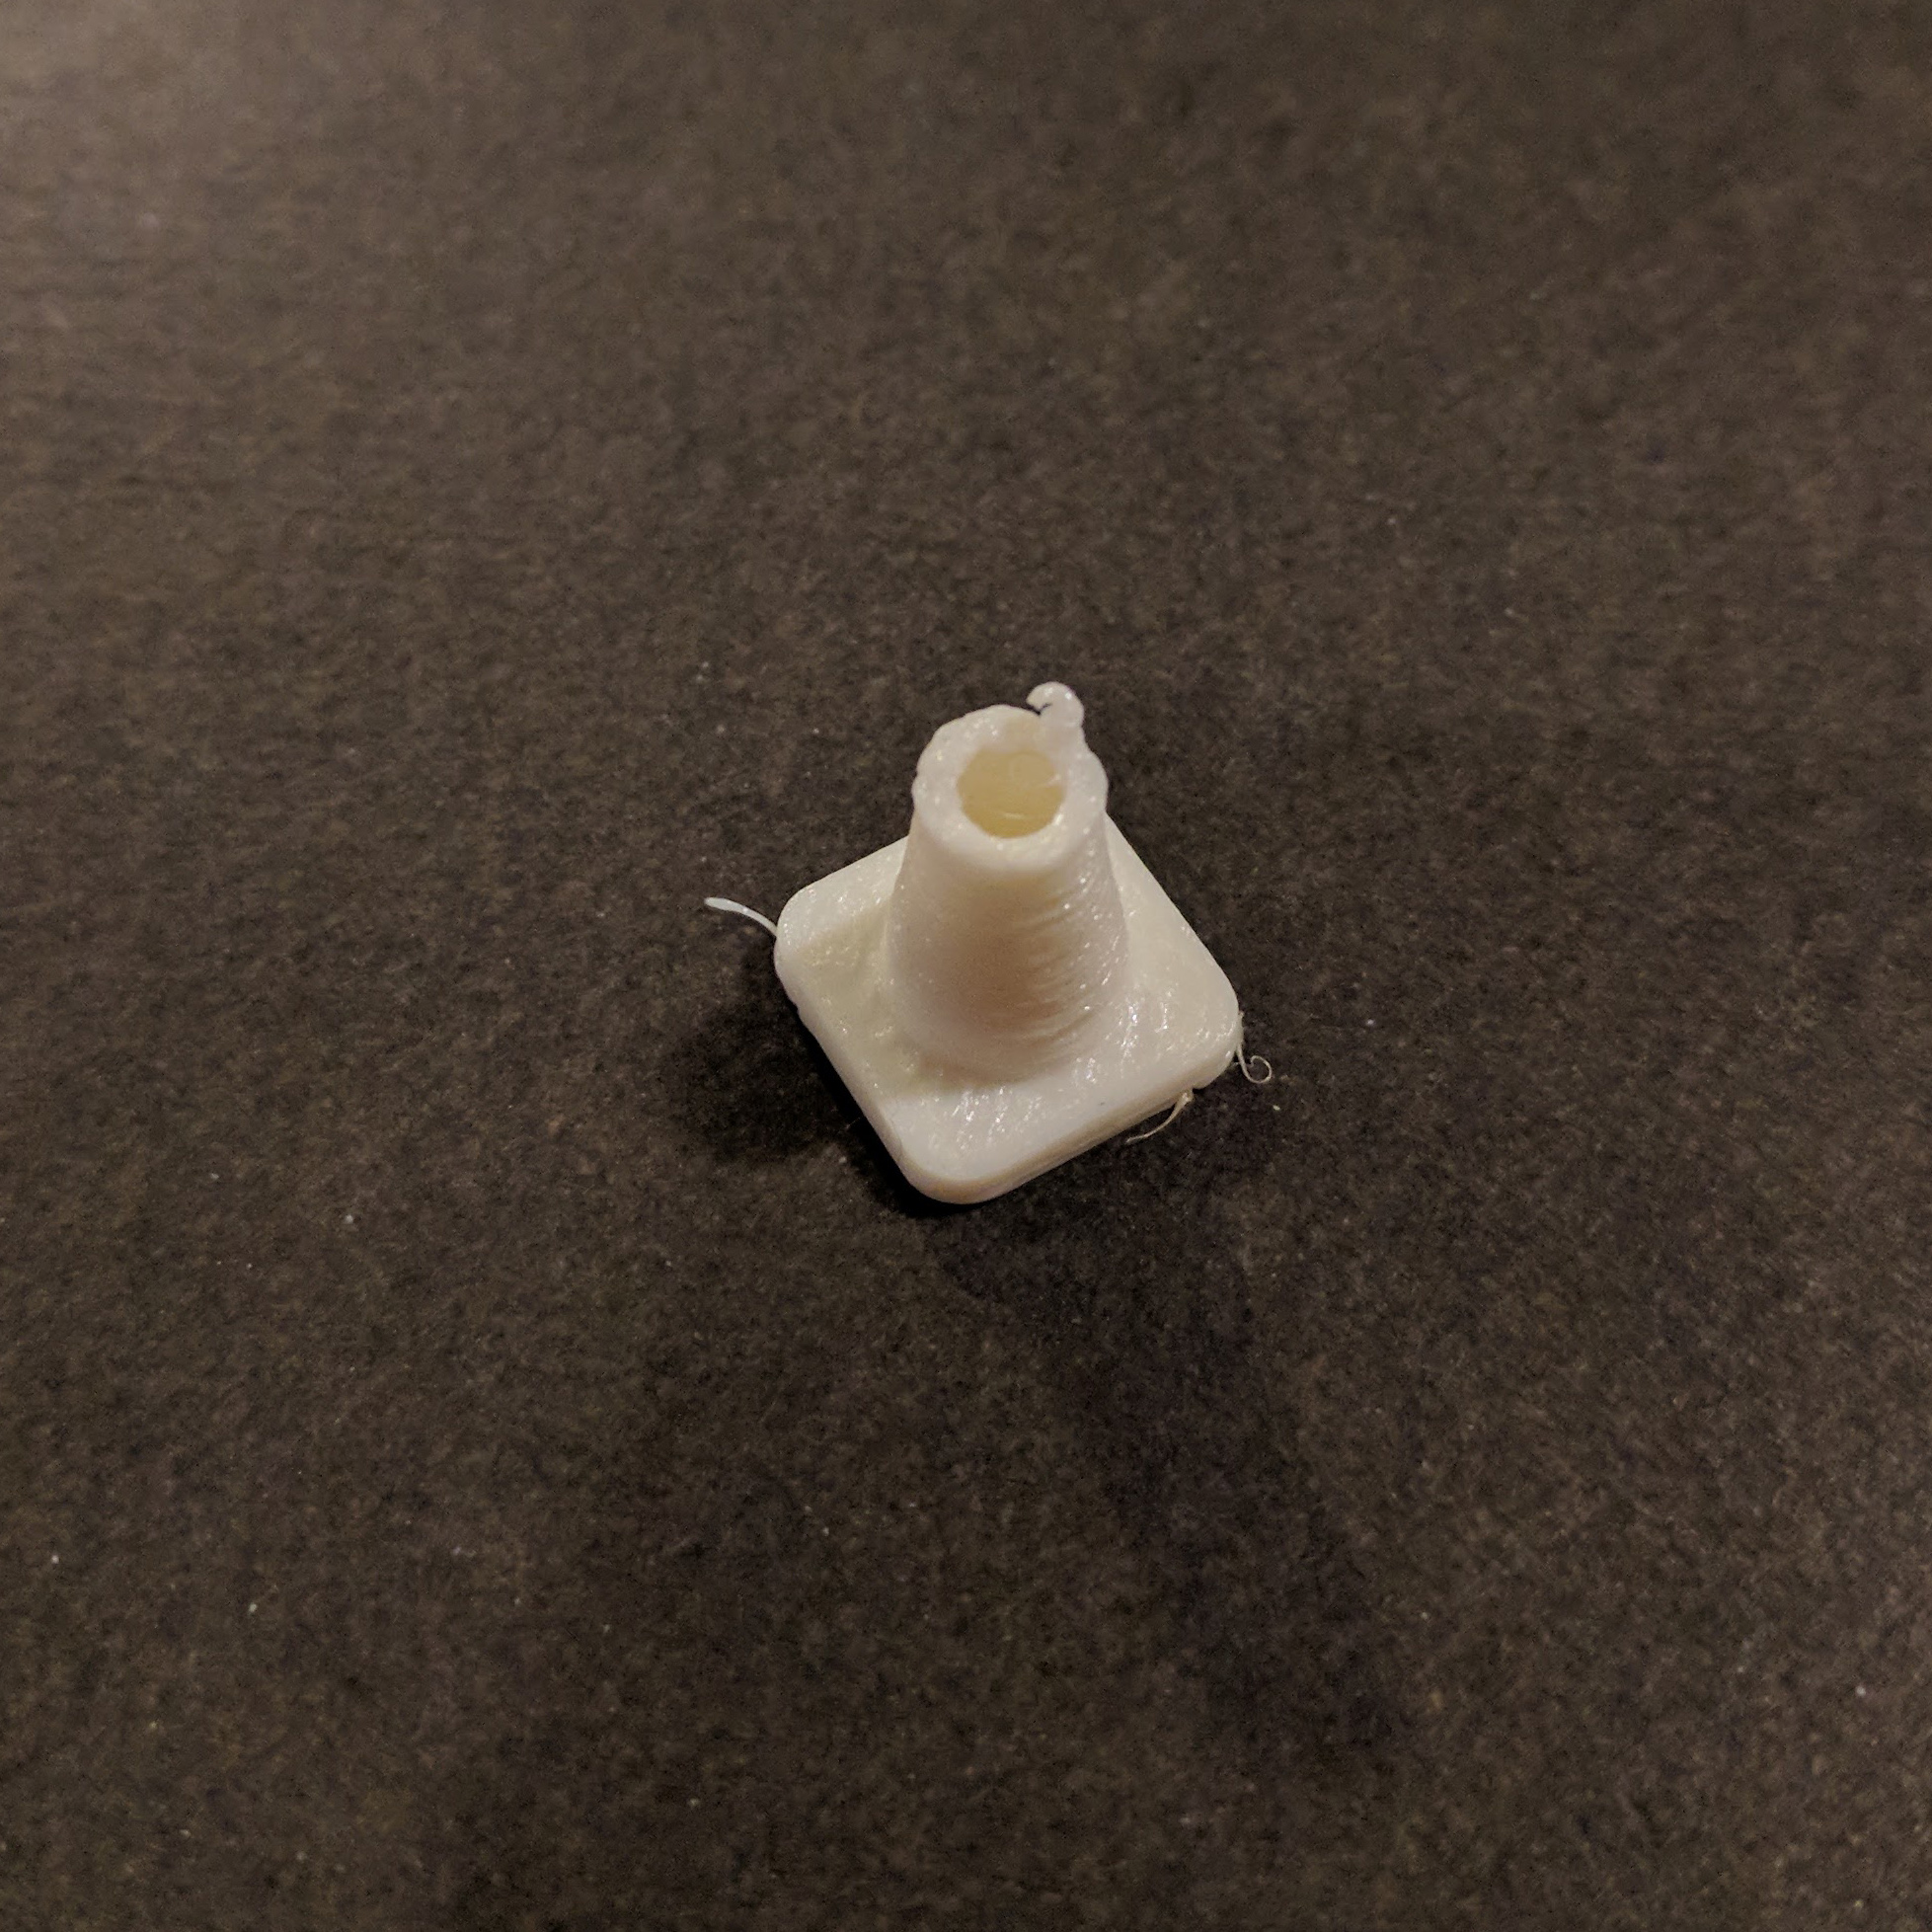
I then experimented with changing the material to a different colored one. It didn’t work that well since some left over material from the orange was still in the tip.
Written on October 1, 2017
Written on September 25, 2017

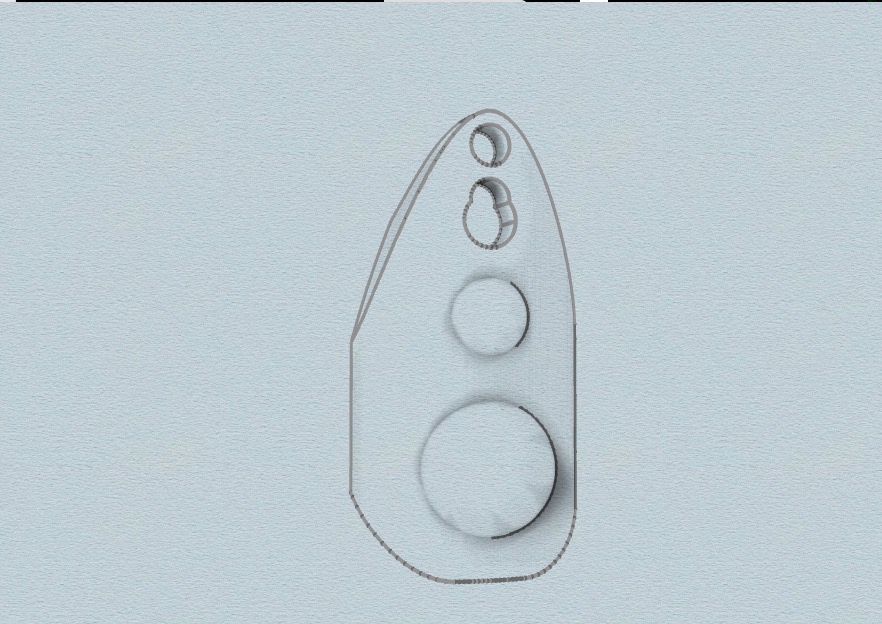
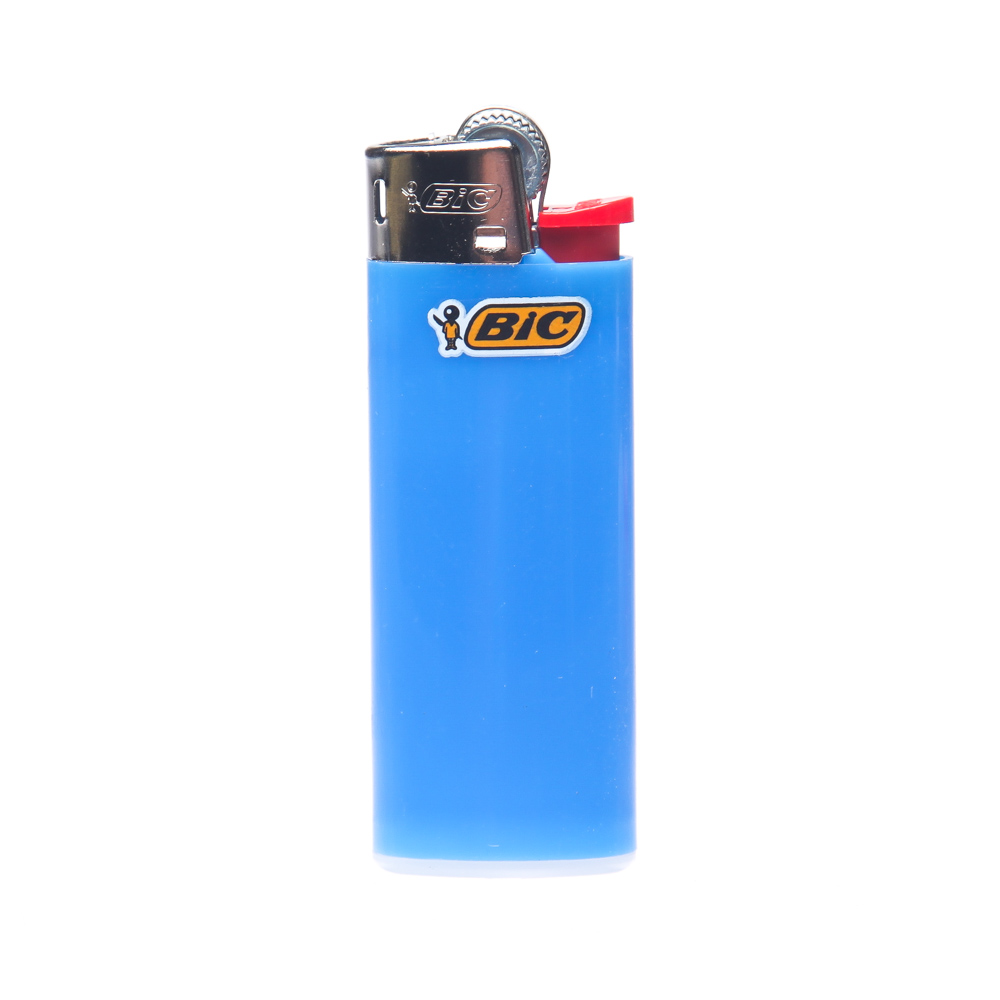
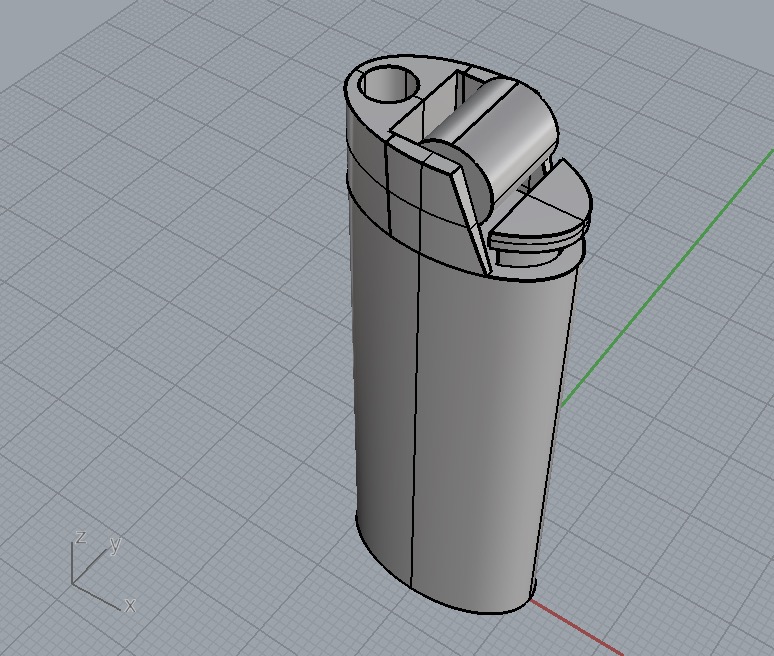
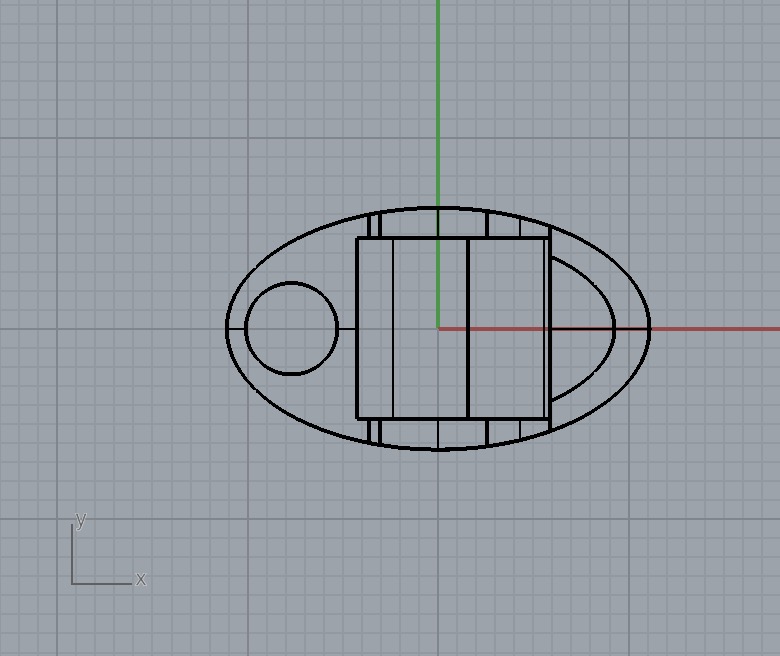
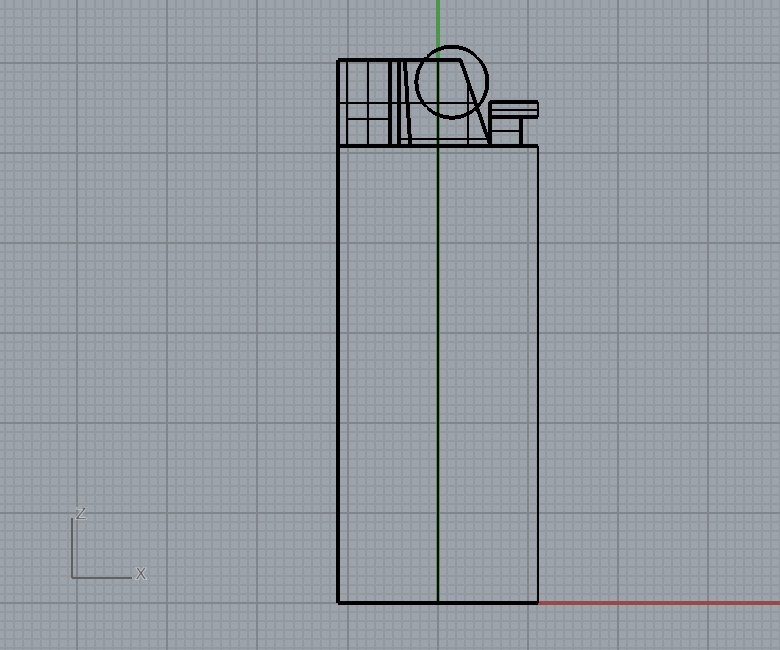
I made a rough model of a standard mini bic lighter:
Final shaded and wireframe views:
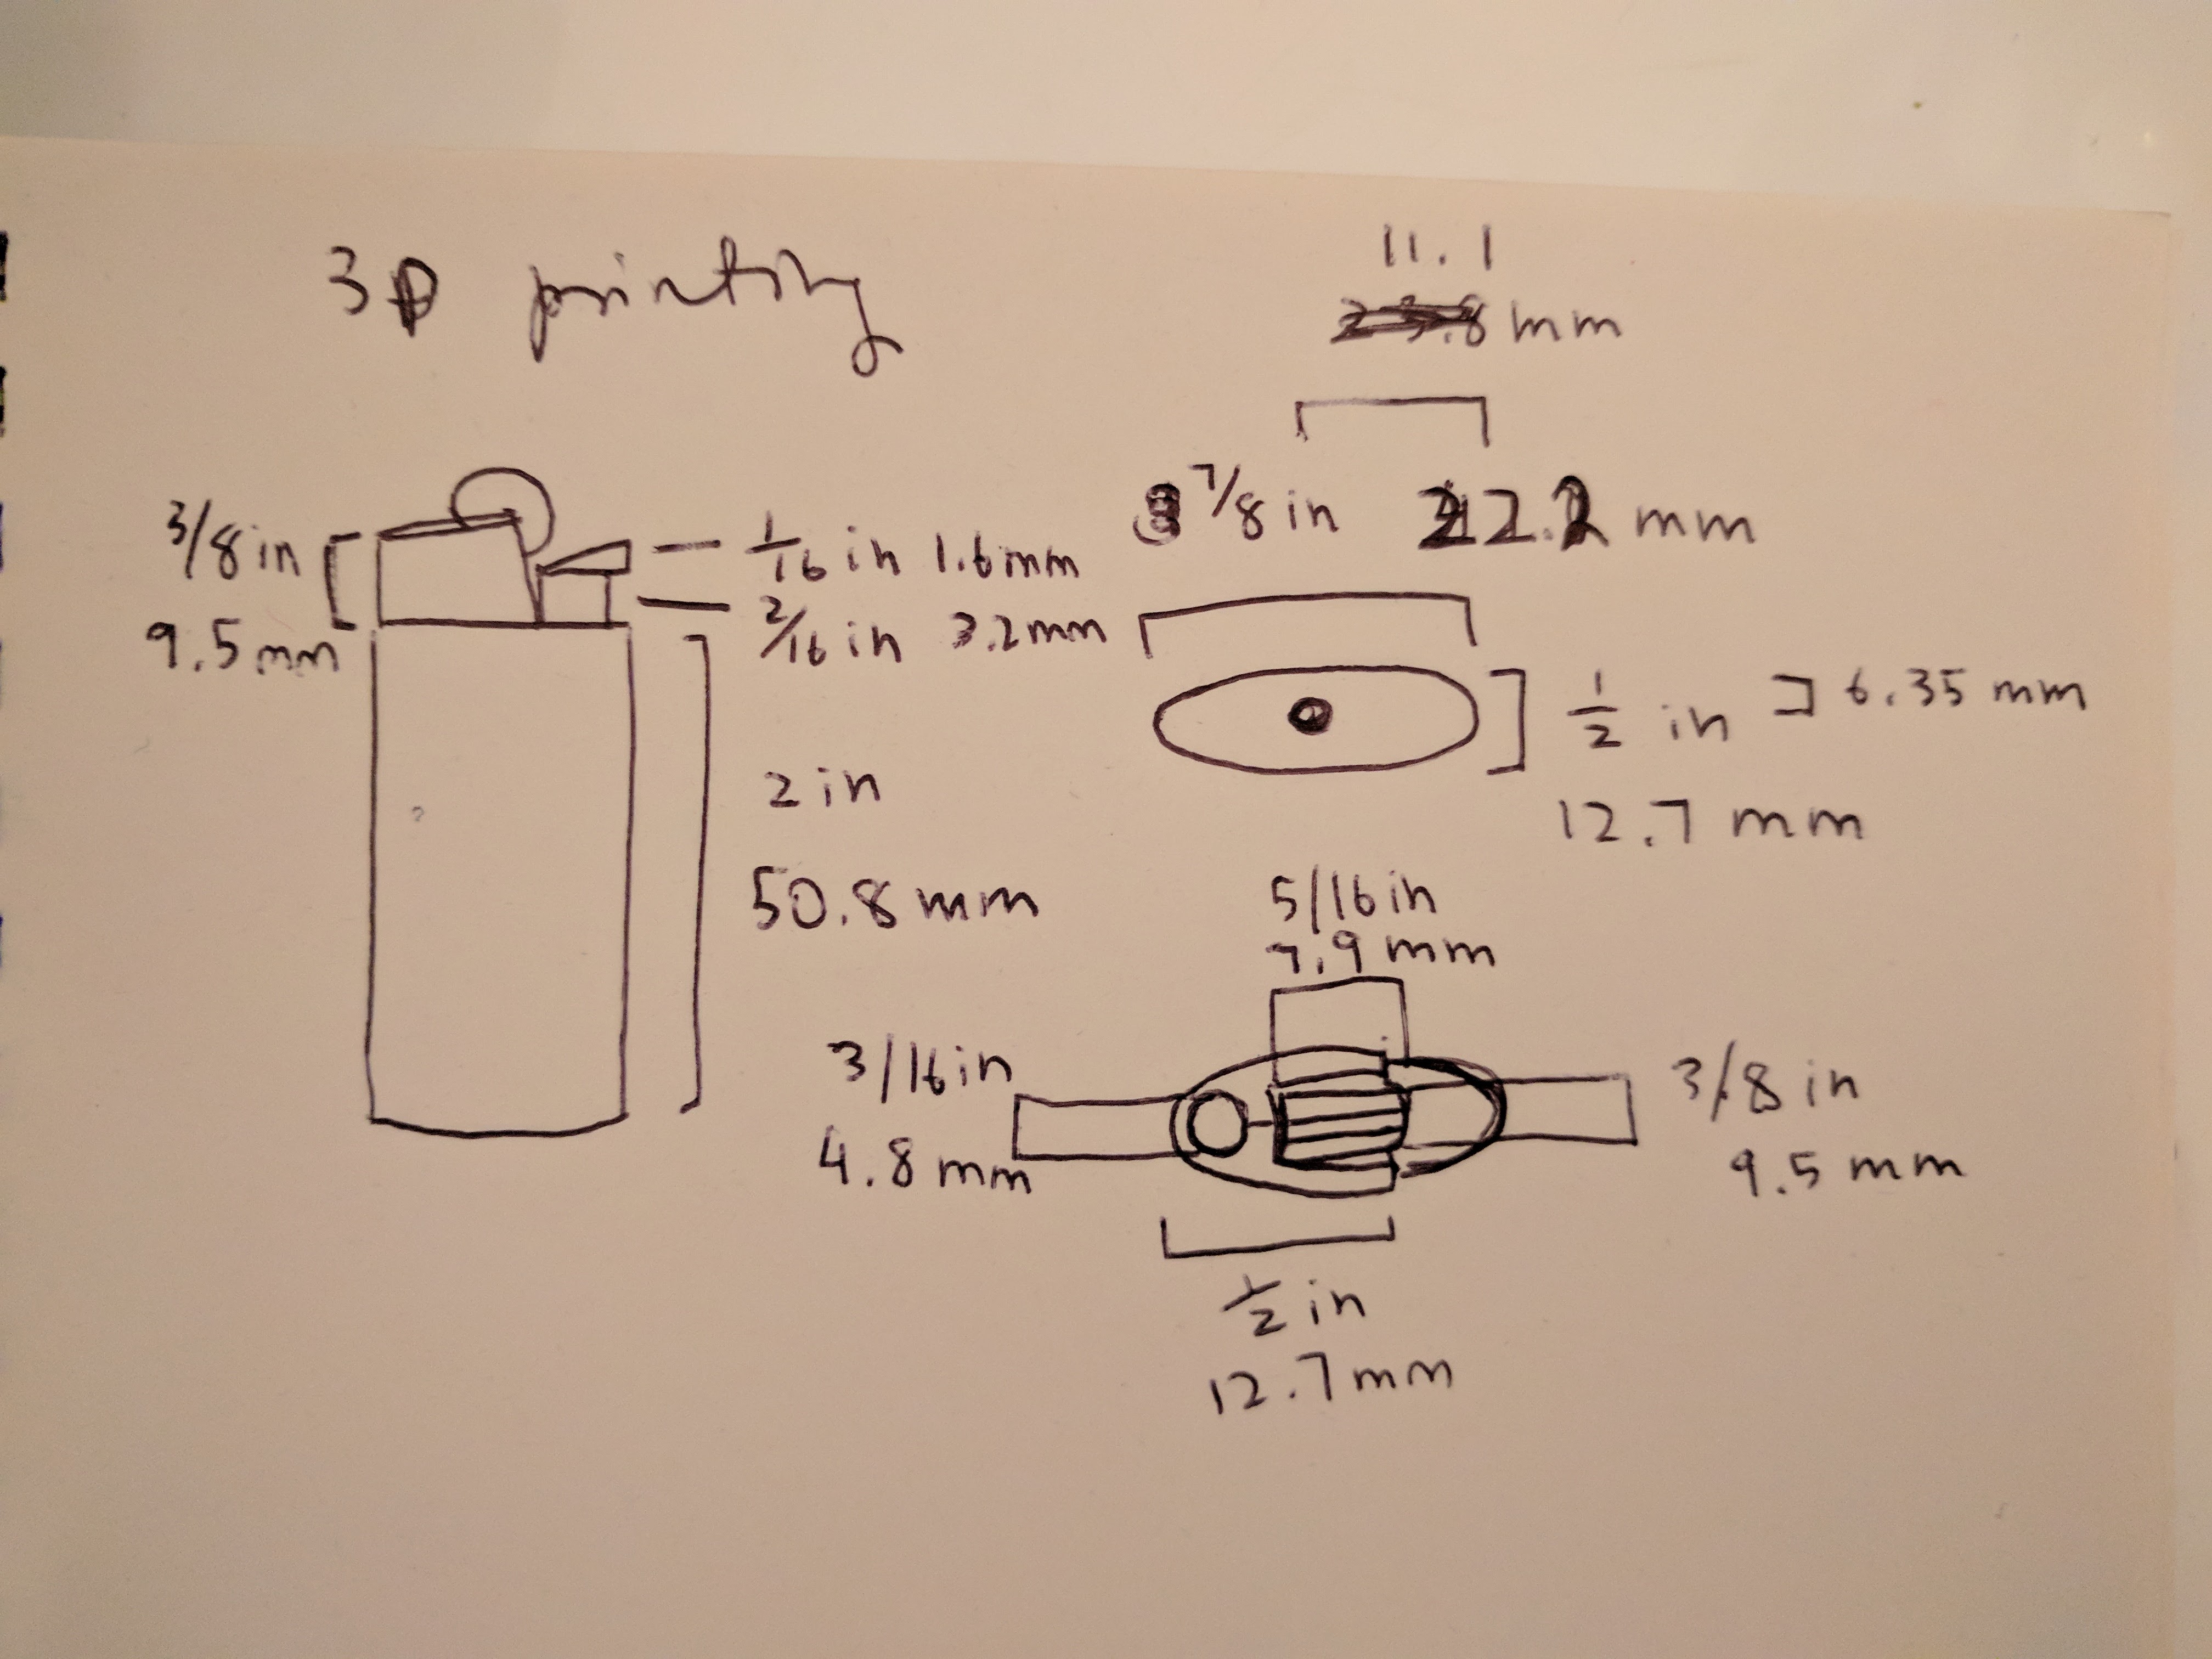
Measurements taken from lighter (with inches to mm conversions):
Written on September 18, 2017